
In this tutorial, we’ll discuss the context of PowerApps navigation. We’ll be using the Back and Navigate functions to change which screen is displayed in our applications.
Most apps contain multiple screens. Providing user-friendly PowerApps navigation allows the users to efficiently navigate through those application screens.
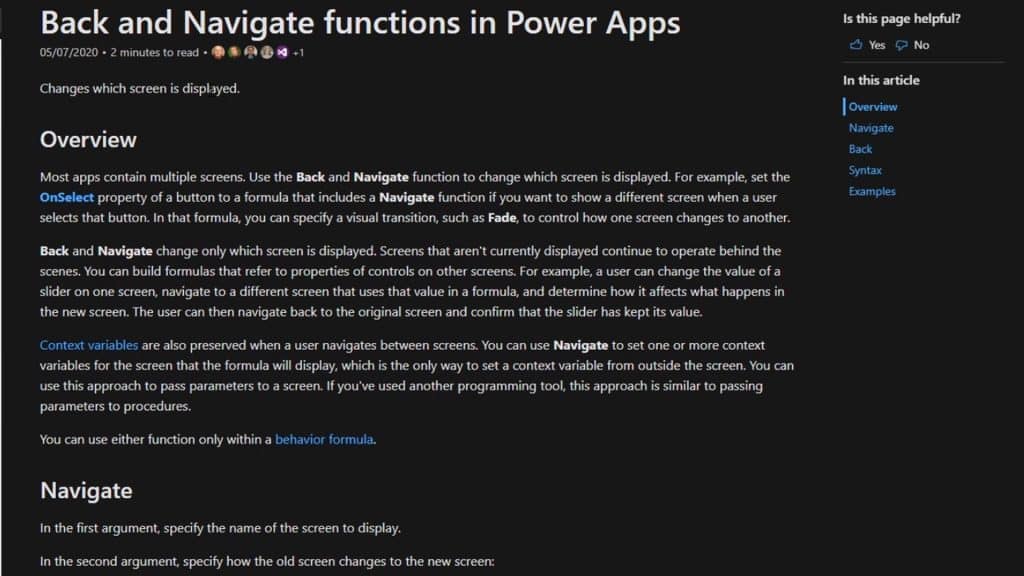
On the reference page, let’s click Navigate and see what it does.

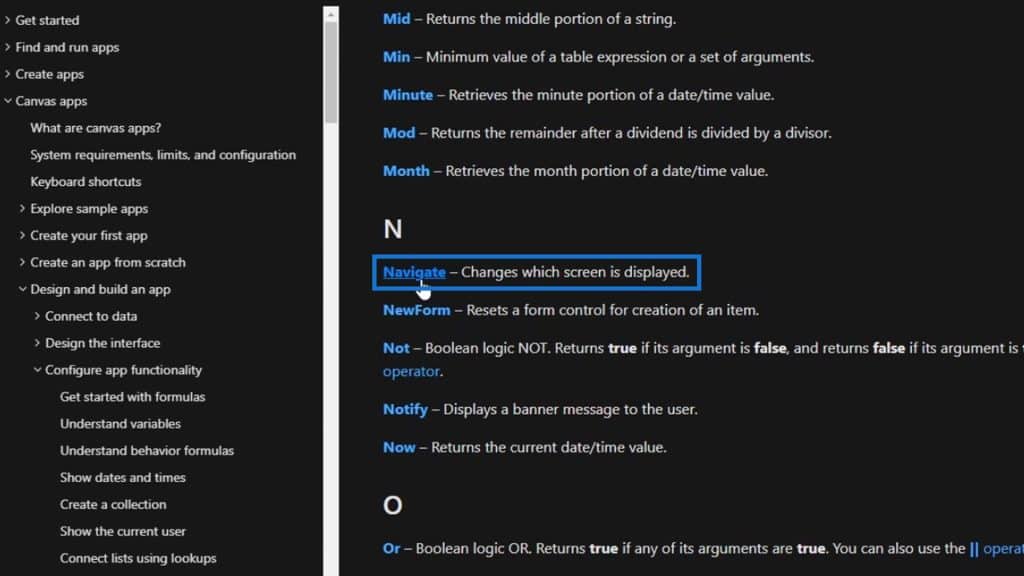
The Navigate function changes the screen that’s displayed. We’ll be having an example to further understand how this function works.
PowerApps Navigation Using The Navigate Function
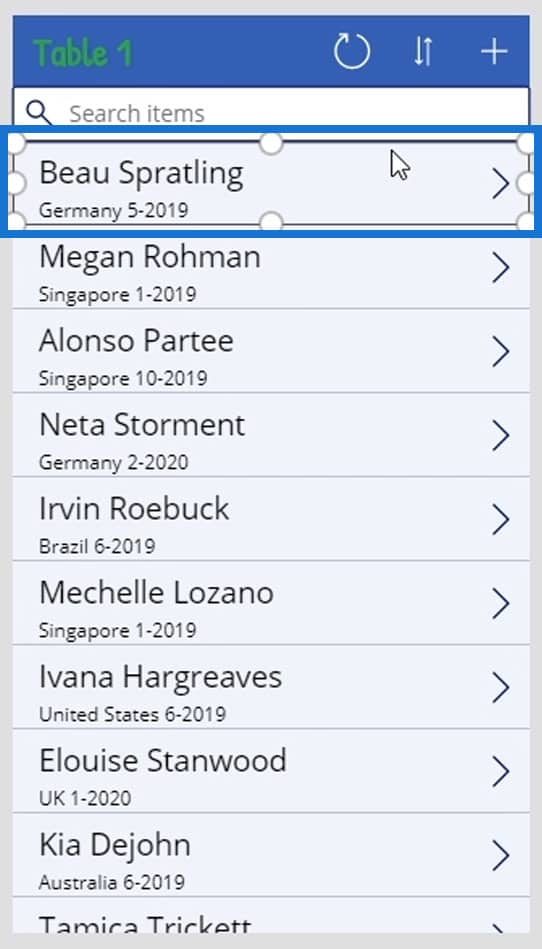
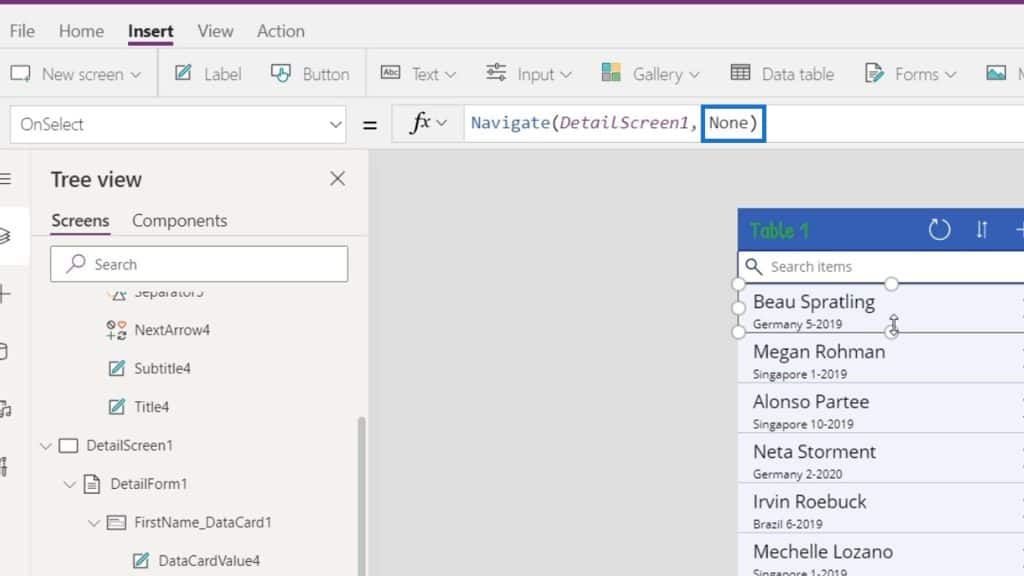
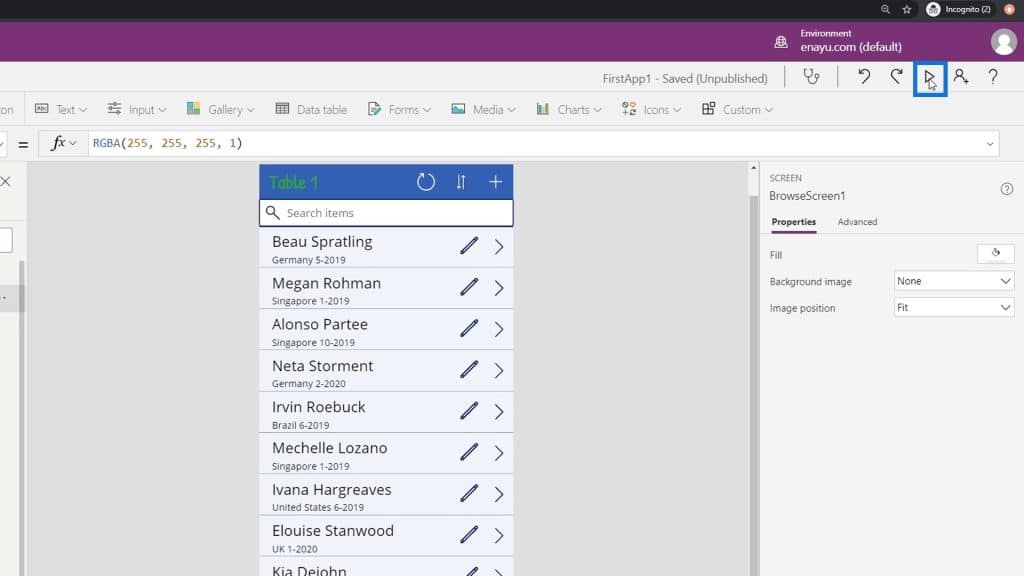
First, let’s click on the first data card (Beau Spratling).
Go to the OnSelect trigger, and we’ll see that the Navigate function is used to take the user to the specified screen (DetailScreen1). This means that upon clicking on this card, it will navigate us to the DetailScreen1.
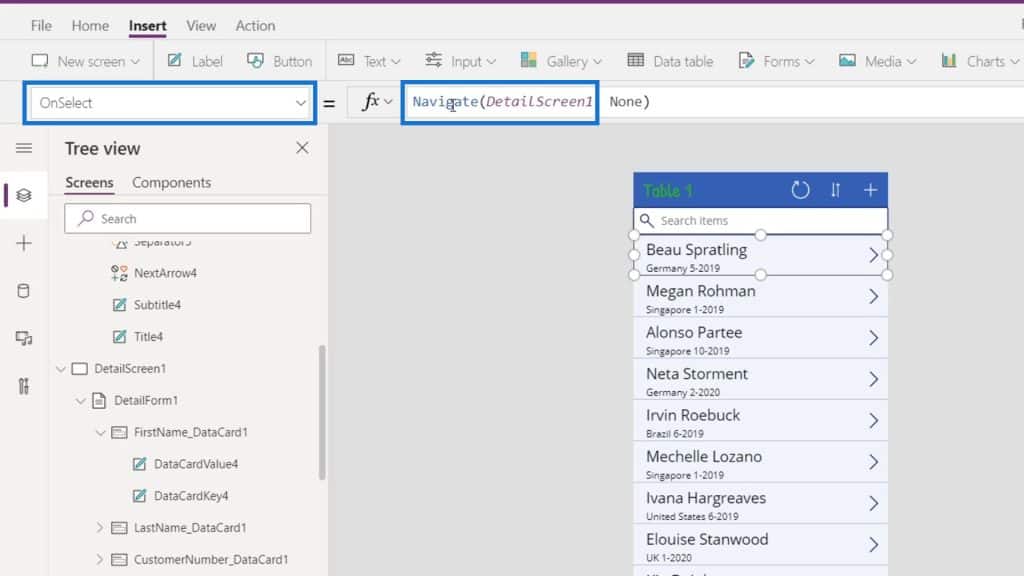
On the other hand, the second argument is for the transition type that we want to set. It’s currently set to None.
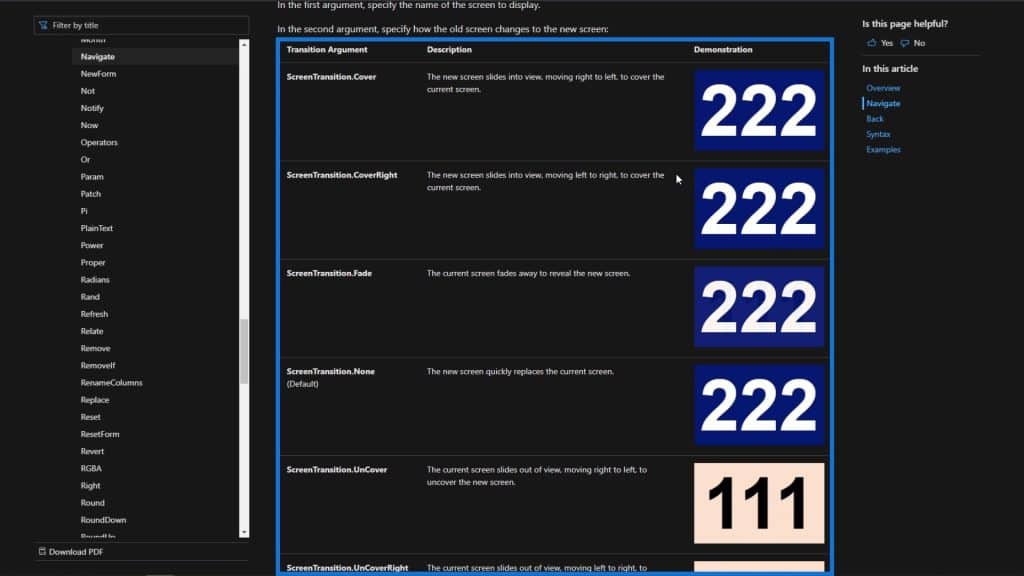
On the reference page, we can see the different transitions that we can choose from and a demonstration for each one of them.
We can easily change the Navigate Transition by clicking on the data card again. Then, click on the second argument.

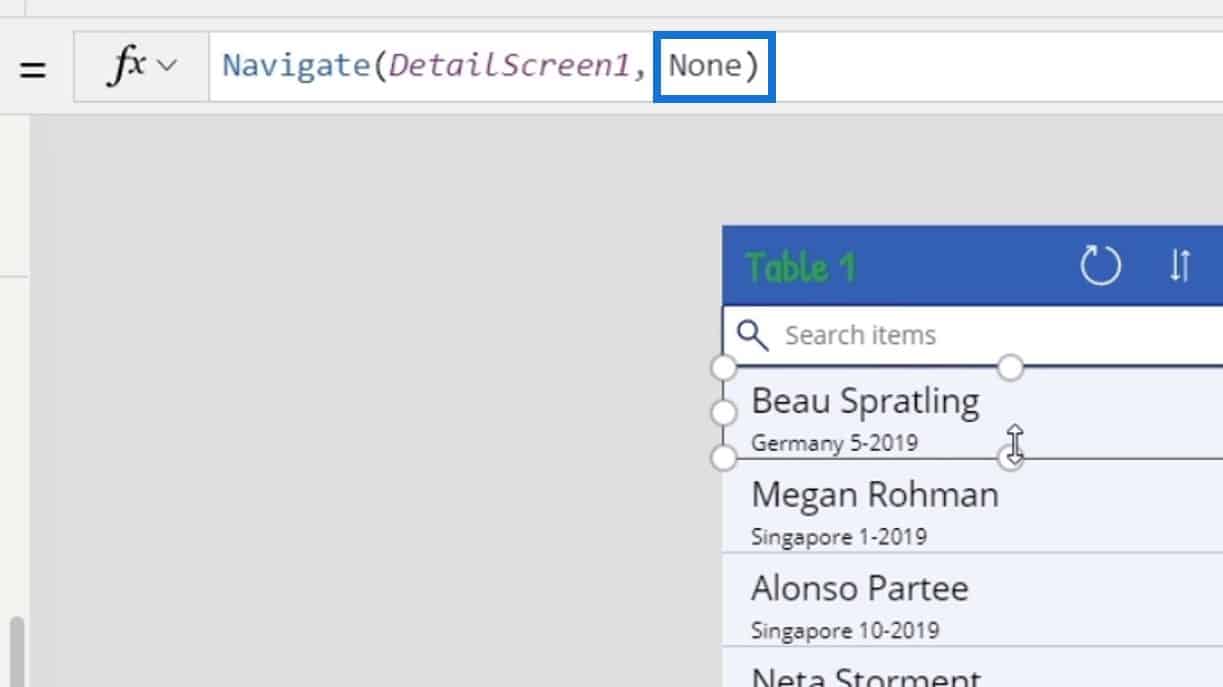
After that, the ScreenTransition.None will appear.
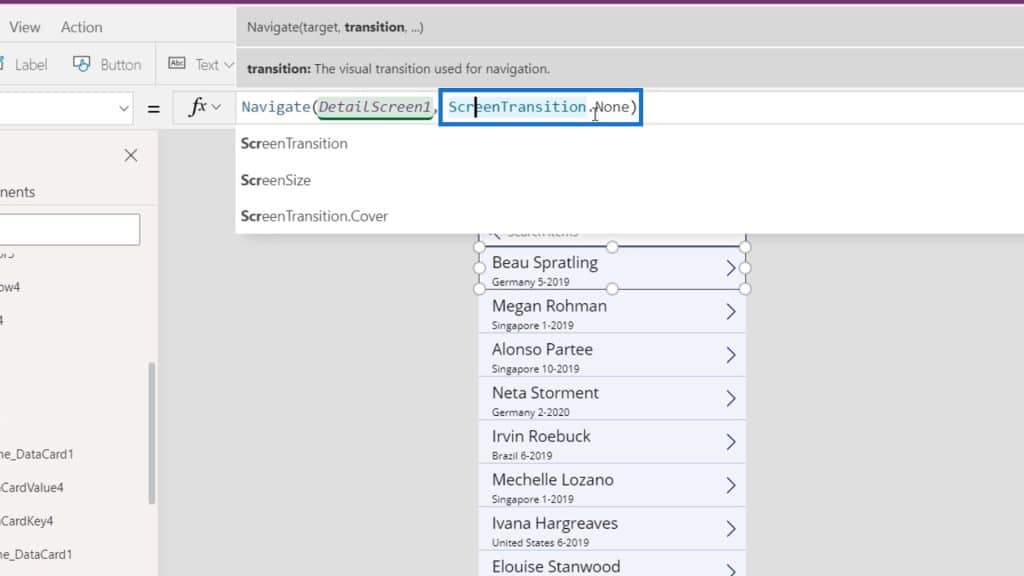
Remove the word None at the end and the different transition options will appear below. For this example, let’s use the Fade transition. Try to play your application and you’ll see how the Fade transition works.

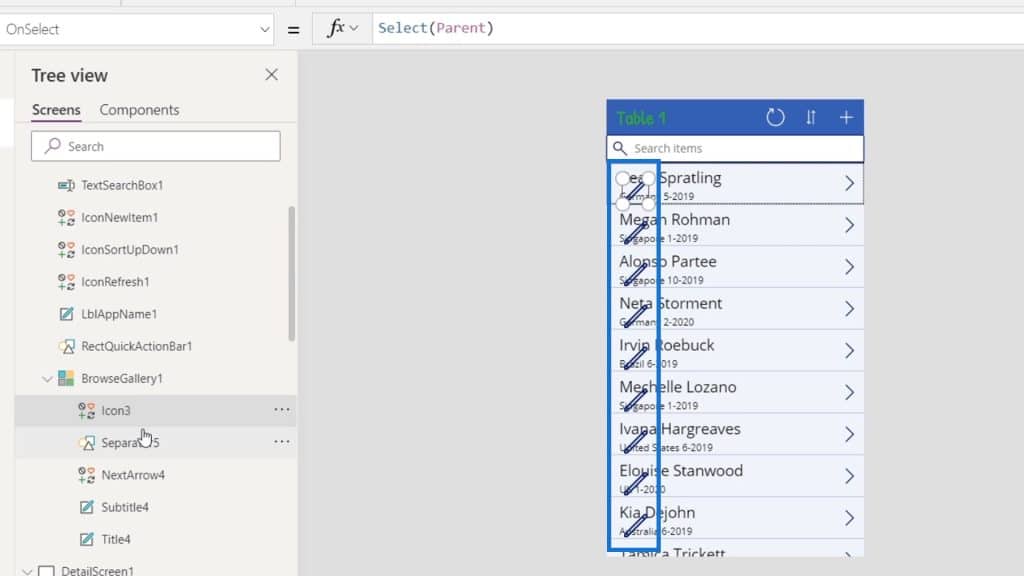
Let’s now click on the arrow inside our data card.
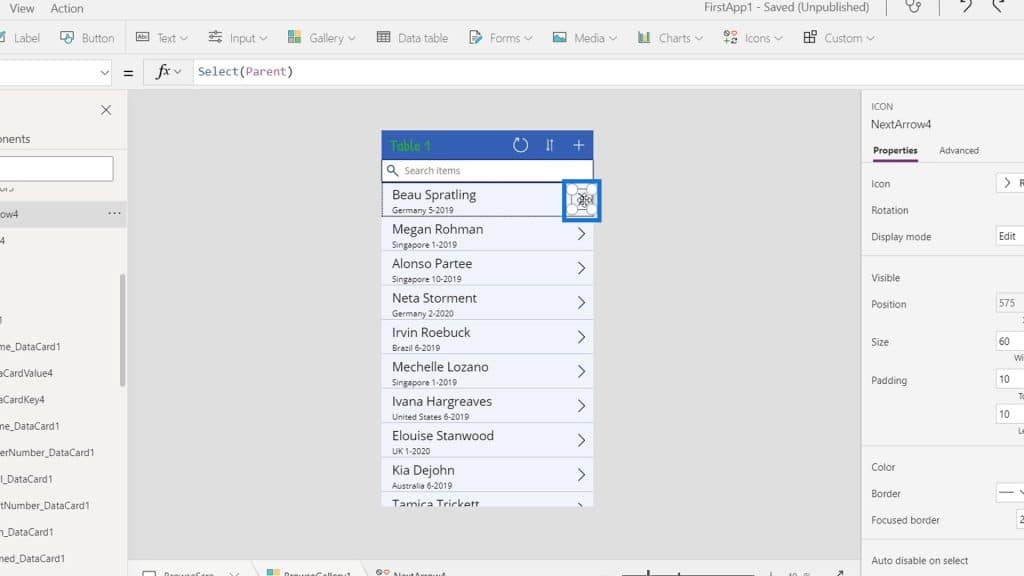
We can see that its trigger is also OnSelect and it’s selecting the Parent element.
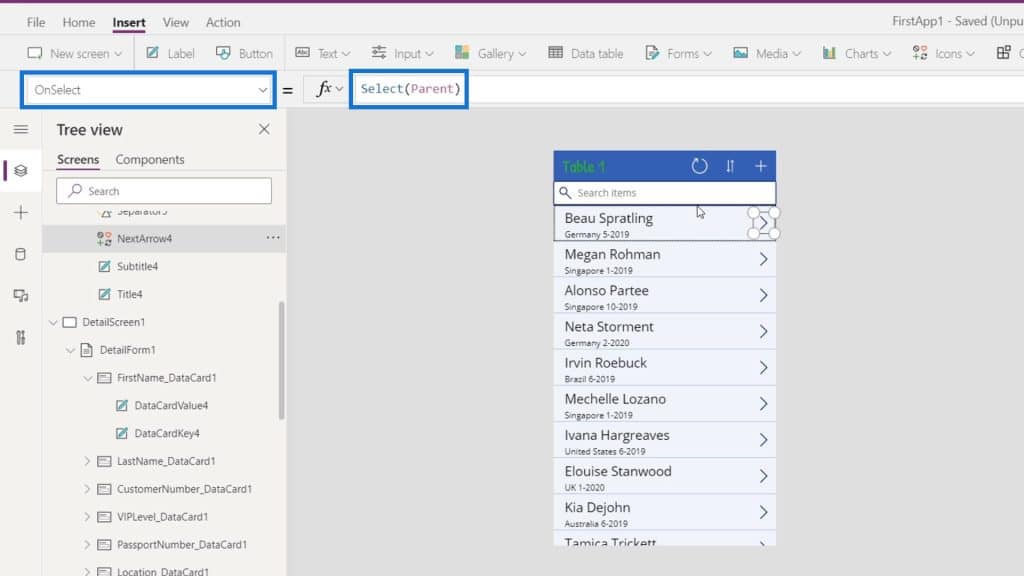
The Parent element of that arrow is referring to the data card itself. It’s using the Navigate function that redirects the users to the DetailScreen1. Once clicked, it’ll do the same thing as when we’re clicking on the data card.

Adding An Edit Functionality For PowerApps Navigation
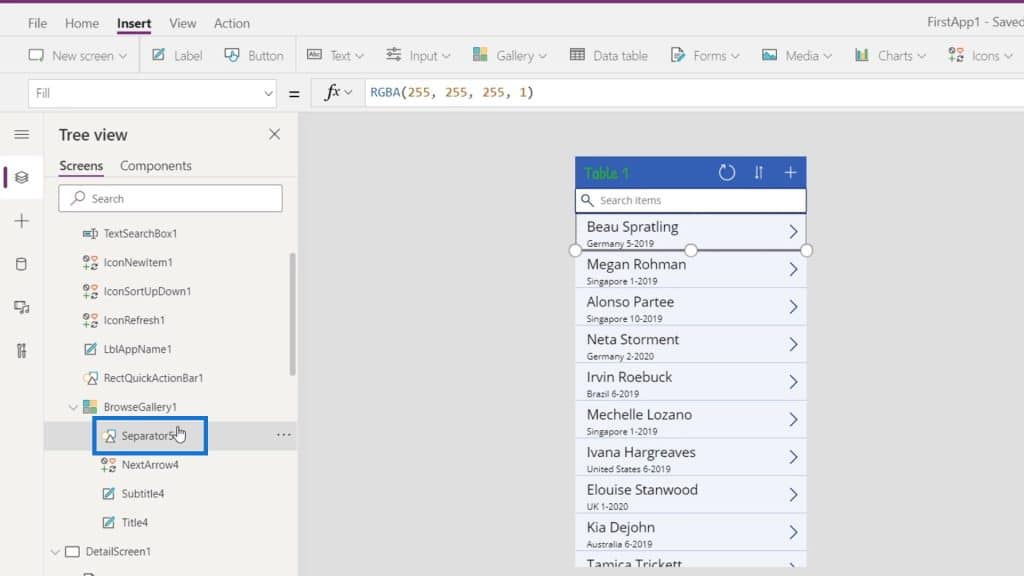
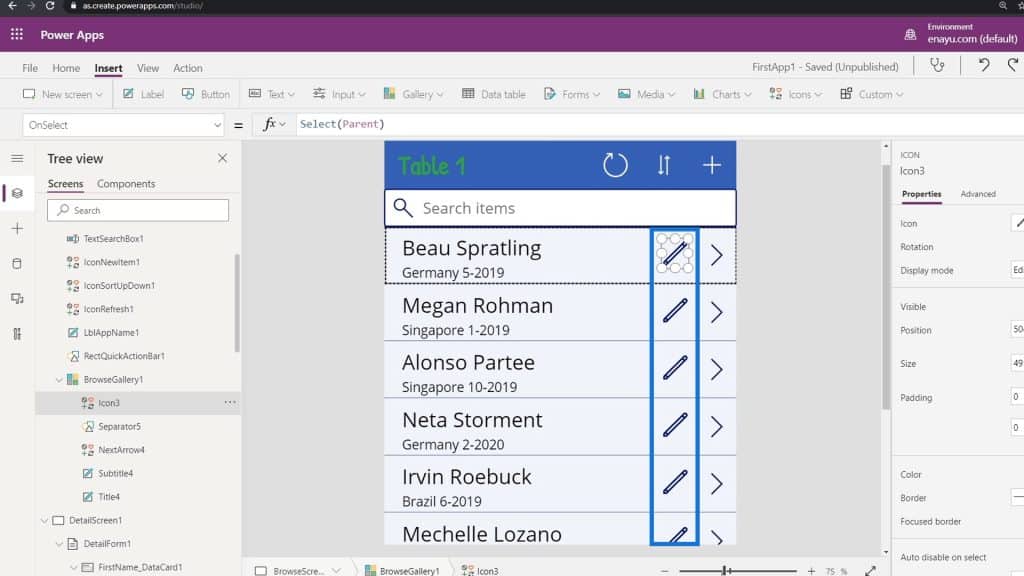
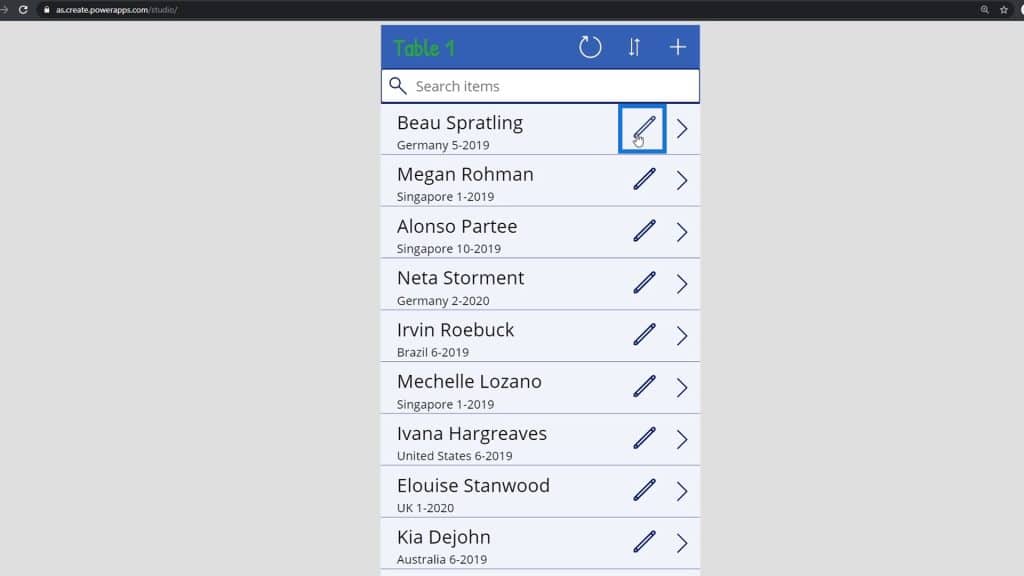
Now, let’s try adding an edit symbol that will redirect us to the edit page right from our data card. Click on the Separator5 element under the BrowseGallery1.
Then click the Icons and select the Edit icon.
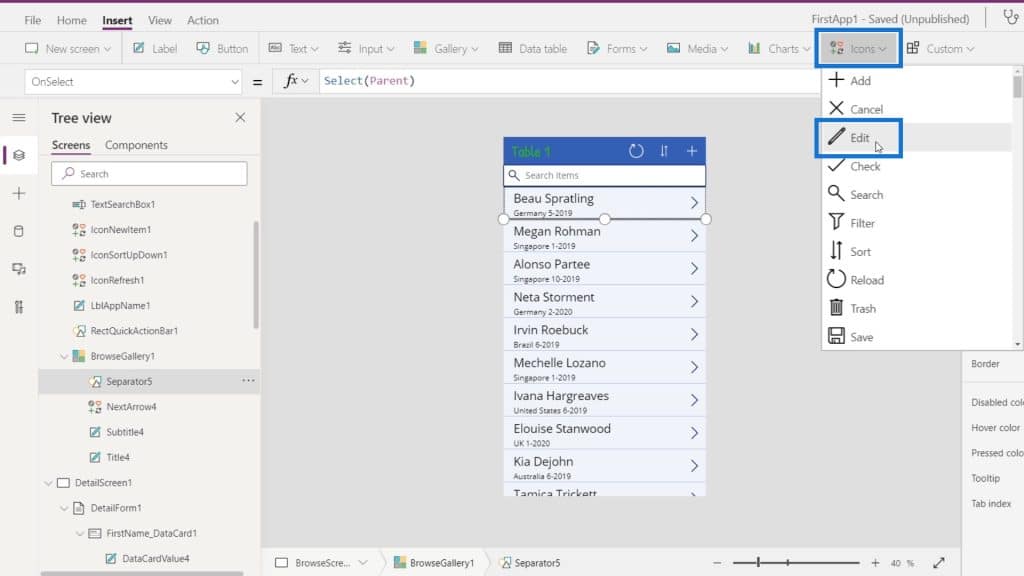
Since we’ve added it inside the BrowseGallery1, it replicates itself for each data card inside the gallery.
Let’s then move the icon beside the arrow icon and resize it until it’s a bit smaller.
By default, this edit icon also used the OnSelect trigger and the Select function from its parent element. So, by clicking this, it’ll also redirect us to the detail screen.
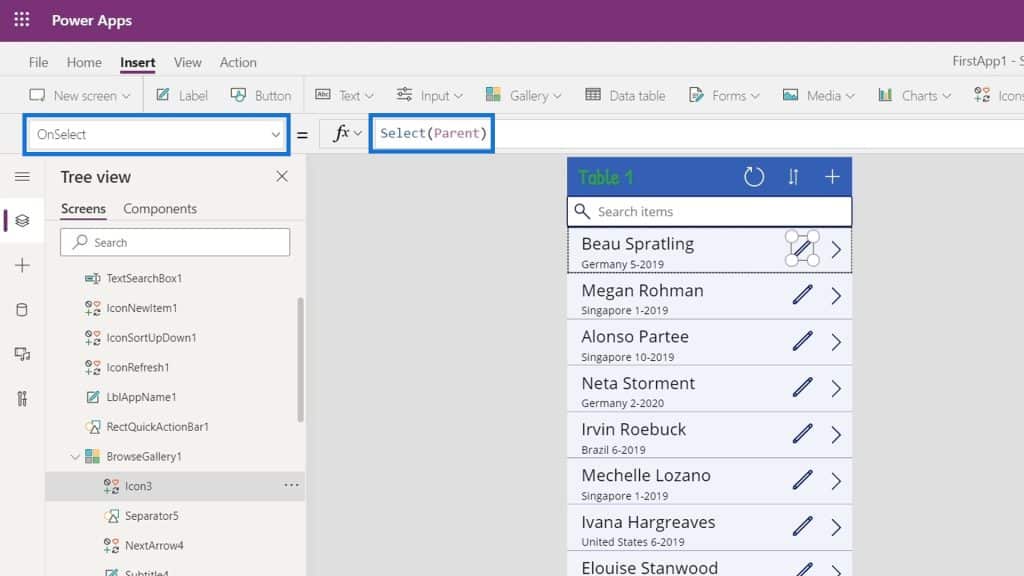
Let’s change that by changing the function to Navigate. Change the Select(Parent) to Navigate(EditScreen1) instead.
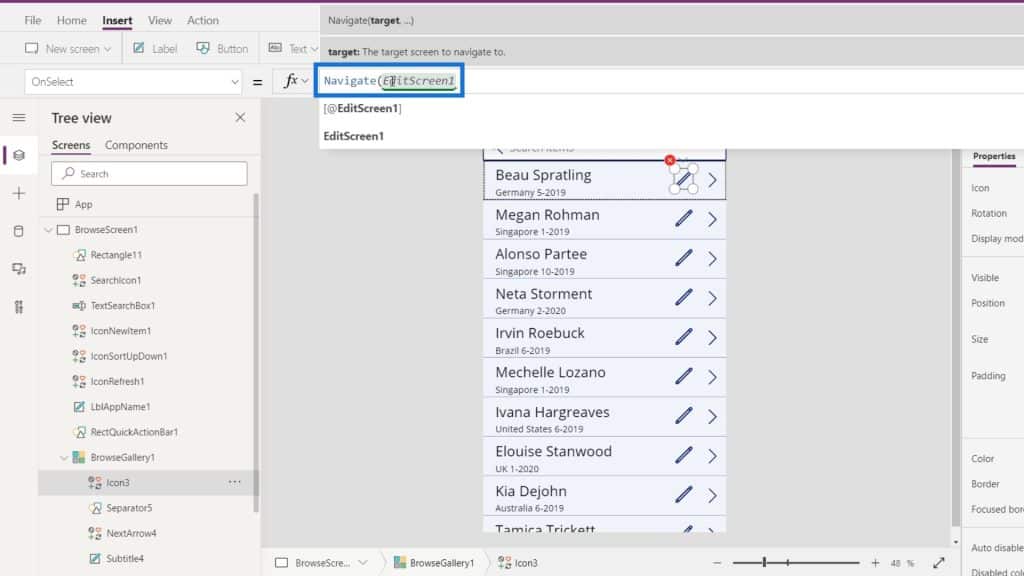
We’ll set the second argument to ScreenTransition.UnCover. Make sure to separate the two arguments by a comma (,).

Let’s now play our application.
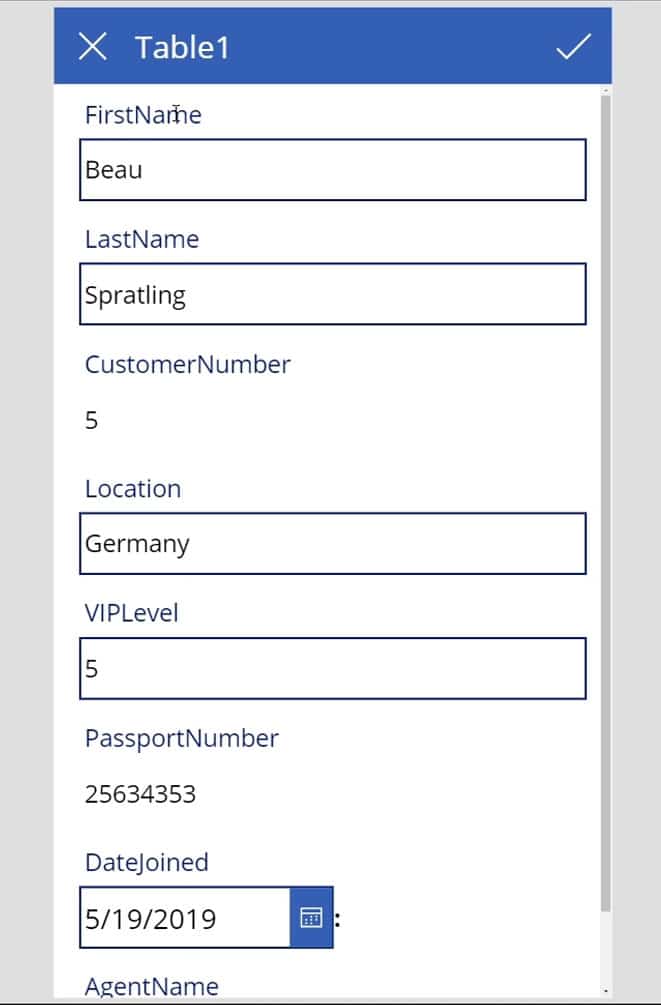
After that, click the Edit button.
Then, we’ll be redirected to the edit screen.

Understanding The Back Function In PowerApps Navigation
On our EditScreen1, let’s click the X button beside the title.
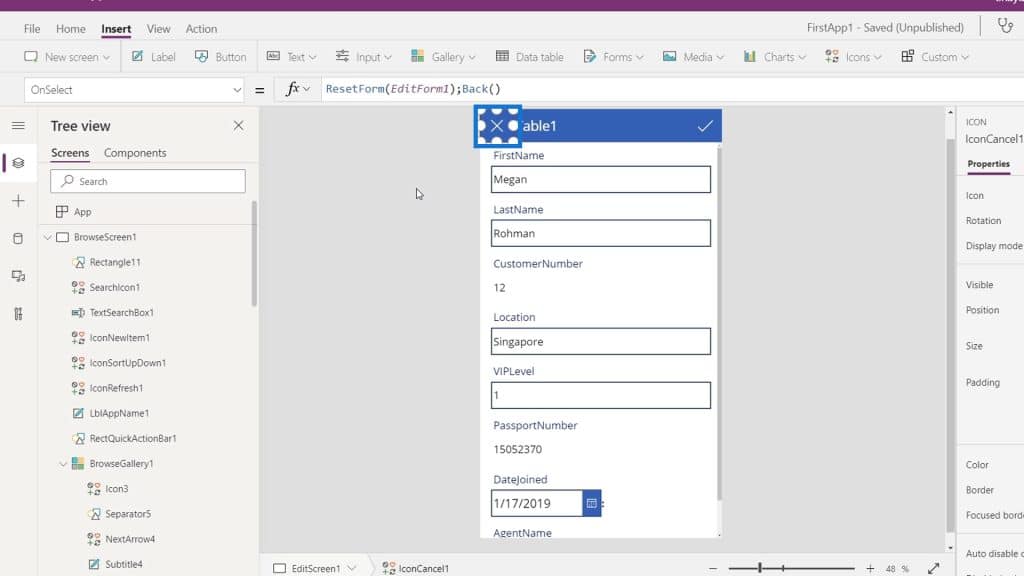
In this example, we used the ResetForm() function together with the Back() function.
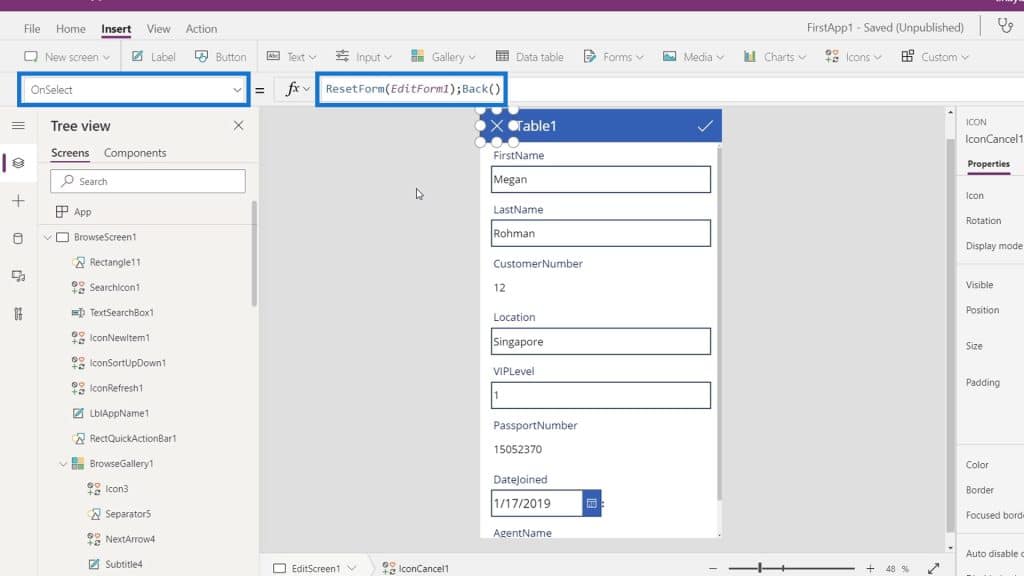
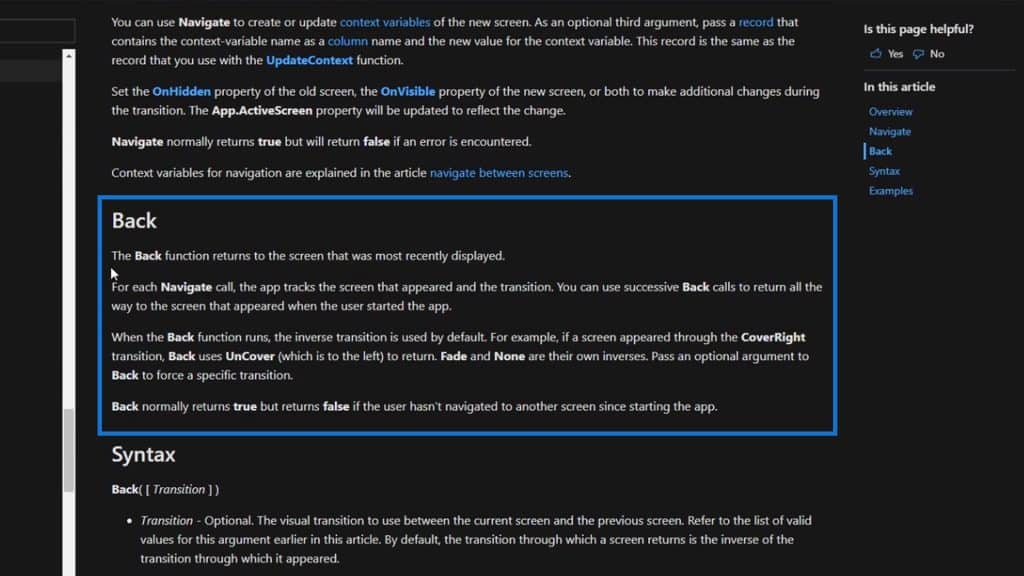
When we navigate somewhere, Microsoft PowerApps remembers the last screen that we opened. We can navigate to that last screen by using the Back() function.
For example, by using this function on the X button, we can easily go back to the main screen if we access the edit screen from the main screen. If we access the edit screen from the detailed screen, the X button will bring us back to the detail screen.
We can also read a more detailed explanation of the Back() function on the formula reference page.
***** Related Links *****
PowerApps Introduction: Definition, Features, Functions, And Importance
Power Apps Basics: Development Environment And Running Your App
Power Apps: Getting Started With This Revolutionary Tool
Conclusion
To sum up, we’re able to learn the importance and context of PowerApps navigation. We’re also able to understand how the Back and Navigate functions work in our application. We can specify a visual transition in the formula to control how one screen changes to another.
Just keep in mind that it’s always important to provide users with an efficient way of navigating your application screens.
All the best,
Henry


