In this tutorial, we’re going to talk about how to add different types of fields when working with PowerApps entities.
We talked about PowerApps entities in a previous tutorial and we mentioned how fields contain basic information like names, addresses, etc. But there are different types of fields that we can use, too.
Let’s use this Customer entity as an example. As you can see, it already contains a number of different fields. That’s because PowerApps is so intuitive that it automatically adds fields that it thinks would be useful for this type of entity.
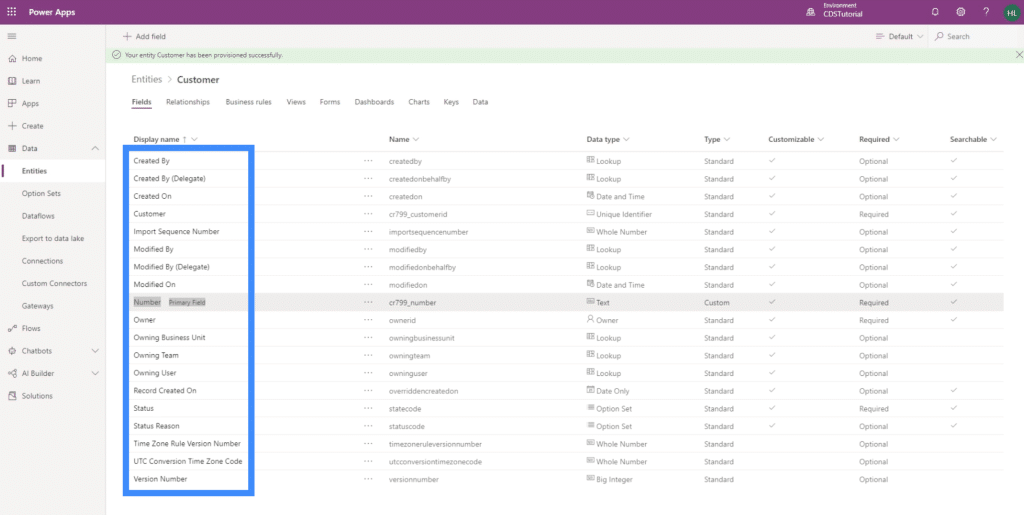
However, it’s also missing some fields that are included in the table that we’re using as a data source.
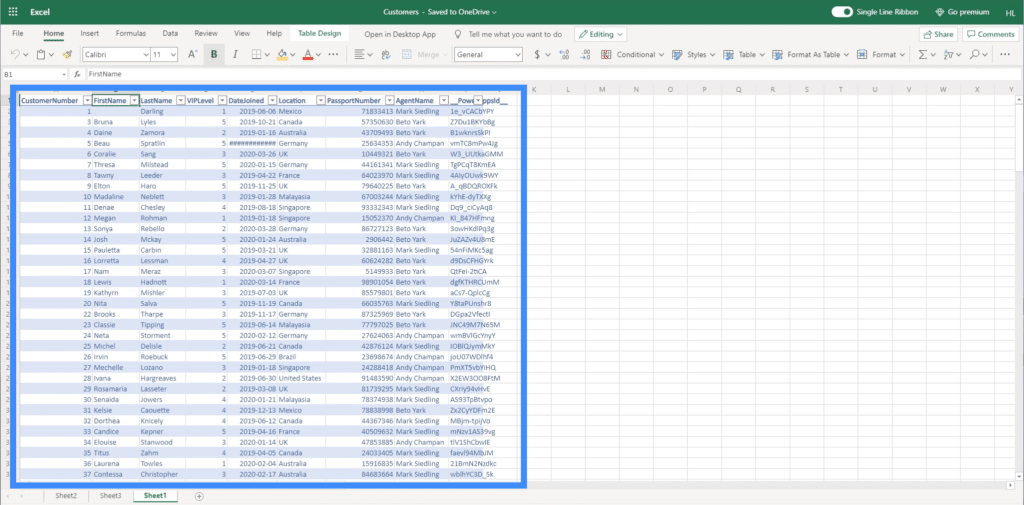
These are the fields that we’re going to work on today.
Adding Text Fields to PowerApps Entities
The First Name is a great example of a text field. Basically, this means that you can type in any form of text.
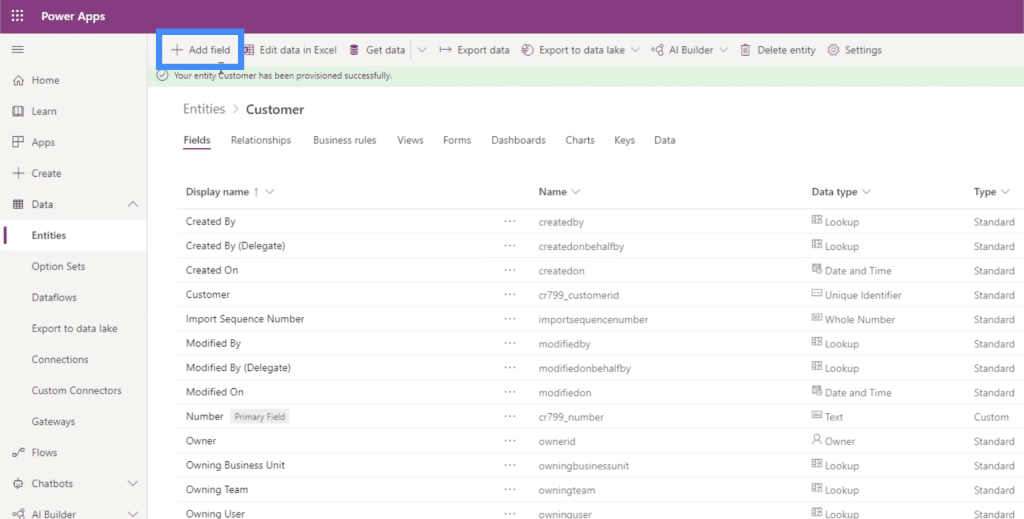
To add a text field, just click on the “Add field” button on the upper left.
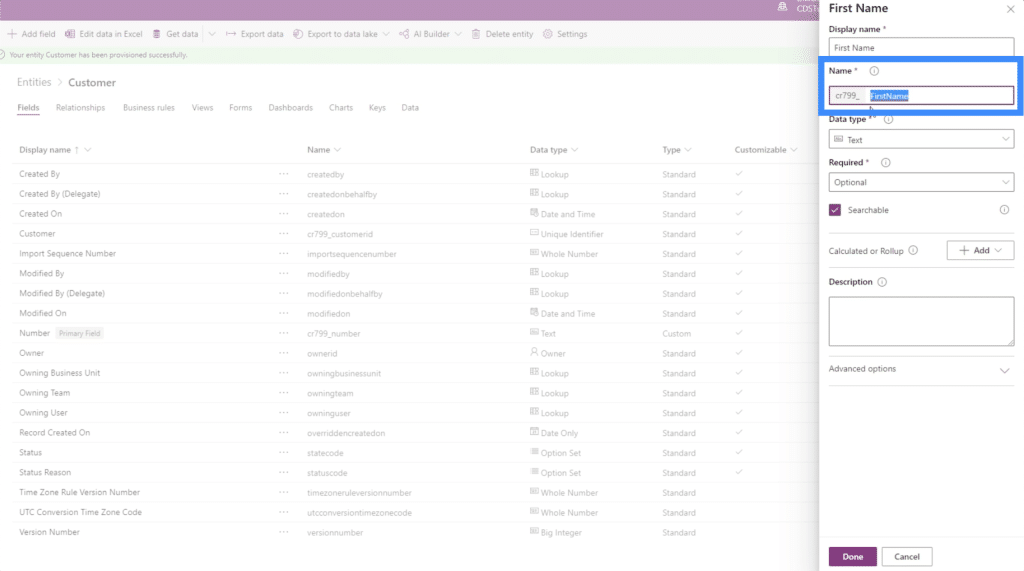
We’ll call this field First Name.
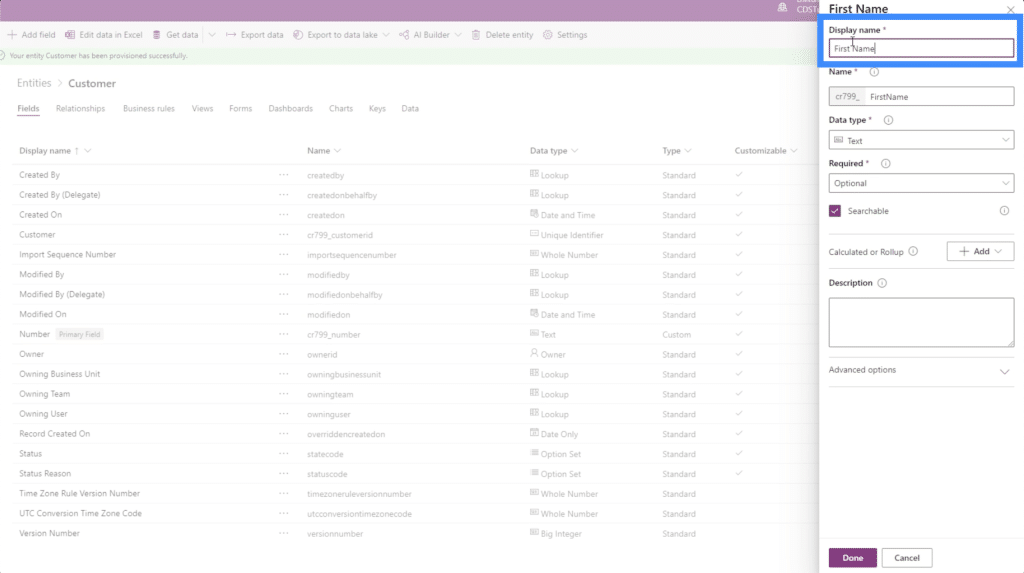
Again, PowerApps makes it easy for us by automatically assigning a code or a name that the system is going to use in the background. This is something that will be useful for database administrators.
The data type gives us a long list of options.
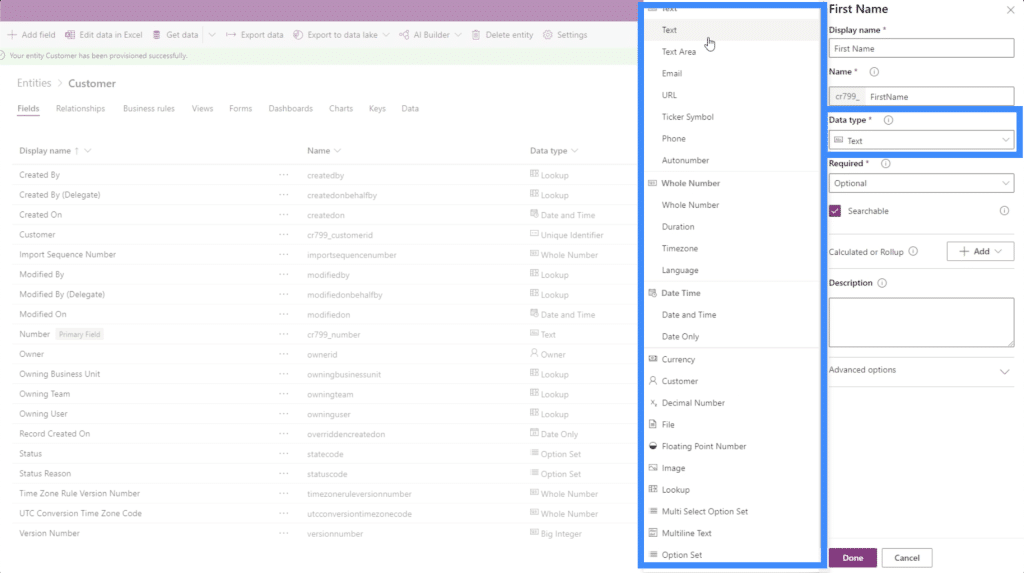
PowerApps is intuitive, so it usually detects what type of data you’re working on. In this case, it automatically assigned this field as a text.
Before saving this, we need to set how important this field is. The three options are optional, recommended or required.
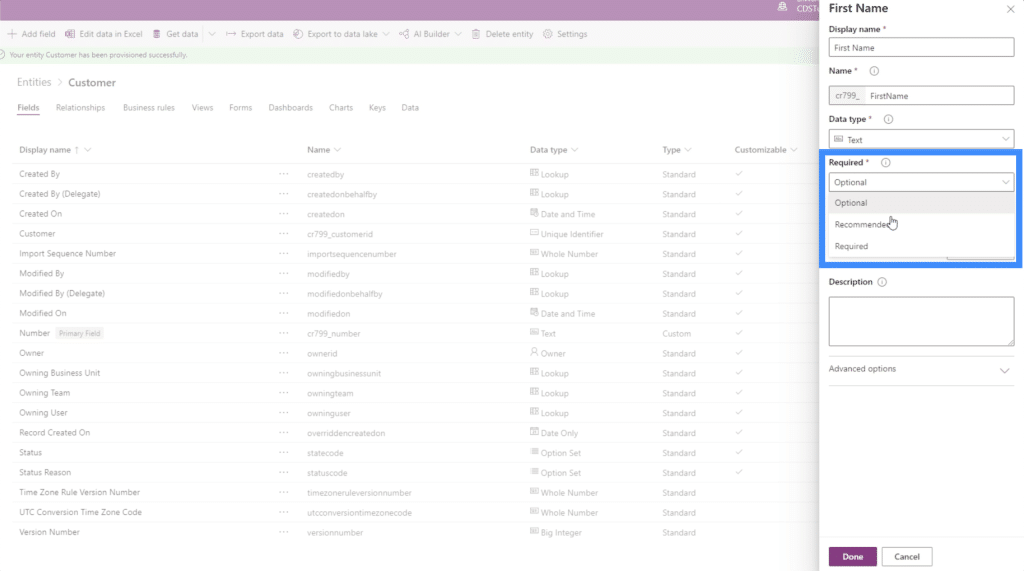
Optional fields can be left blank. Recommended fields are tagged as important, but are not really required to complete the entry. As for required fields, users are required to fill them out. Otherwise, the entry will not be saved. For now, let’s set this field to Recommended.
We can also make the field searchable or not by ticking the box here.
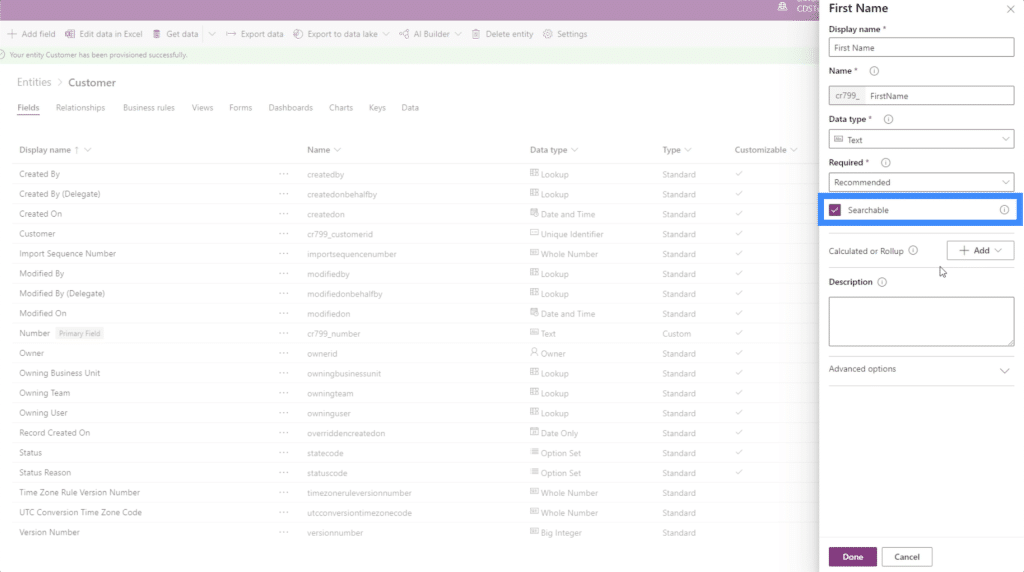
This also comes with advanced options, but we’re not going to change anything here for this example.
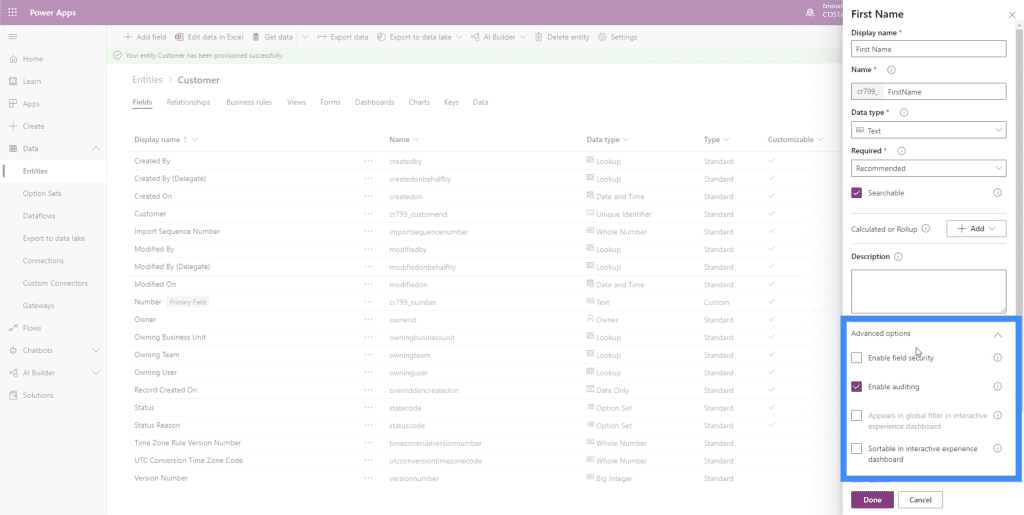
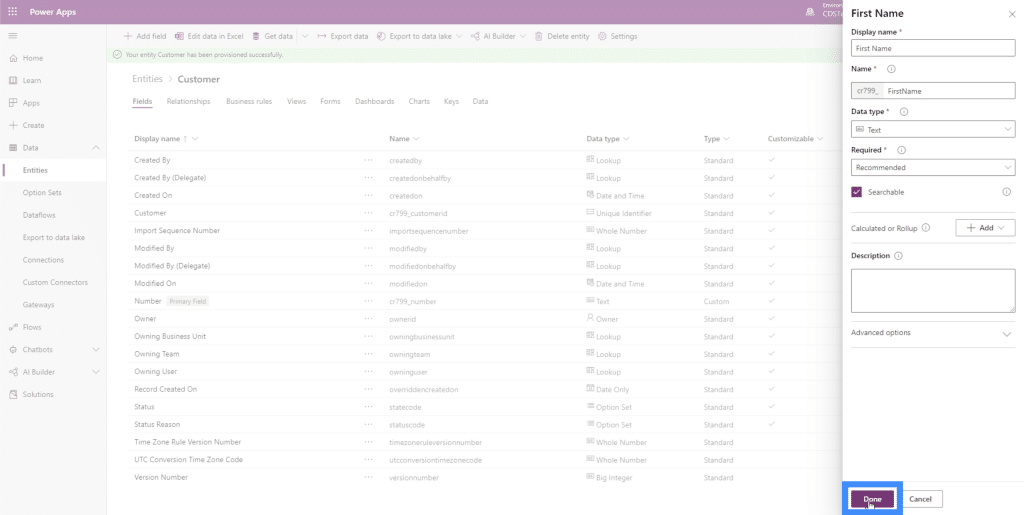
We can click on Done at the bottom to add this field.
Adding Calculated Fields
Calculated fields are derived from other fields. We use them to automate manual calculations involving different fields.
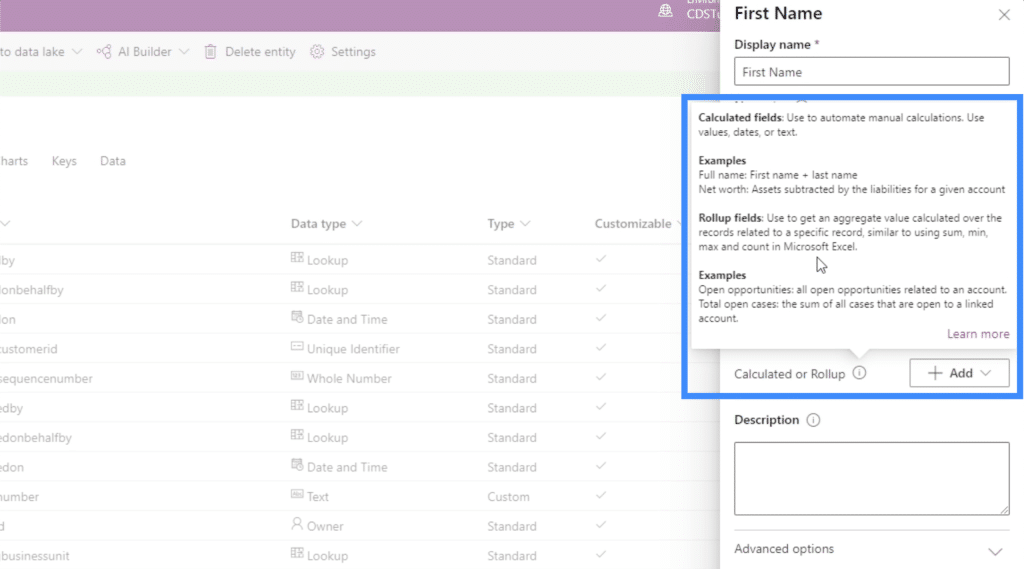
One great example of a calculated field is a Full Name. All we need to do to get the Full Name is to combine the fields for the First Name and Last Name. If we’re working on a sales table, another possible calculated field would be the Total Price, where you can multiply Price by Quantity.
Let’s work on getting the Full Name. Since we already have a First Name field, let’s add the Last Name field first. Again, we’re going to start with Add field.
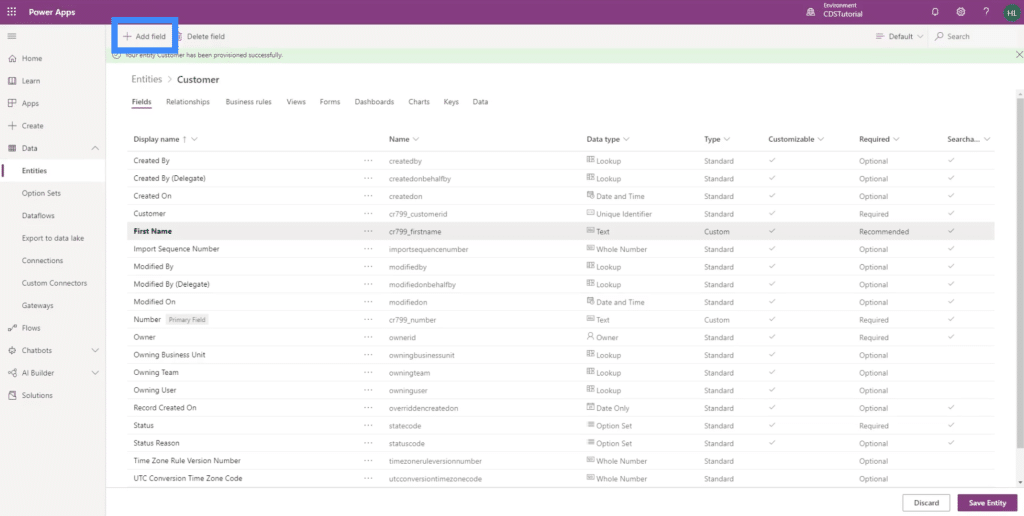
Then, we’ll call it Last Name.
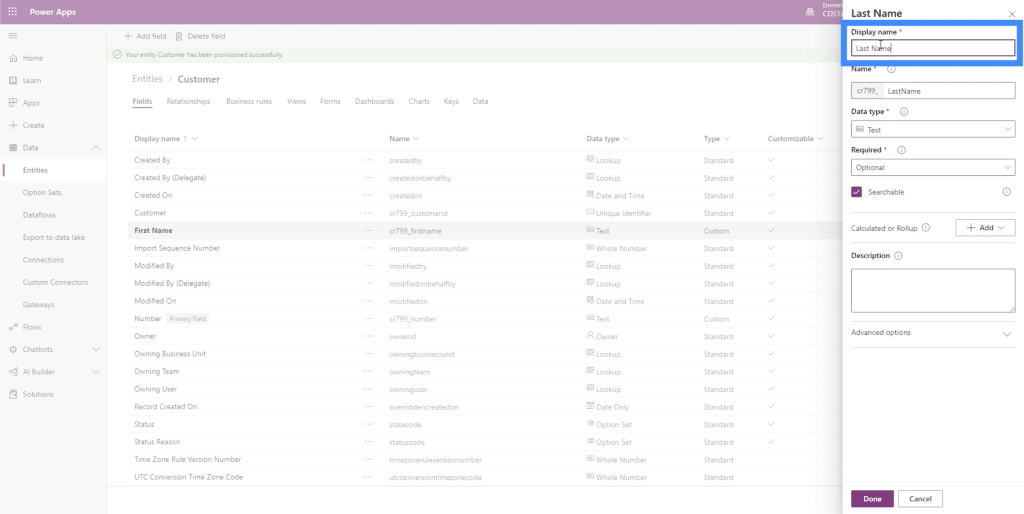
We’re also going to make all the other settings the same as the First Name. Then, we’ll click on Done after that to add it under the Customer entity.
Now, let’s add our calculated field called Full Name.
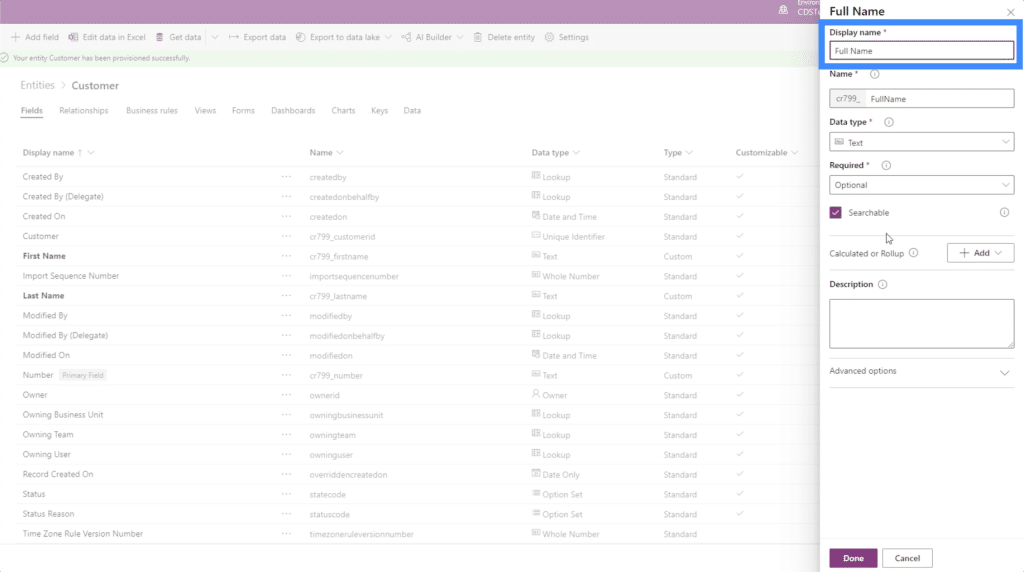
To make this a calculated field, we just need to click on the Add button here beside Calculated or Rollup, then choose Calculation.
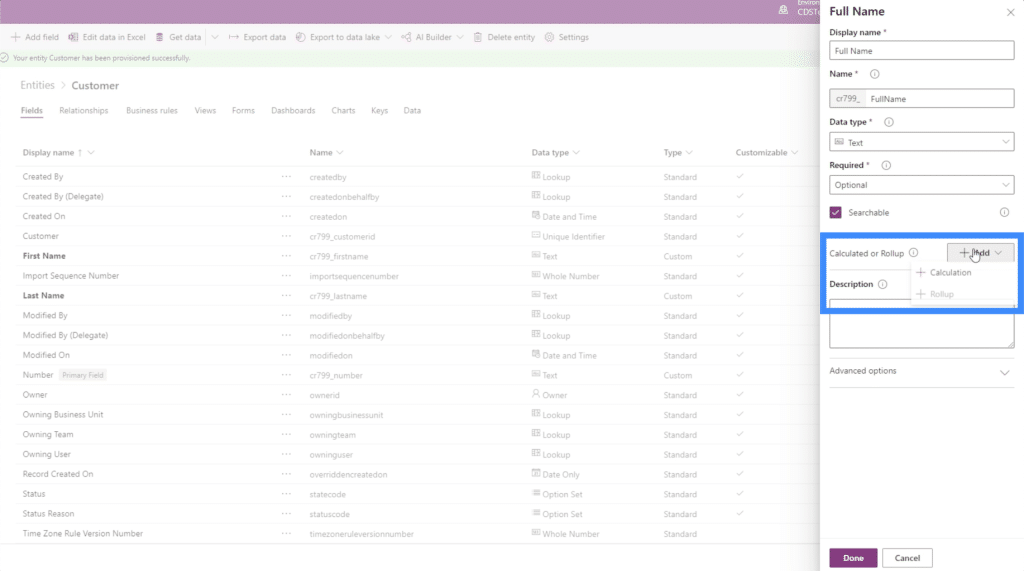
Before we can add a calculation, PowerApps is going to ask us first to save the current entity. So we’ll just click on Save.
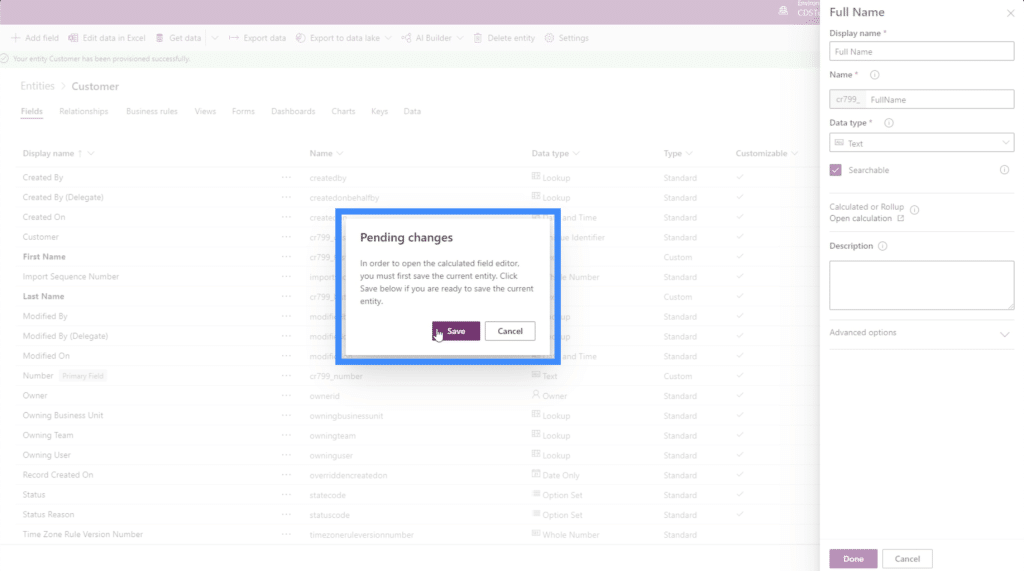
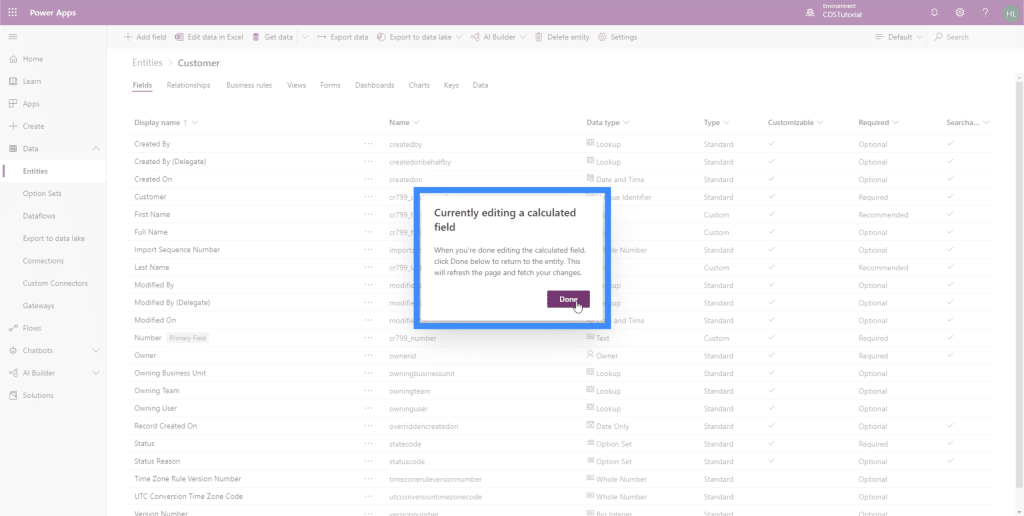
Once the entity is saved, it’s going to remind us that we’re in the middle of working on a calculated field. So let’s click on Done to get rid of this popup.
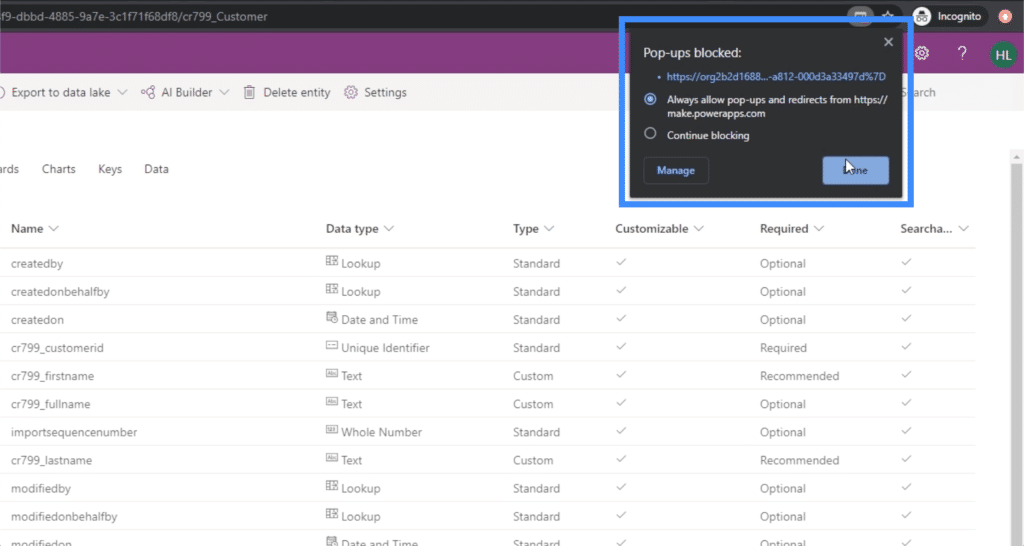
Before we continue, make sure that you popup blocker allows popups for this page. Otherwise, we won’t be able to work on our calculations.
Now, let’s go back to the field we’re working on, which is Full Name.
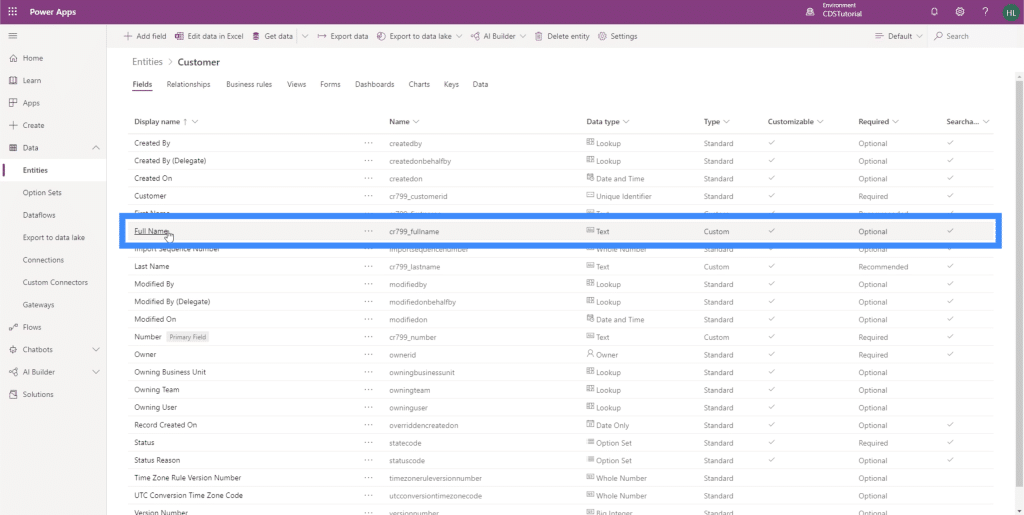
Once we click on that, it’s going to allow us to continue what we were working on earlier. This time, it doesn’t ask us to add a calculation anymore. Instead, it gives us the option to open our calculation.
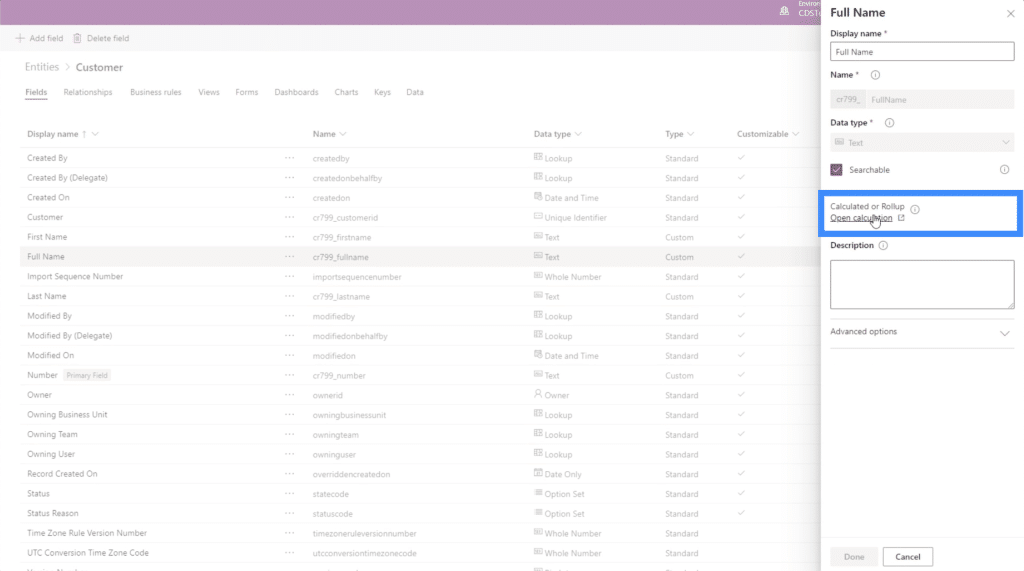
Once the popup for the calculated field comes out, it shows that we can actually create an IF statement here. It has fields for both a condition and an action.
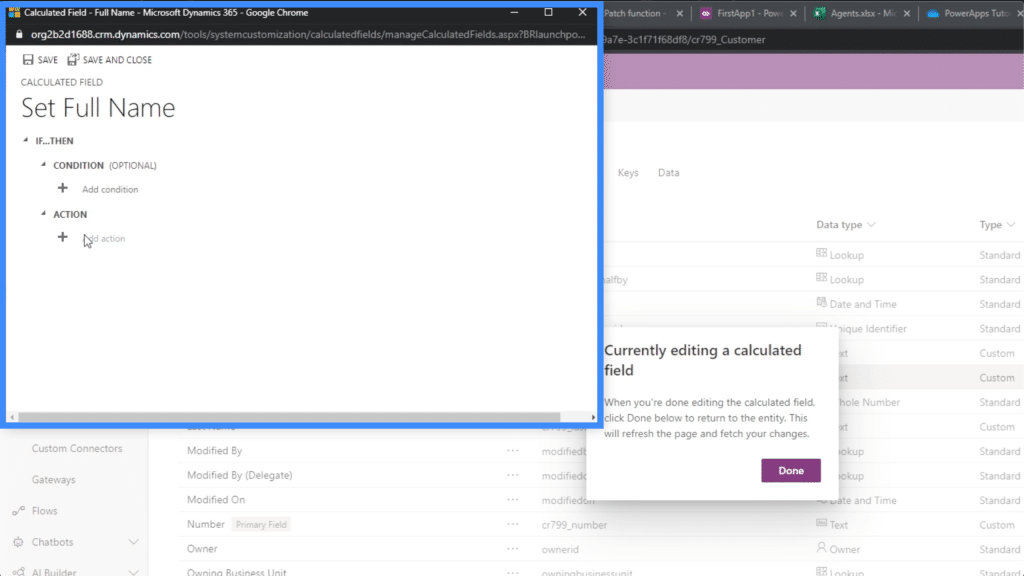
But for the Full Name, we won’t really need a condition. All we need is an action that allows us to combine two fields. It’s a good thing the condition is optional. So we just need to click on Add action.
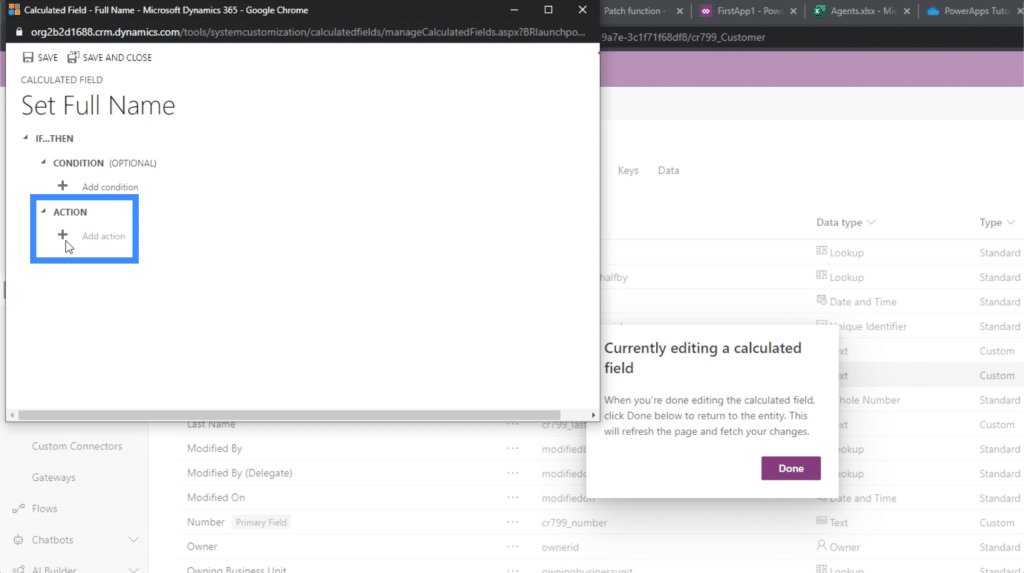
Naturally, we would assume that we just need to compute for the First Name + Last Name. But in this case, it shows that we can’t add two strings together.
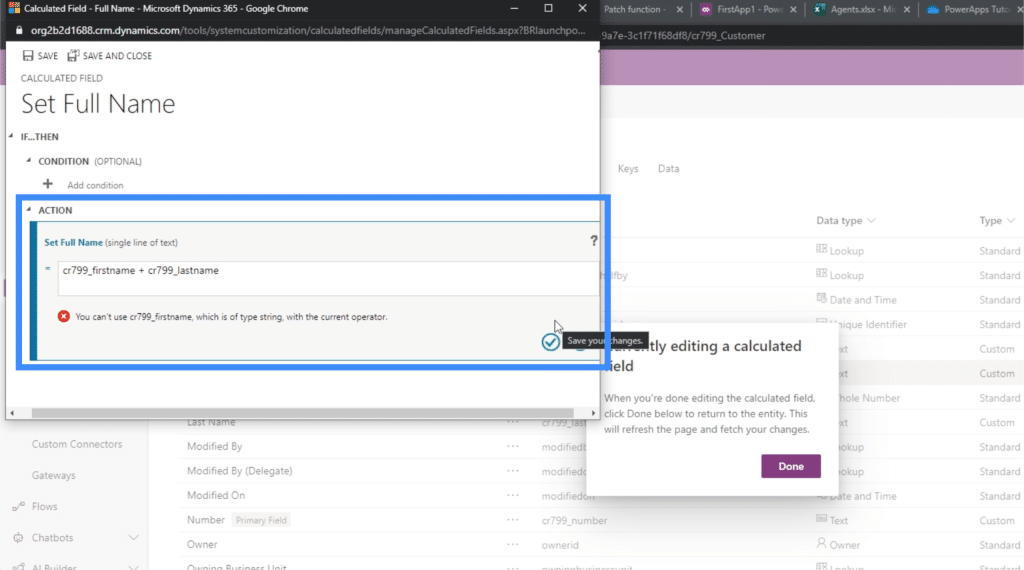
In this case, we would need to concatenate the two fields. So let’s use the CONCAT function.
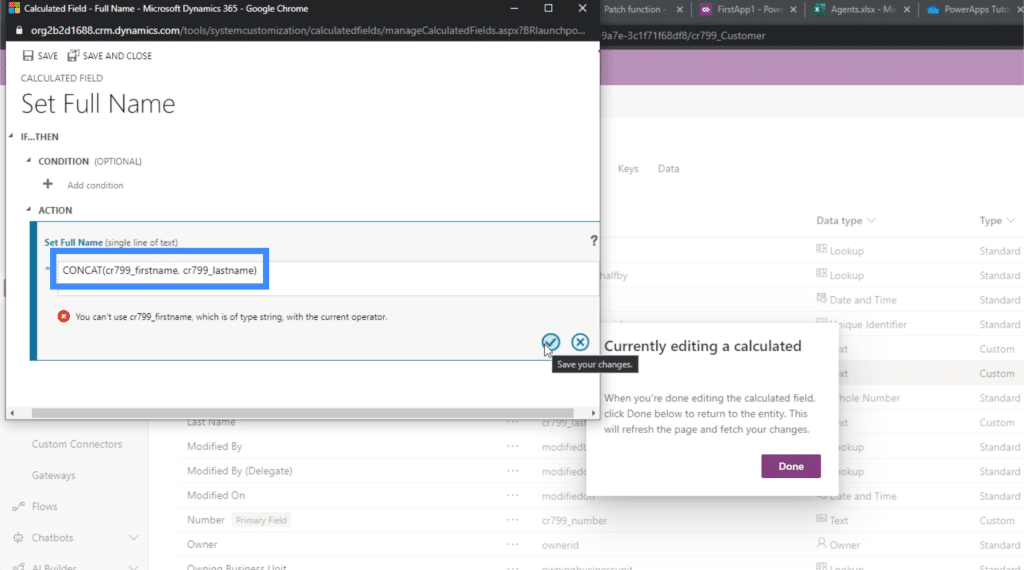
Once we save that action, it’s now going to show the calculation under Action.
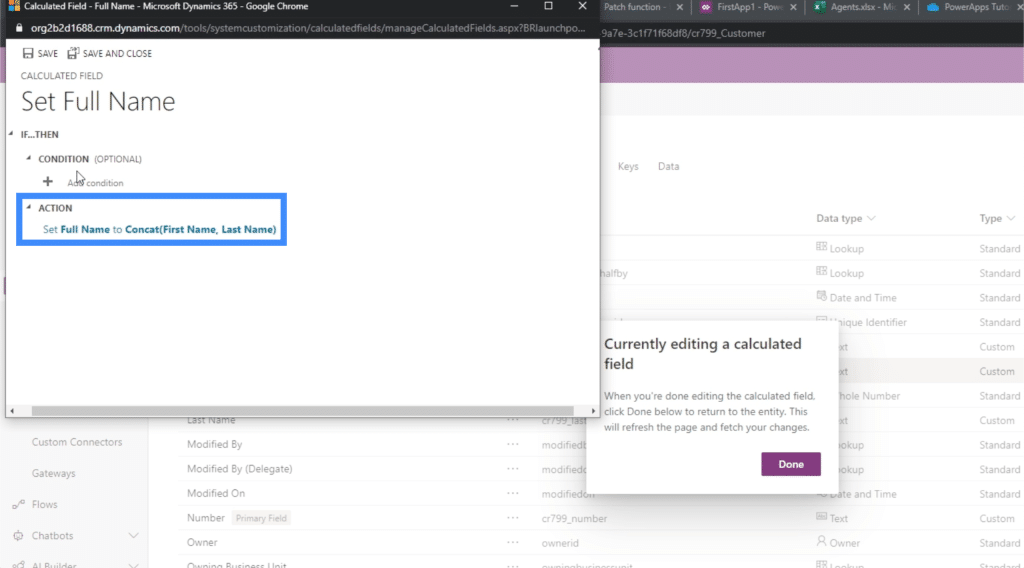
Again, we don’t really need to set a condition here so we’ll leave this blank.
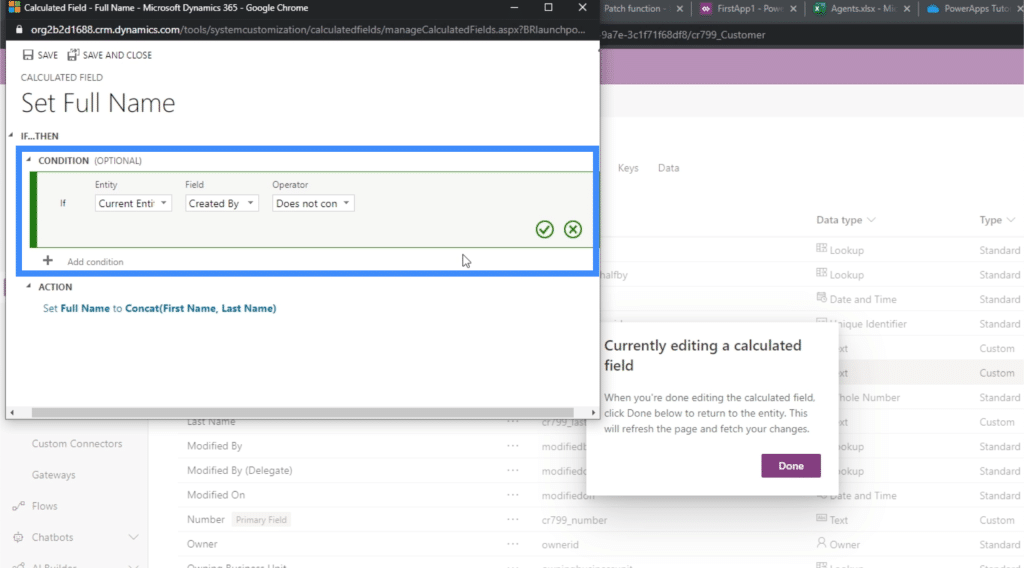
We can use condition in case we want to set different rules for this specific field. For example, we can set a condition that only allows a Full Name to be formed if both a First Name and Last Name exists. Or we can set the condition to set the Full Name as Mr. Last Name based on the gender, if a gender field exists.
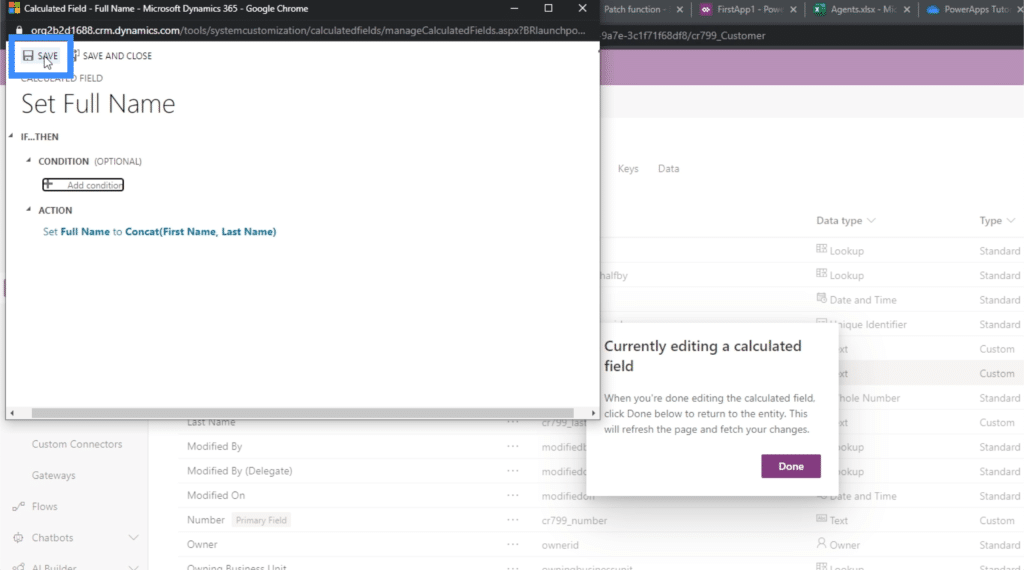
Once we’re satisfied with the calculation, we can click on Save here on the upper right.
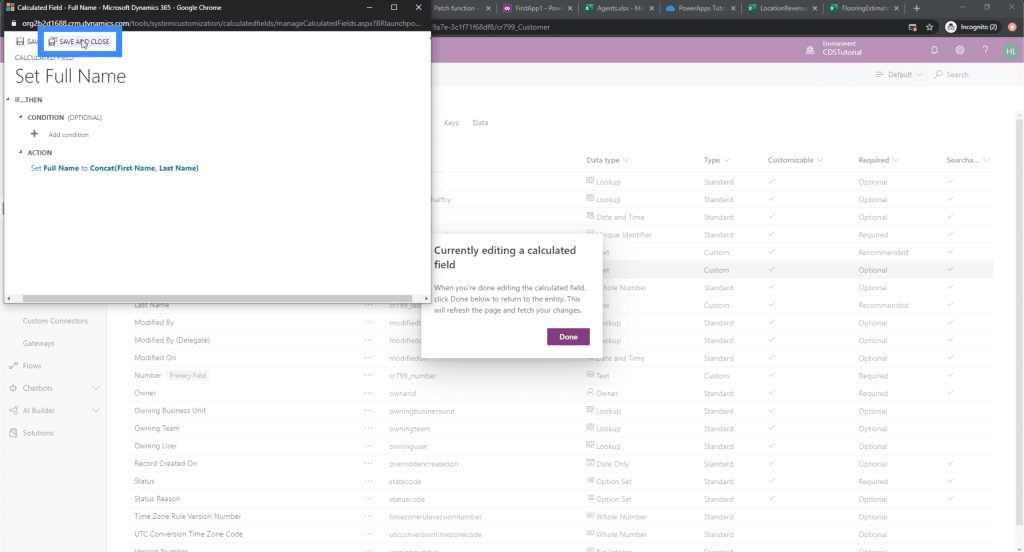
If we don’t really have anything left to do here, we can also click on Save and Close.
Adding Whole Numbers and Option Set Data
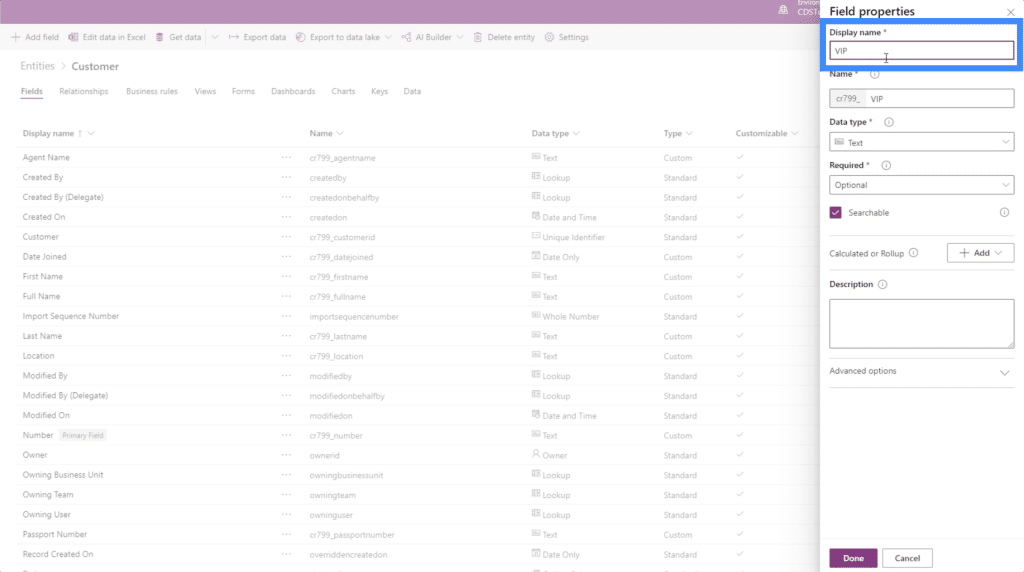
Next, let’s add the field for our VIP level. Let’s keep the name short and just call it VIP.
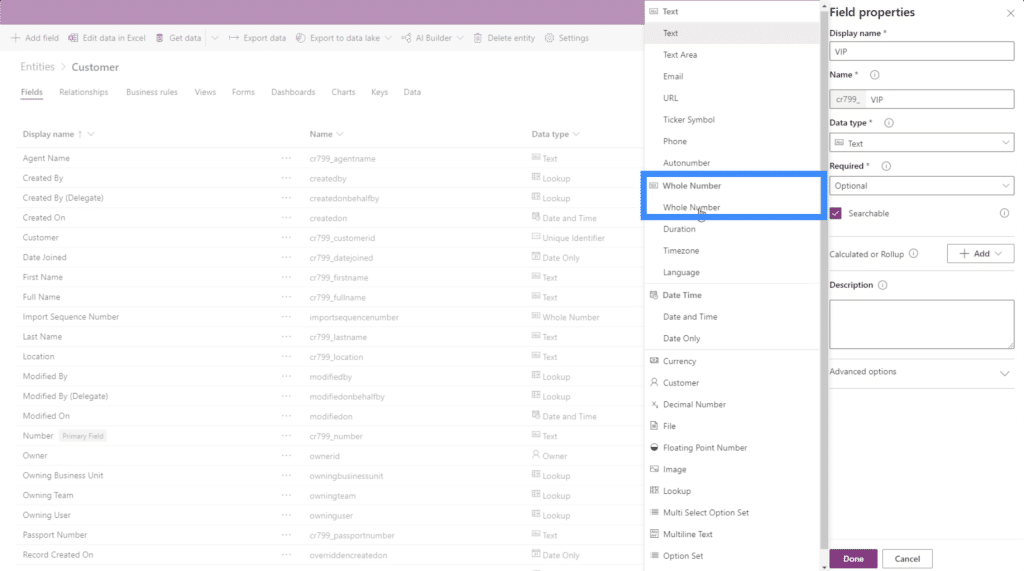
Since our VIP level goes from 1 to 5, let’s choose Whole Number under data type.
For this field, we can also set it as an Option Set.
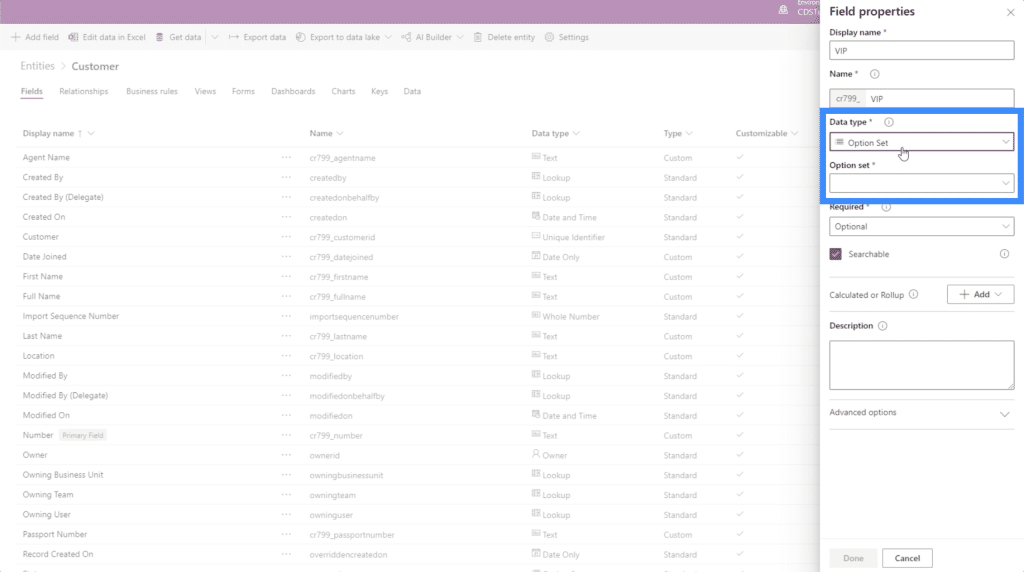
Option sets allow users to choose from different options that we can define instead of just settling for a regular whole number.
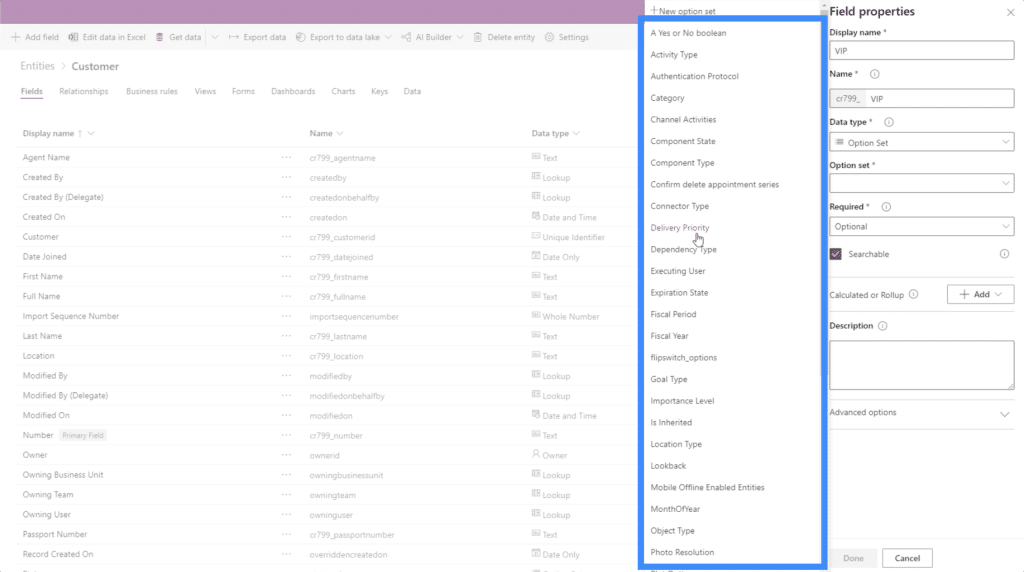
Importance Level, for example, could be applied to this field.
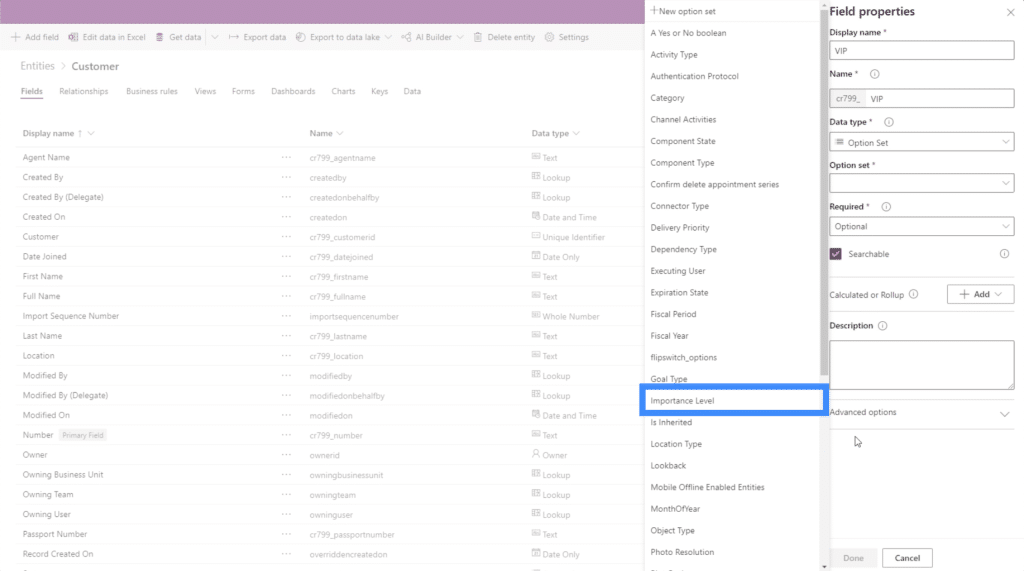
As we can see, there could be different types that are applicable to any given field. It all depends on the user’s specific needs.
Adding Date Fields
Let’s look at how we can add a date field next. Now that we have a First Name, a Last Name and a VIP Level, let’s add a field for Date Joined.
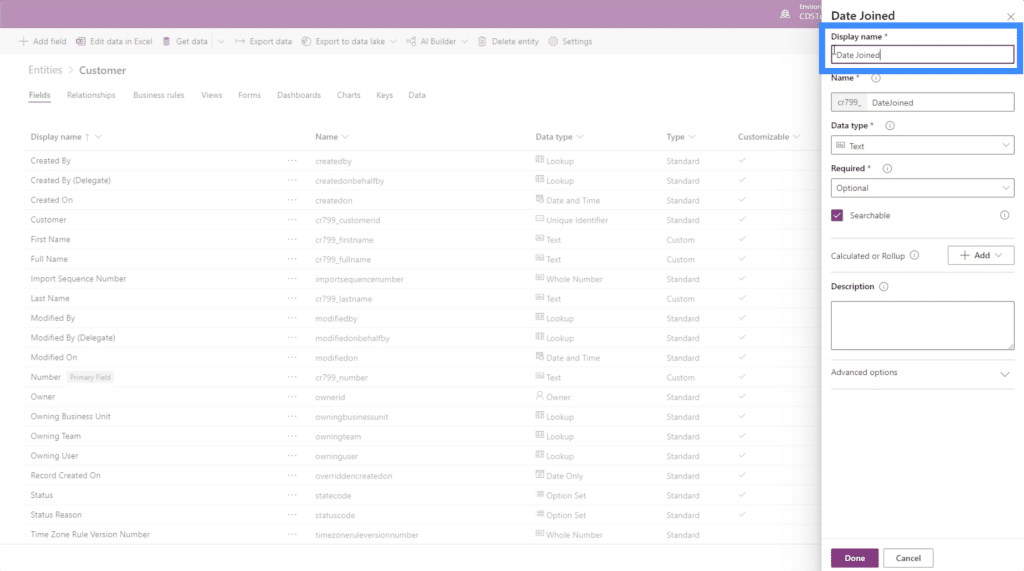
Again, the key here is knowing which specific data type to choose. In this case, we have different options that we can apply for the date.
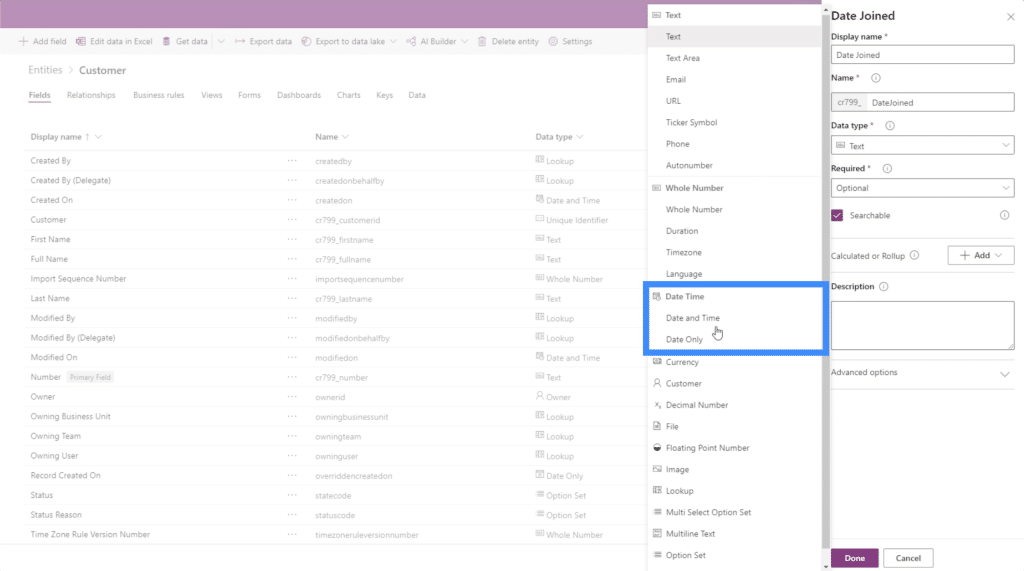
Since we don’t really need the time, we’re going to stick to Date Only.
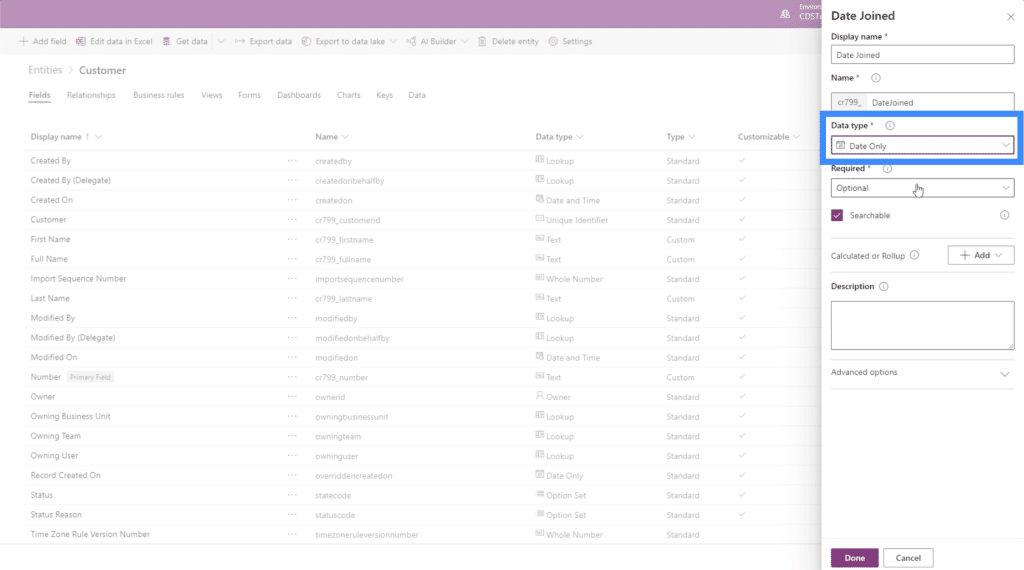
Just like that, we’ve added a new field, this time in the form of a Date. As you can see, the process gets faster and easier especially once you figure out what data types to apply.
Other Fields For PowerApps Entities
Looking into our data source, we can see that we only have a few other fields to add. We’re just missing the fields for Location, Passport Number and Agent Name.
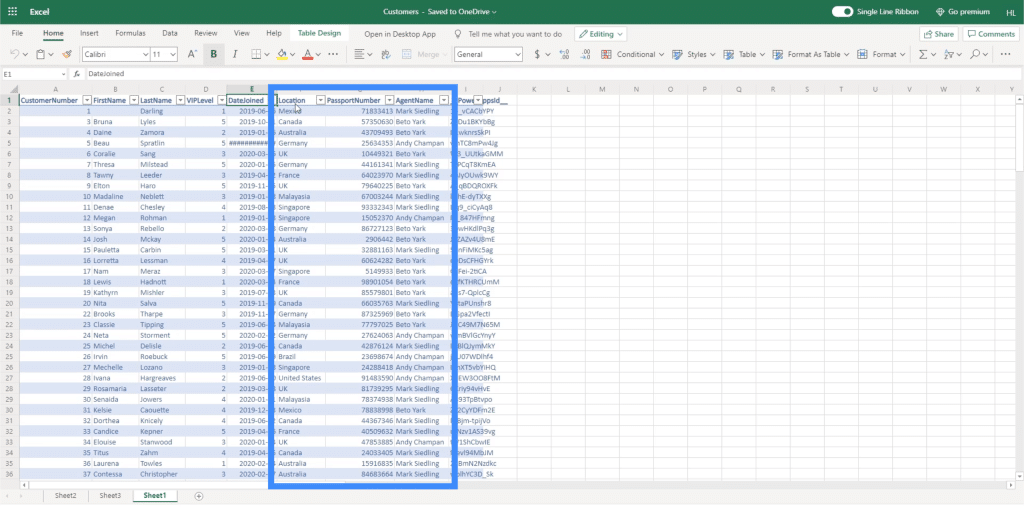
The best way to do Location would be to add the specific locations and have the user pick them from a list. But if we want to make things easier on our end, we can also set this to text and just have the end user type in the information.
As for the Passport Number, we can also set the data type as a whole number, although passport numbers often have multiple digits so we’re expecting huge numbers here. Since the passport number won’t really be used in calculations, we can also set that as a text field.
As for the Agent Name, we’ll set that as a text field just like our First Name and Last Name.
Other field types that we can use include currencies, image, files, and a lot more.
***** Related Links *****
Power Apps Introduction: Definition, Features, Functions And Importance
Power Apps Environments: Setting Up The App Elements Properly
PowerApps Functions and Formulas | An Introduction
Conclusion
Fields are really easy to add when you’re working with PowerApps entities. As long as you know what specific data type to choose, you can create all the fields that you need to support the entity that you’re working on.
As you’ve seen in the example we worked with today, choosing data types also leaves a lot of flexibility especially if the field you’re adding isn’t particular with the format. This makes it easier to complete the fields you need.
If you want to explore other elements that you can add to your PowerApps entities aside from fields, you can check out the different entities you can work with here.
All the best,
Henry


