
In this tutorial, we’re going to talk about how to upload and view PowerApps data when working with entities.
In a previous tutorial, we added fields into an entity called Customer. These fields correspond to the data that’s available in our data source.

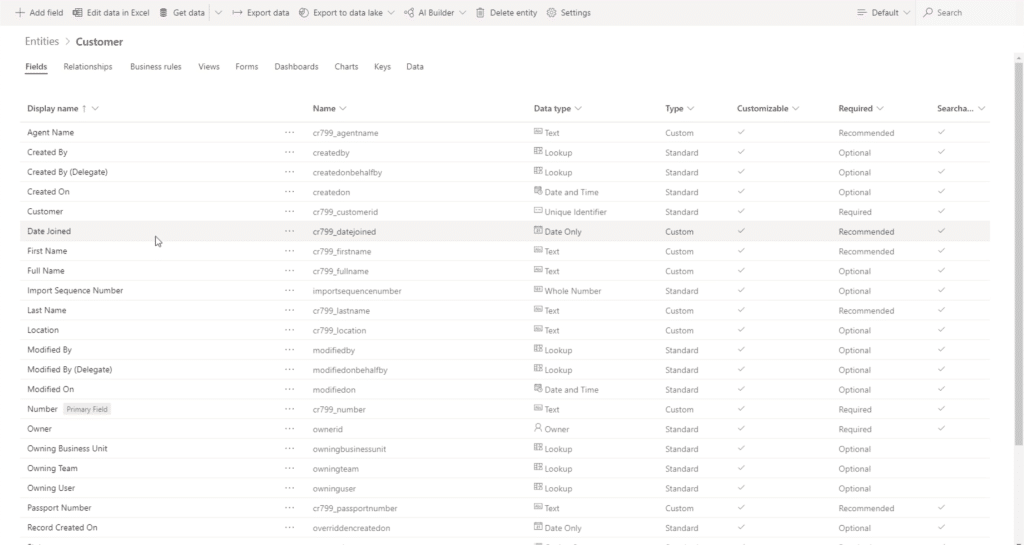
Now that we have these fields available, let’s take a look at how we can fill up these fields with the corresponding data.
Uploading PowerApps Data In Fields
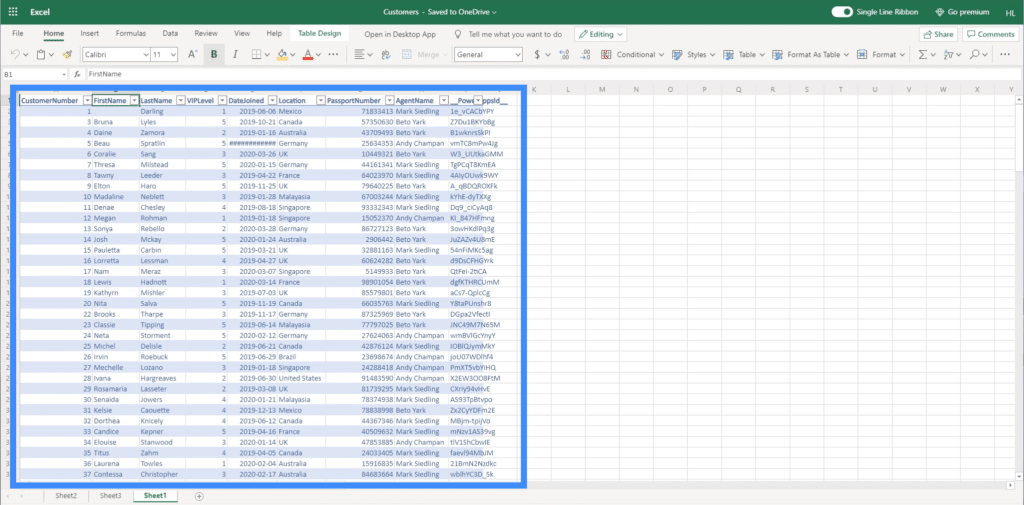
For this example, we’re going to use the same data source that we also used in previous PowerApps tutorials.
Let’s click on “Get data” at the top menu, then choose “Get data from Excel” since we’re working with an Excel file.
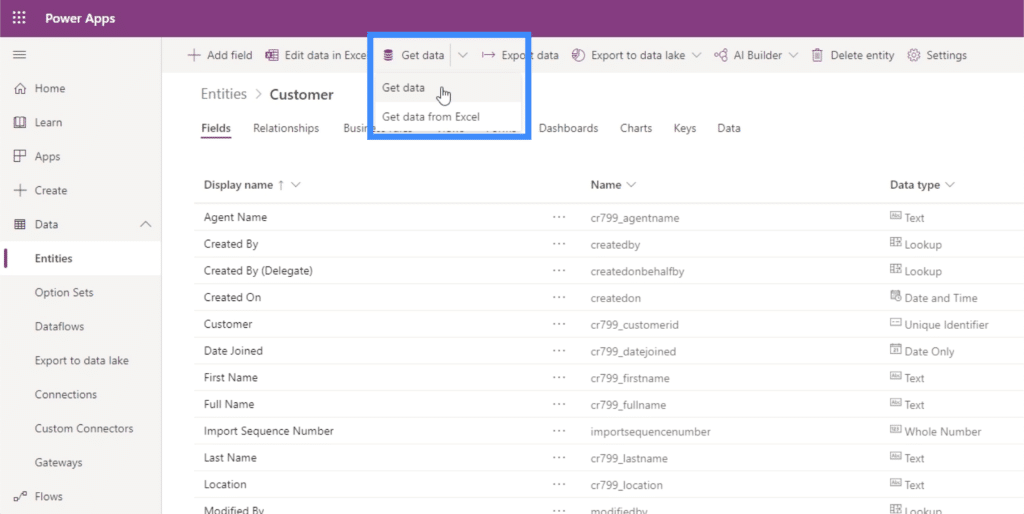
Once the page loads, it will ask us to upload the file we’ll be using as a data source.
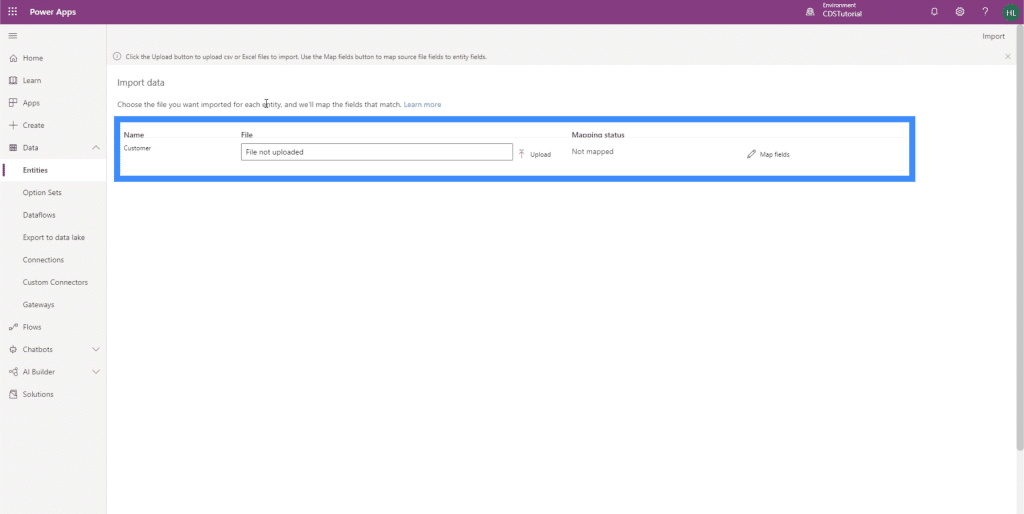
So we just need to click on Upload and a window opens up, allowing us to choose the right file from our directory.
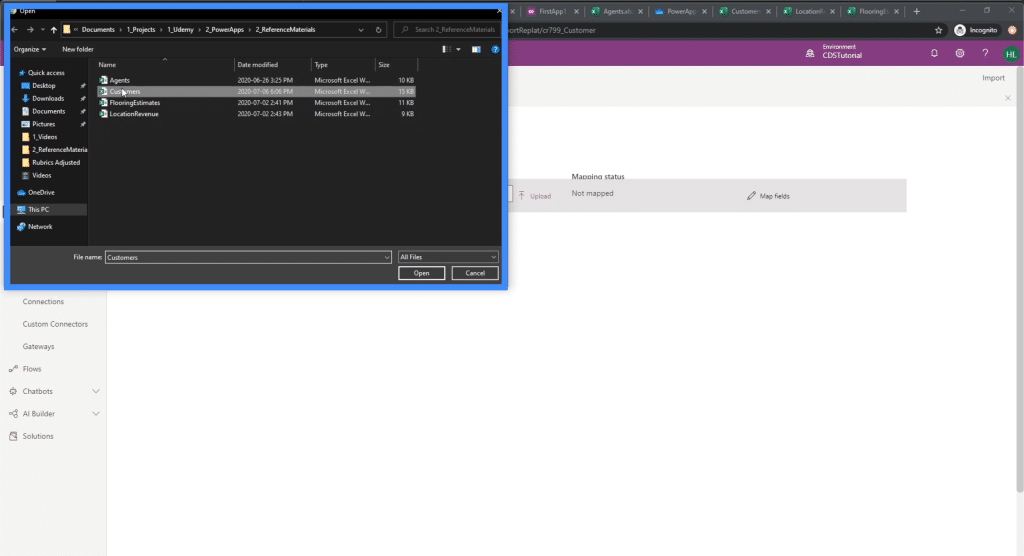
Note that although we’re using an Excel file here, this doesn’t necessarily have to be the case in a production environment. Most of the time, you’ll be doing this through a SQL database, a Google sheet, or anything similar.

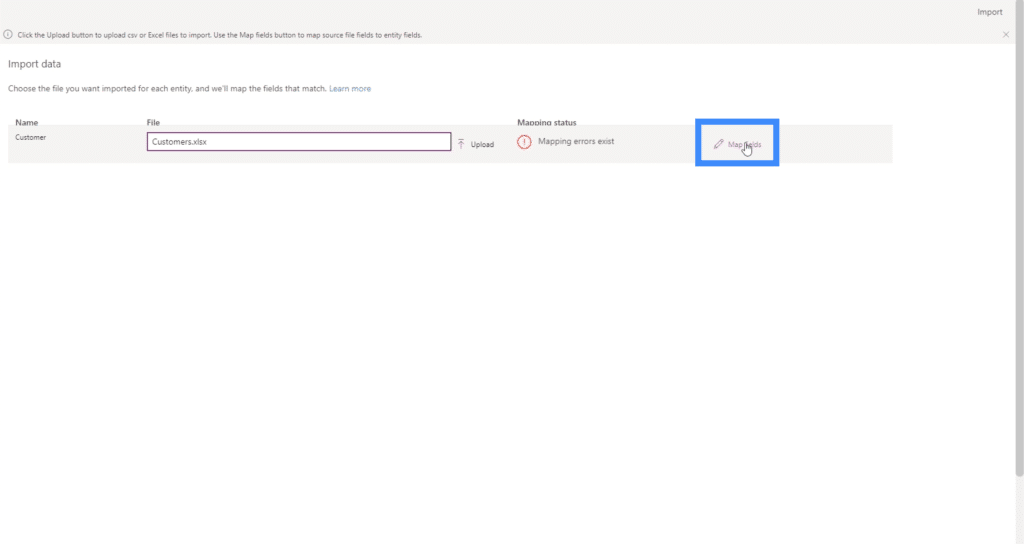
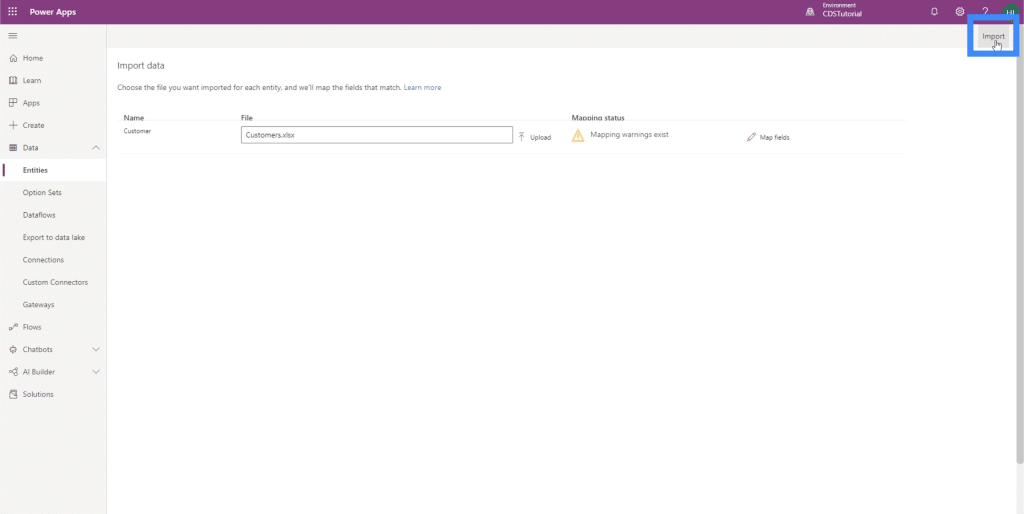
Once we’ve chosen the correct file to upload, it’s going to automatically try and map out the fields found in the entity. In this case, it shows us that there are mapping errors.
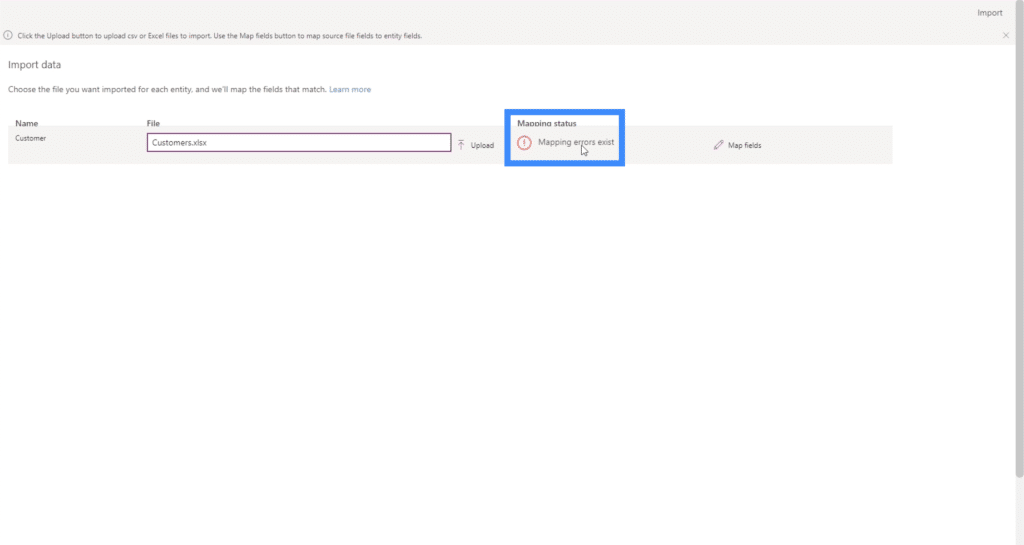
To find out where those errors are coming from, let’s click on “Map fields”.
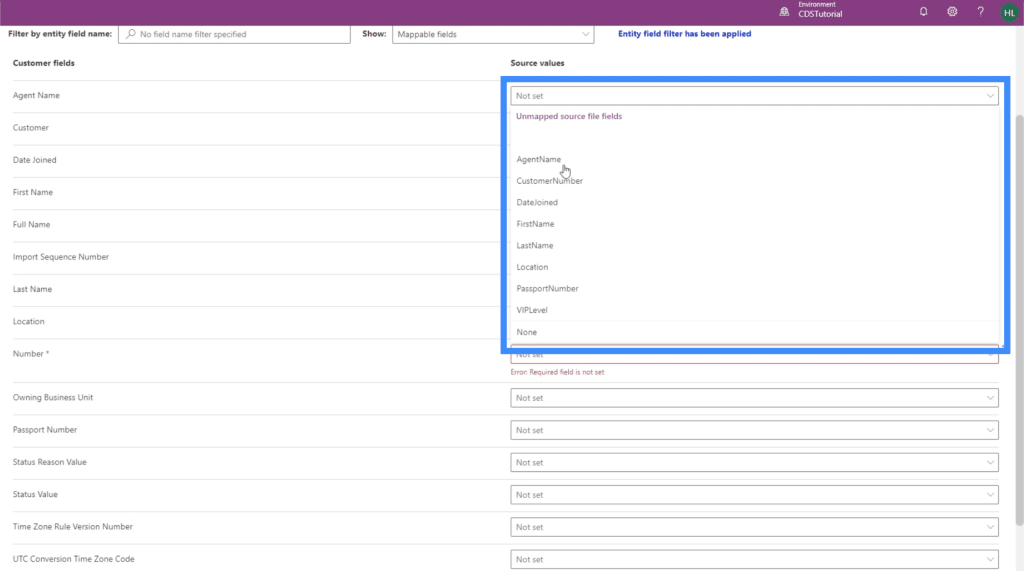
These are the field mappings for the Customer entity. On the left side, we have all the fields that exist within that entity.
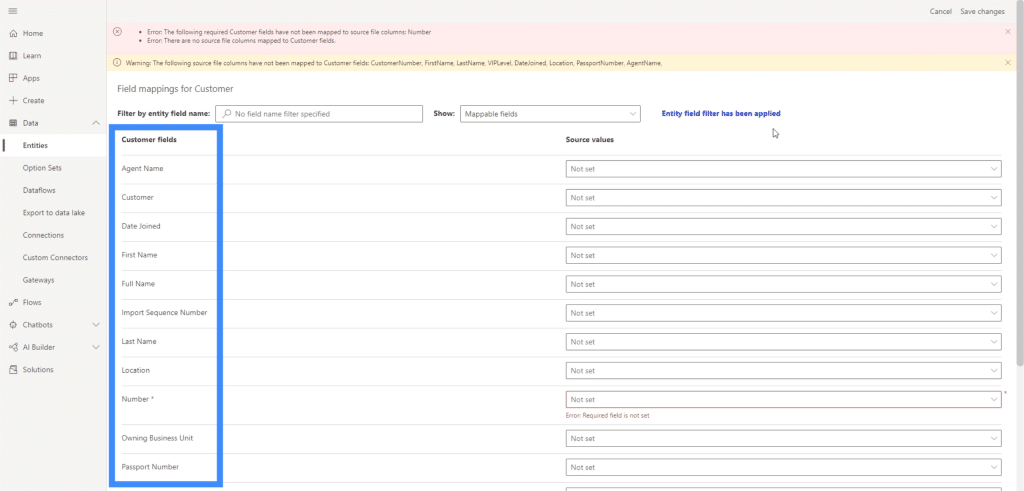
On the right, we can map each field to a column in the Excel file.
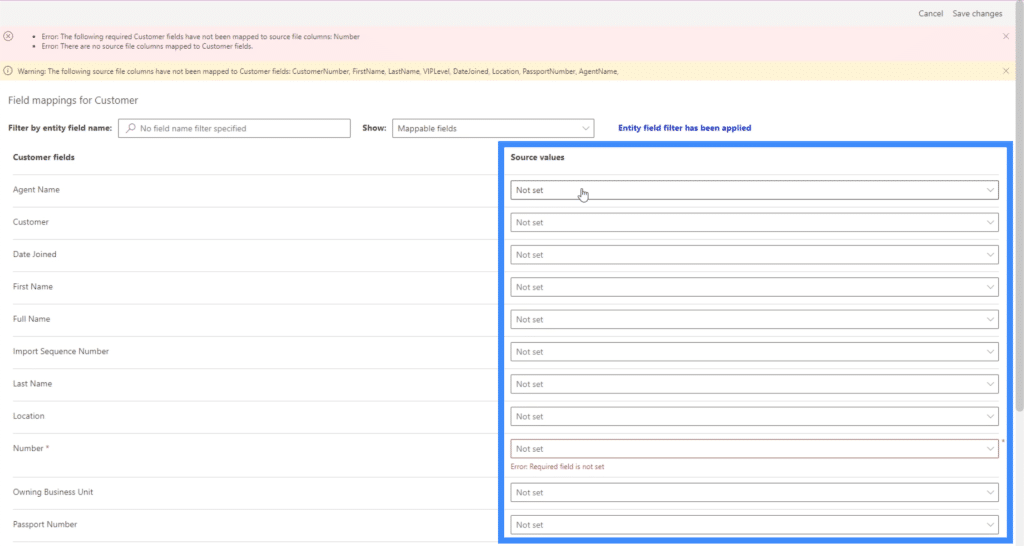
At the moment, we’re only seeing the mappable fields.
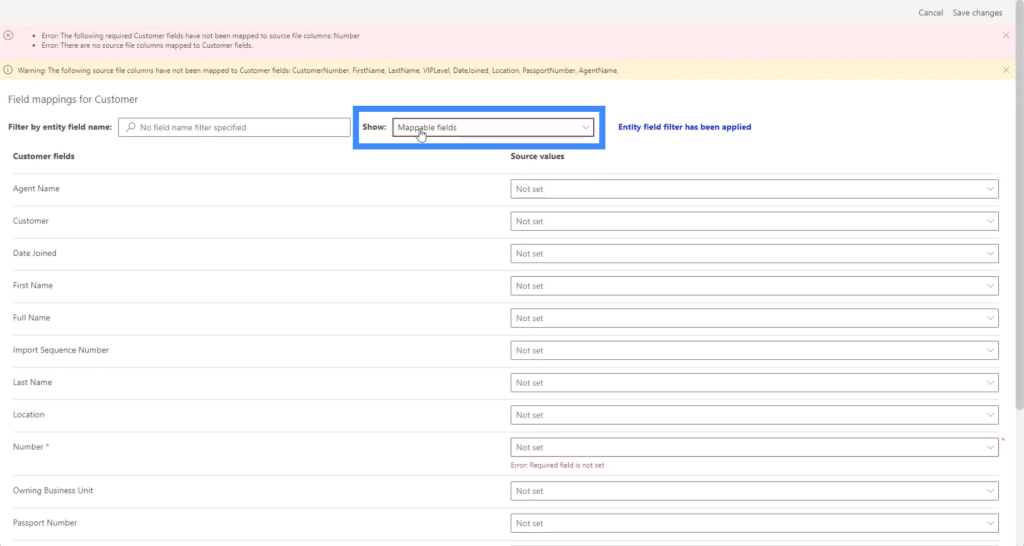
We can actually change this if we only want to map specific fields on the list.
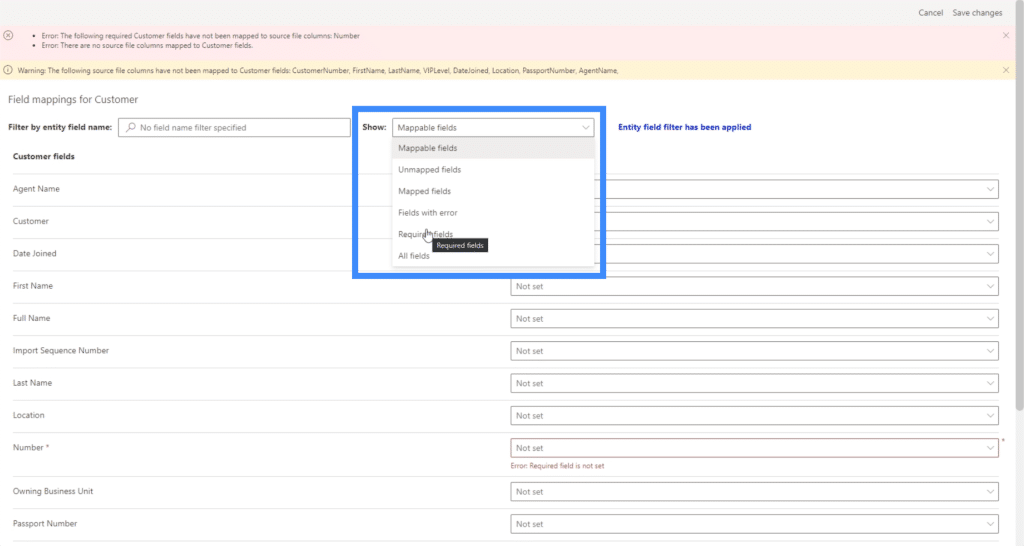
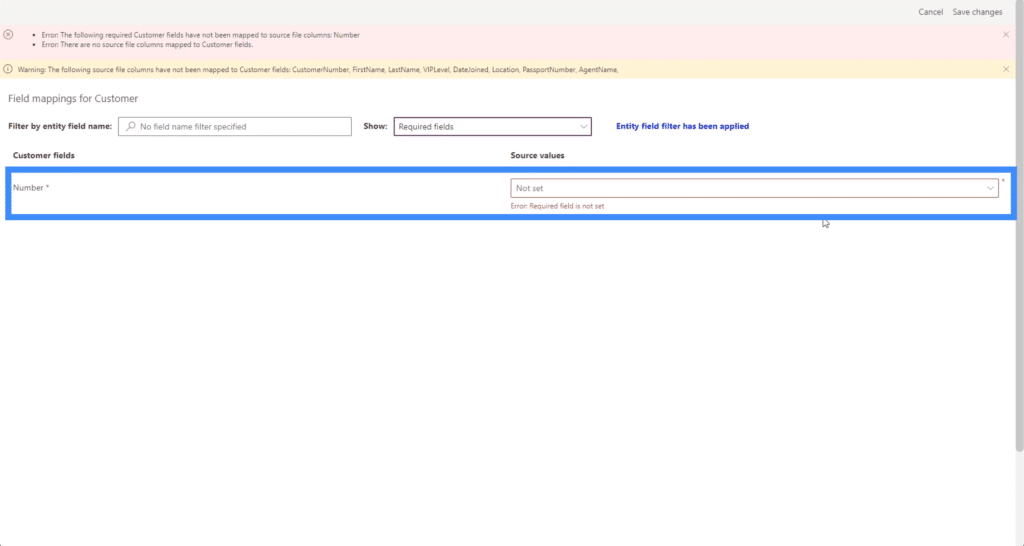
For example, we could only choose to map required fields. In this case, it shows that only Number is required.
For now, let’s do mappable fields and map each of the fields we need manually.
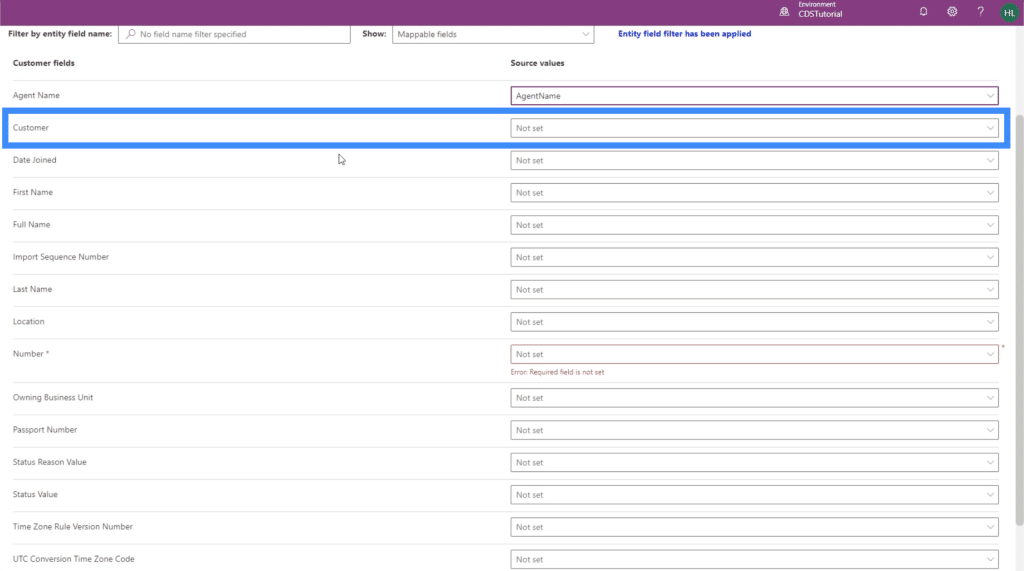
If we click on the dropdown beside each field, we’ll see the columns from our data source. All we need to do is to choose the right column that we want to source the field data from. For Agent Name, for example, we’re going to choose AgentName.
The second field here called Customer is not really a field we’re using and is not connected to any column in our data source. So we’ll leave this as is.
Let’s map each of the other fields that we need here, like Date Joined, First Name, Last Name, Location, Number, Passport Number and VIP Level.
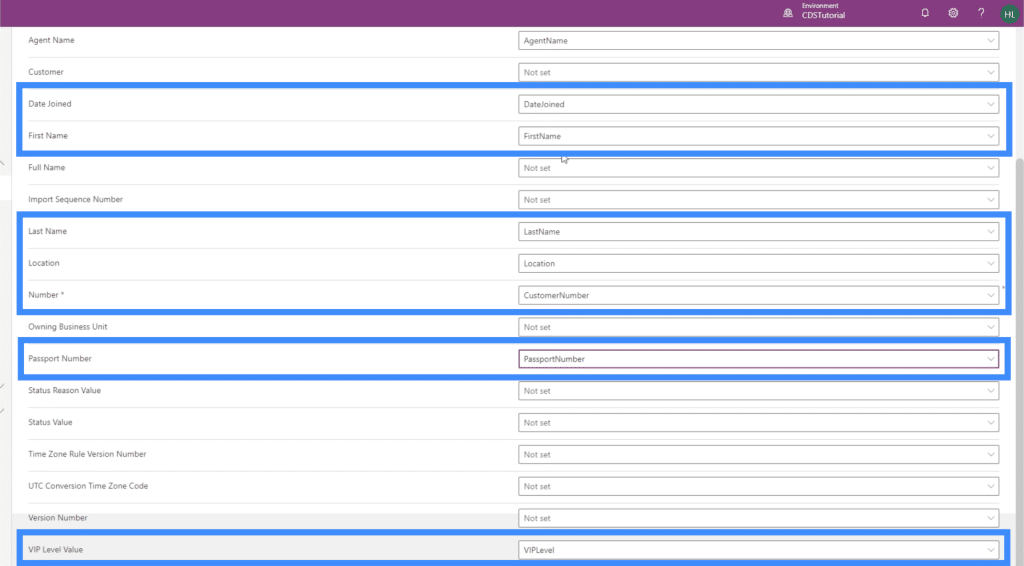
Although we do have a Full Name field in our entity, this is a calculated field. This means that it will get its data from other existing fields, so we’re going to leave this blank as well.
Let’s click save changes on the upper right corner.
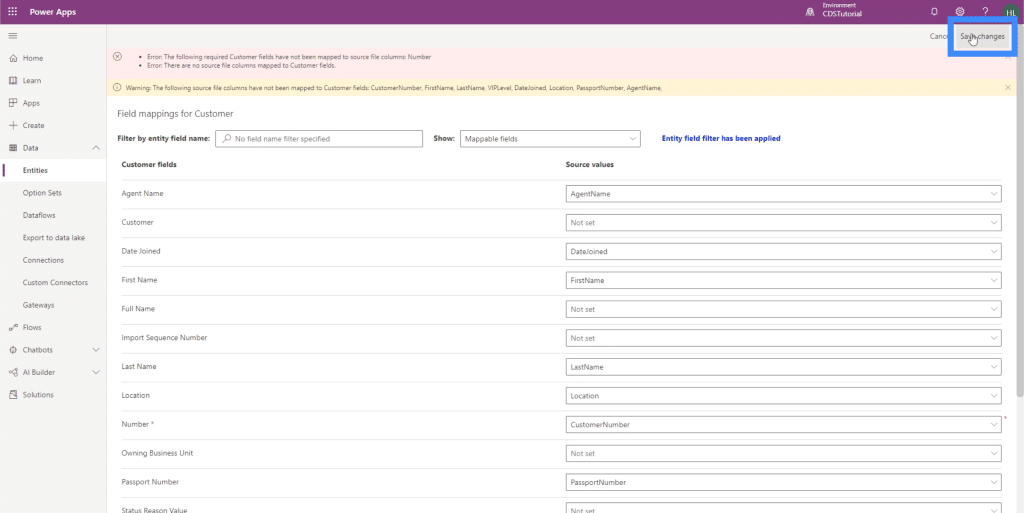
This will lead us back to the import data page. From here, we just need to click on the Import button on the top right. This might take some time, depending on the amount of data we’re working with.
Viewing The Uploaded PowerApps Data
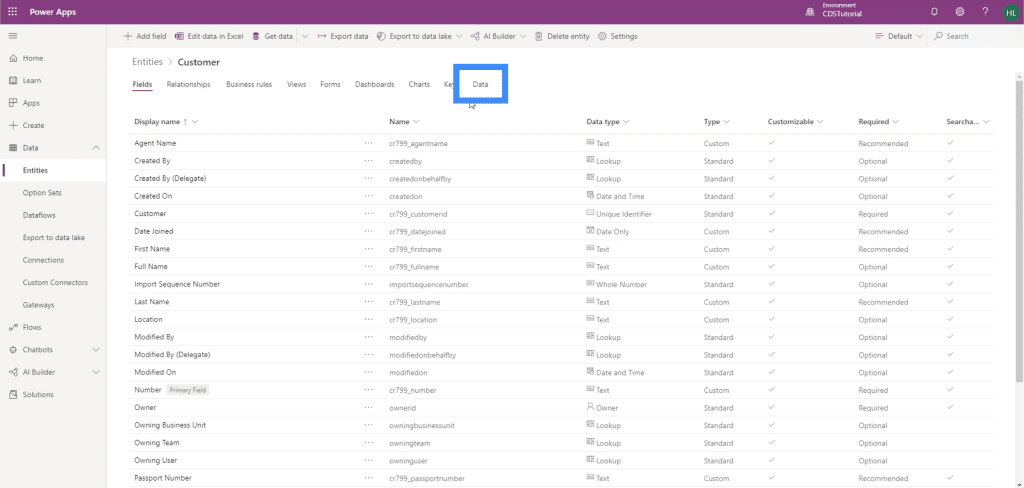
Now that our data is uploaded, we can view how it all looks like. From the Customer entity, let’s click on the Data tab.

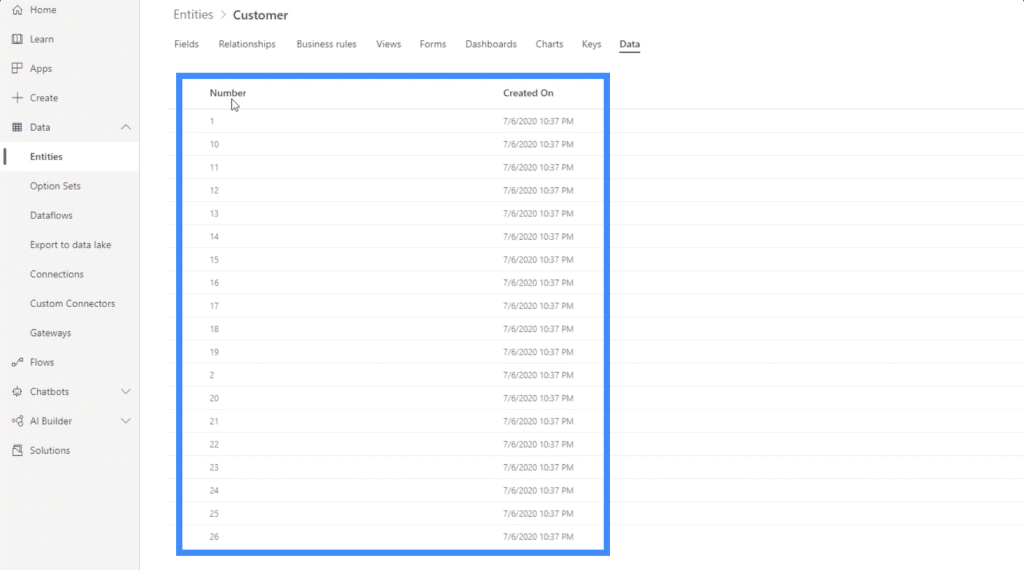
Right now, we can only see two fields — Number and Created On.
If we check on the upper right corner, it shows that we are currently viewing Active Customers.
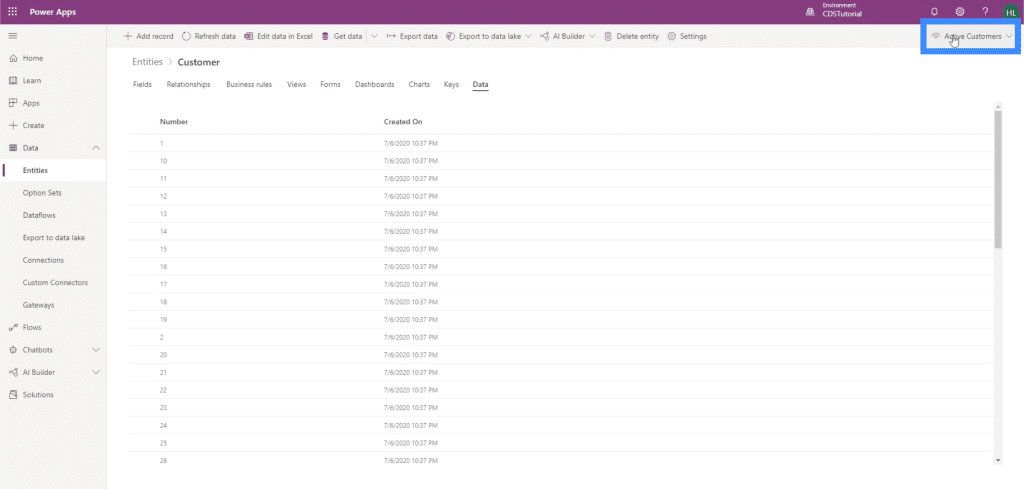
So let’s change that into All fields.
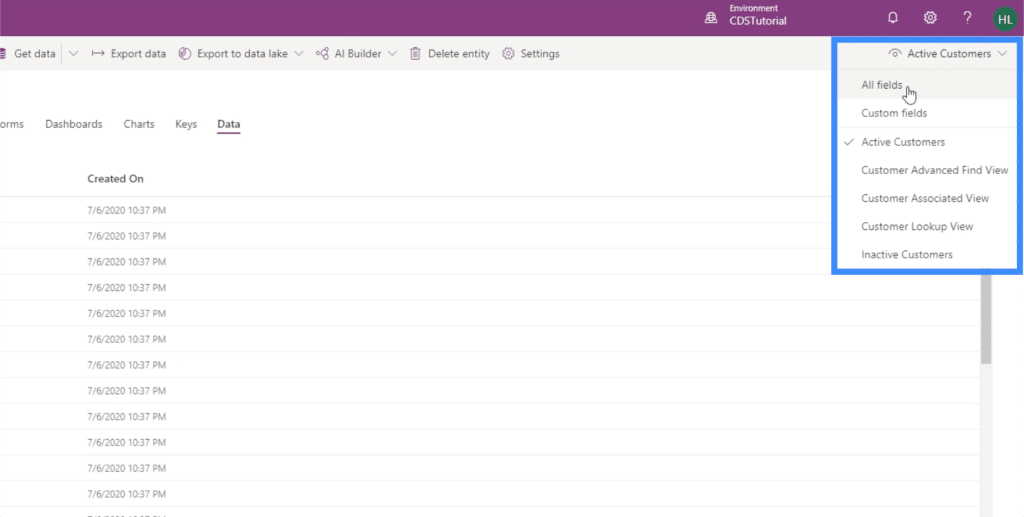
Now, we can see all of the fields that we’ve added as well as the fields that PowerApps has added automatically.
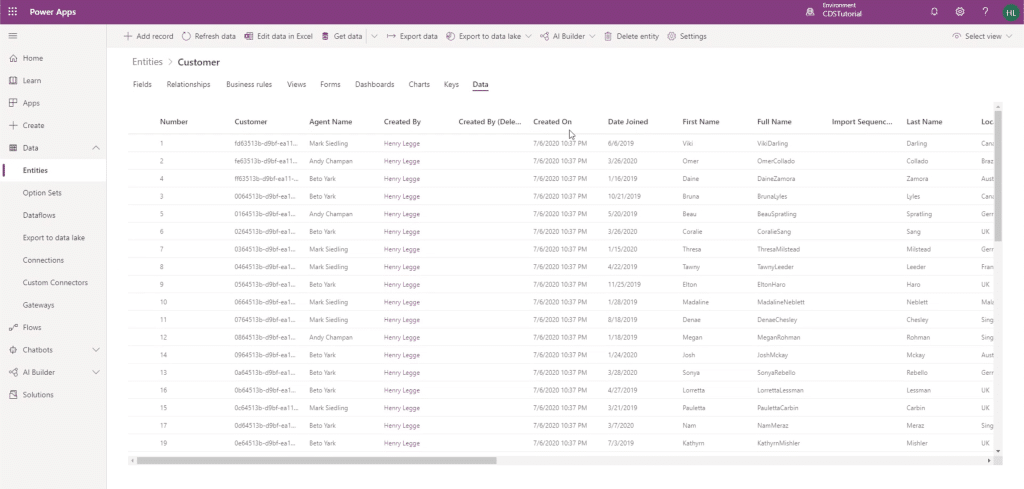
We can see Agent Name, Date Joined, Full Name, Last Name, Location, and more.
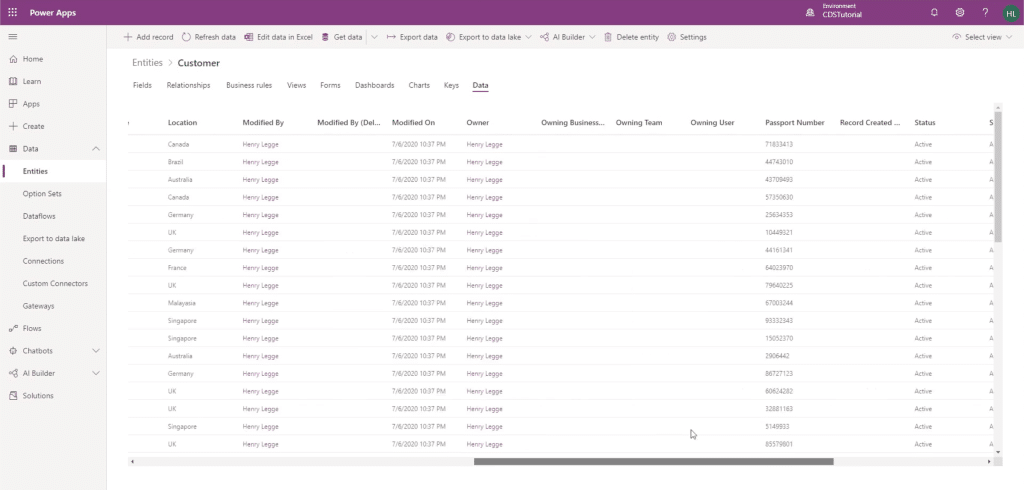
This also includes Full Name, the calculated field that we mentioned earlier.
We worked on this calculated field in a previous tutorial. Basically, we set the formula to combine the data from the First Name and the Last Name. It does show that it did the calculation correctly, but we could make this better by adding a space in between.
Editing Existing Fields
Even if we’ve already saved our fields, it’s still possible to edit them. So let’s go back to the Fields to edit the calculation behind Full Name.
We’re going to click on Full Name to open up its settings.
Once the settings are open, we can change any of the settings on the right pane. Since we want to make changes to the calculation, let’s click on “Open calculation”.
Although calculated fields allow us to create IF statements, we don’t really need a condition here since we want the action to happen every single time.
For now, we just need to add a space here between the First Name and Last Name.
So we’ll add that string between those two fields.
Then, we’re going to Save and Close.
Once we refresh the data, we’ll see that the change that we made has already been applied. We can now see a space between the first and last names under the Full Name column.
***** Related Links *****
Power Apps Introduction: Definition, Features, Functions And Importance
Power Apps Environments: Setting Up The App Elements Properly
PowerApps Functions and Formulas | An Introduction
Conclusion
Uploading PowerApps data into the fields within our entity has proven to be an easy task. That’s one of the best things about PowerApps. Because it’s built for ease of use even for those who have limited experience in developing apps, every single process is highly intuitive and easy to follow.
Although there are more advanced processes that we can do within PowerApps, following our series of tutorials about this topic could help make things less complicated for you.
All the best,
Henry


