
In this tutorial, we’ll explore more options with PowerApps data cards, forms, detailed screens, and how to reference their properties and values.
PowerApps data cards are the building blocks of any Power Apps business application.
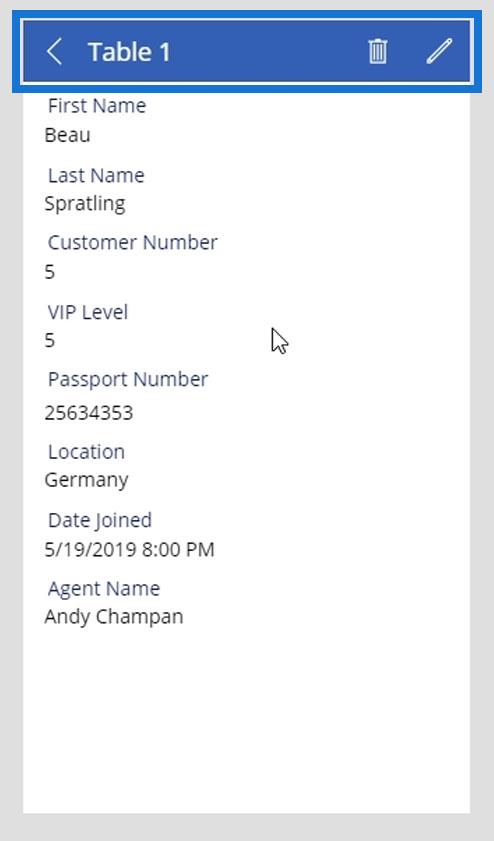
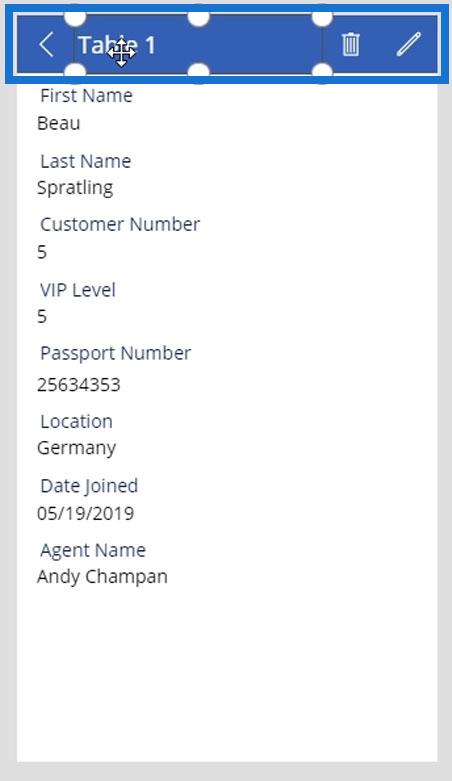
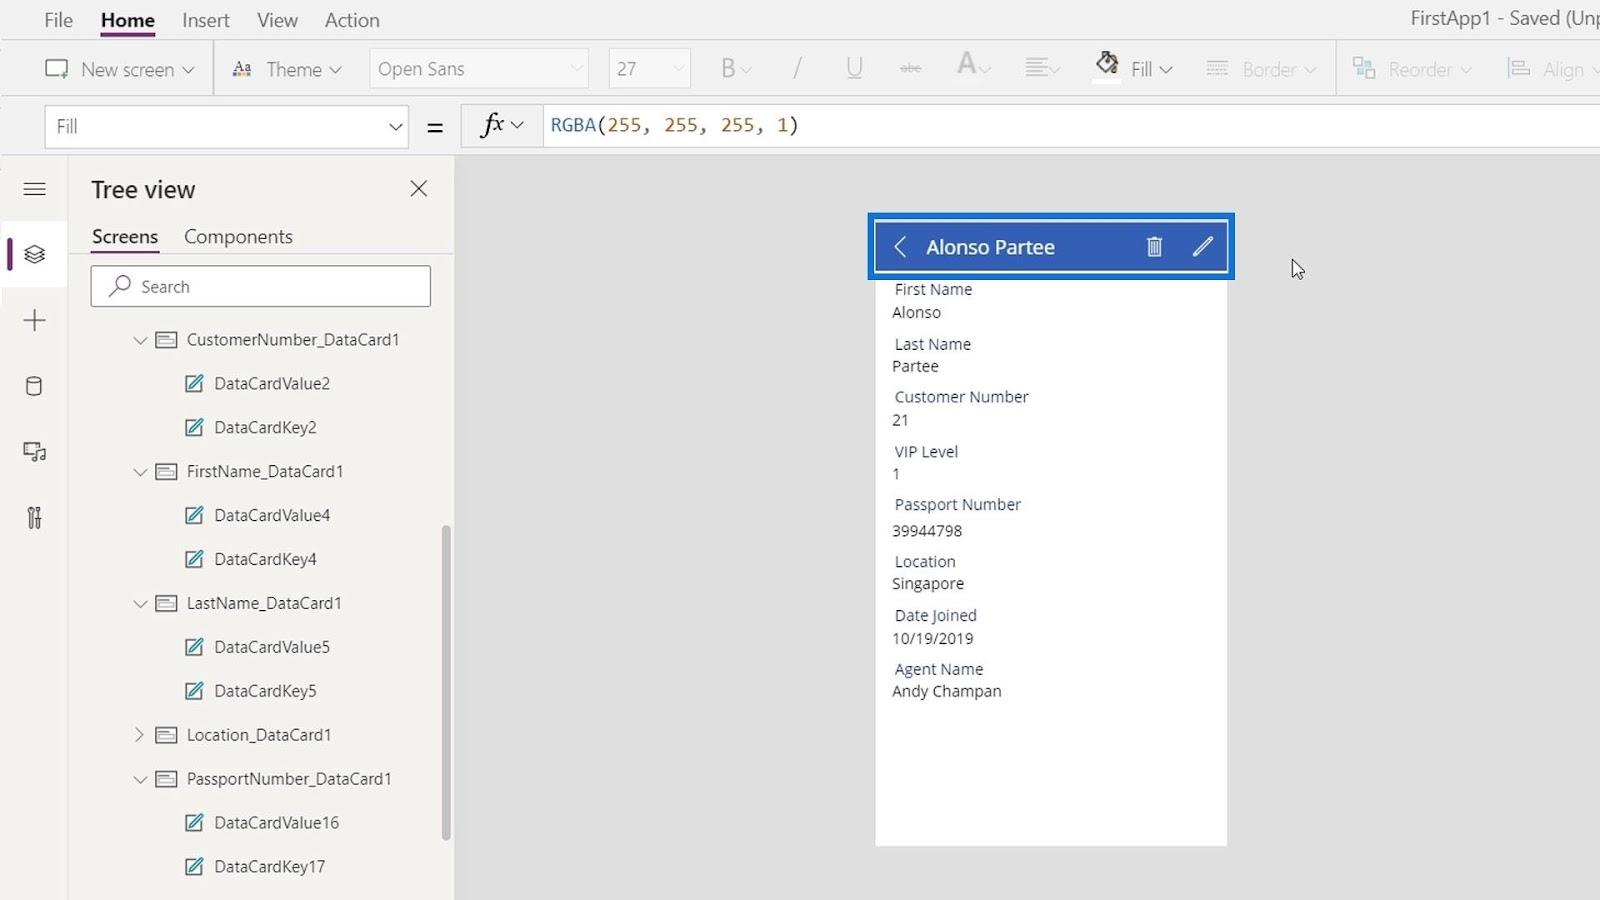
The cards themselves contain controls for displaying and editing fields. Here’s a sample detail screen that contains column names with proper spaces. This might look fine for now.

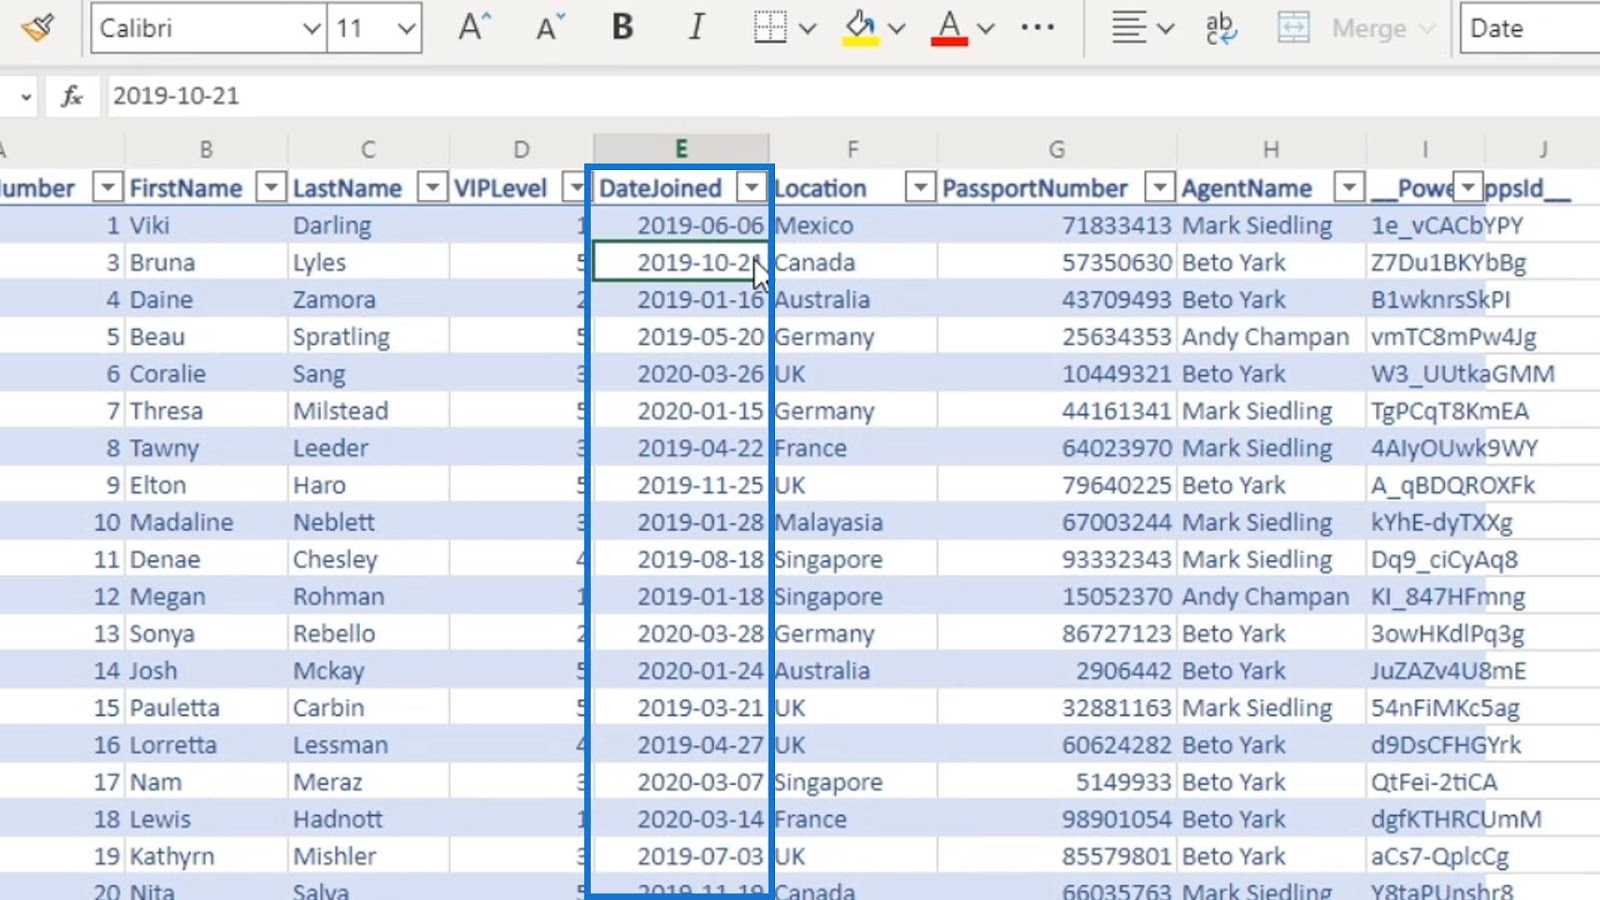
However, there are still a few things we can change. The first one is the format of the date. We need to remove the time details as it wasn’t specified in our label.


Also, our date column doesn’t include the time details.
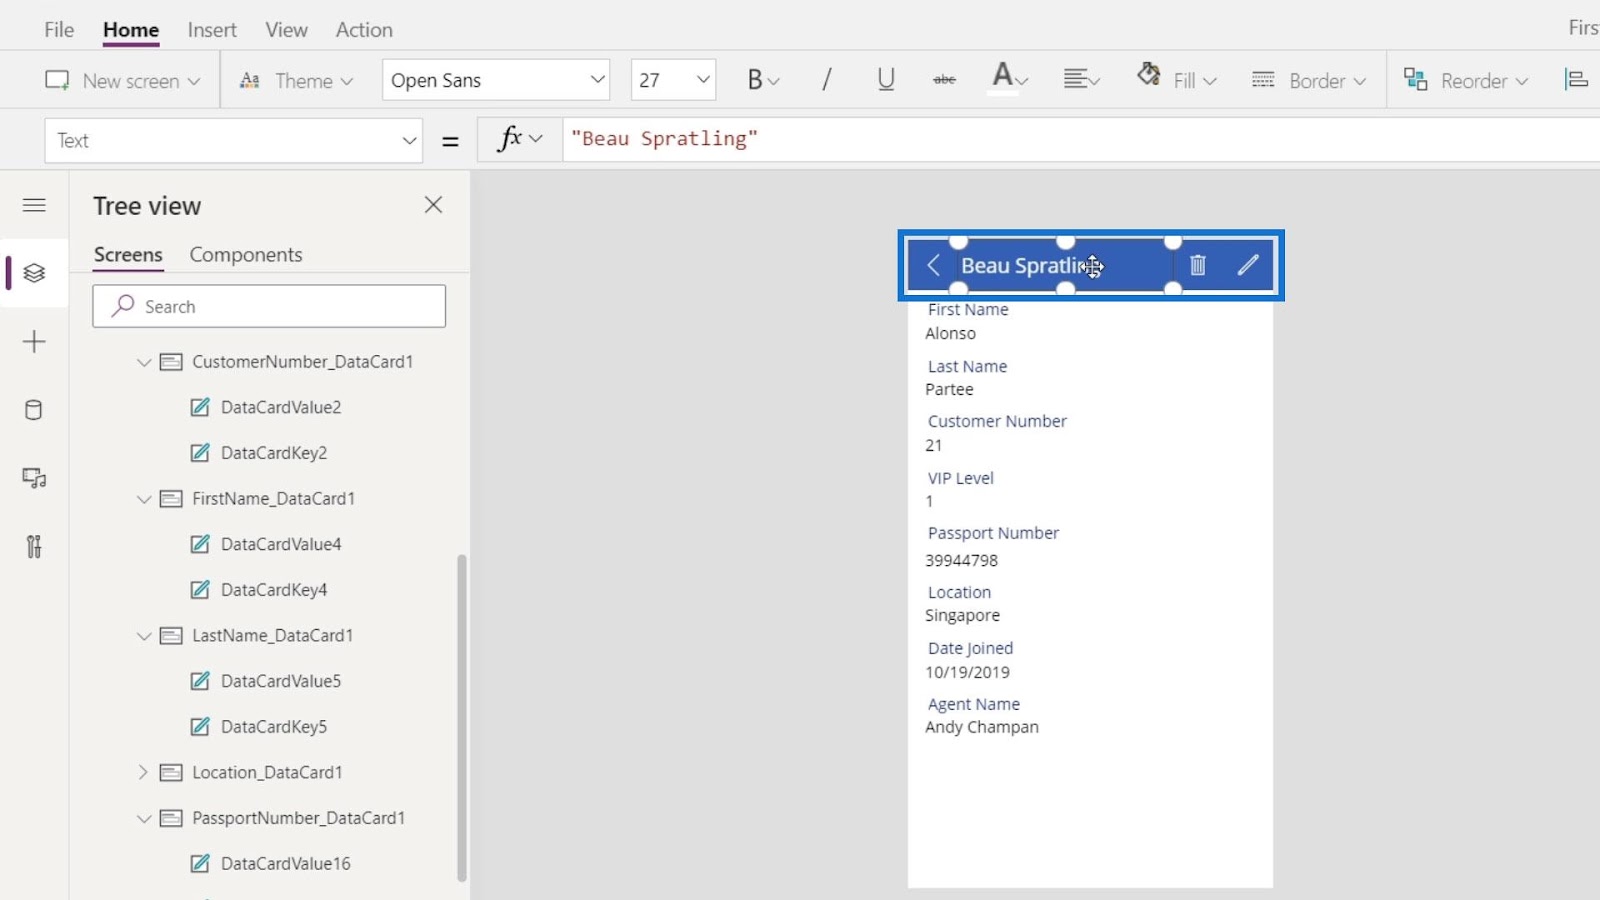
We also want to change the screen title to the name of the person based on the record we select. In this example, we’re in Beau Spratling’s record. Therefore, the title of this screen should be Beau Spratling.
Those are the things that we’re going to accomplish in this tutorial.
Understanding How PowerApps Data Card Values Fetch Records
First, let’s understand how the values from PowerApps data cards get the records from our columns. Click the data value of the DateJoined card.
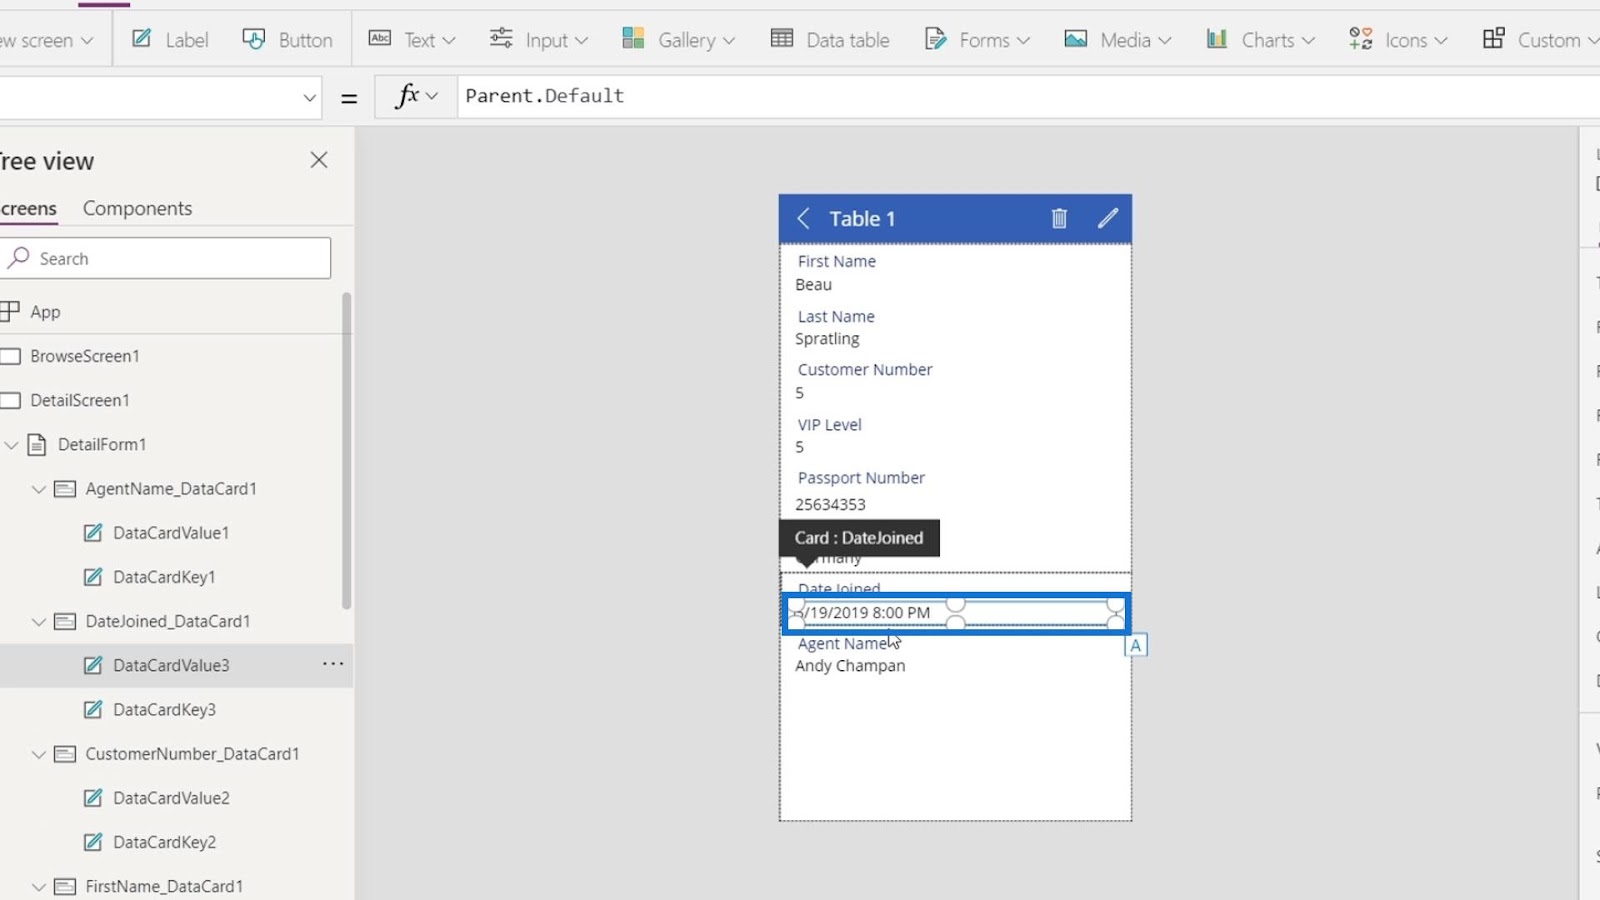
Then, we’ll see that the Text property of this selected element is equal to Parent.Default. Therefore, it’s equal to the default property of the parent’s element.

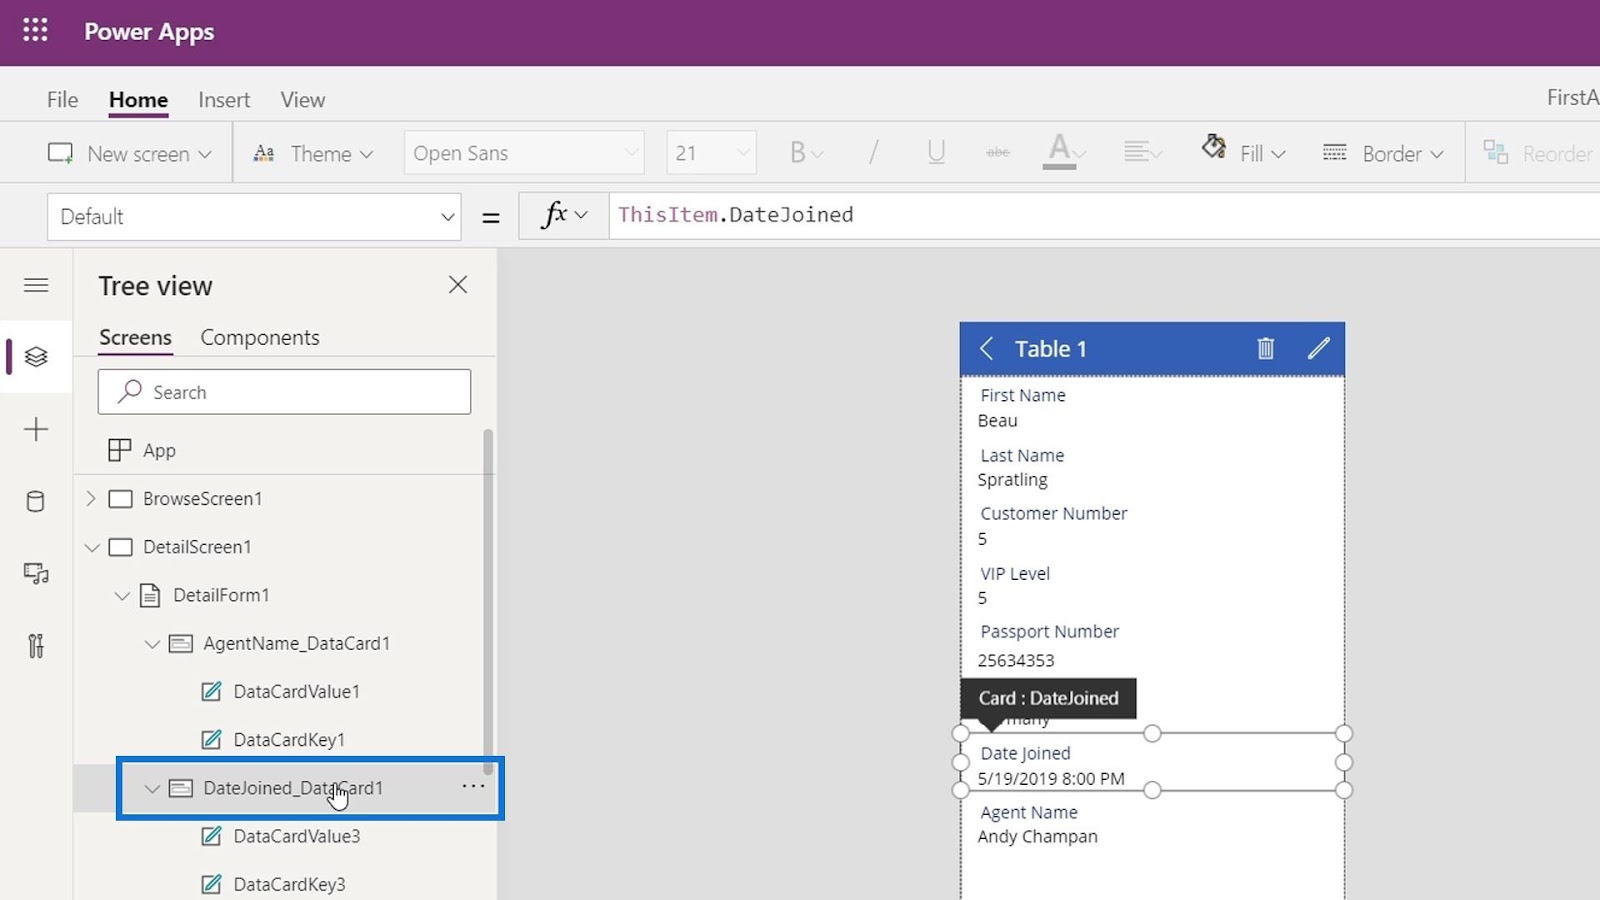
Let’s click the parent element which is the entire data card.

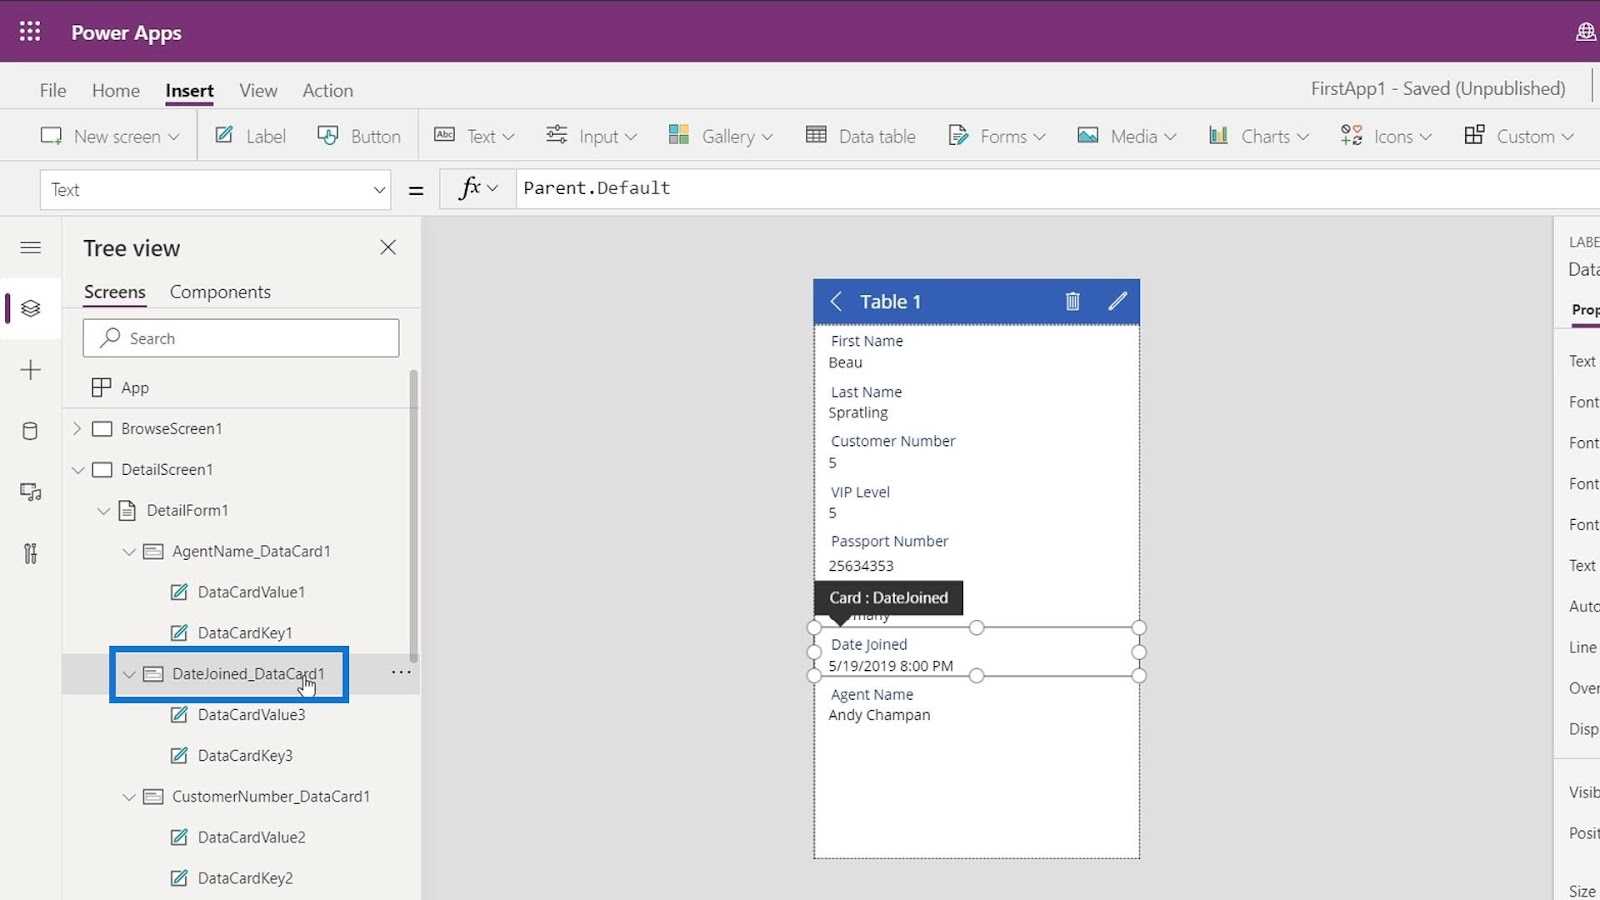
Then, we’ll see that the Default property is equal to ThisItem.DateJoined.
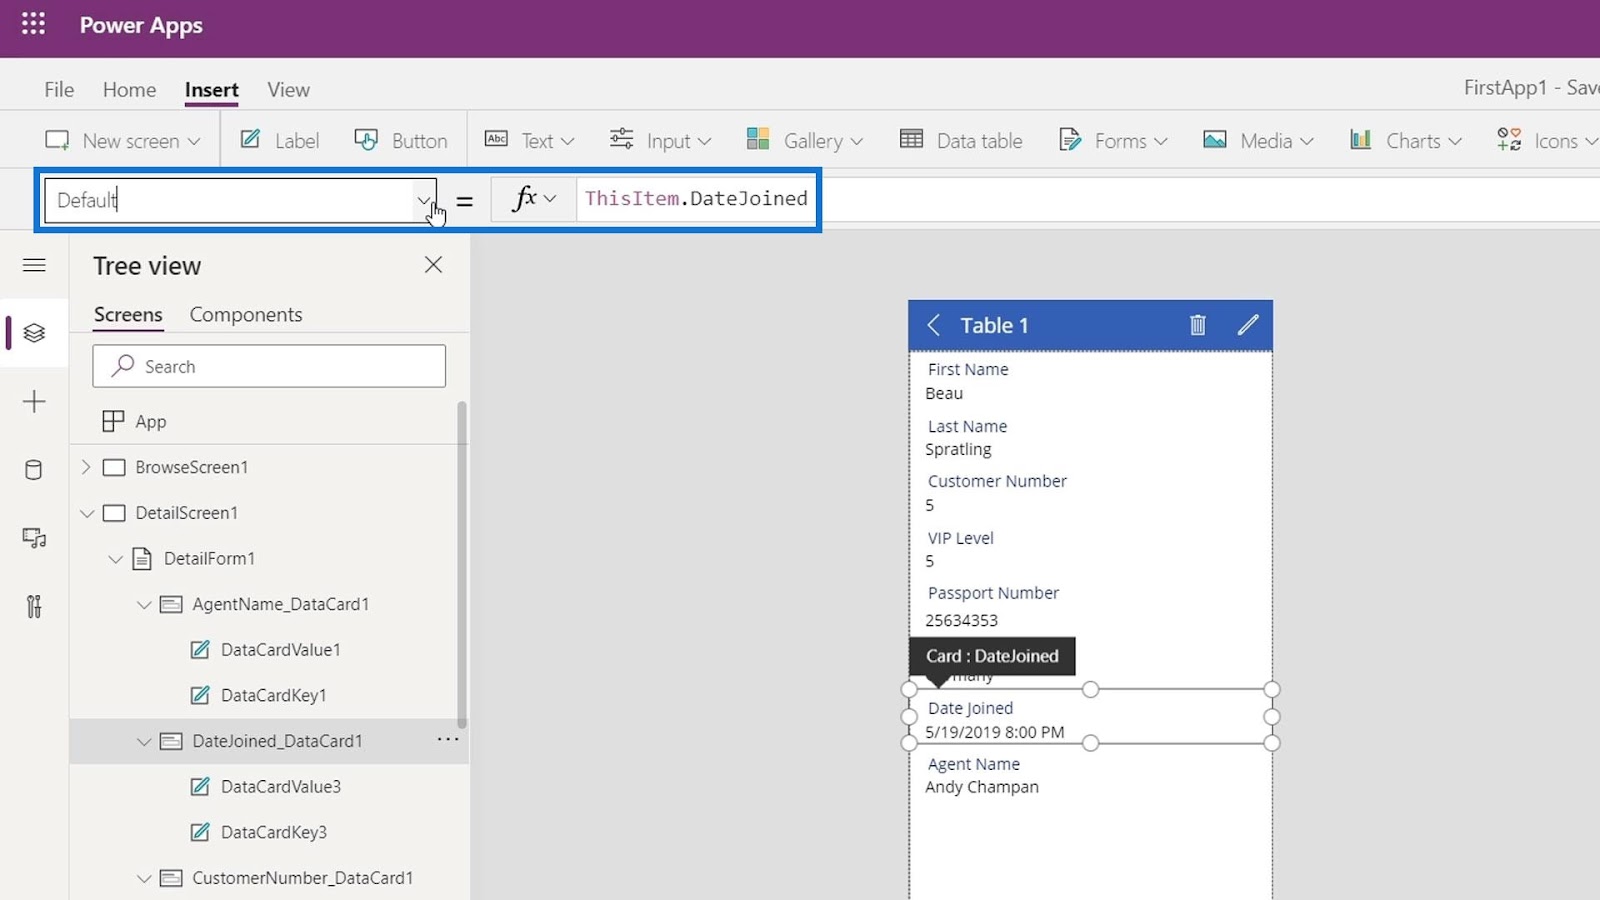
This is fetching the data under the DateJoined column based on the selected record.
Formatting The Values Of PowerApps Data Cards
There are two ways to change the format of any data value. The first way is by editing the text from the ribbons where we can do very simple things like changing the alignment.

We can also change some properties within the Properties panel.

The second way is to use formatting functions. There are a lot of available formatting functions, but the one that’s frequently used is called Text. This is used in Excel as well.
Remember that whatever we can do with Excel or in PowerPoint, we can also do them in PowerApps. If we want to format a date in Excel, we’ll use the Text function.
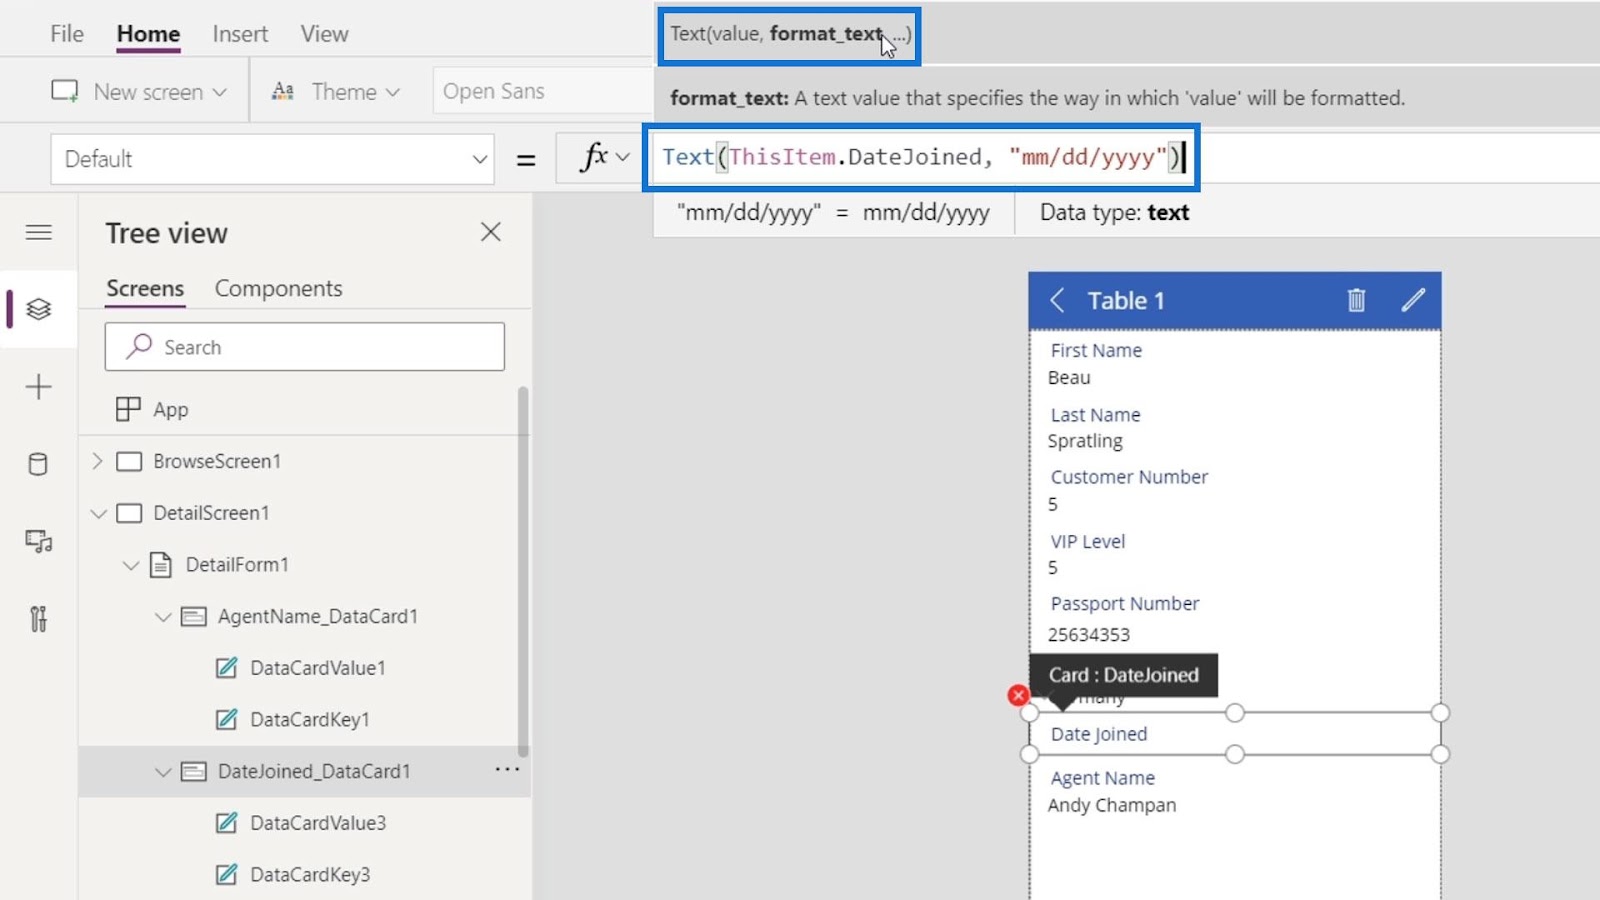
Hence, we can also use the Text function or formula to format the data in PowerApps Data Cards. Let’s now use the Text Function. Click on the parent element of the DateJoined card.
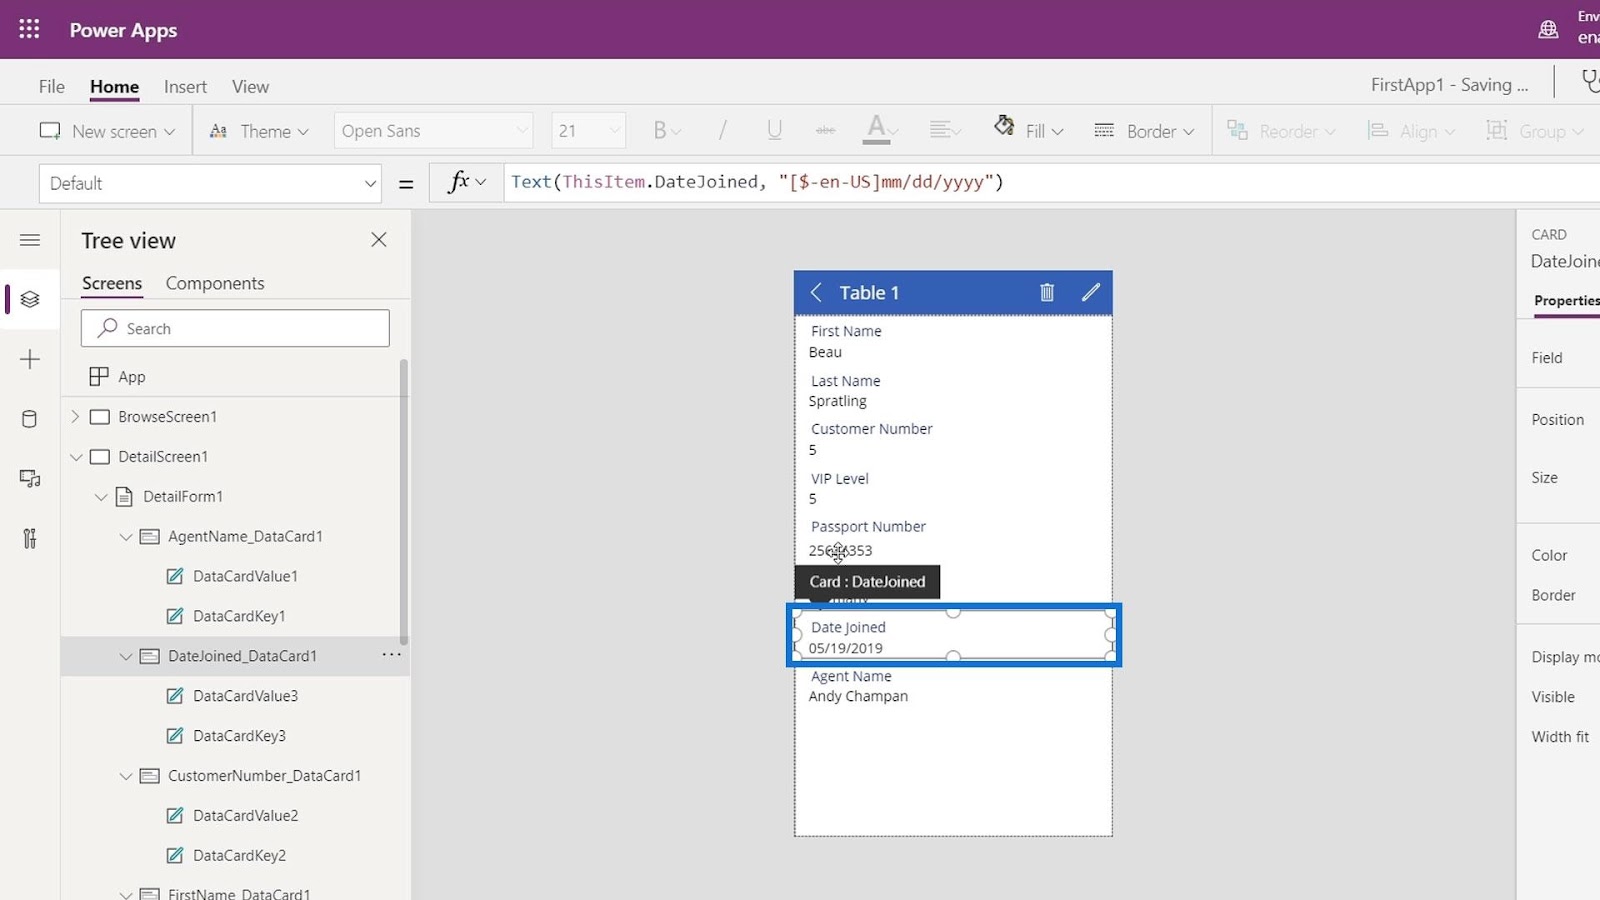
Let’s then use the Text function here. As we can see, the first parameter of the Text function is the value and the second parameter is format. We want to format our date by mm/dd/yyyy format which corresponds to month, date, and year.
Now, our DateJoined card doesn’t include the time anymore.
Dynamically Changing The Screen Title
The next thing that we want to change is the title of the screen based on the name of the selected person.
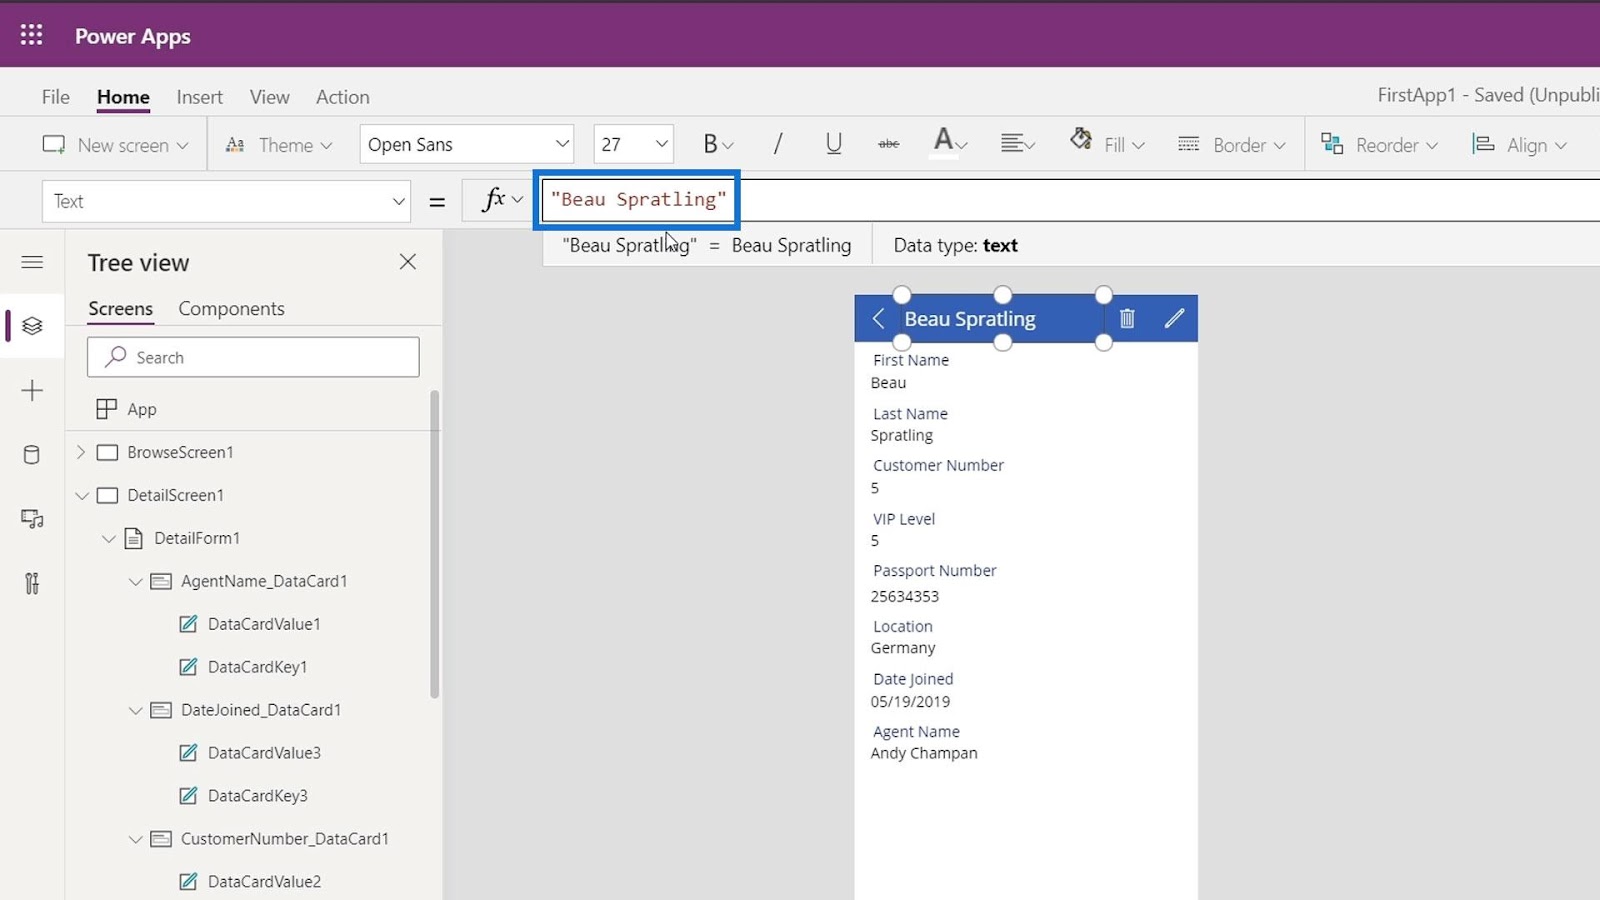
Click on the title and make sure that the property used is Text.

We can simply change the screen title with the name of the person that is currently selected.
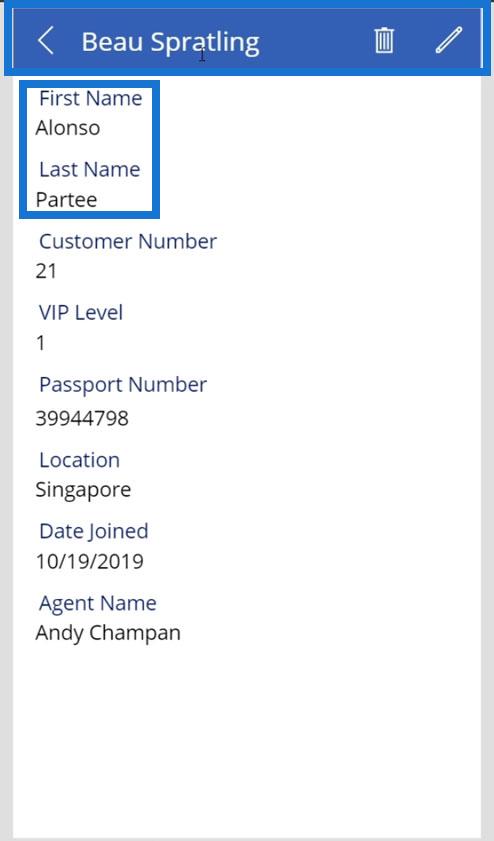
However, when playing our application, it’ll give us a static result and won’t change dynamically if we change the selected person. As we can see, the screen title didn’t change even though we changed the selected person to Alonso Partee.
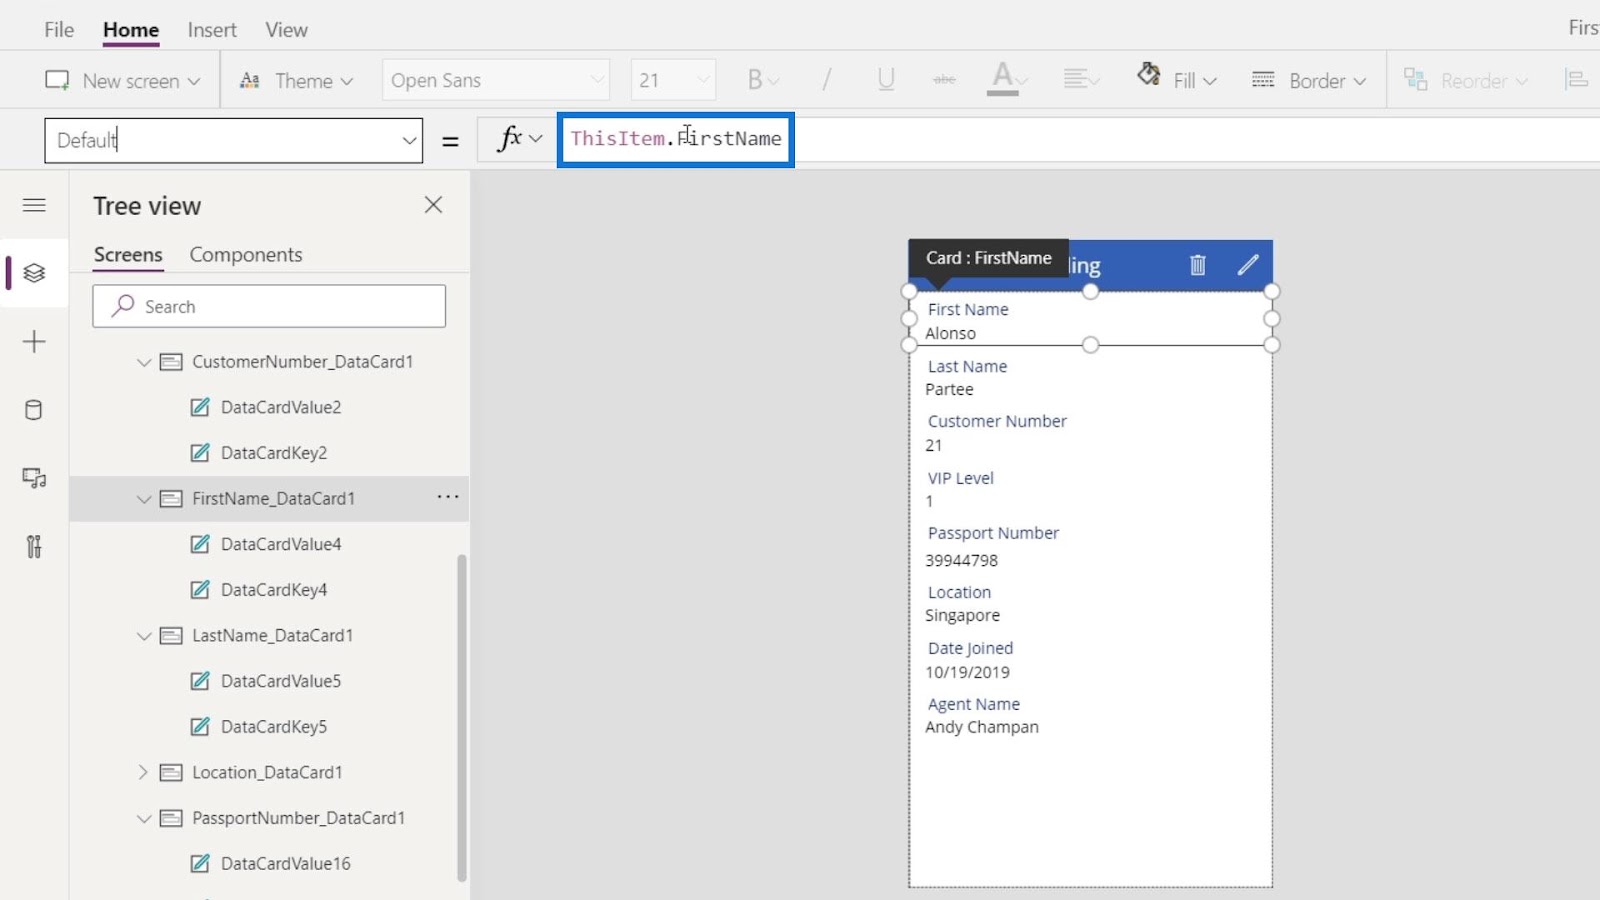
To dynamically change that, click on the First Name card.

Click on its parent element.

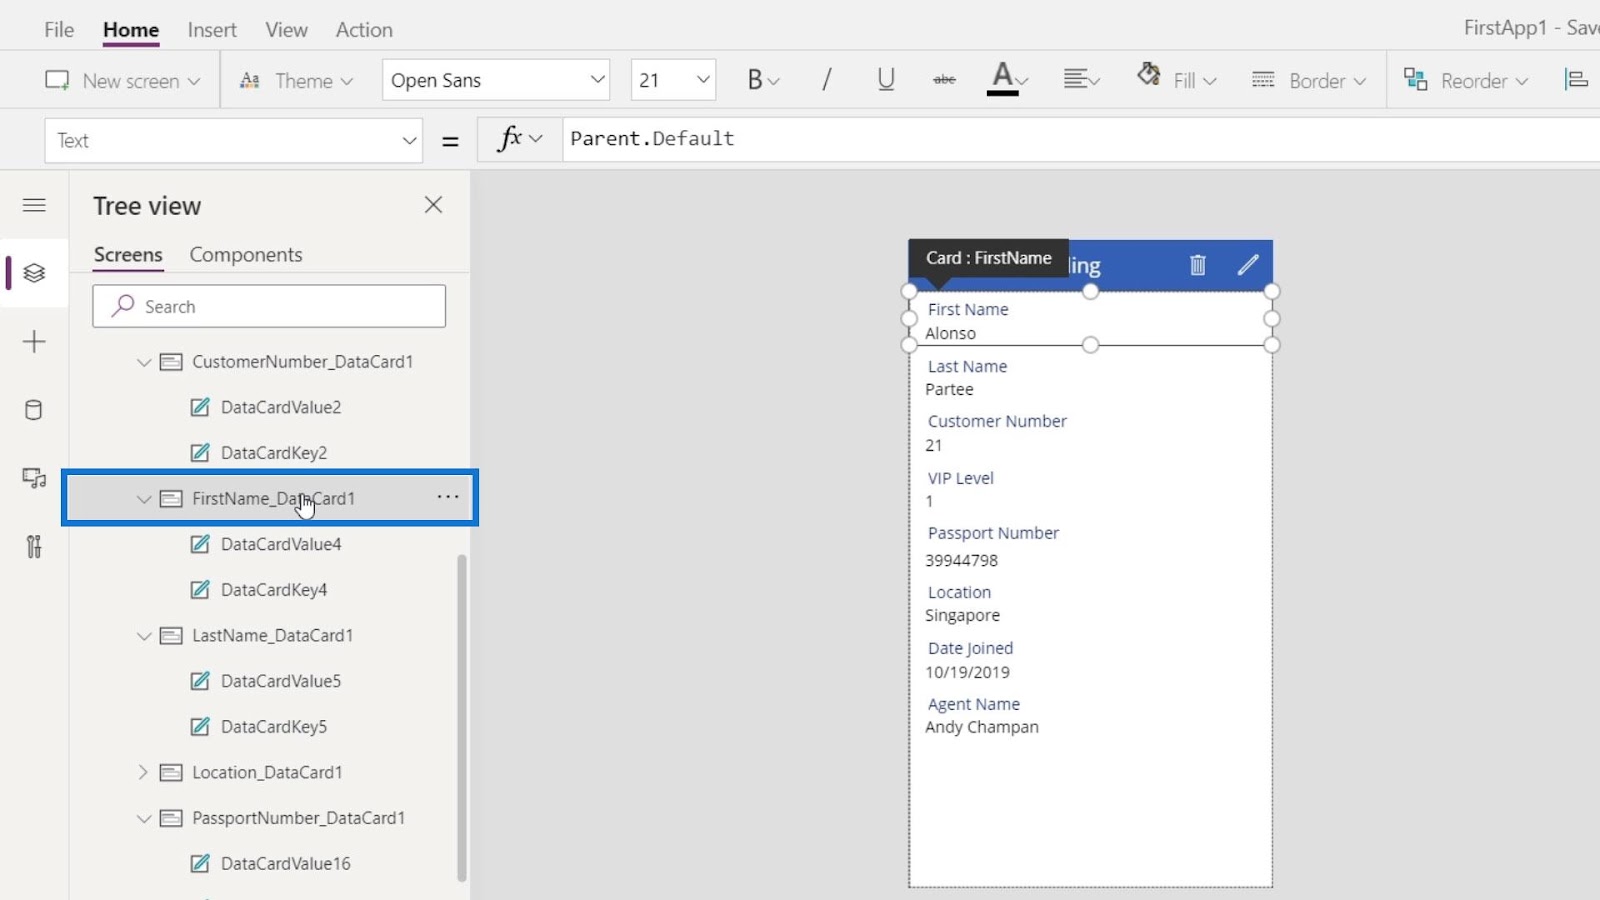
Change the property to Default.

Now, we’ll see that it’s set to ThisItem.FirstName.
After that, click the screen title.
Again, we want to reference our title to the Default property of our First Name card. So, let’s change this static text to FirstName_DataCard1.Default.
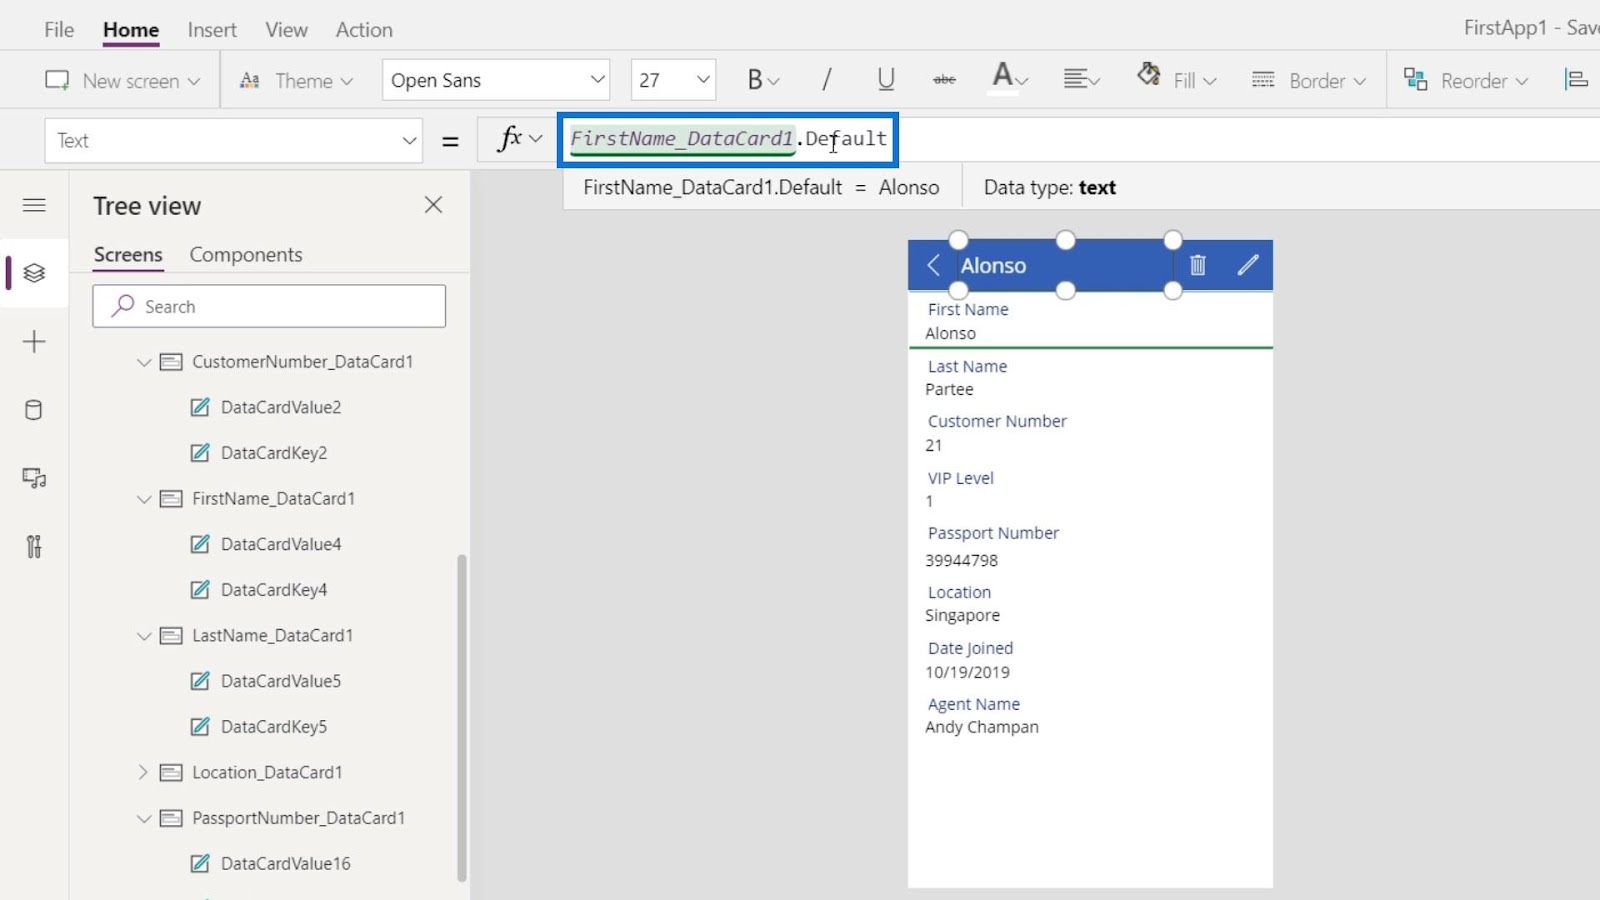
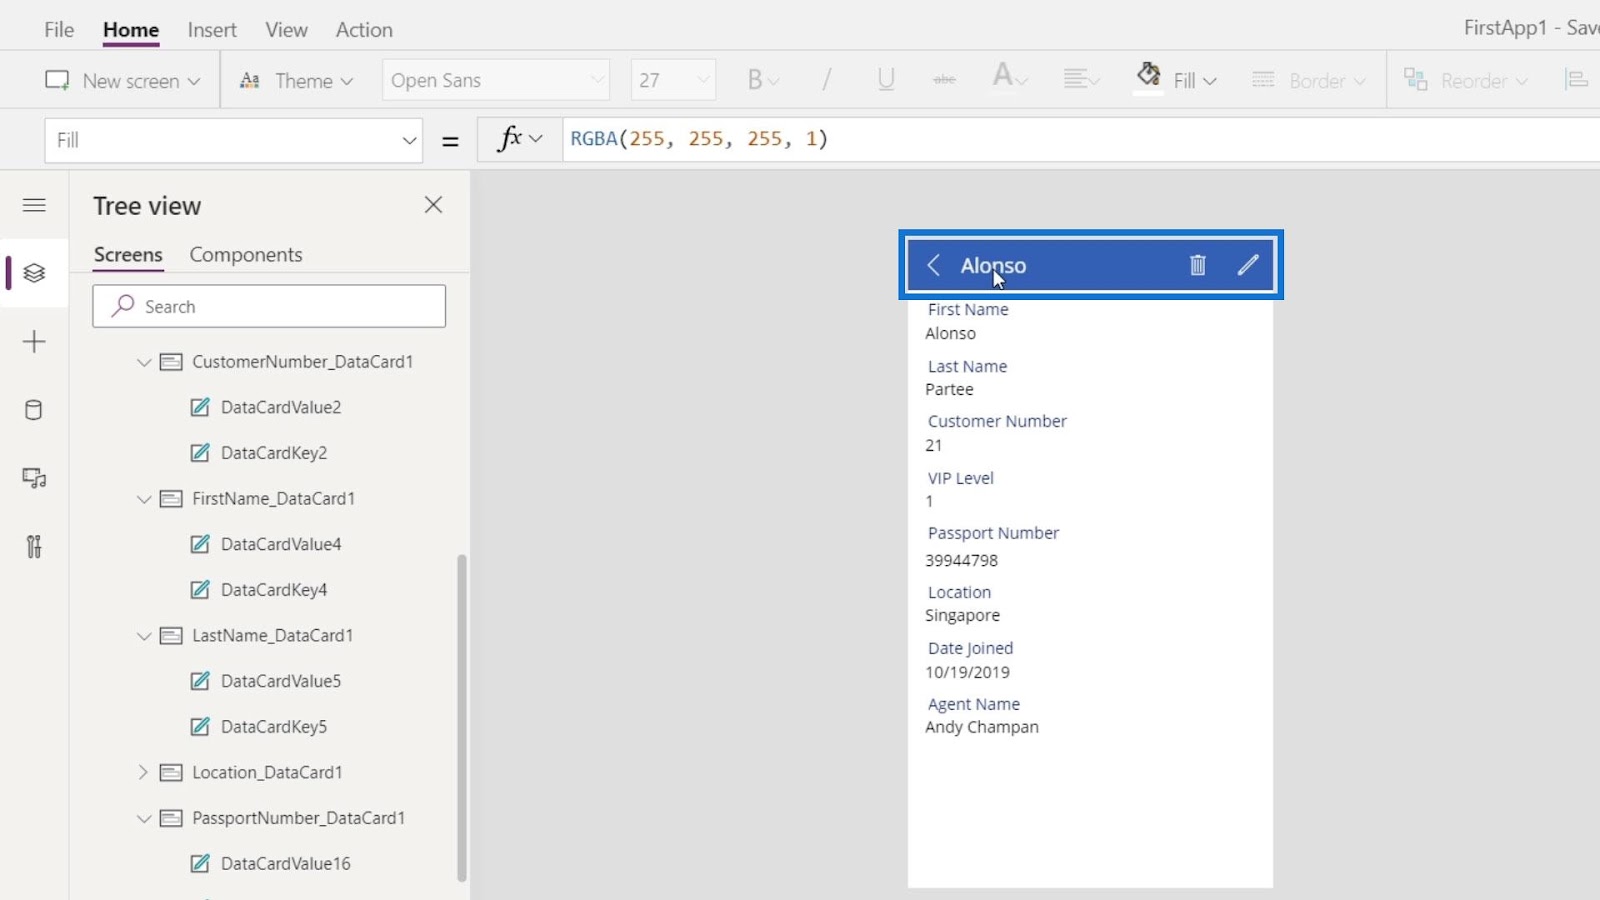
We now have Alonso as the screen title.
Next is to add the last name on our title. To do that, we just need to use the concatenation function, then add the LastName_DataCard1.Default separated by a comma.

We now have the first name and the last name of the currently selected person as our screen title.
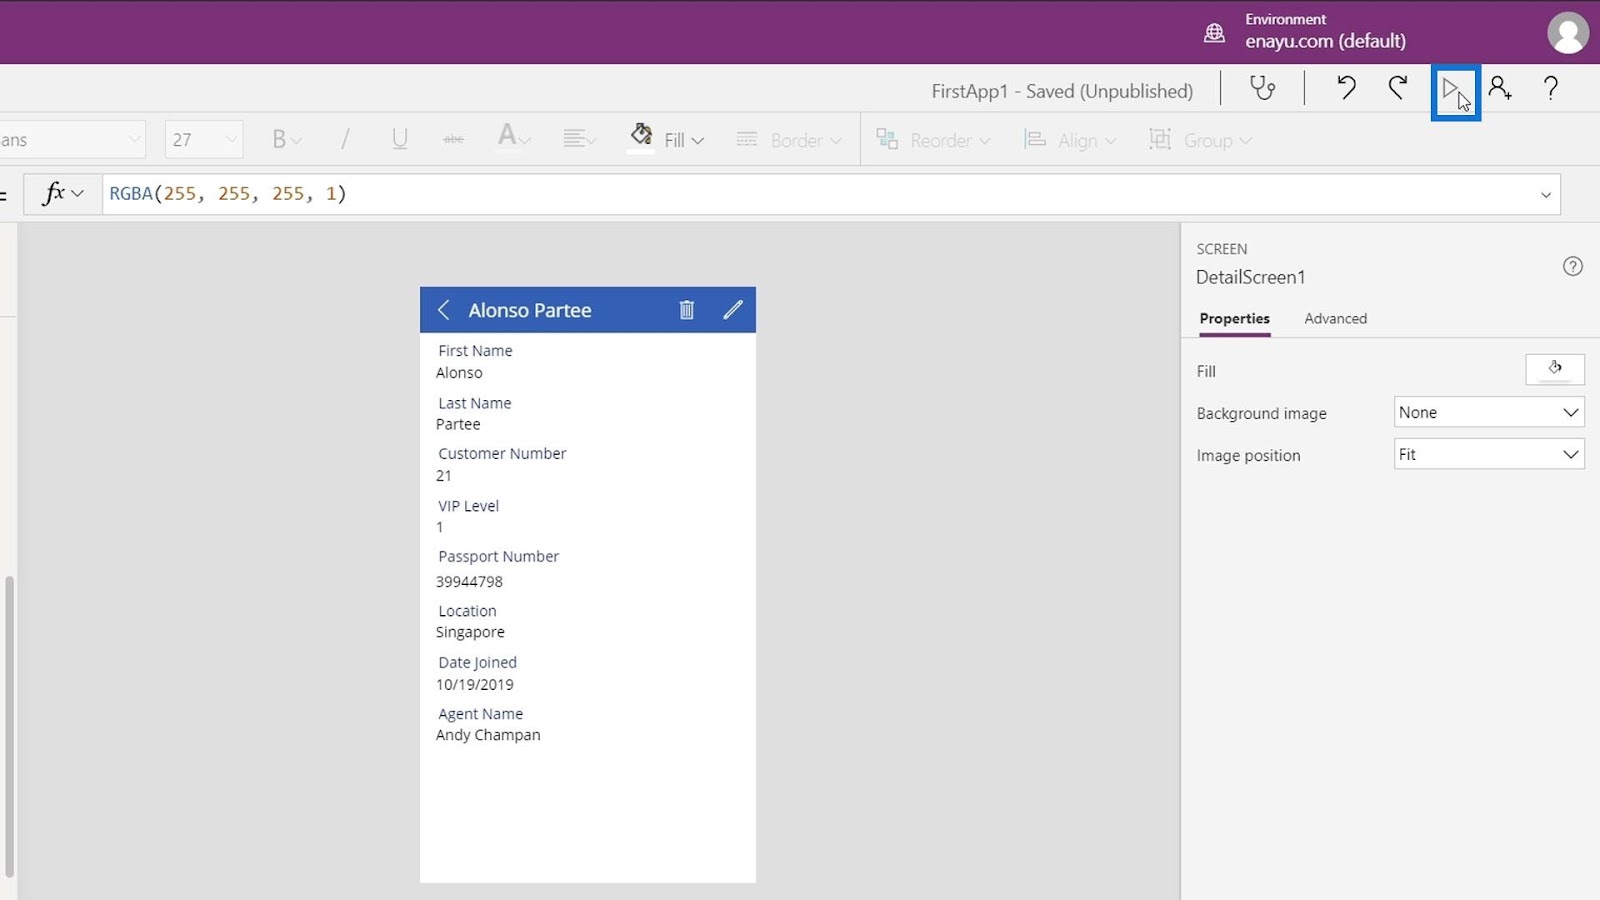
We can do the same steps on any other item that we want to change. Let’s play this application by clicking the Play button.
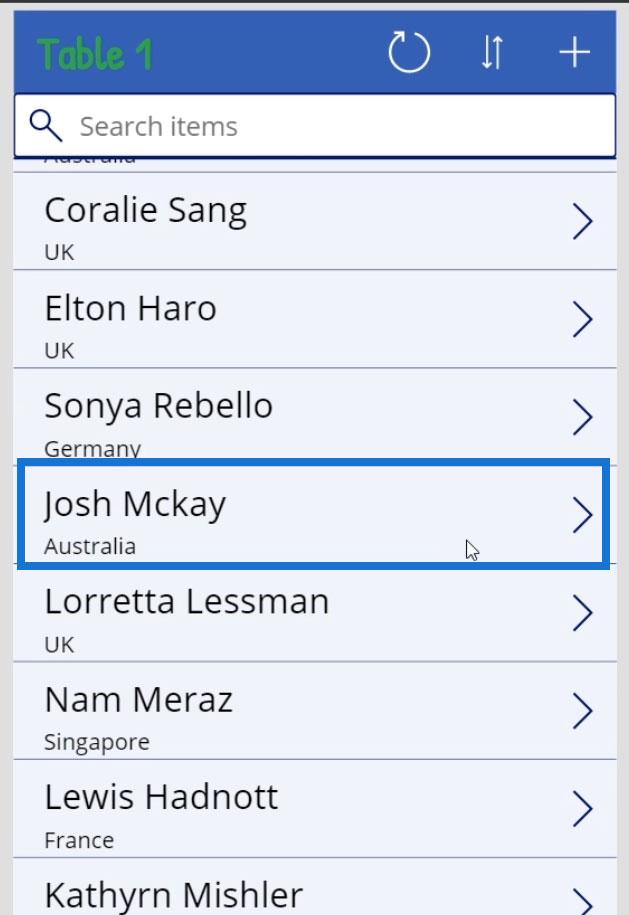
Then change the selected person by clicking the arrow icon.

For example, let’s select Josh Mckay.
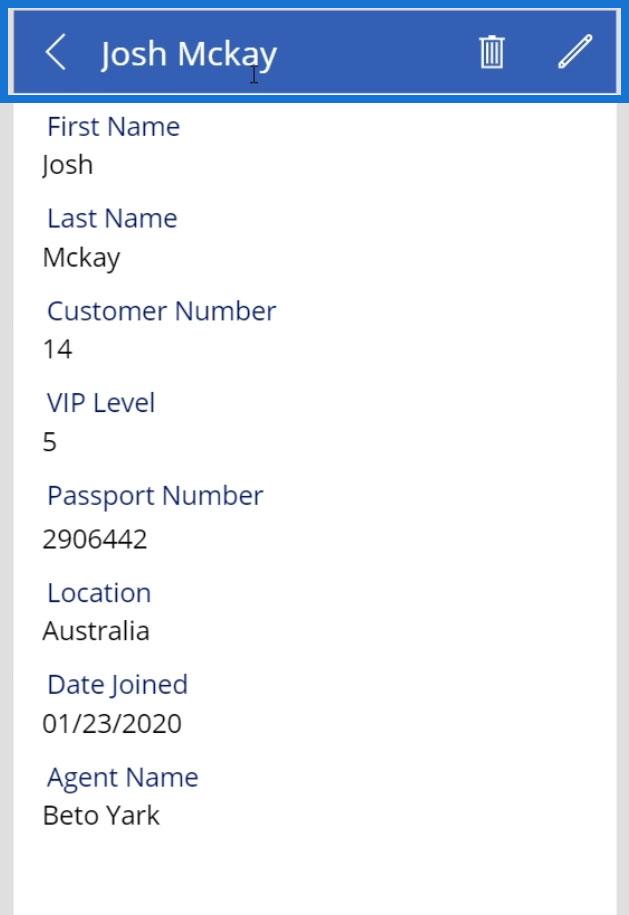
And we’ll see that our screen title dynamically changed to Josh Mckay.
***** Related Links *****
PowerApps Galleries: An Introduction
Power Apps Fundamentals: Basic Functionality And Customization
How To Create A Power Apps Account | Power BI Tutorial
Conclusion
These are some of the things that we can additionally do when configuring PowerApps data cards. The other key point of this tutorial was to show how you can reference the properties of other elements. For this example, we referenced our screen title Text property to the Default property of the First Name and Last Name card.
By doing that, you can have various arrangements that happen in very complex applications. As you go through our different tutorials, it could get a lot more complicated, but the actual theory or logic behind it is fairly simple.
All the best,
Henry


