
This Power Query filter tutorial will demonstrate a couple of approaches to solving Excel BI’s Table Filter Challenge. The goal of this challenge is to filter out names where the 2nd word starts with the letter “C.”
This Excel BI challenge is a great opportunity to practice and hone your skills in Power BI. There are also plenty of great techniques used by experts in the field that you can learn and discover here. You can watch the full video of this tutorial at the bottom of this blog.

Power Query Filter Approach # 1
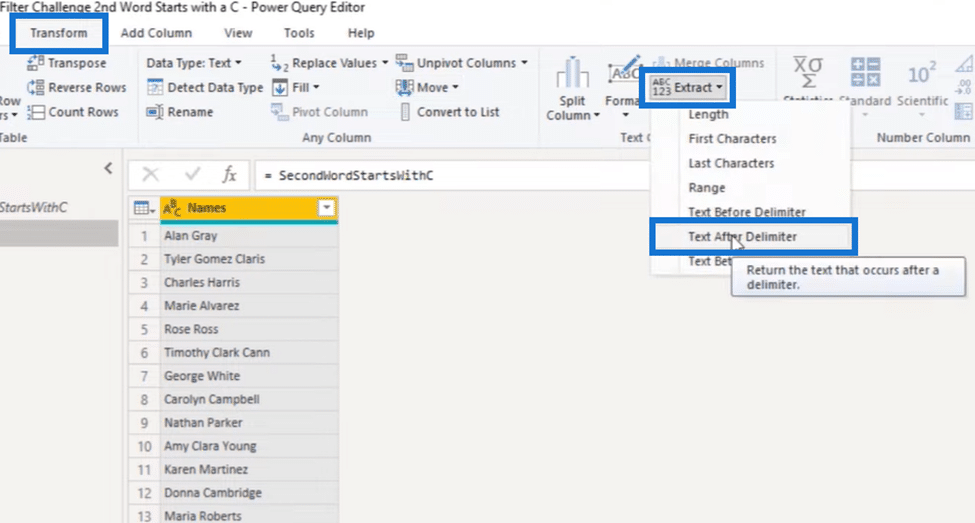
Let’s go to the Power Query editor to break this problem down. We’ll use the user interface and its tools as much as possible and look for a second word that begins with the letter C. On the Transform tab, we’ll go to Extract and select Text After Delimiter.
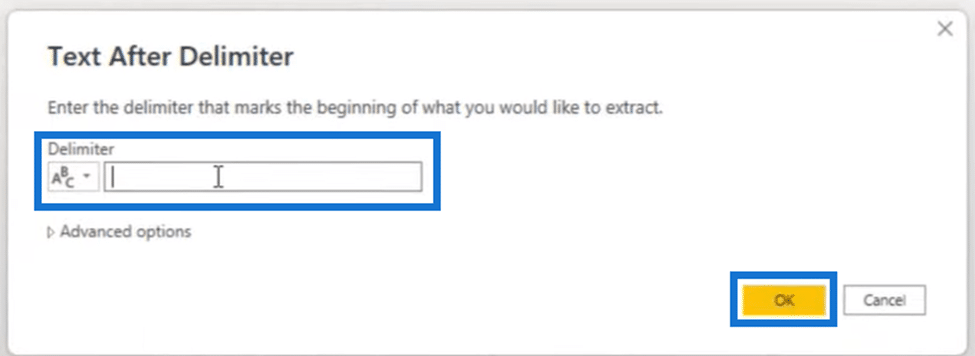
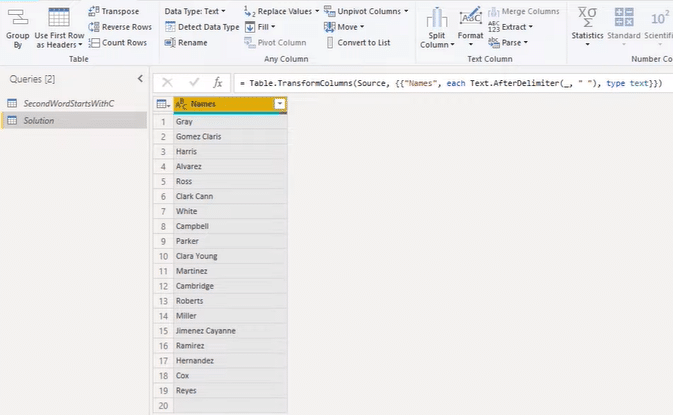
In the Text After Delimiter window above, we can enter a space there, press OK, and get the list below. The result below is, of course, different from what we want, but it creates a key piece of syntax for us.
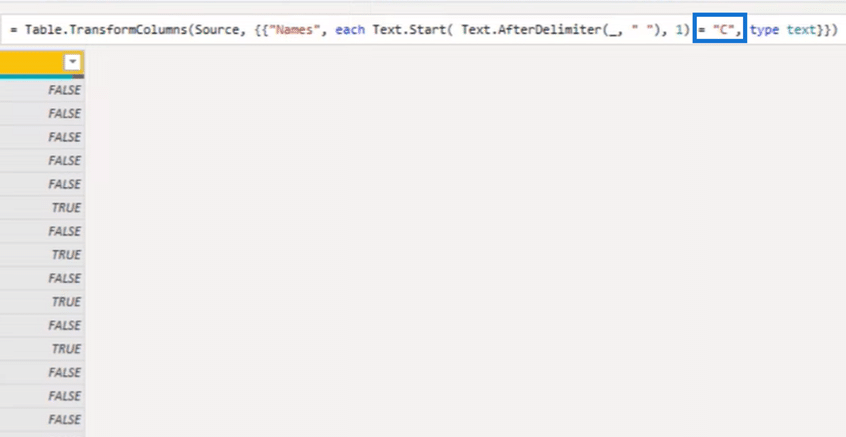
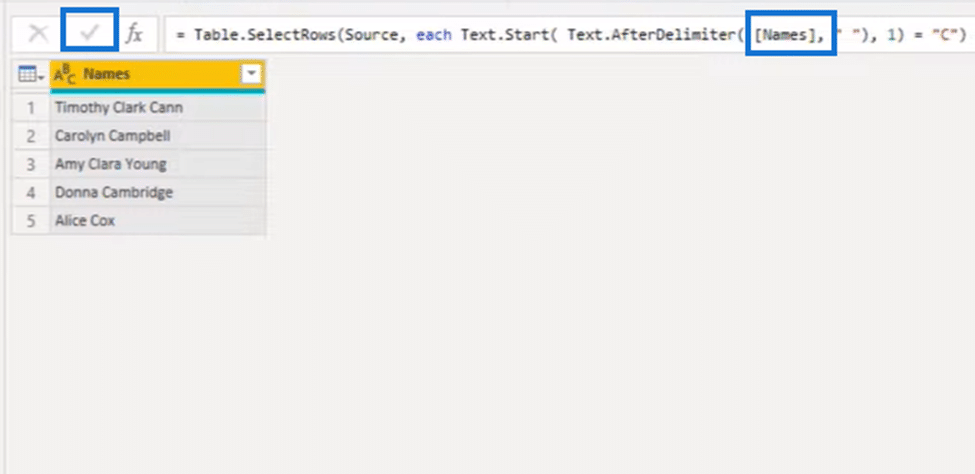
Let’s keep our starting letter at each of these strings. So in the formula bar, we’ll add another function Text.Start, keep one character, and press the check mark.
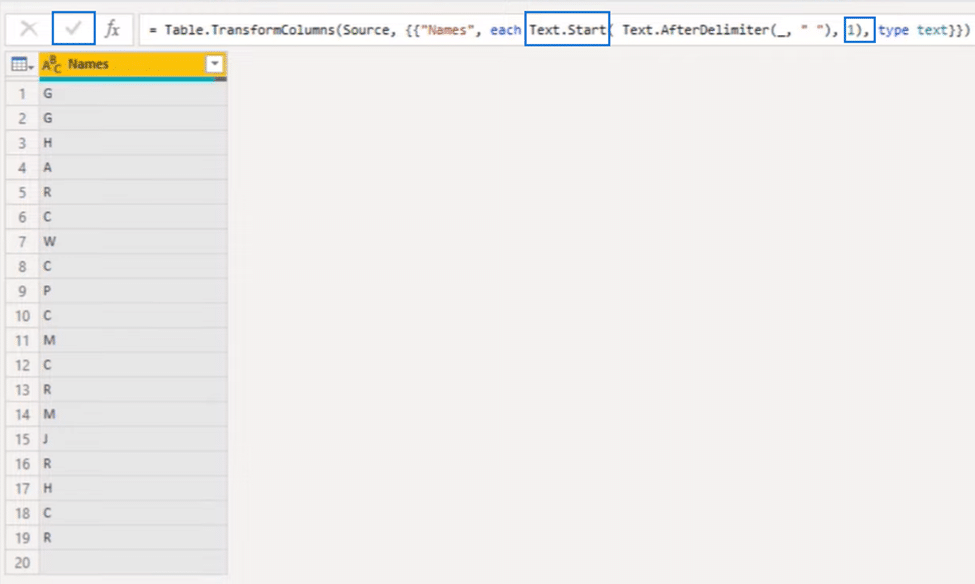
All that’s left is to compare this result to the letter C. At the end of the equation, we can say = C and press that check mark again.
We’ve successfully created the logic we can use to filter our table. Next, we need to copy the syntax in the formula bar (Ctrl + C) and X out our step.
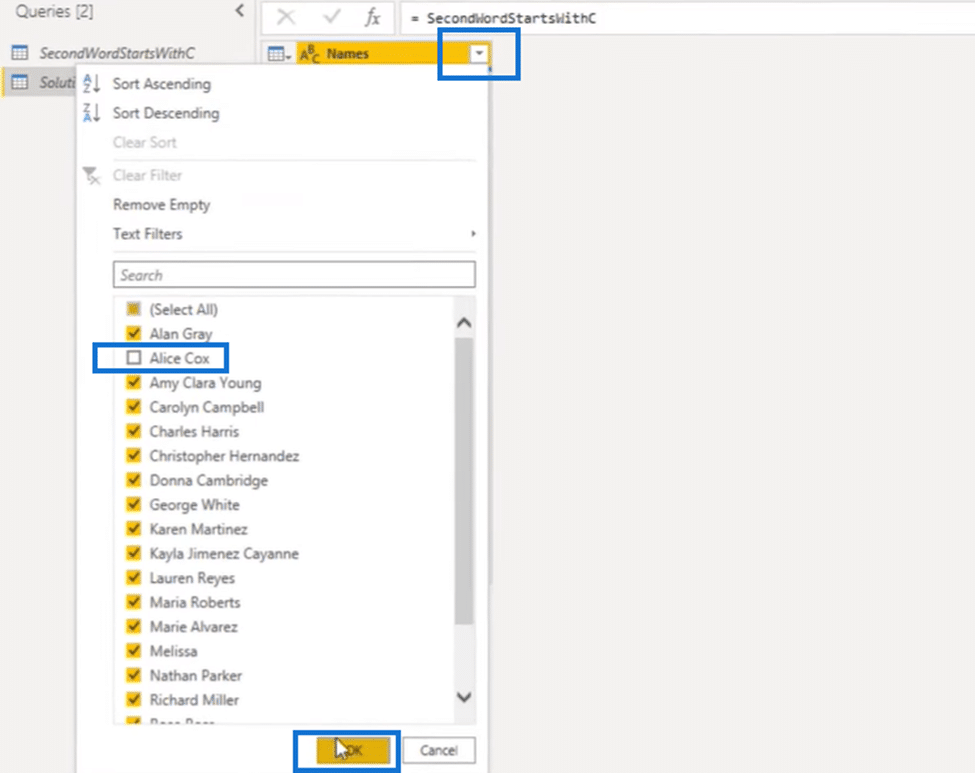
After that, we create a dummy filter.
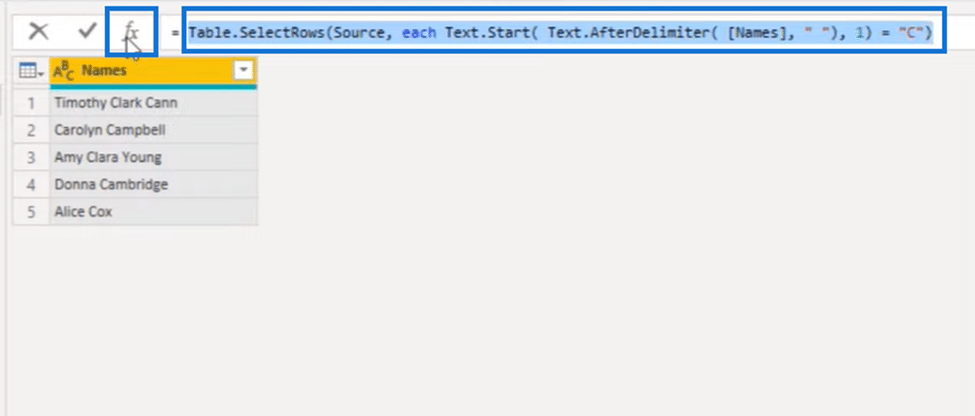
We paste back (Ctrl + V) the logic that we’ve just created, cut out (ctrl + x) the column reference and delete the last part. And what we get is the image below.

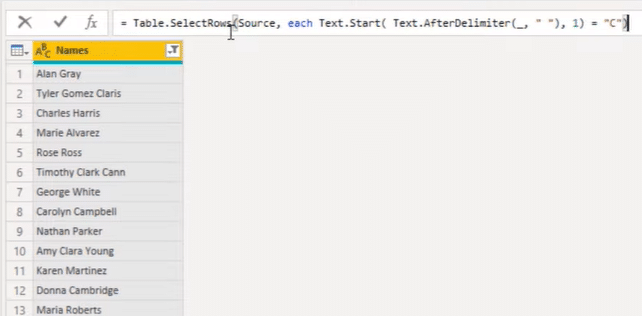
When you highlight that last bracket, and if it belongs to the Table.SelectRows function, then you’re good to go. Finally, instead of putting an underscore after Text.AfterDelimeter, we paste back that column selection and press that check mark.
And we see below that it works!
Power Query Filter Approach # 2
Now for our second approach in this Power Query filter tutorial, we’ll do something slightly different. We’ll use several different Power Query functions but also make the comparison case-sensitive.
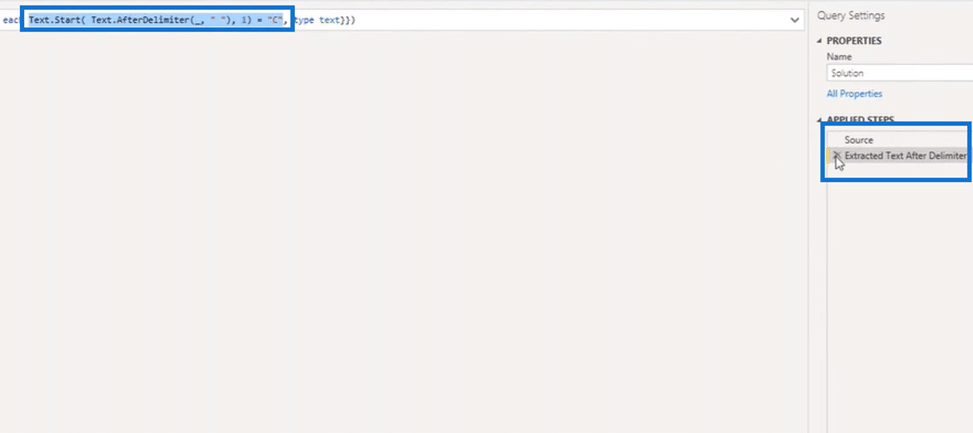
The bulk of the structure is already in our previous formula bar. So we’ll copy that syntax highlighted above and press that fx in front so we can use it to build our second approach.
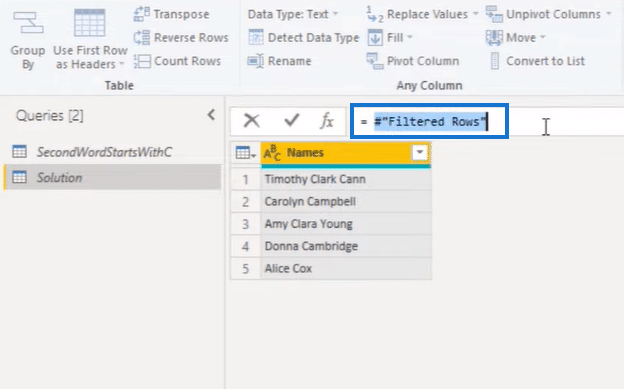
We then erase that previous step reference (“Filtered Rows”) in the image above and paste back our syntax to replace it. And finally, we press that check mark again.

Split Words into a List
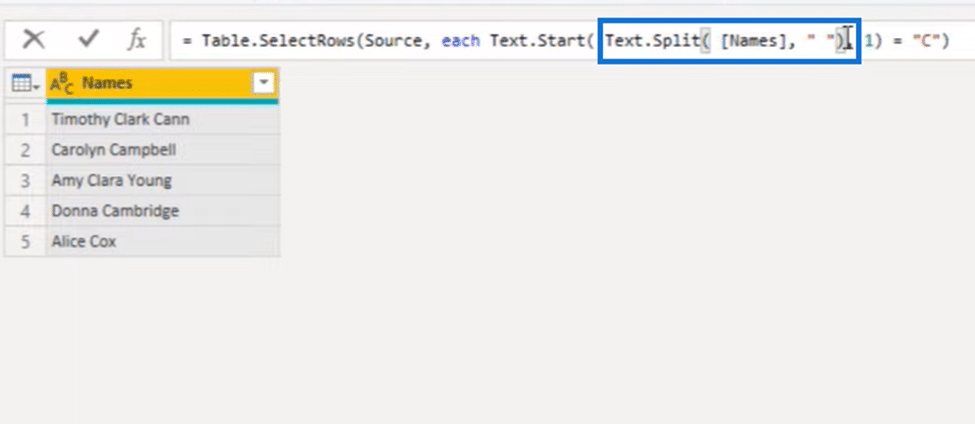
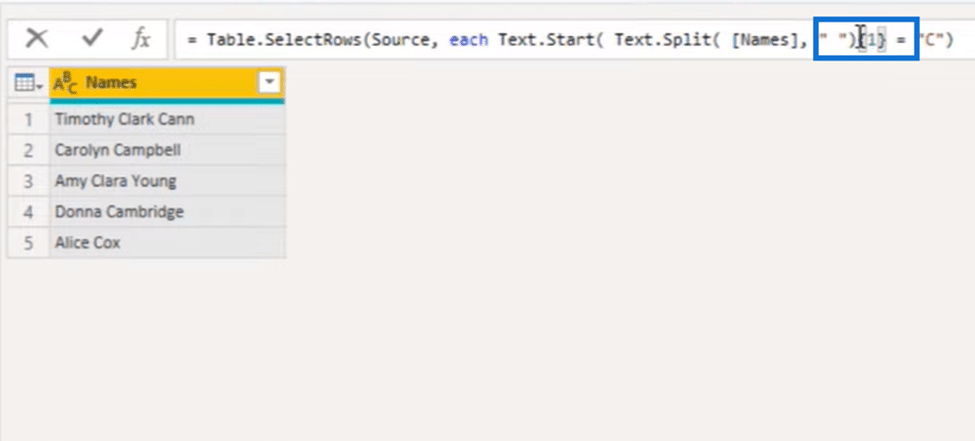
Instead of the Text.AfterDelimeter inside the formula bar, we’ll split up the words in a list by using Text.Split. And that includes splitting the name column and on a space just like below:
Each word has its position in the list, and to extract the word on the second position, we can use item access. So in a set of curly brackets, we can refer to its zero-based index position. To get to something that’s at position number two, we have to enter a 1 here.
But we also want to protect this because if at a given moment, a string is entered that contains just one word at that time, there won’t be a second item in that list, and it will return an error.
Changing the required to optional item access will solve potential future problems. To do that, all we have to do is add a question mark (?) at the end.
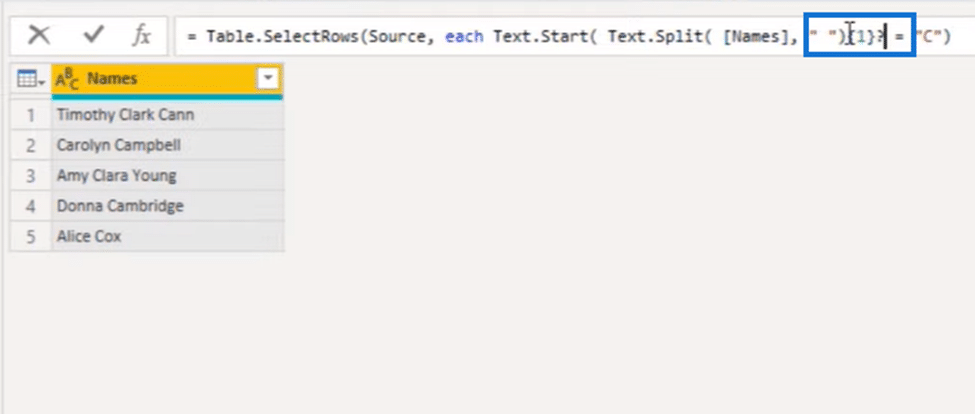
Adding the question mark changes the required item access into optional item access. This means that if an item doesn’t exist in the list, a null is returned instead of an error.
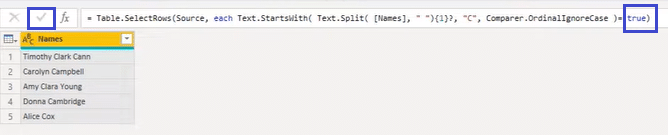
Let’s also change the function Text.Start because we want to use a function that has an optional compare parameter. So instead of Text.Start, we’ll use Text.StartsWith, add a comma after the question mark and put “C”, the substring we’re looking for.

We can then use that Compare function, so we type in and select Comparer.OrdinalIgnoreCase. And remember to add the closing parentheses to table the select rows.

And we’re almost done here. All that’s left to do is see if this returns true, so let’s add = true at the end of the formula and press that check mark. Now the process is complete!
***** Related Links *****
How To Dynamically Merge Columns In A Power Query Table
Power Query: How To Merge Tables W/Different Columns
Extended Date Table Power Query M Function
Conclusion
In this Power Query filter tutorial, you’ve seen two approaches to a table filter challenge. The first uses the Text After Delimiter from the Transform tab alongside the Table.SelectRows and Text.Start functions.

The second, meanwhile, forgoes the use of Text After Delimiter and replaces the Text.Split function with Text.Start to split words in a list. It also makes use of the compare function Comparer.OrdinalIgnoreCase.
You can explore both table filter options to find which approach suits you better!


