In this tutorial, you’ll learn how to load the results of a dynamic management view (DMV) using a prebuilt template in Power BI.

This template is created by Brett Powell from Insight Quest. You can download the file from the GitHub repository.
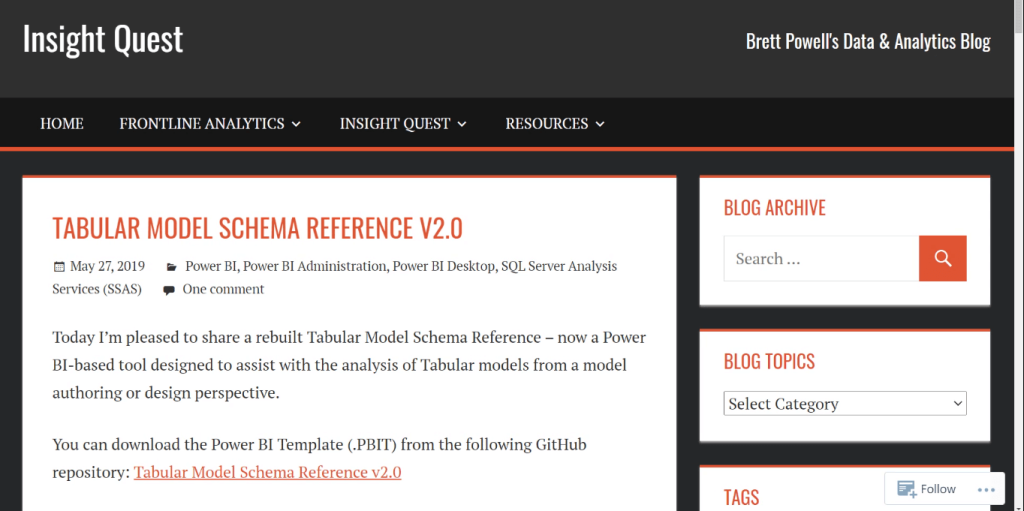
Once the download is finished, open the file. You need to input the port number and database name where you want to connect the file.
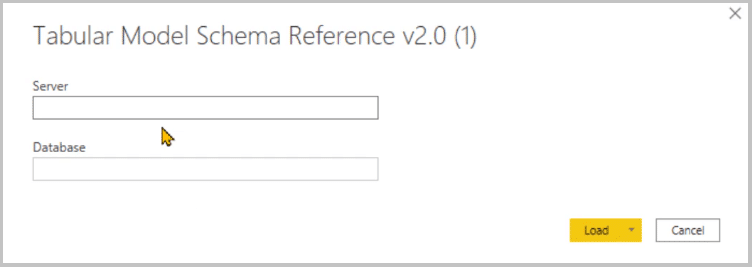
The port number can be found on the lower-right of your DAX Studio program.

For the database name, you need to go to DAX Studio and run the first DMV. The Catalog Name in the results pane refers to the Database name.
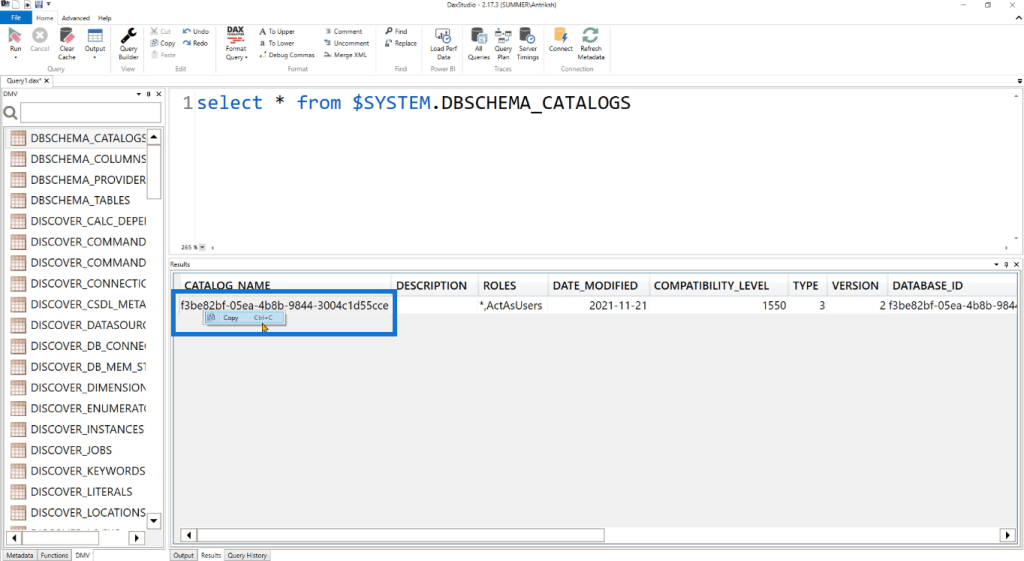
Copy this and paste it in the prebuilt Power BI template.
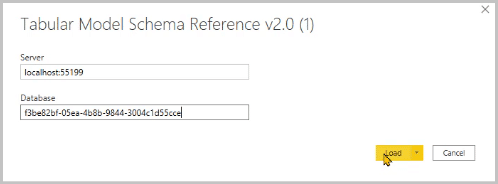
When you click Load, the file will ask you to run the Native Database Query for each DMV. You need to click Run multiple times until the refresh option is complete.
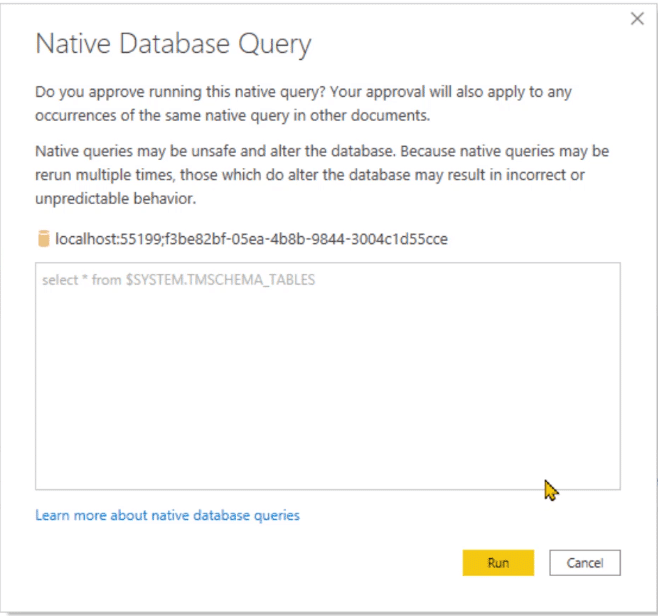
Using The Prebuilt Template In Power BI
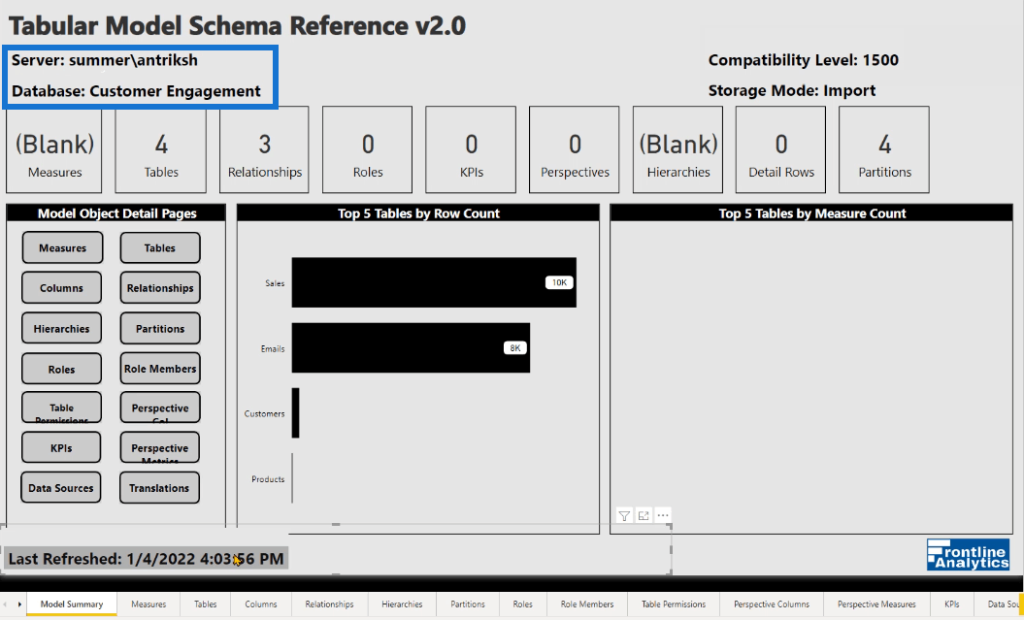
Once the extraction process is complete, a detailed Power BI report appears.
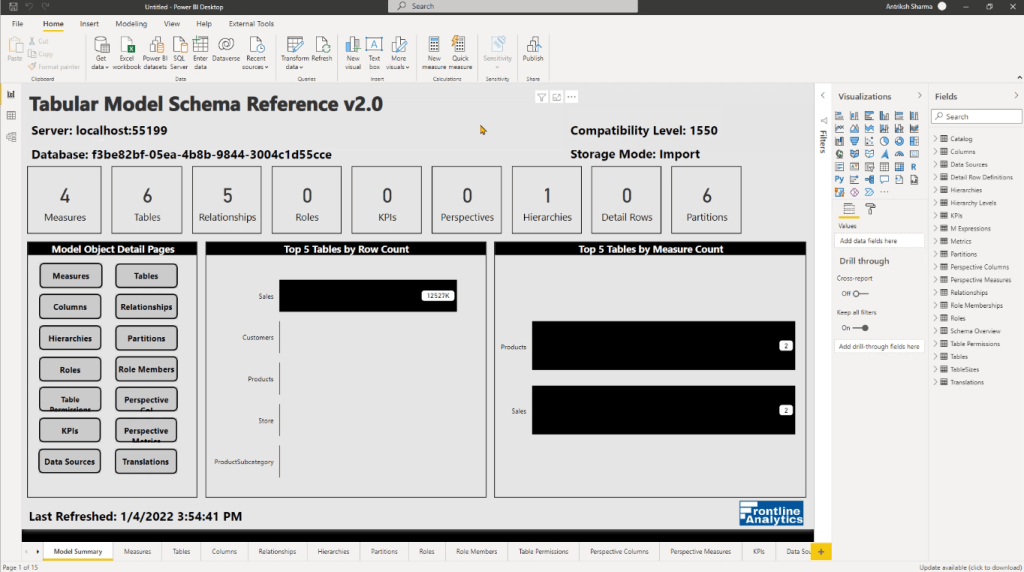
The report contains a thorough presentation of different metrics and data. There are also several tabs that you can open to view other useful information.
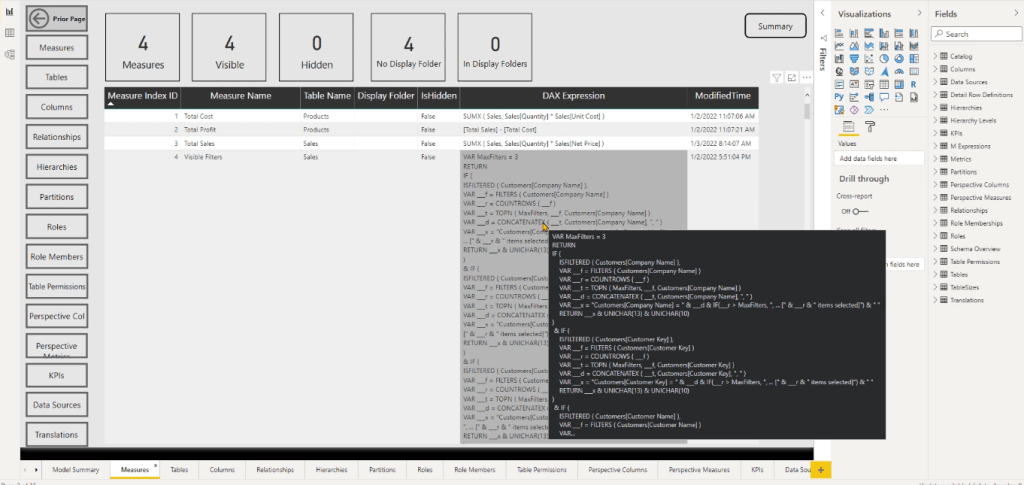
The Measures tab shows the code of all the measures in the report.
If you go to the Roles tab, you can see that it’s blank.
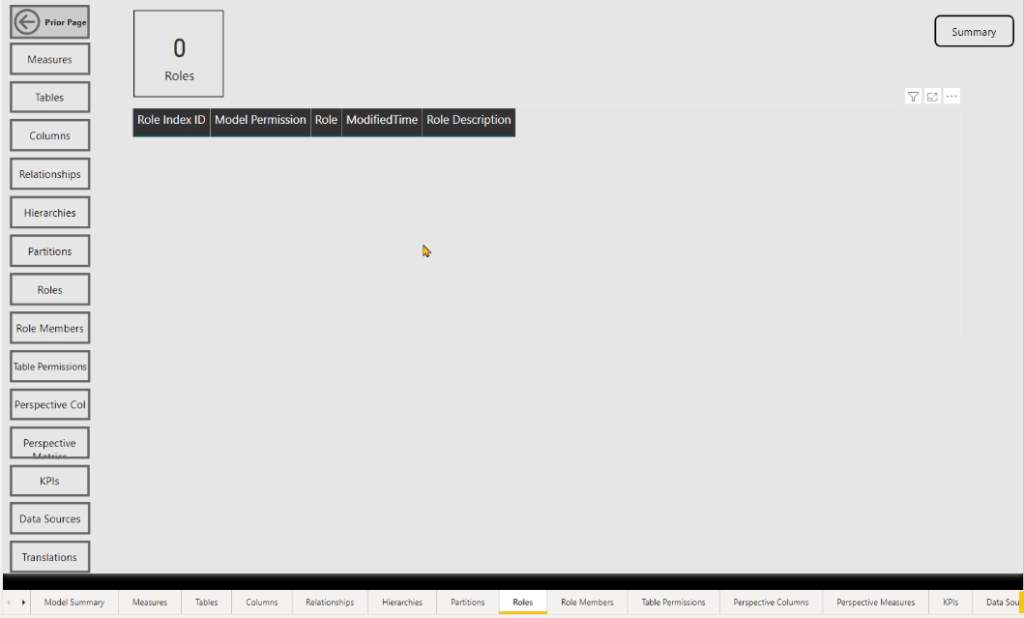
And to create a Role, open Power BI. Go to the Modeling tab and click Manage Roles. For this demonstration, a basic filter for the Products table is used. Once done, click the check mark and then Save.

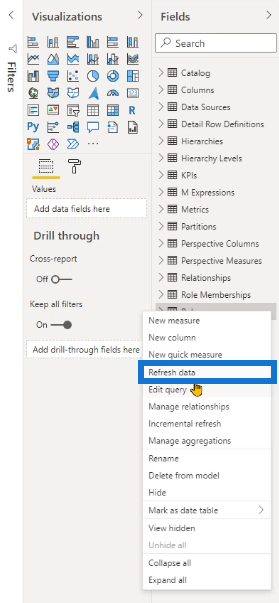
Next, go back to the prebuilt template and click the ellipsis option for Roles in the Fields pane. Then, select the Refresh data option.
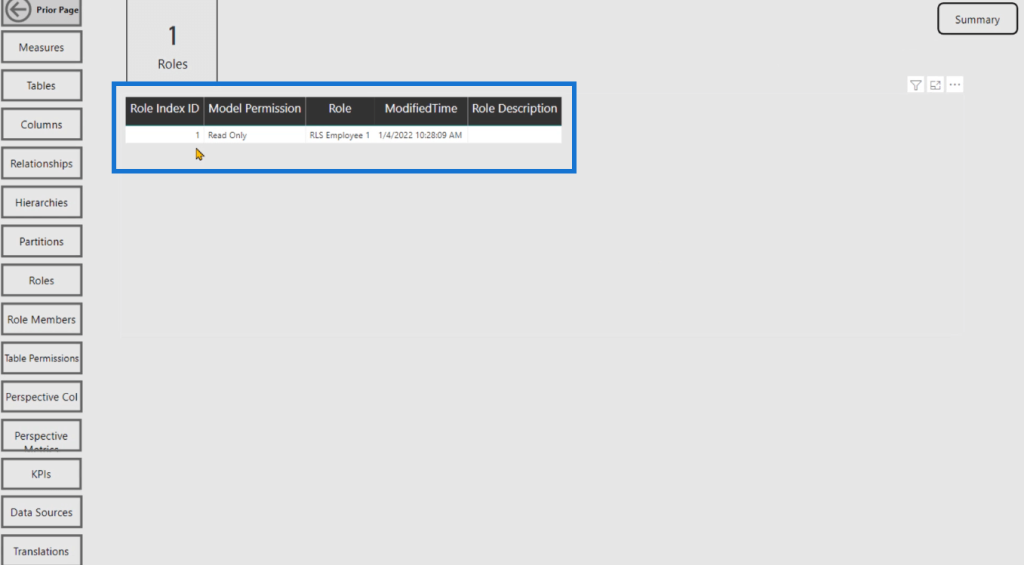
The new Role you created in Power BI now appears in the template. However, you can see that the Role Description is blank.
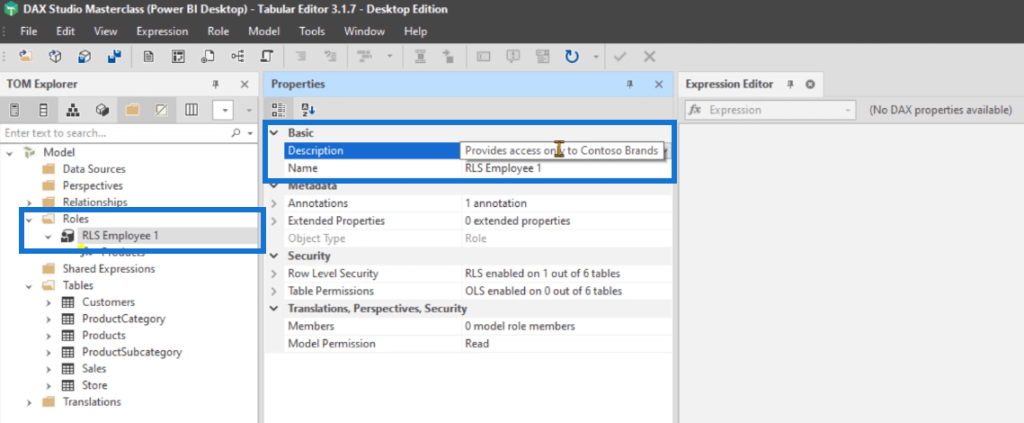
To add a description, go back to the Power BI file and launch the Tabular Editor. Click the Role and then input a description. Once done, click Save.
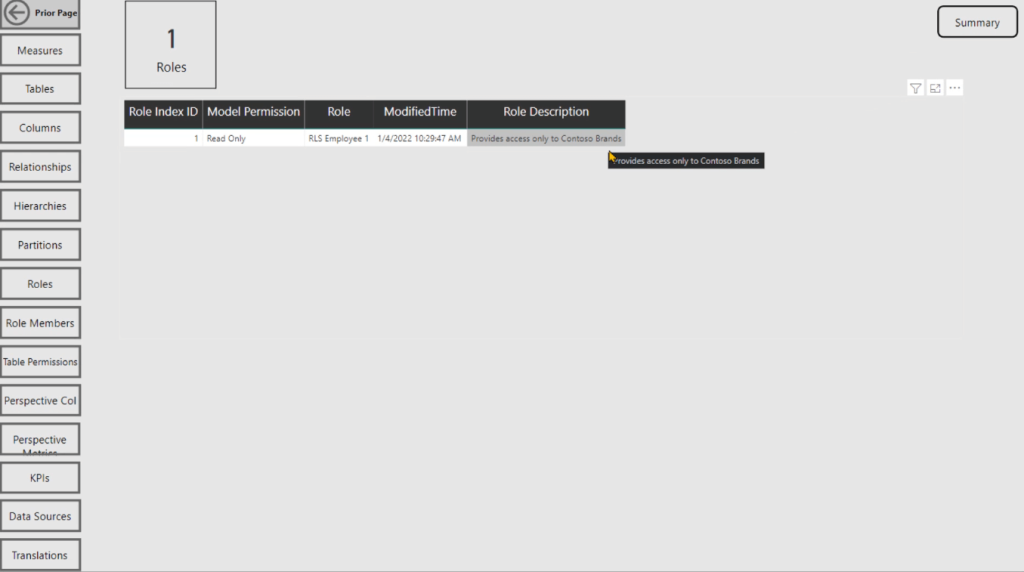
Go back to the template and refresh the Roles field again. You can then see that it’s able to extract the Role description you created.
Changing The Server & Database Name
To view the code of the prebuilt Power BI template, go to the Home tab and select Transform data. This opens the Power Query Editor.
You can see multiple staging queries and report tables.
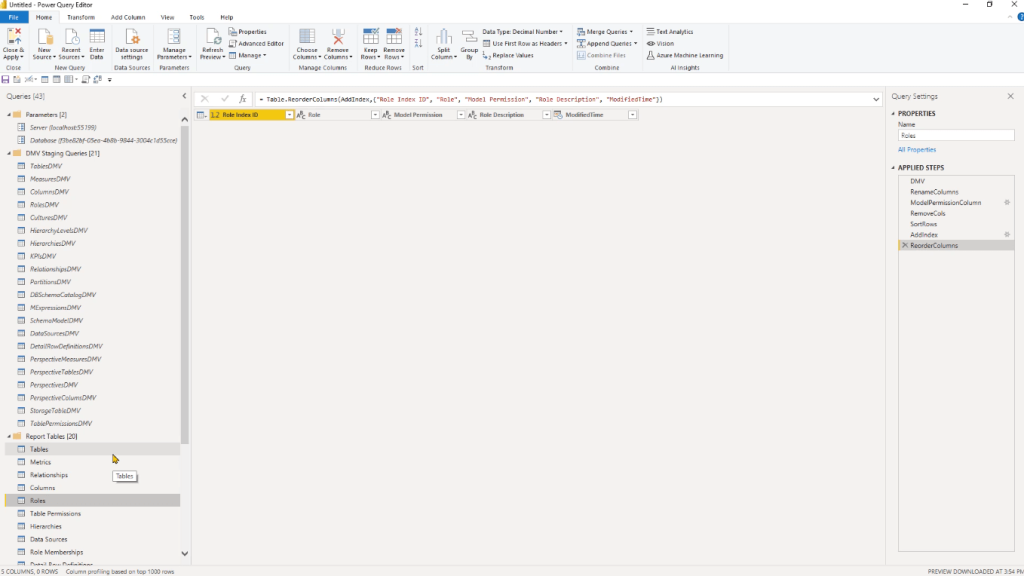
You can go through these tables and queries to better understand the M code used in the template. Reviewing the code also allows you to grasp how to create a similarly detailed report of your own.
If you want to switch the database you’re currently evaluating, click on Transform Data and choose the Edit parameters option.
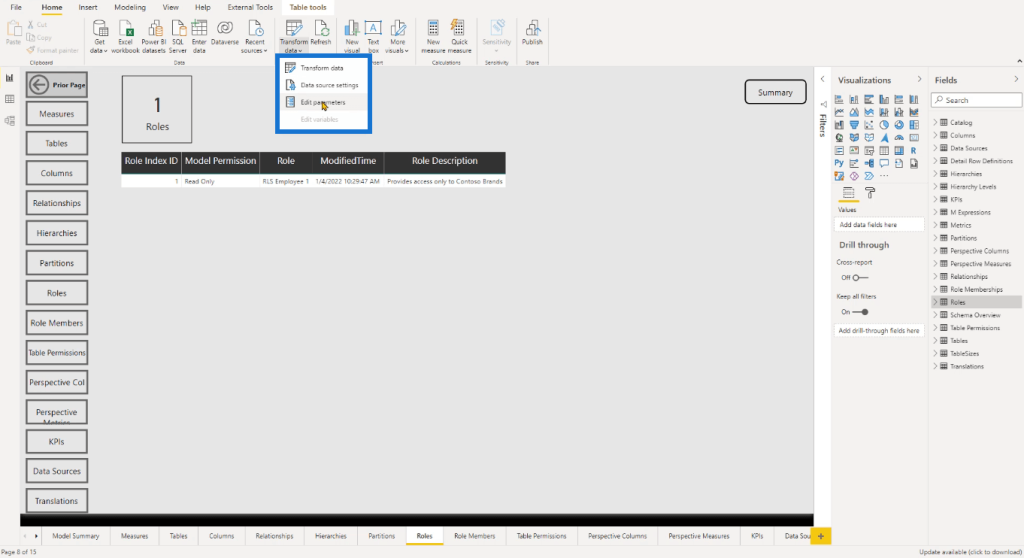
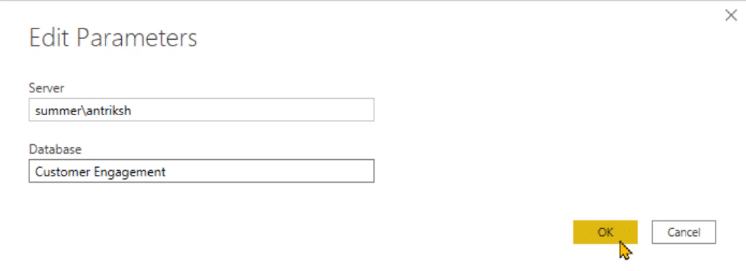
You can then change the Server and Database names.
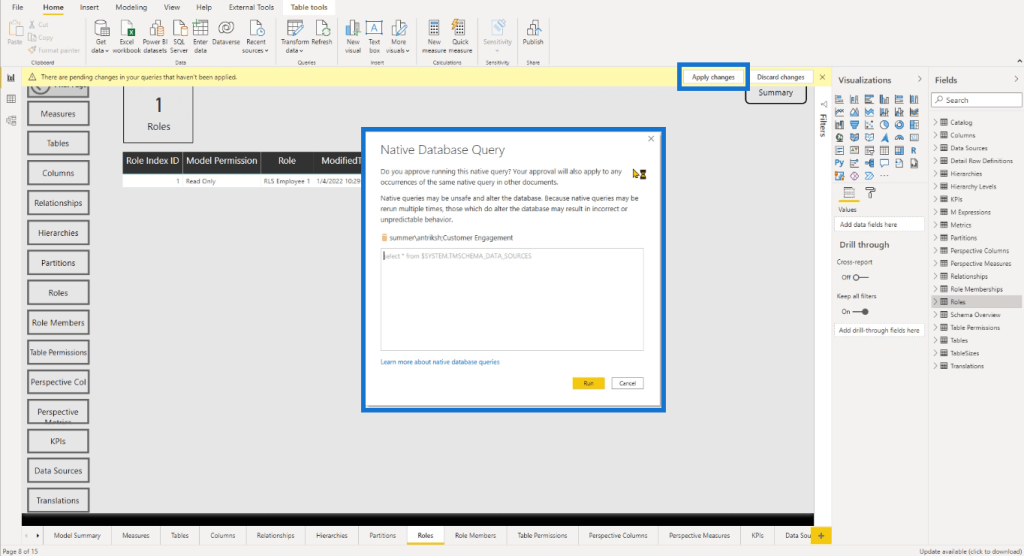
Once done, click the Apply changes option. In the Native Database Query wizard, click Run repeatedly until the refresh operation is complete.
After the extraction process is done, the template will now indicate the new Server and Database name. The report will now also reflect information pertaining to the new server and database.
***** Related Links *****
Connect DAX Studio To Power BI And SSAS
Using Dynamic Management Views (DMV) In DAX Studio & Power BI
Make Power BI Report Templates With PowerPoint
Conclusion
Dynamic Management Views provide a common mechanism to extract data from any SQL database. They’re used for troubleshooting and performance monitoring, making them essential tools when it comes to coding in DAX Studio.
However, DAX Studio often contains a lot of DMVs, and reviewing them individually becomes a daunting task. By using the prebuilt Power BI template, you’re able to drastically reduce the time it takes to analyze DMVs.
All the best,
Enterprise DNA Experts


