In this tutorial, we’ll talk about a Power Automate control that terminates actions in a flow. If any of the conditions in a Switch case was not met, we’d want to display an error message and terminate all the actions within a flow. In such scenarios, Power Automate Terminate action control comes in handy.
The Terminate control in Microsoft Power Automate simply ends the execution of a flow.
In our discussion, we’ll figure out how it works and why it’s important.
Sample Scenario
In this sample flow that I created beforehand, the user will be asked to enter a delivery method and a message. The available delivery methods included in the Switch cases are Tweet, Email, Slack, and Trello.
Click Test to try out the flow.
Then, choose the I’ll perform the trigger action option and click the Test button.
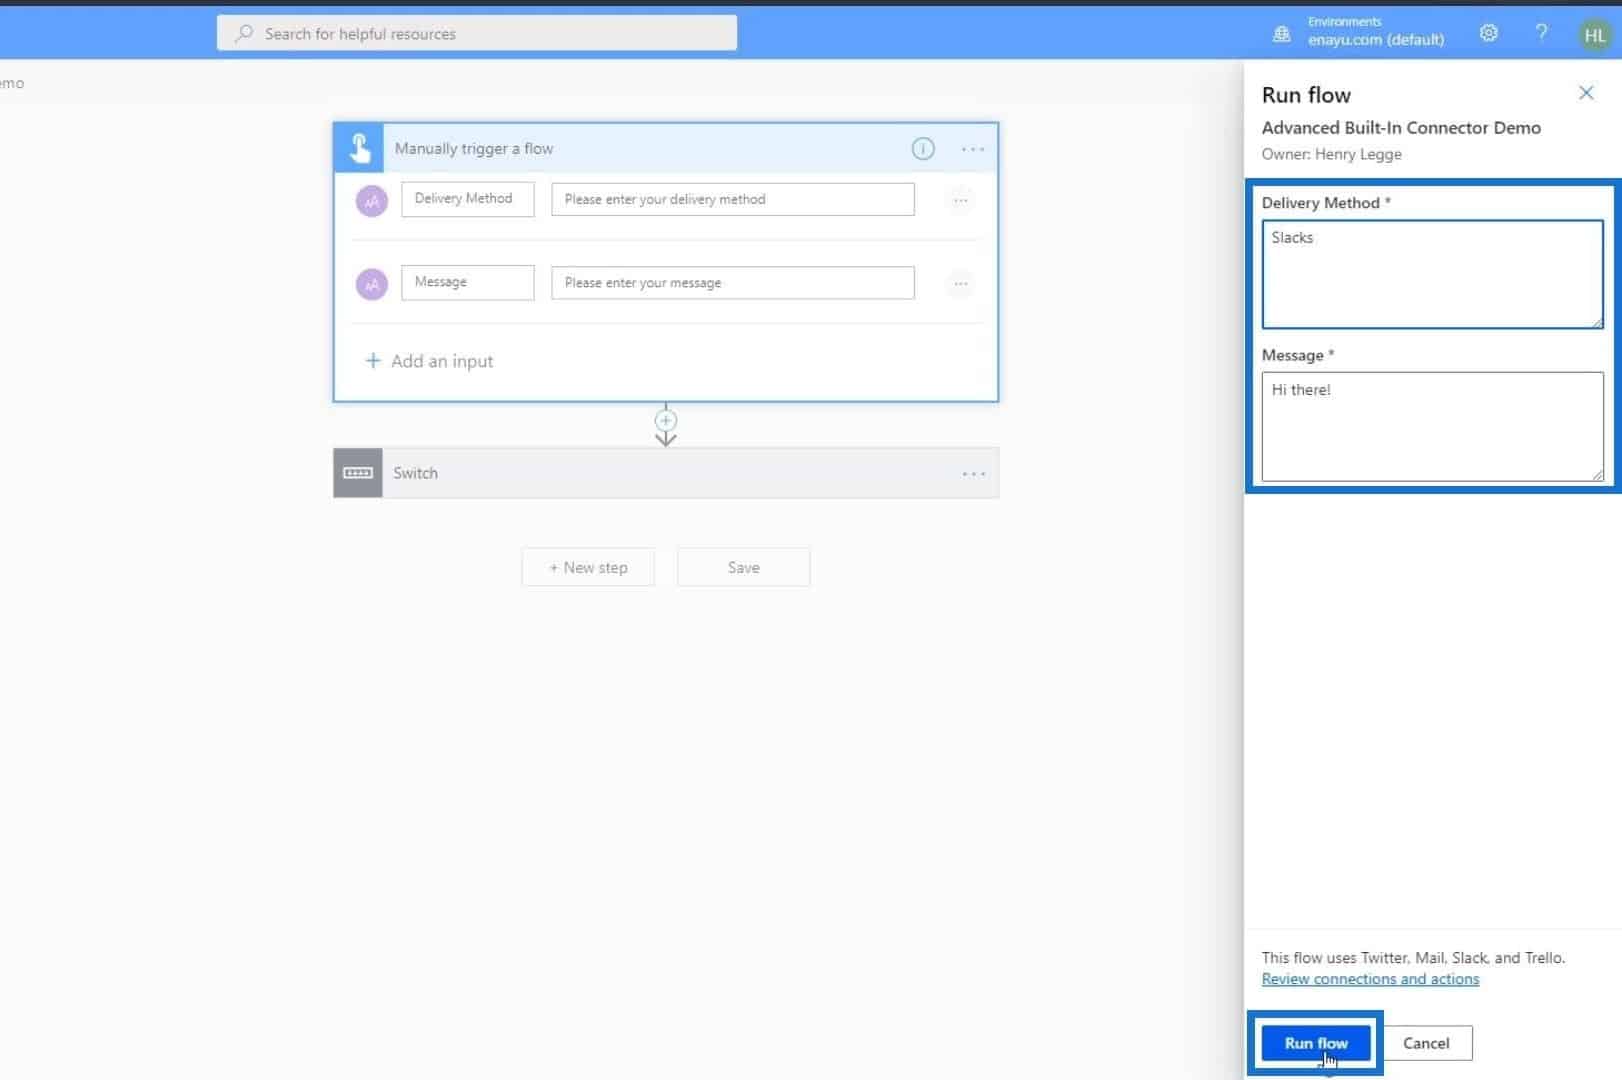
Let’s enter “Hi there!” as our message and instead of “Slack”, let’s type “Slacks” instead. Then click the Run flow button.

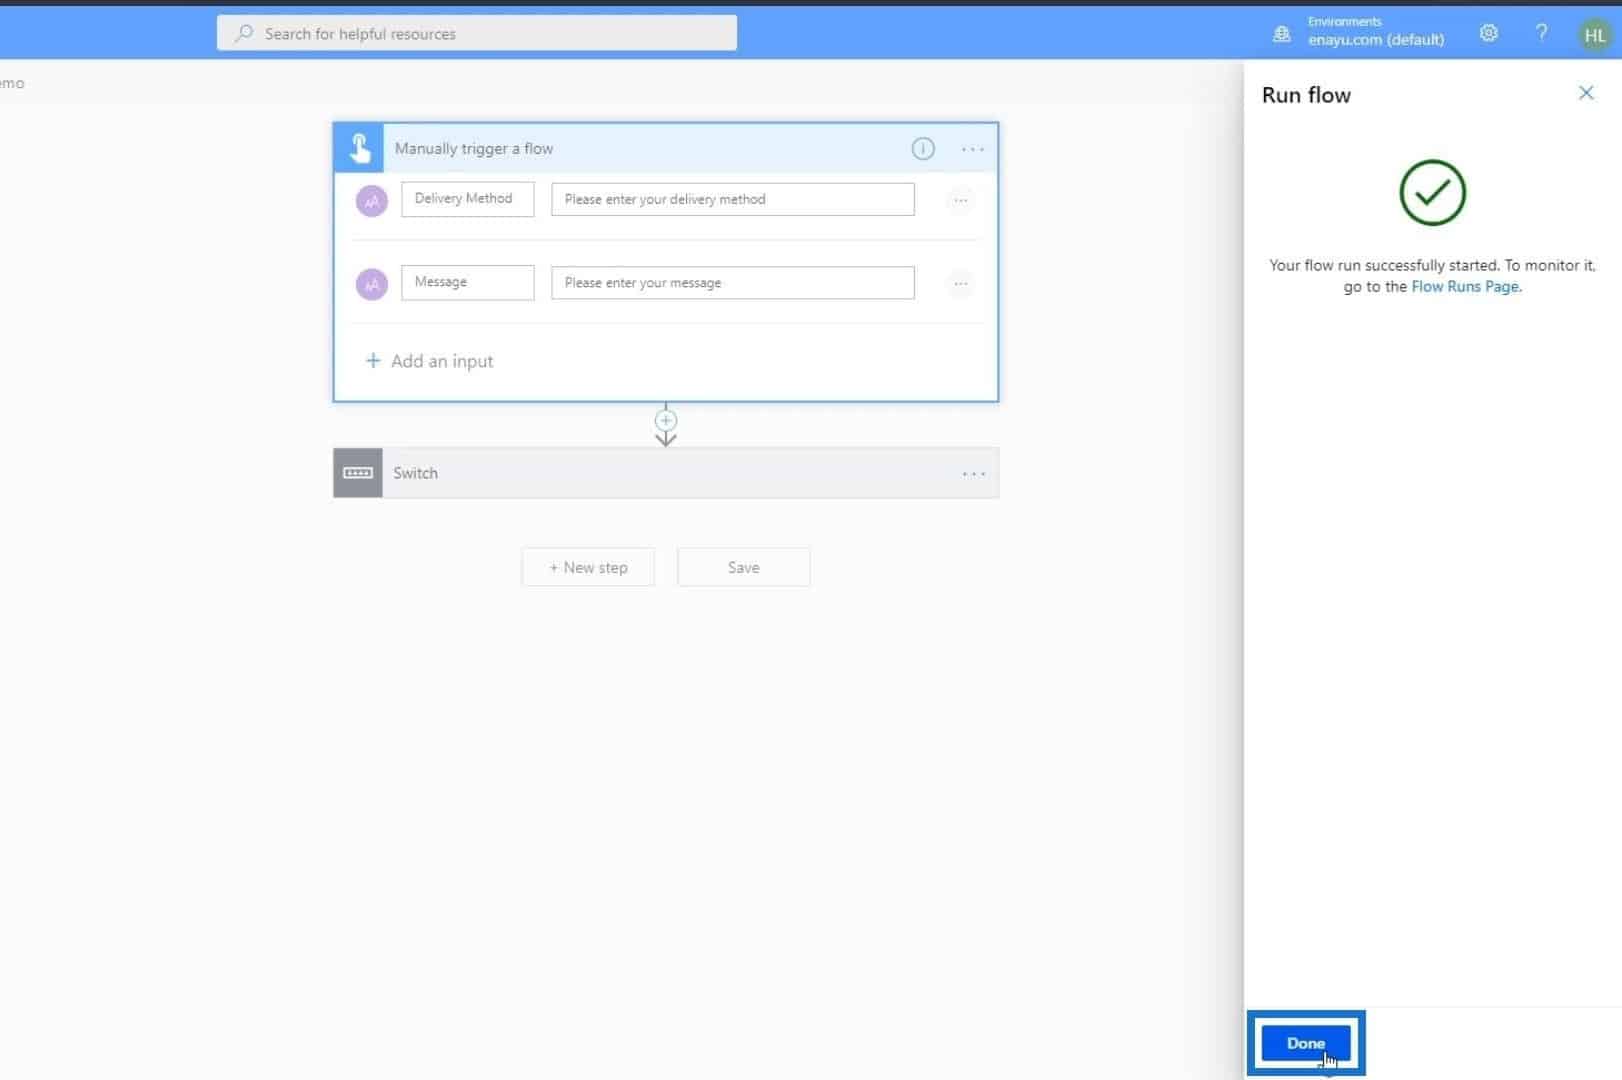
As we can see, the flow run was successful, and as users, we’d think that there’s nothing wrong with our input. Now, let’s click the Done button and check our Slack.

Upon checking Slack, the message we sent wasn’t there.
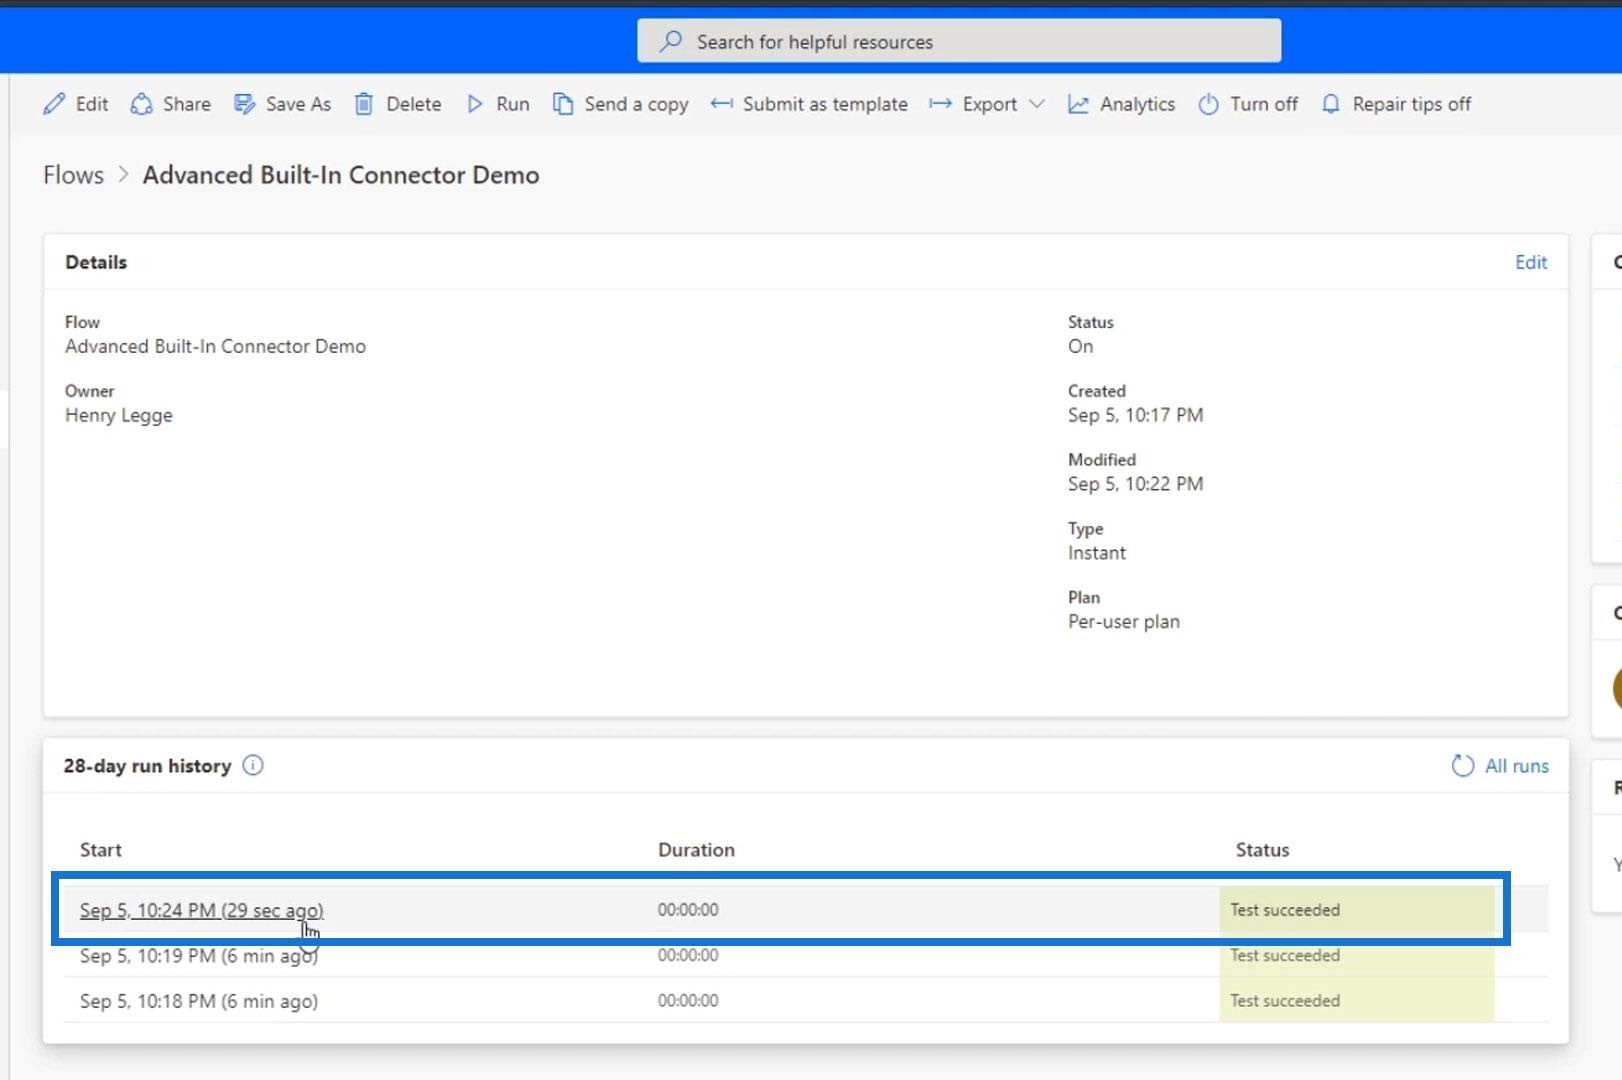
So, let’s go back to our flow to see what actually happened by clicking our last run.

In our flow, we’d find out that the Default case was executed because we misspelled the word “Slack”. Therefore, none of the cases matches the value we entered.
However, we didn’t set any action within the default case. Hence, the flow just succeeded. This is where the Terminate action control becomes useful. It forces the flow to end if it encounters a certain error. In this case, if the user entered a value that doesn’t match any of the cases, the default action should be Terminate with an error message.
Adding A Terminate Control In Power Automate
Let’s go back and click Edit.
Click the Switch statement.
Under the Default case, click the Add an action button.
Choose Control.
Then click Terminate.
The Terminate control gives us the option to set the status. We can set it to Failed, Succeeded, Cancelled, or even add a Custom Value. In this scenario, let’s set it to Failed.
We can also enter a code if we’re creating our own application documentation. For example, let’s type 1502 which is just a made-up code. Then add the error message.
Let’s now save it.
Testing The Terminate Control In Power Automate
Let’s rerun the flow and see what happens. First, click Test.
Choose the data from our most recent run. Then, click the Test button.
Obviously, our flow run failed.
If we go to the Default case, we’ll see that the terminated option still happened and we can also see what the message was.
The great thing about this is that the users immediately find out that the flow failed due to an error on their end. If we check our flow on the Details page, we’ll also see that it failed.
We can also make the error message more dynamic so the user knows what they did incorrectly. For example, we can type “You chose the word” and add the Delivery Method variable.
***** Related Links *****
Microsoft Flow HTTP Trigger | A Power Automate Tutorial
Flow Diagrams And Flow Detail Page In Power Automate
Microsoft Flow Approval With Multiple Options
Conclusion
All things considered, the Terminate action control is indeed an essential element in Power Automate. There are times when user inputs don’t meet certain conditions and we tend to leave the flow like that.
We can just use the Terminate control to properly end a flow run by declaring that it wasn’t successful. We can also configure the flow run of Terminate based on the status of our previous runs.
There are a lot of cool things that we can do here, but this is just one example of its usage. I hope this helps.
All the best,
Henry


