In this tutorial, we’ll discuss the usage of on-premises data gateway in Power Automate. This is essential when integrating UI flows to any other Power Automate flows.
On-premises data gateway allows Power Automate to access desktop applications when the user is away from the computer.
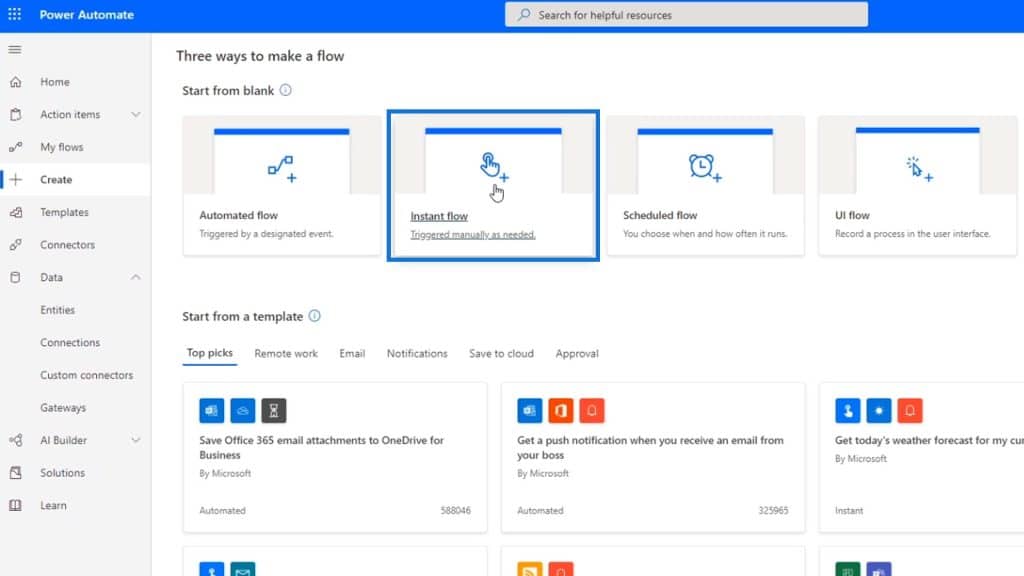
Creating An Instant Flow
First, let’s create an instant flow with some UI concepts.
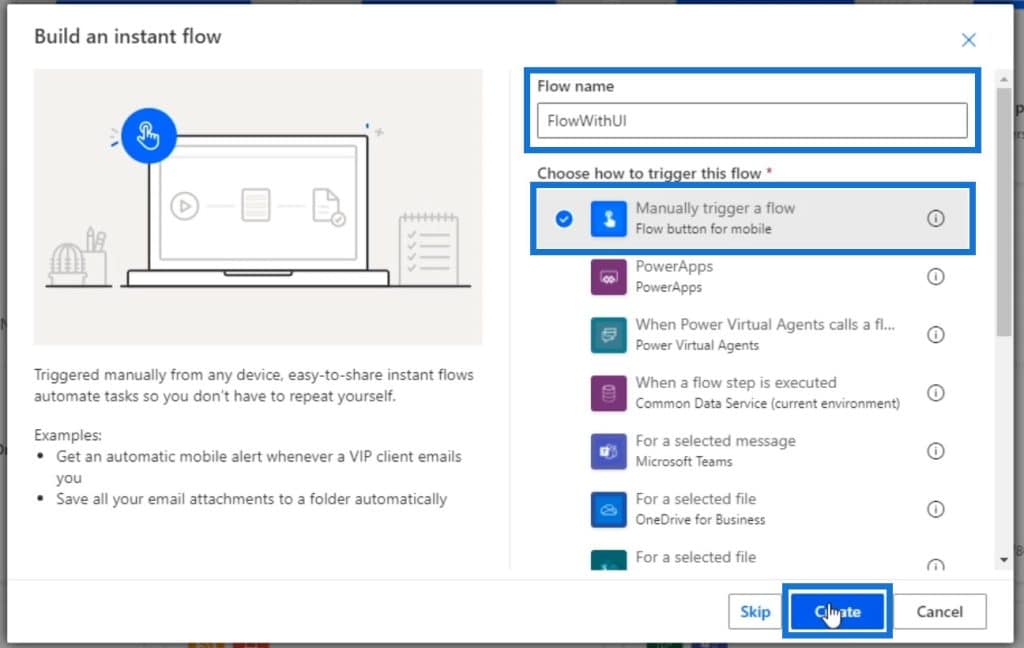
Set the name to “FlowWithUI” and choose the Manually trigger a flow option. Then, click Create.
After that, click New Step.

Search and select the UI flows connector.

This connector provides two actions. For this example, select the action that uses a Windows recorder.

As we can see, it requires a data gateway to connect to. This is because we’re now creating a UI flow that can be executed as part of a general flow.

Since Power Automate knows that it might need to access our desktop when we’re not around, it wants permission to automatically access our desktop apps. Let’s now set up an on-premises data gateway to our computer.
Setting Up An On-Premises Data Gateway
First, let’s click the Learn more link.

Then, we’ll be redirected to the documentation page for installing an on-premises data gateway.
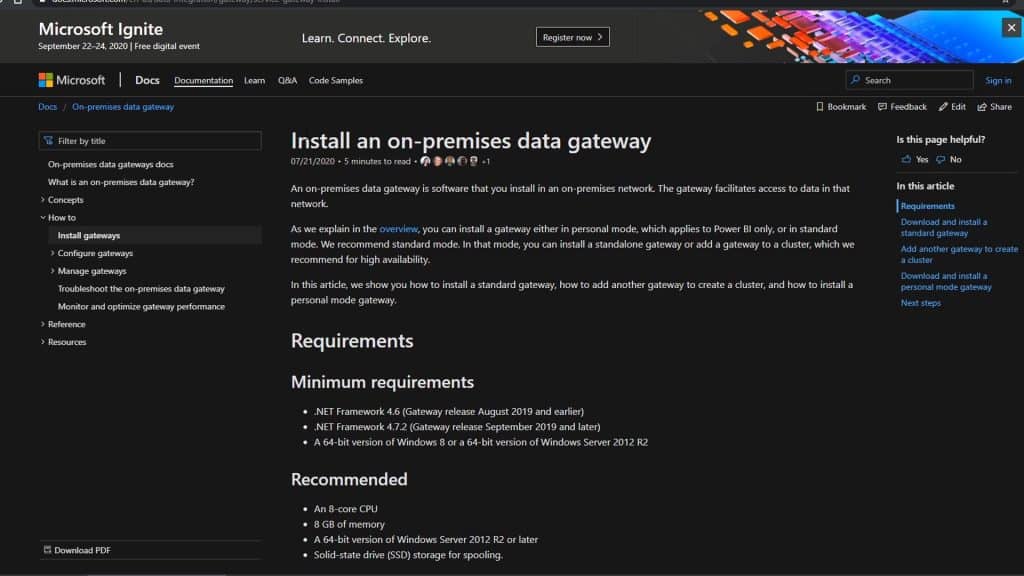
We just need to follow the given instructions properly.
1. Downloading The On-Premises Data Gateway
First, we need to download the standard gateway application by clicking it.
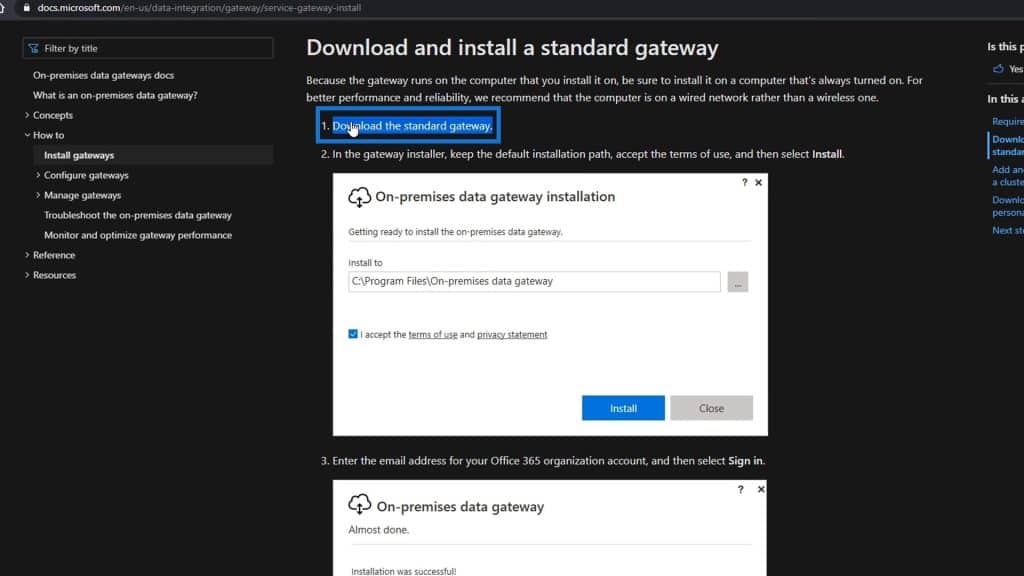
Once clicked, it’ll download the executable file. Click the downloaded file to open it.
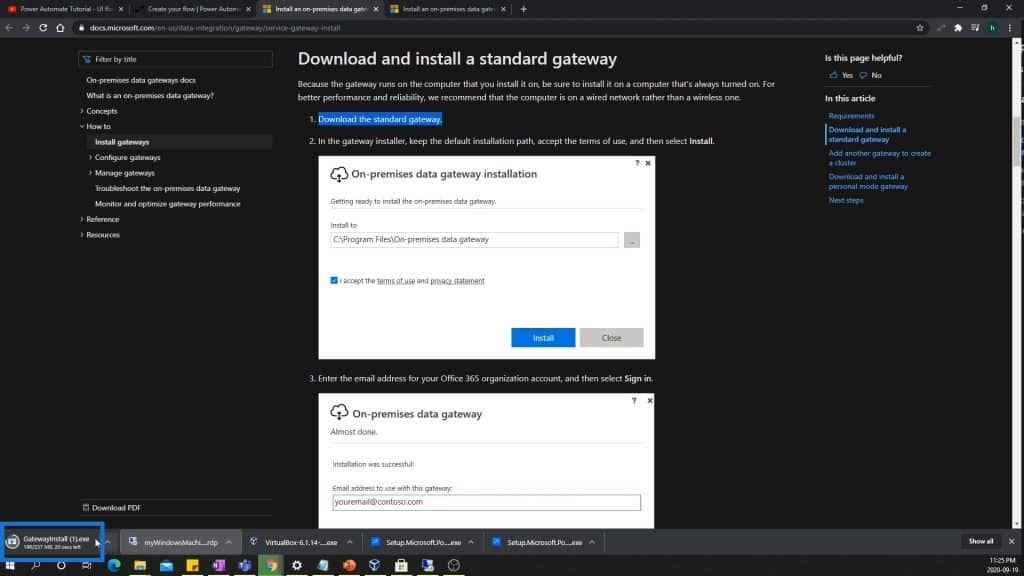
Then, it’ll ask us where we want to save the gateway. For now, we’ll just save it in the default location and accept the terms of use and privacy statement. After that, click the Install button.
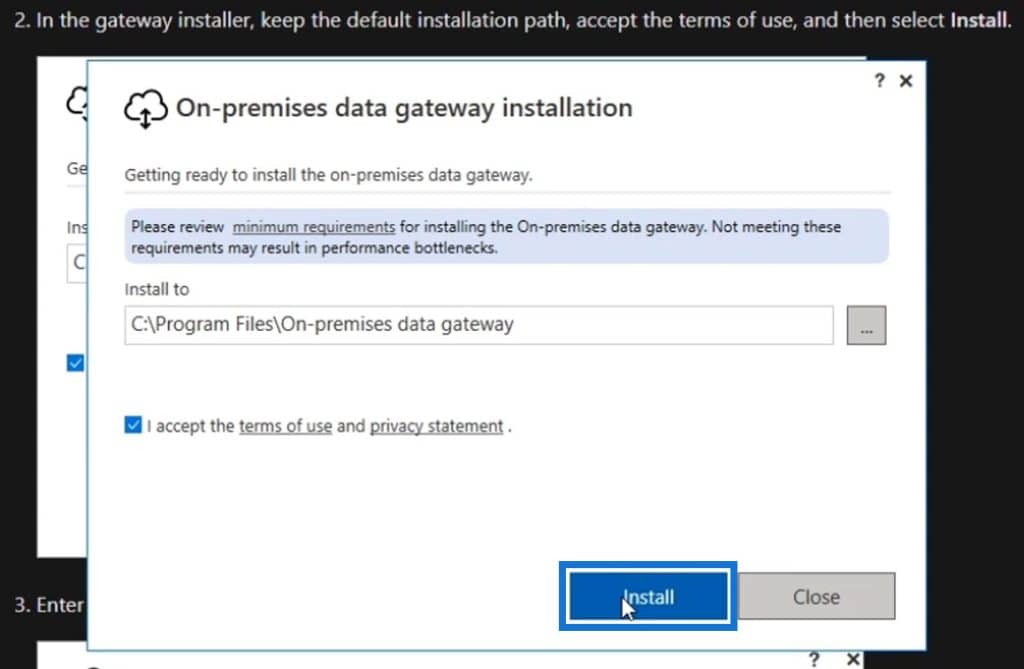
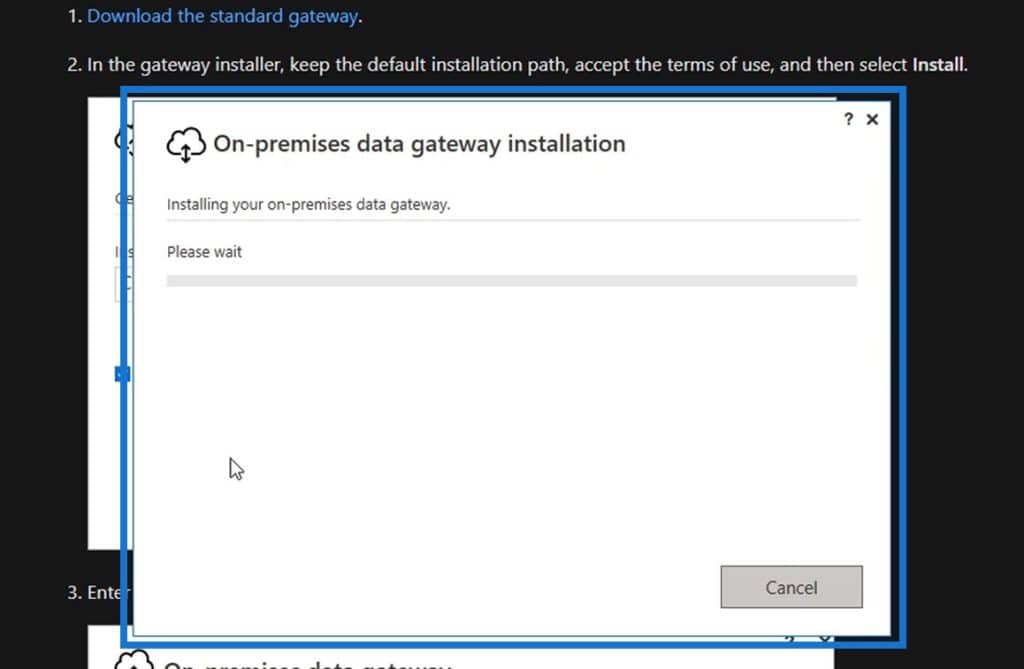
Then the installation begins.
2. Signing Into Our Microsoft Account
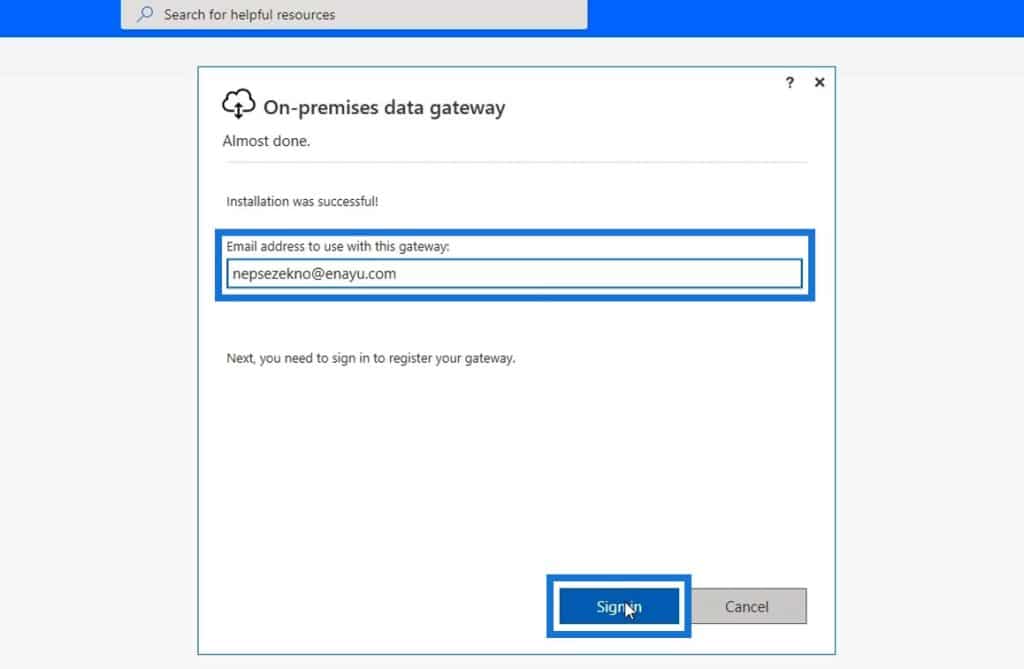
Once the installation is successful, it’ll ask us to enter an email address to use with the gateway. Keep in mind that we need to use the same email address that we used when logging into Power Automate. For this example, I’ll be copying this email address that I used in my Power Automate account.
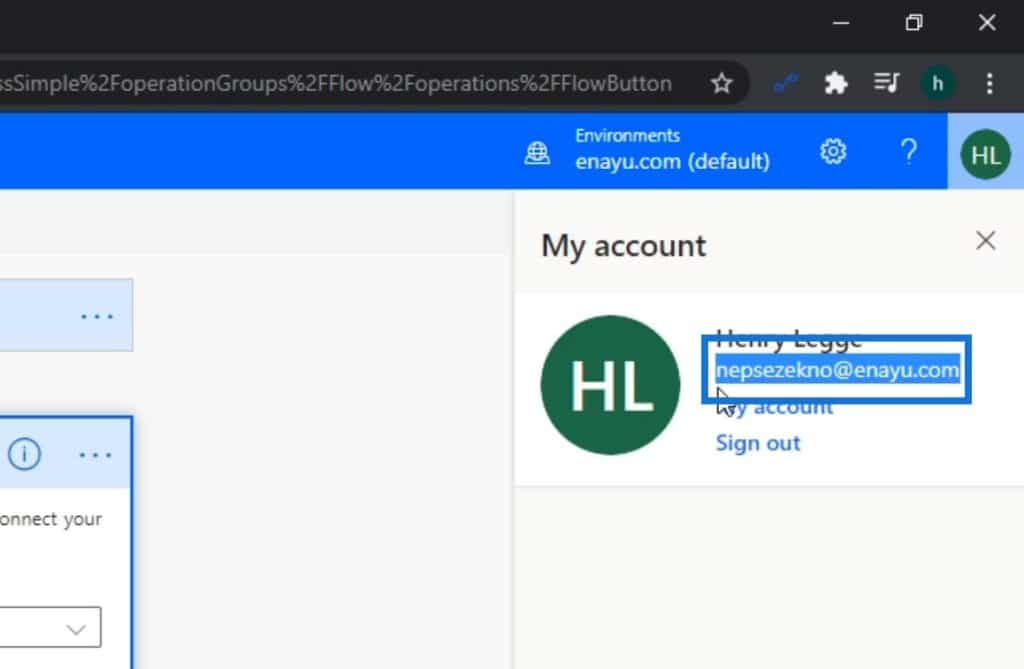
Then, paste the email address and click Sign in.
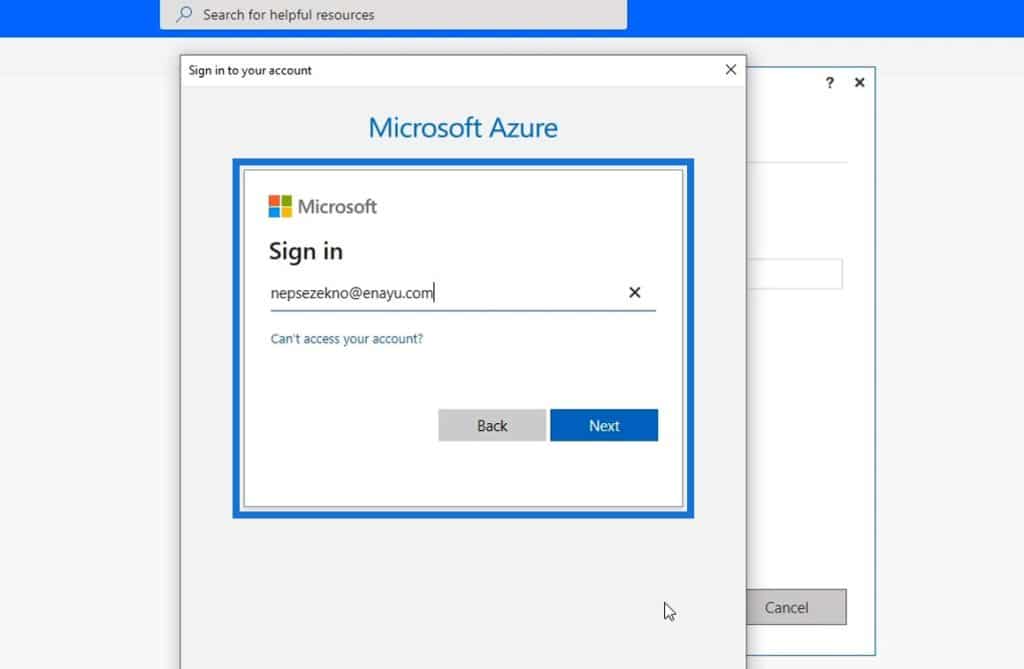
After that, we need to sign in to our Microsoft account.
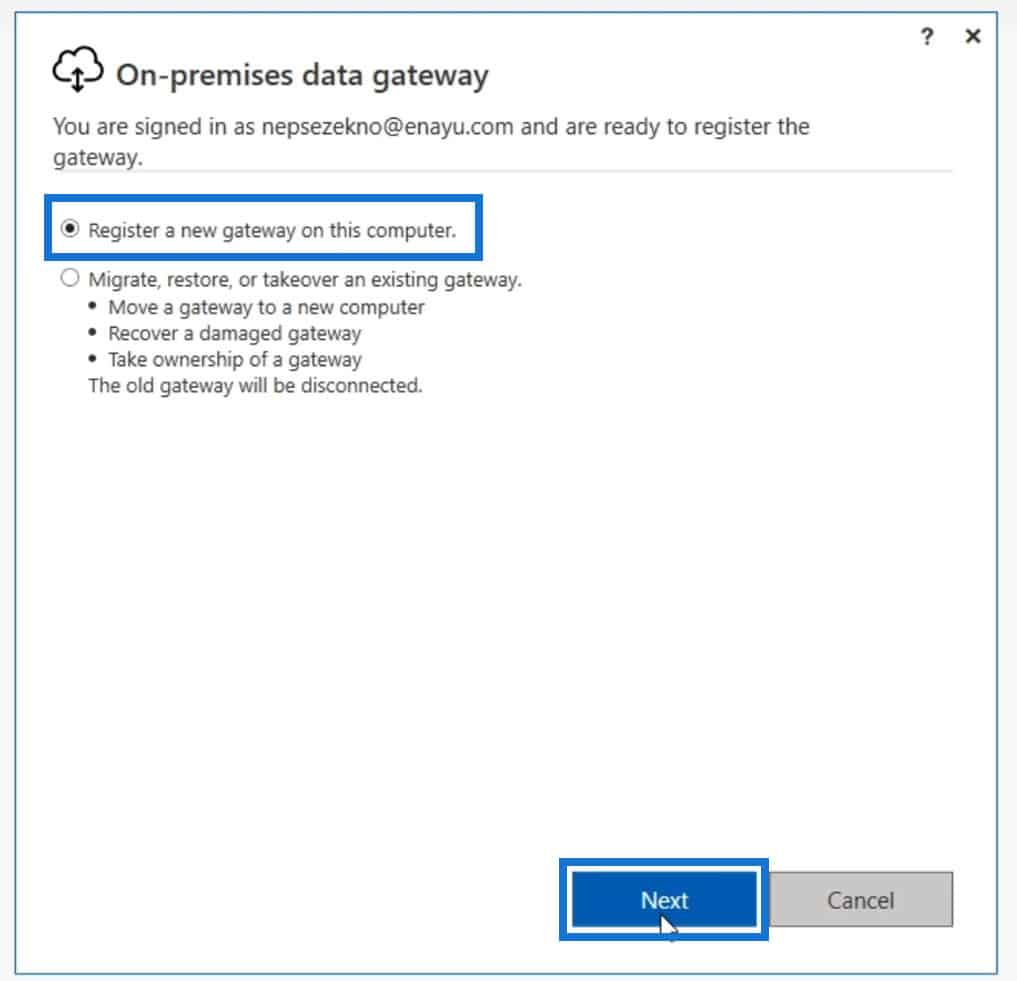
Select the Register a new gateway on this computer option. Then click Next.
3. Configuring The On-Premises Data Gateway
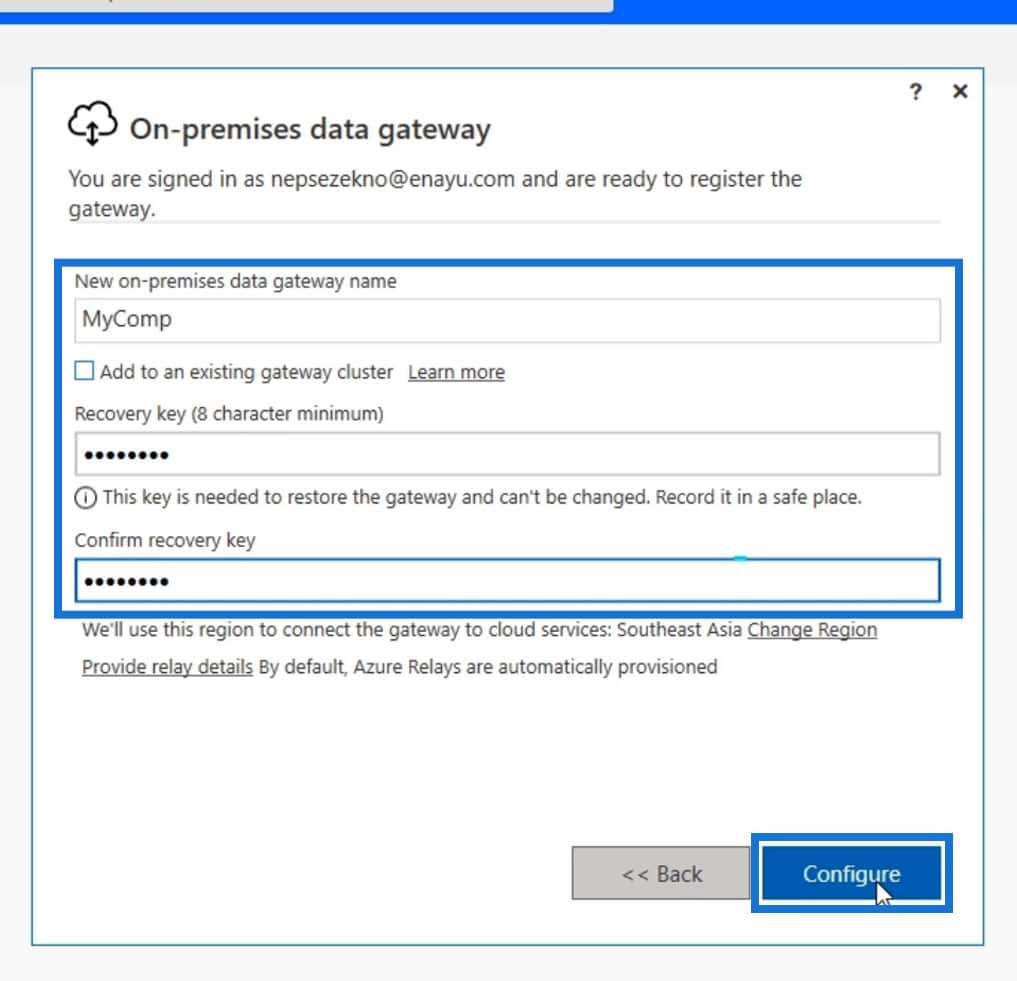
We need to set a name for the on-premises data gateway. You may call it whatever you want, but for this example, I’ll just name it as MyComp. We also need to set a Recovery key which needs to be noted properly and remembered easily.
This is because it’s needed to restore the gateway and can’t be changed. Hence, we have to record or store it in a safe place and make sure that it’s something we can easily remember. After setting those up, click Configure.
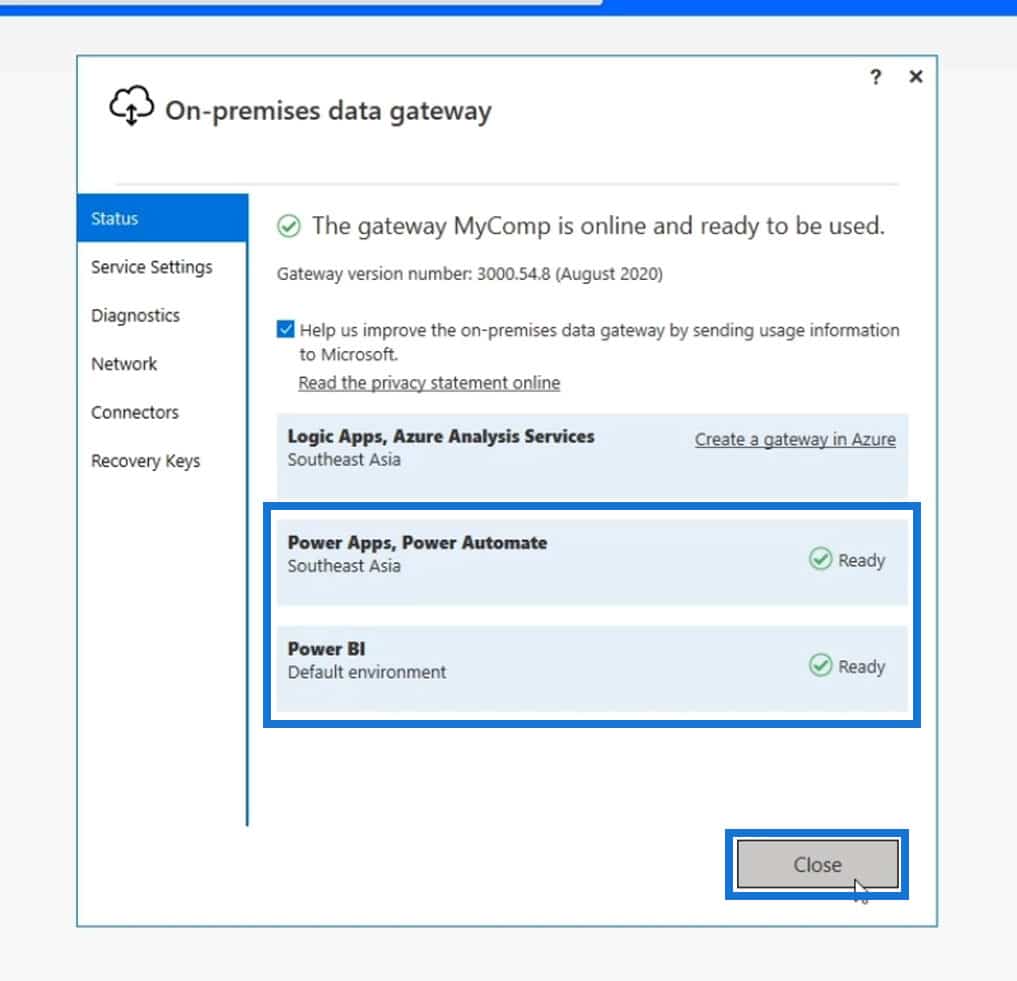
Finally, it’ll prompt us that our on-premises data gateway is online and ready to be used. Just make sure that the two boxes are marked as Ready, then click Close.
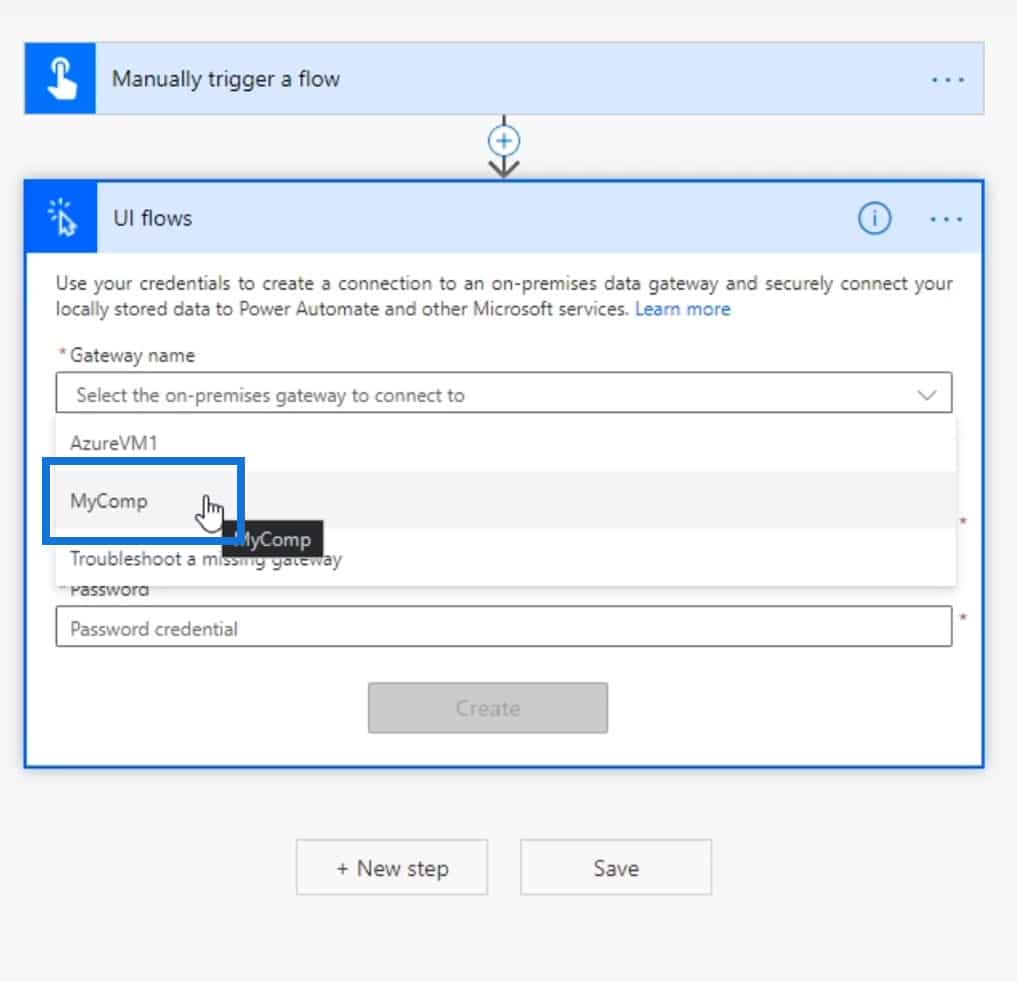
Now, once we redo the UI flows step, we should be able to see the MyComp option from the Gateway name dropdown list.
Logging Into The Data Gateway
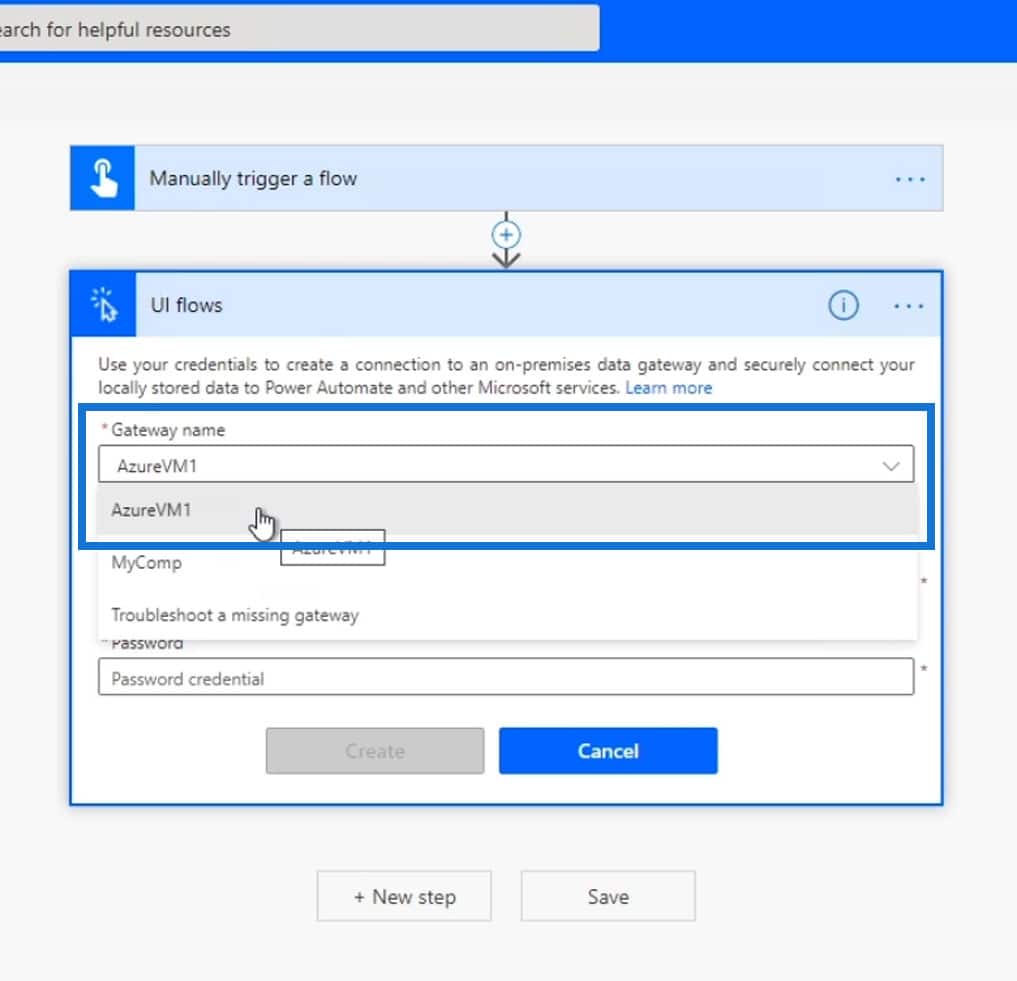
Let’s now log into our data gateway. For this example, I used my AzureVM1 instead of the sample gateway that we previously created. It doesn’t really matter what gateway we choose. In my case, I have two computers and I prefer to use my AzureVM1.
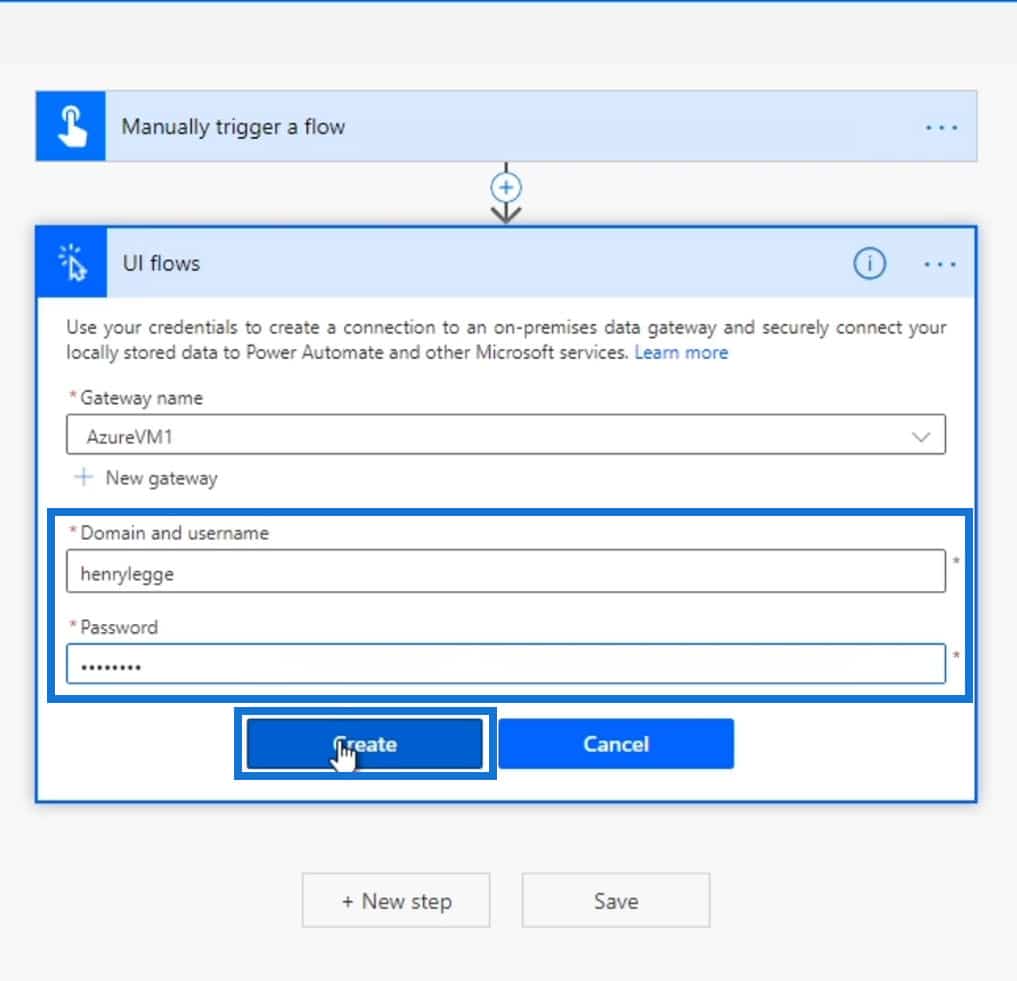
Then we need to enter our username and password to the Windows computer where we set the gateway up. Therefore, this isn’t our Power Automate account. It should be the actual Windows credentials (username and password) in the desktop/personal computer that we’re currently using. After entering those two, click the Create button.
Once we see this page, it means we’ve successfully logged in to the gateway and we can now proceed to the next steps.
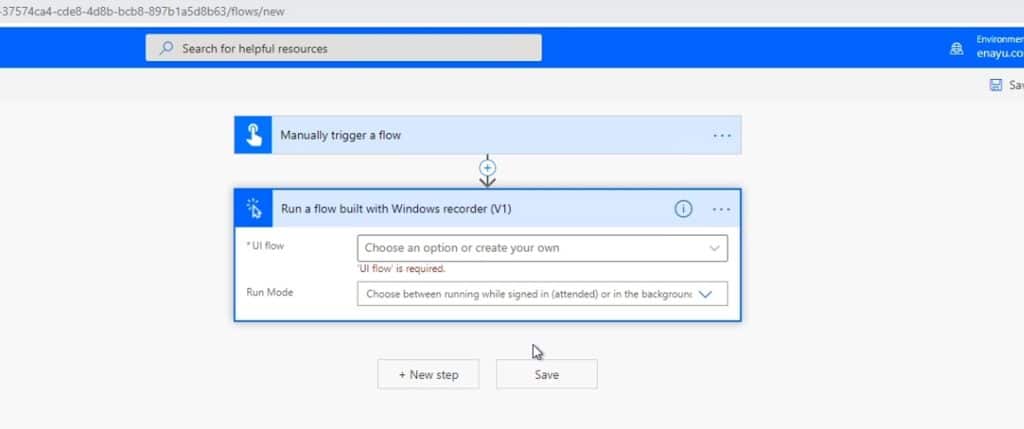
Configuring The UI Flow step
After logging into the gateway, we need to choose a UI flow we’ve already created, or just create a new UI flow. For this example, let’s use a UI flow that we’ve previously created.
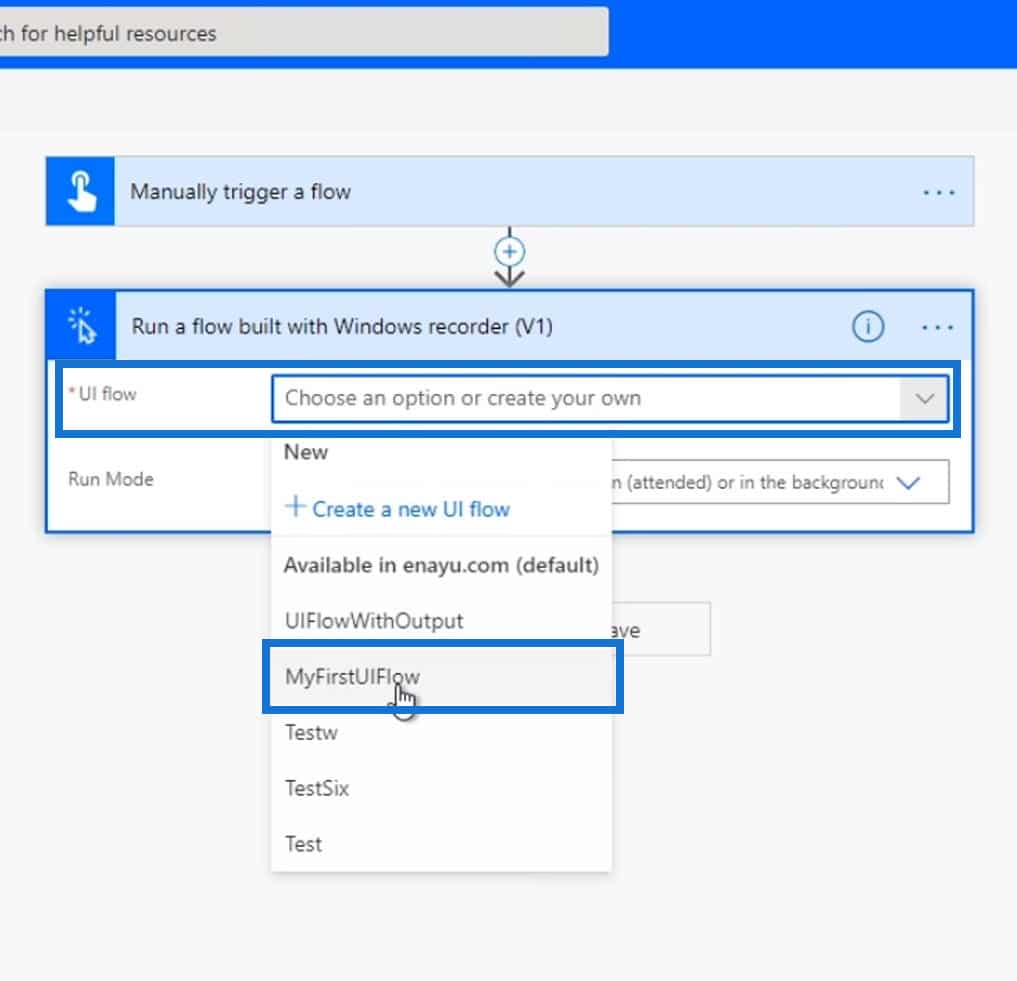
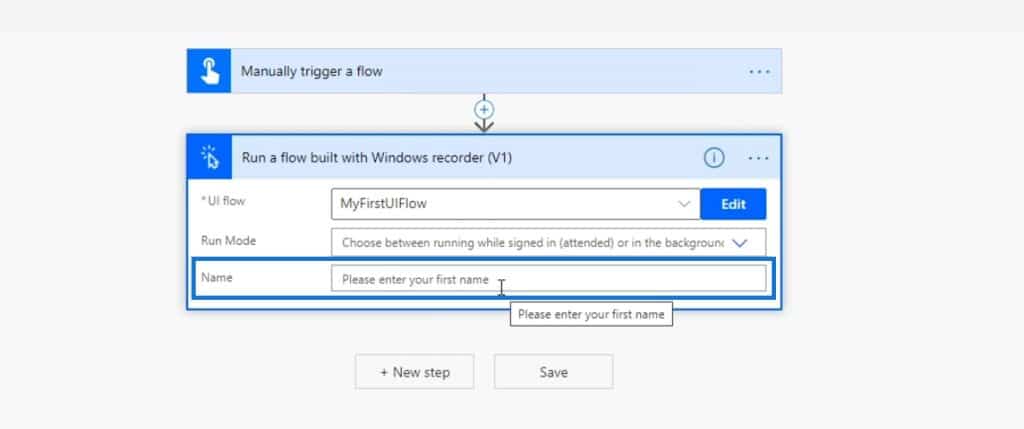
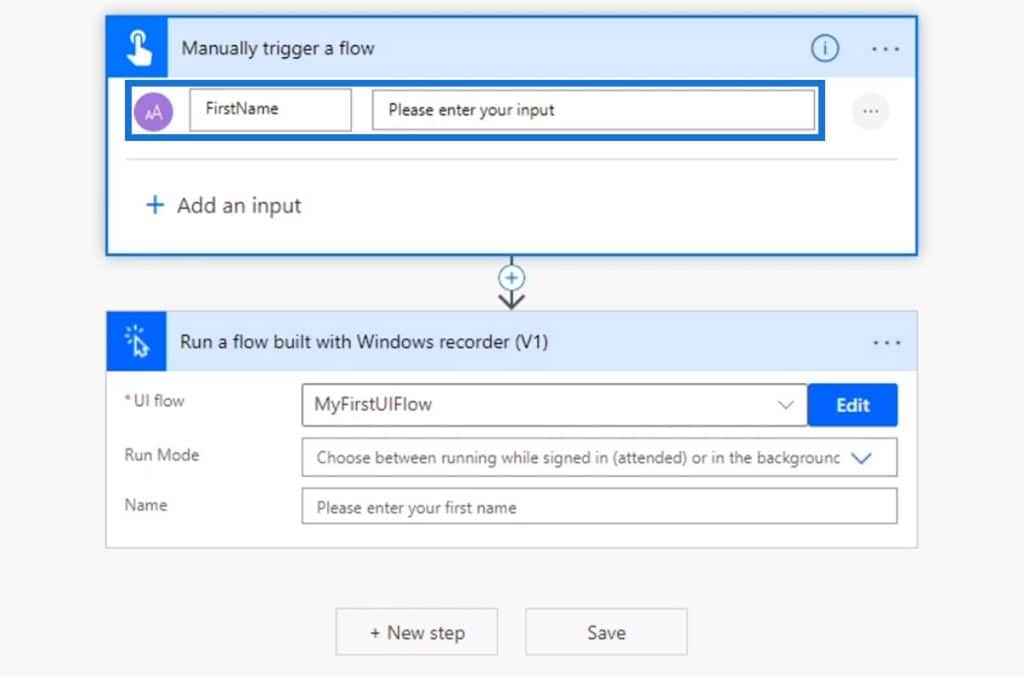
The UI flow that we’ve selected requires an input called Name. That’s why it automatically displayed the Name field for this step.
Let’s now add another Text input as we manually trigger this flow.
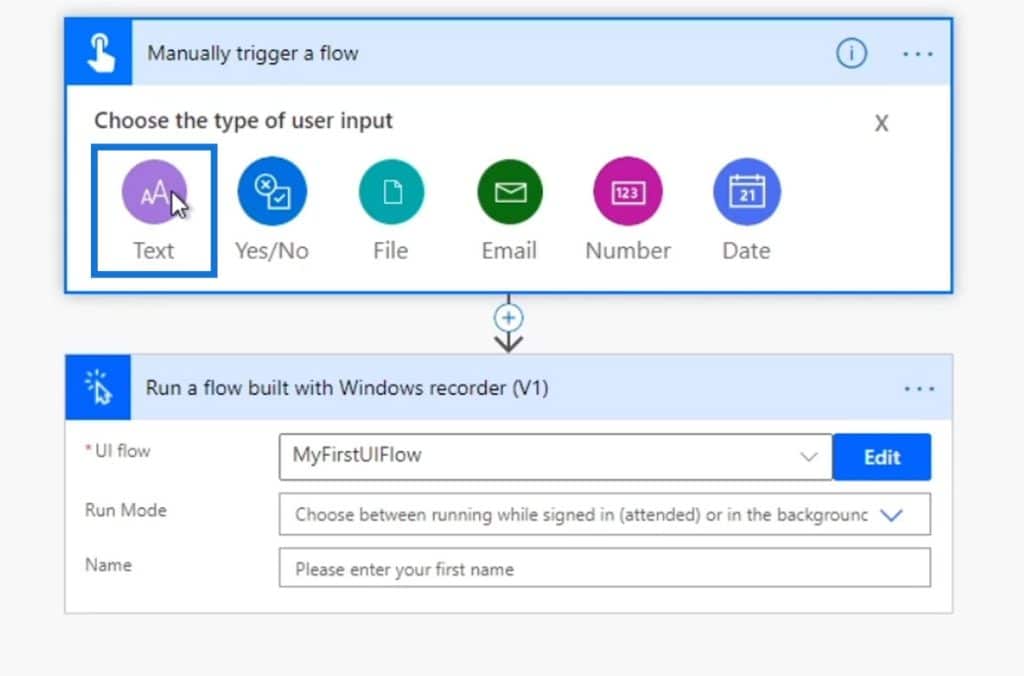
We’ll ask the user to enter their first name.
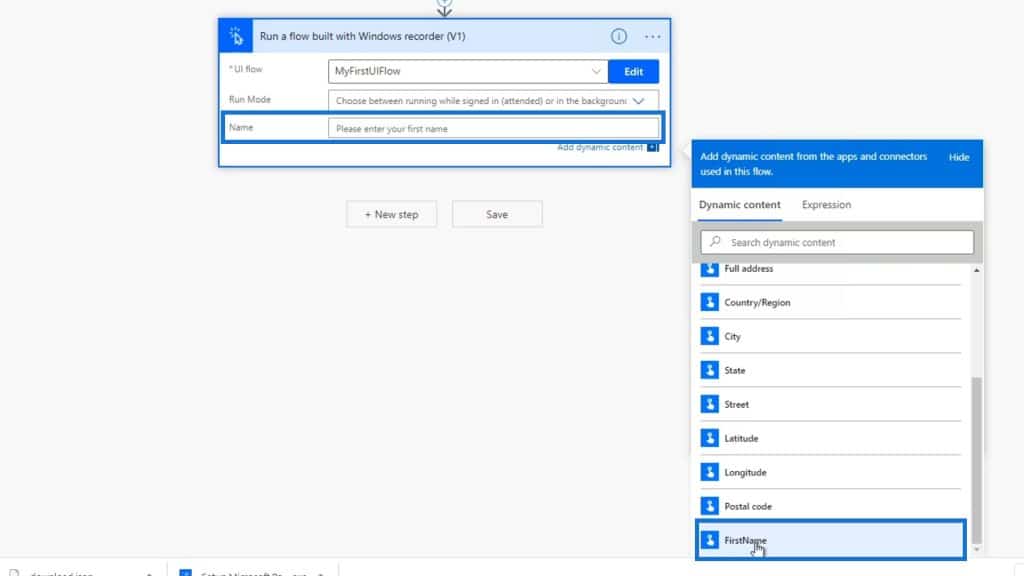
Then we’ll pass the dynamic content of the FirstName variable into the Name field.
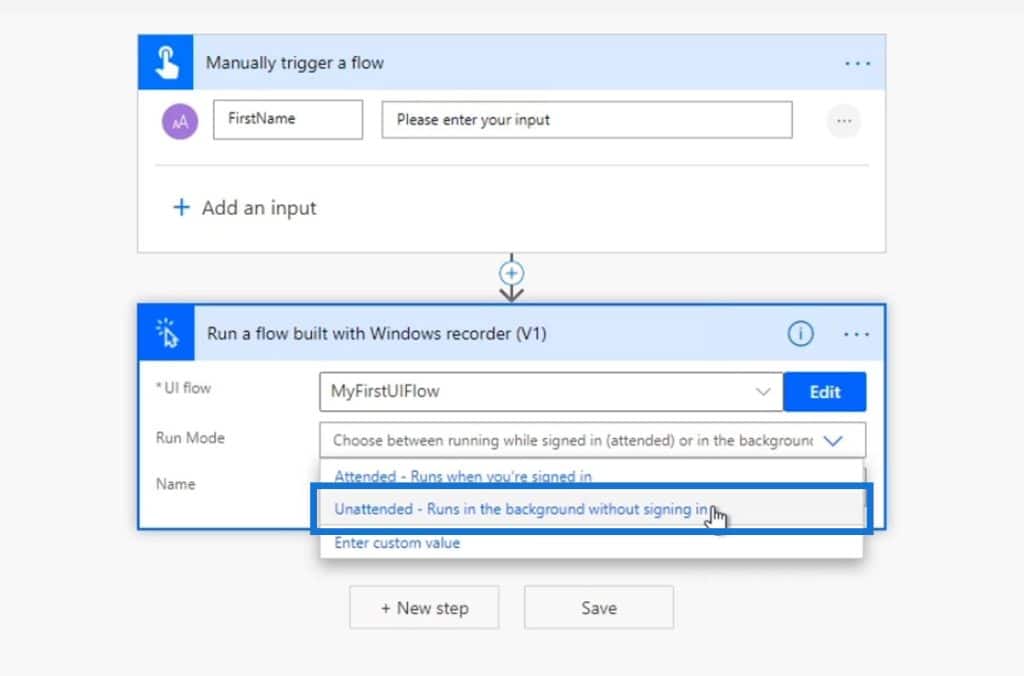
After that, we need to choose between running the flow while signed in or in the background. Let’s choose the Unattended option so the flow can run in the background without signing in.
And now we’ve integrated a UI flow into a simple and more general Power Automate instant flow. Let’s see how this works.
Testing The Flow
First, click Save.
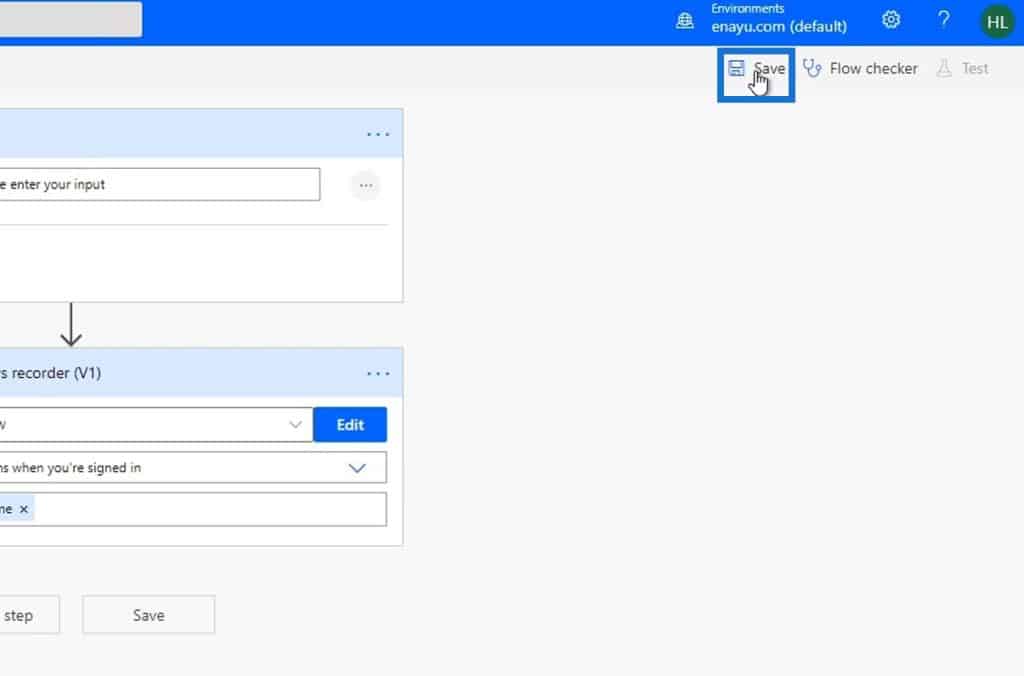
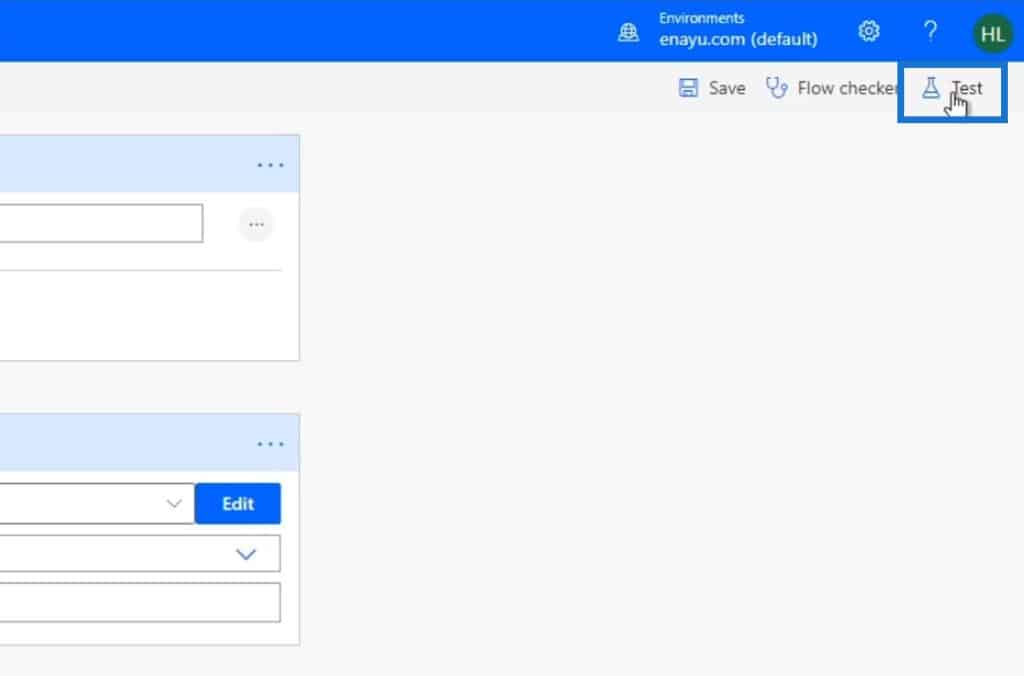
Then click Test.
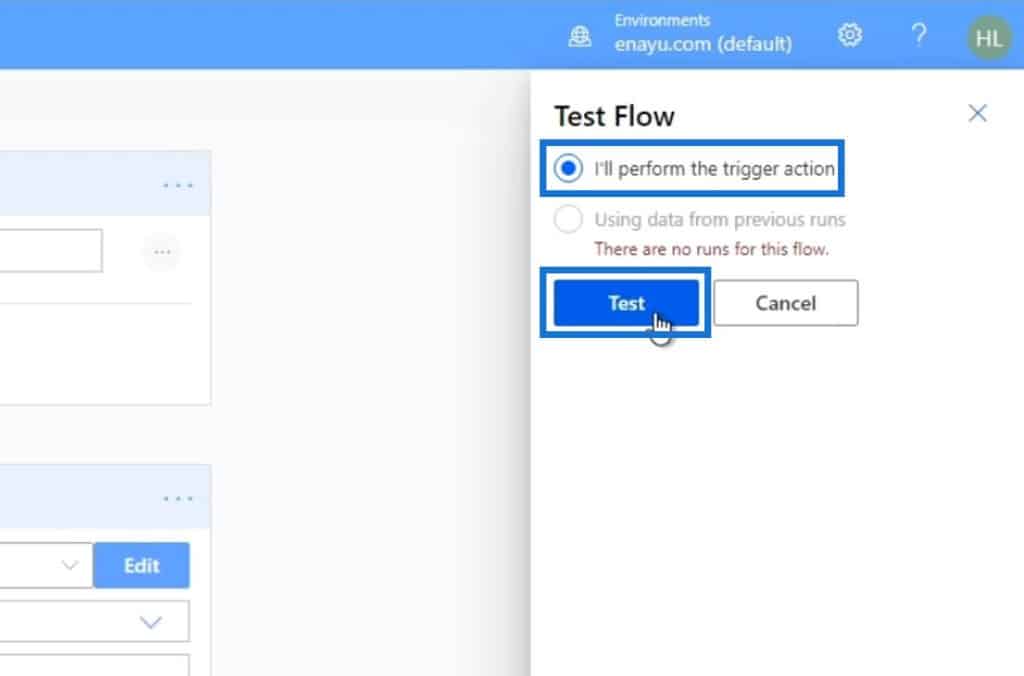
Select the I’ll perform the trigger action option then click Test.
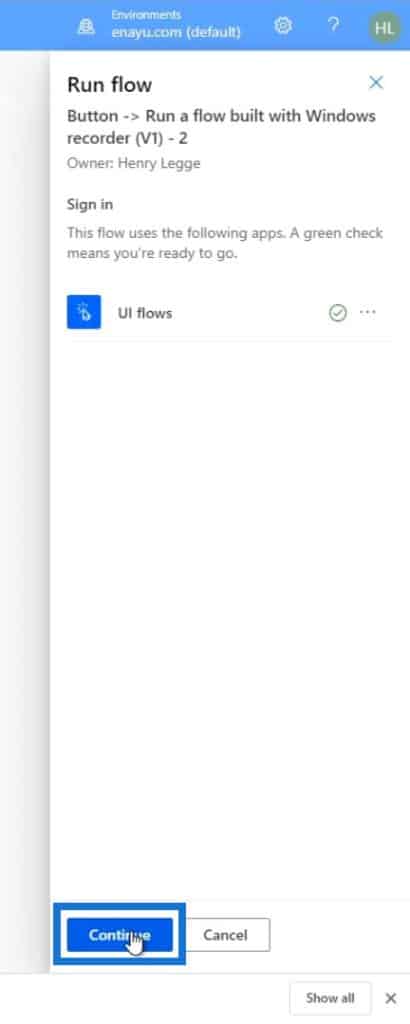
Click Continue.
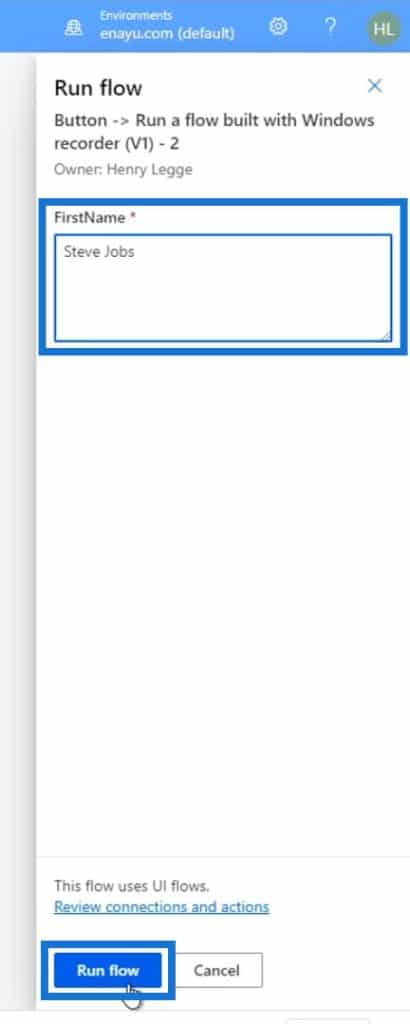
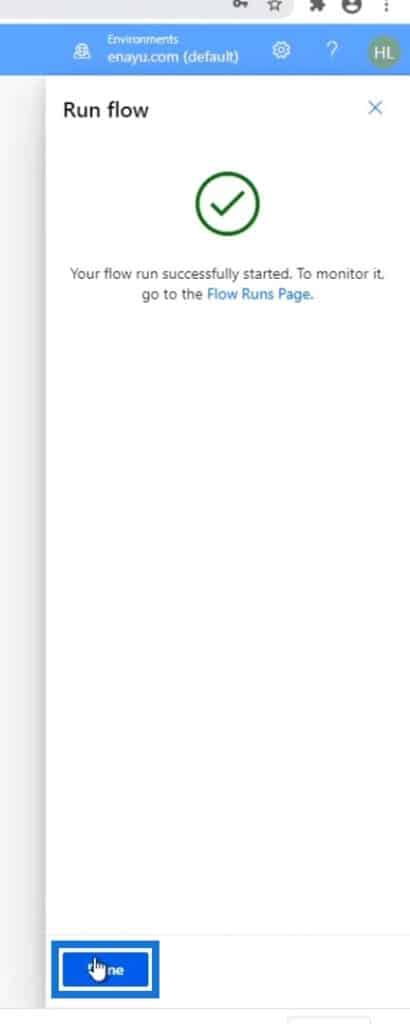
I know it only requires a first name, but let’s just use Steve Jobs. Then click the Run flow button.
Lastly, click Done.
Once that’s done, the UI flow automatically opens up the notepad and displays “Hey my name is Steve Jobs“.
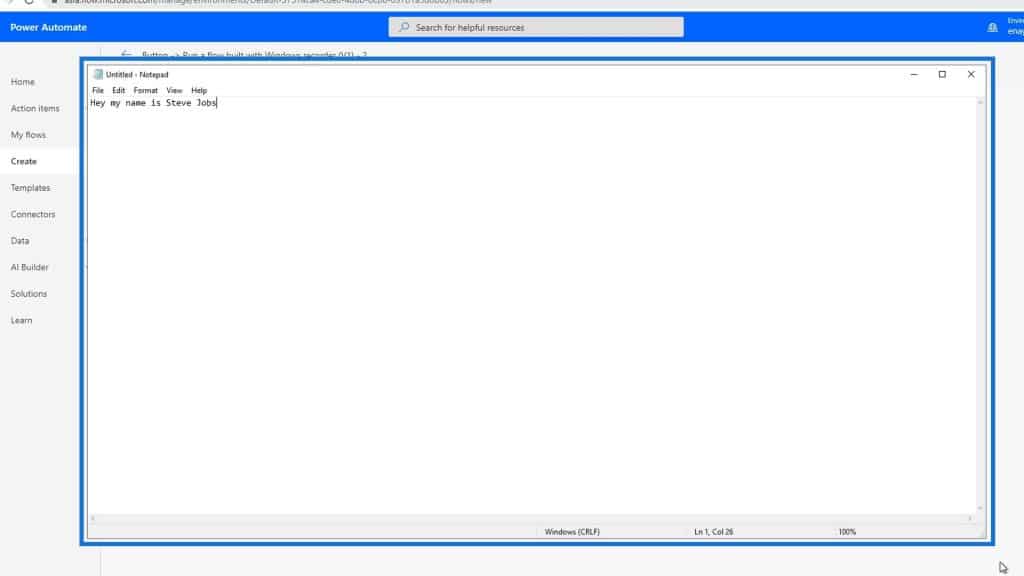
This means our flow was able to run successfully.
***** Related Links *****
UI Flow Inputs In Microsoft Power Automate
UI Flow Outputs In Power Automate
PowerApps Integration In Microsoft Power Automate
Conclusion
Generally, we’re able to integrate a UI flow into another Power Automate flow. We can do even more complex steps or actions with this technique, but for now, I’d just like to go over the sequential steps that are essential for the integration.
Again, our computer still needs to be turned on all the time and connected to the internet in order for this to run. But now that we have the gateway, it allows Power Automate to access our desktop whenever we’re not around or if we’re logged in on a different desktop user account.
All the best,
Henry


