
As a data analyst or a spreadsheet enthusiast, you’re probably familiar with the many ways Excel can make your life easier.
Knowing how to take a quick screenshot in Excel is a gamechanger.
The best part? It’s easy.

To take a screenshot in Excel, go to the Insert tab on the ribbon, click on the Screenshot icon in the Illustrations group, and choose either Screen Clipping or Available Windows.
Screen Clipping will allow you to select and capture a specific part of your screen, while Available Windows will let you capture one or more open windows or applications.
But wait, there’s more.
In this article, we’ll take a closer look at how to take screenshots in both Windows and Mac versions of Excel, along with some other tips to enhance your Excel experience.
Let’s dive in!

How to Use the Screenshot Tool in Excel
Microsoft Excel offers a powerful screenshot tool that allows you to easily capture and insert images of other windows, including other Office applications like Word or PowerPoint.

To use the screenshot tool in Excel, follow the steps below:
Open your Excel file and navigate to the tab where you want to insert the screenshot.
Click on the Insert tab on the ribbon.
In the Illustrations group, click on the Screenshot button.
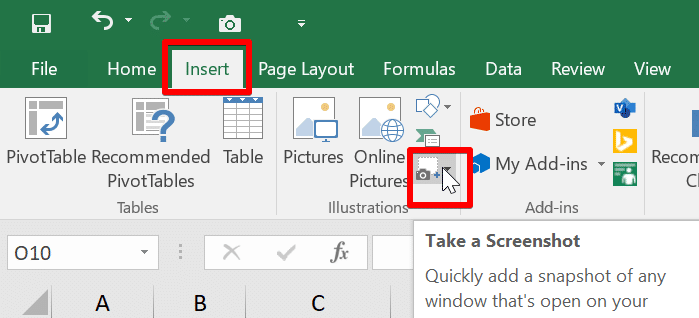
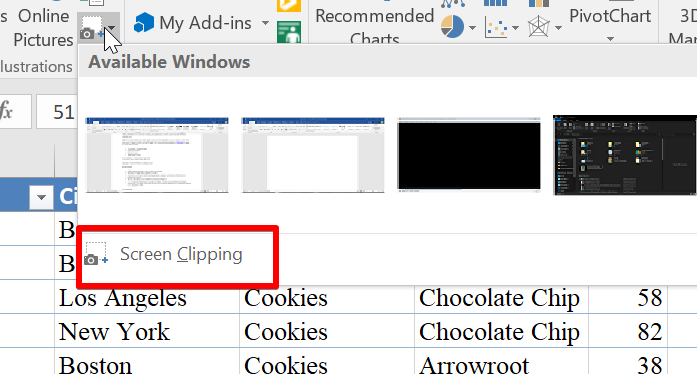
You’ll see two options: Screen Clipping and Available Windows.
–Screen Clipping allows you to capture a specific portion of your screen, including any open windows or applications.
–Available Windows allows you to capture an image of any open Windows or applications.

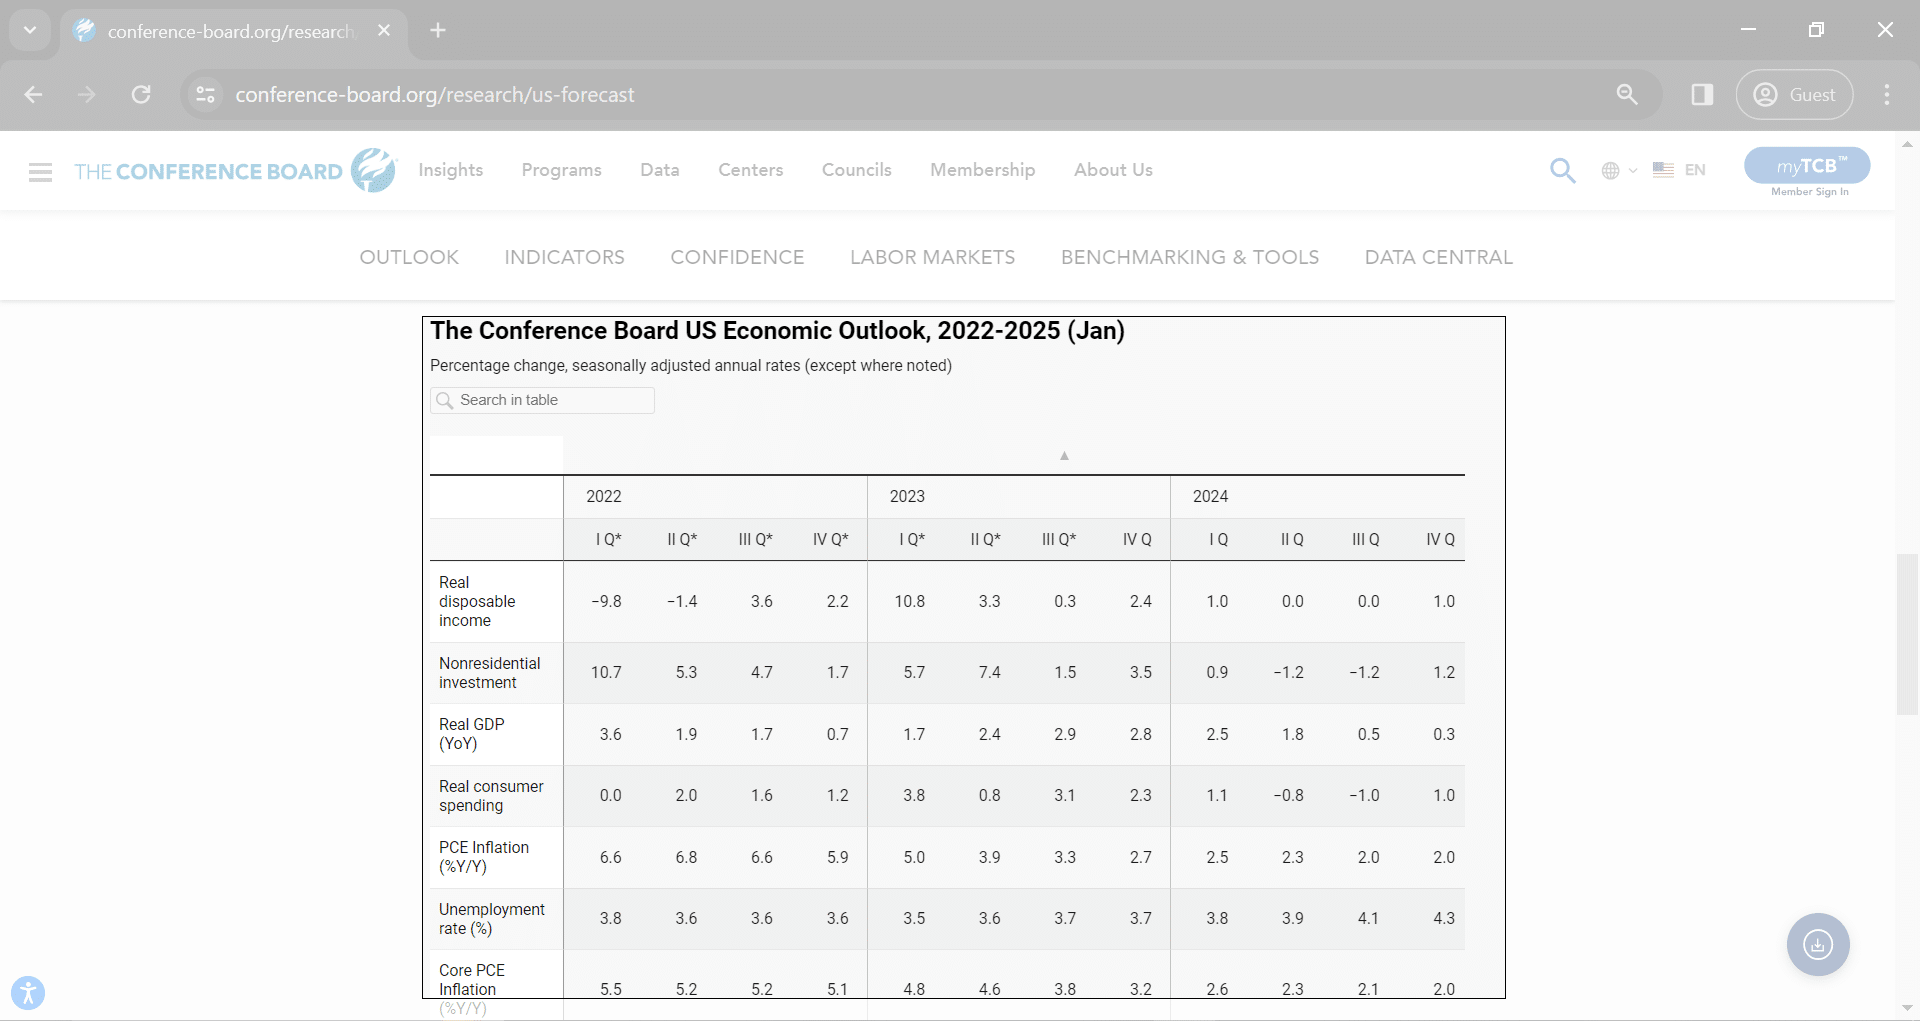
If you choose the Screen Clipping option, Excel will minimize, and your screen will be temporarily overlaid with a transparent layer. Simply click and drag your left mouse button to select the area you want to capture.
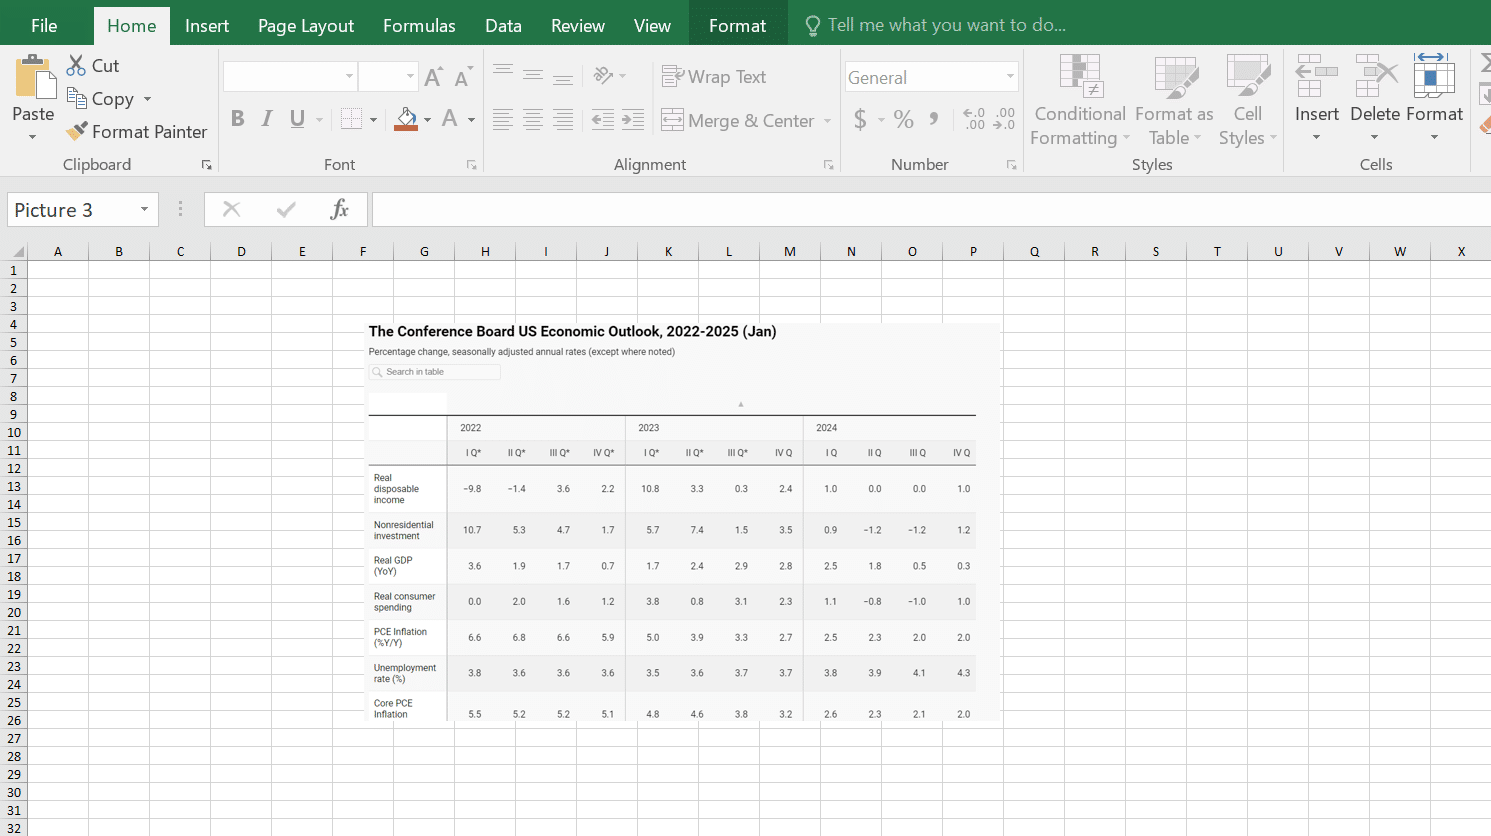
Once you release the mouse button, the selected area will be inserted as a picture in your Excel sheet.
If you choose Available Windows, Excel will display a list of all the currently open windows or applications. Simply click on the window you want to capture, and it will be inserted as a picture in your Excel sheets.
By using the screenshot tool, you can easily capture and insert images of other windows, making it a valuable feature for creating dynamic and visually appealing spreadsheets.
How to Take Screenshots With the Camera Tool In The Excel
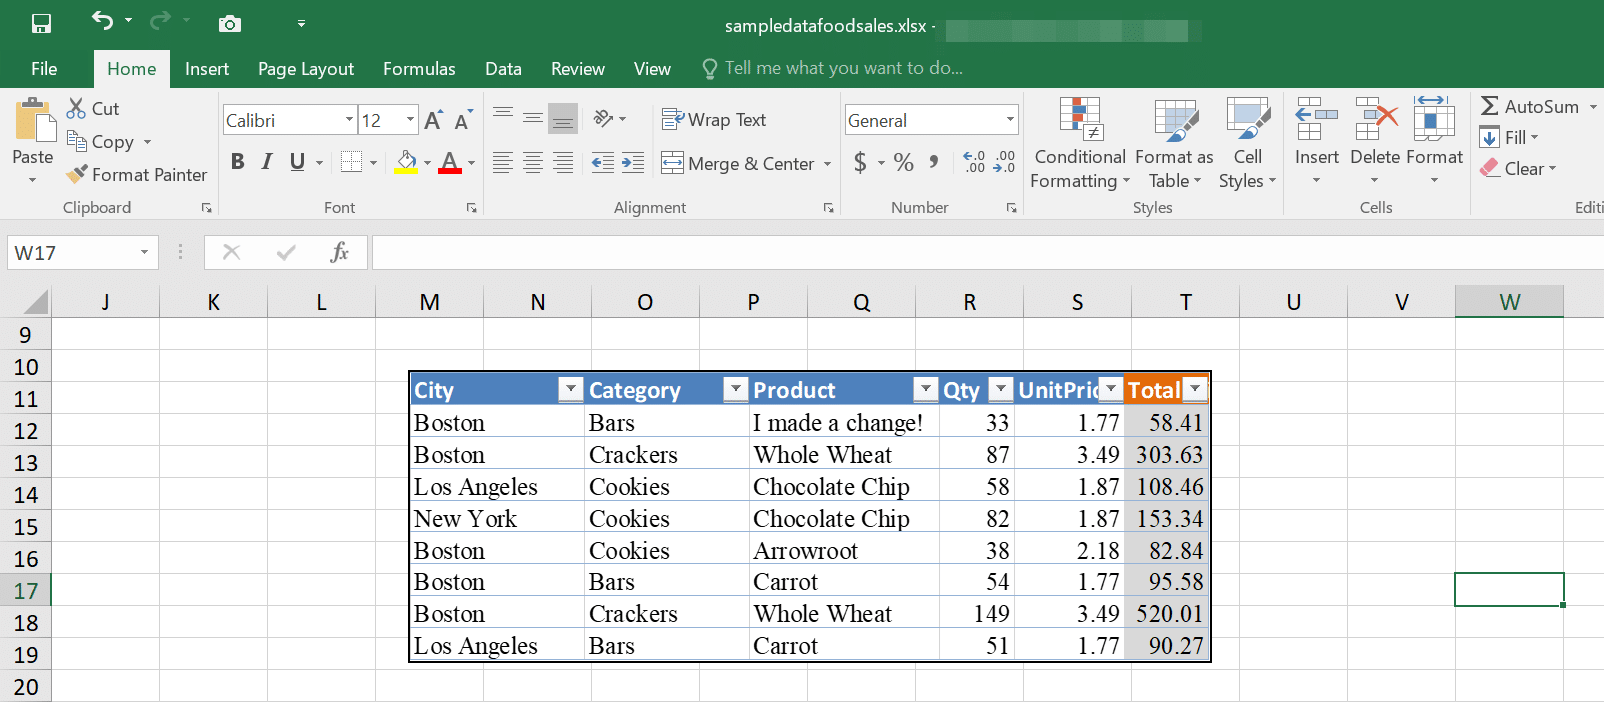
The Camera tool is another great way to take screenshots in Excel. The best part about this tool is that it takes “linked” screenshots.
This means that if you update your Excel spreadsheet after taking the screenshot, the change will be reflected in the screenshot no matter where it is in your workbook. Here’s how you can use it:
Step 1: Add the Camera Tool to the quick Access bar:
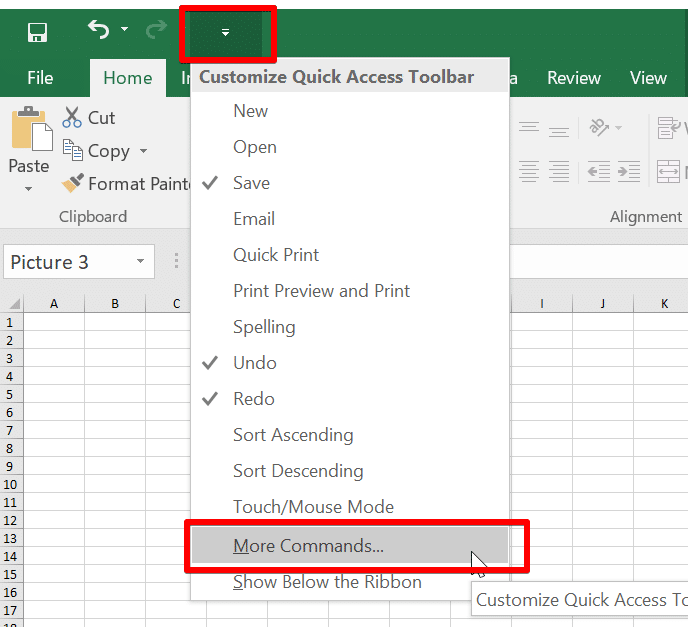
Navigate to Excel’s Quick Access toolbar
Click on the Customize Toolbar Icon and select More Commands.
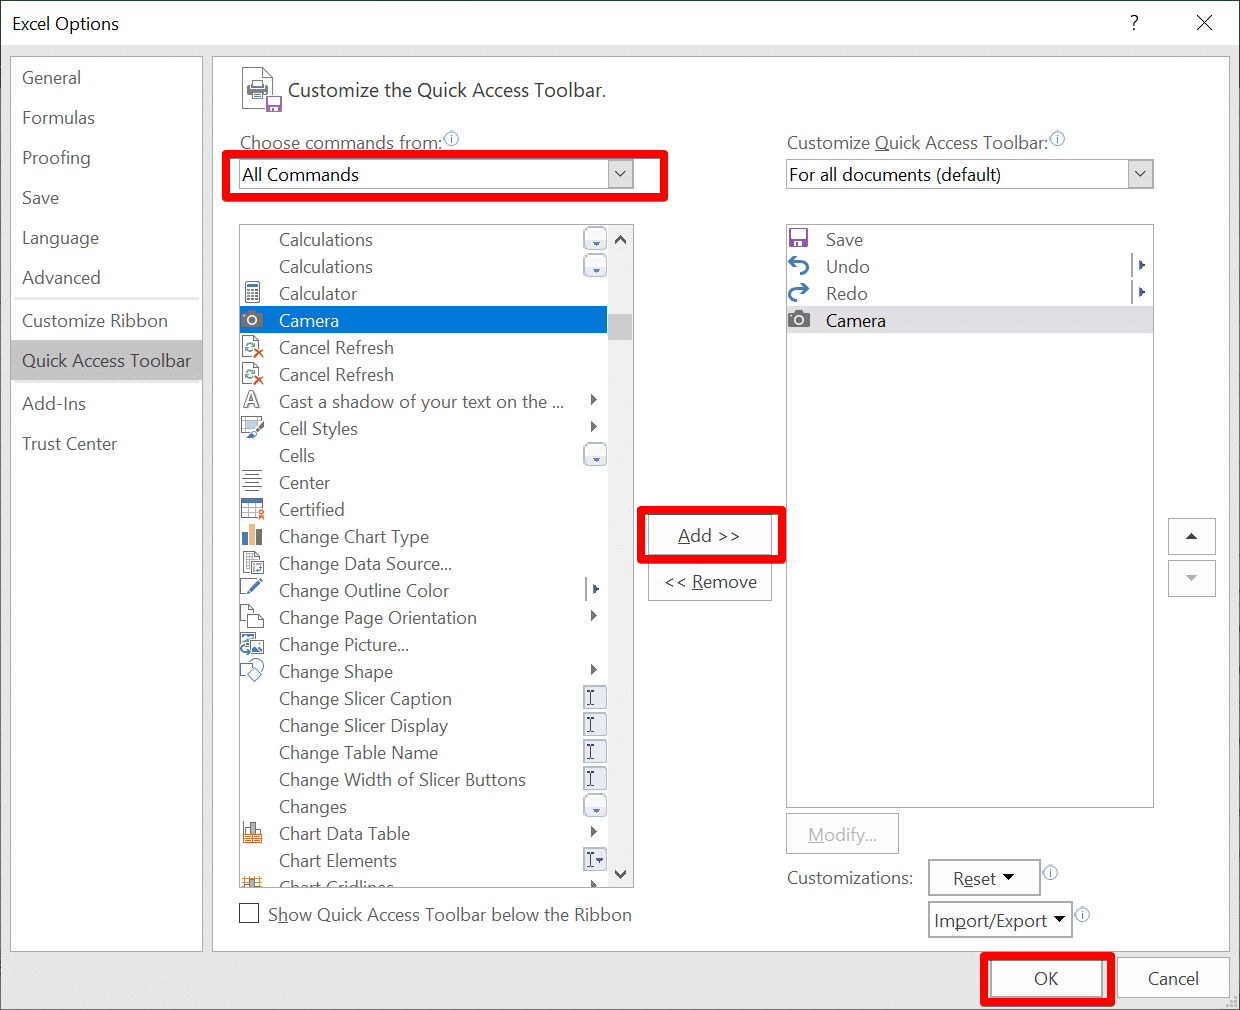
In the dialog box that pops up, set the dropdown box to All Commands to display all the commands available.
Select Camera from the list, click on Add and click Ok.
Step 2: Take the Screenshot
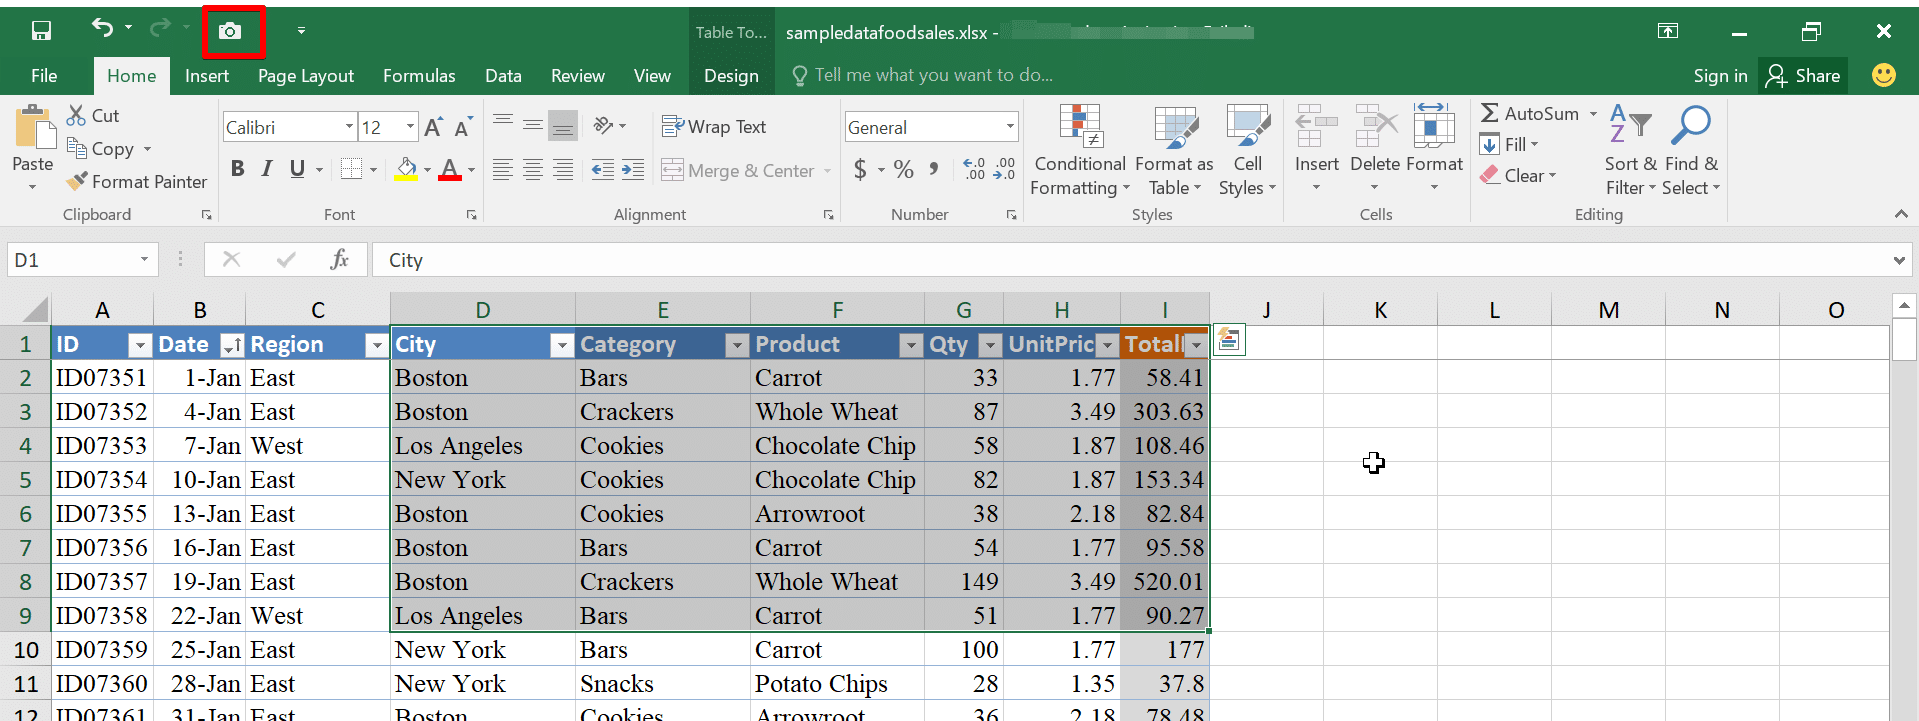
Highlight the area of your Excel screen that you want to capture.
Click on the camera Icon on the top toolbar to capture the image.
Step 3: Paste the Screenshot
Navigate to the area where you want to paste the screenshot and click on it.
The screenshot will be pasted there.
You can also right-click on the screenshot, copy it, and paste it into other apps like Word, PowerPoint, WordPress, etc.
You can check out this article for more helpful Excel commands.
Note: Once you paste these images outside Excel, they won’t be linked screenshots again. They will turn to static images.
Now, let’s check out the copy tool.
How to Take Screenshots in Excel With the Copy Tool
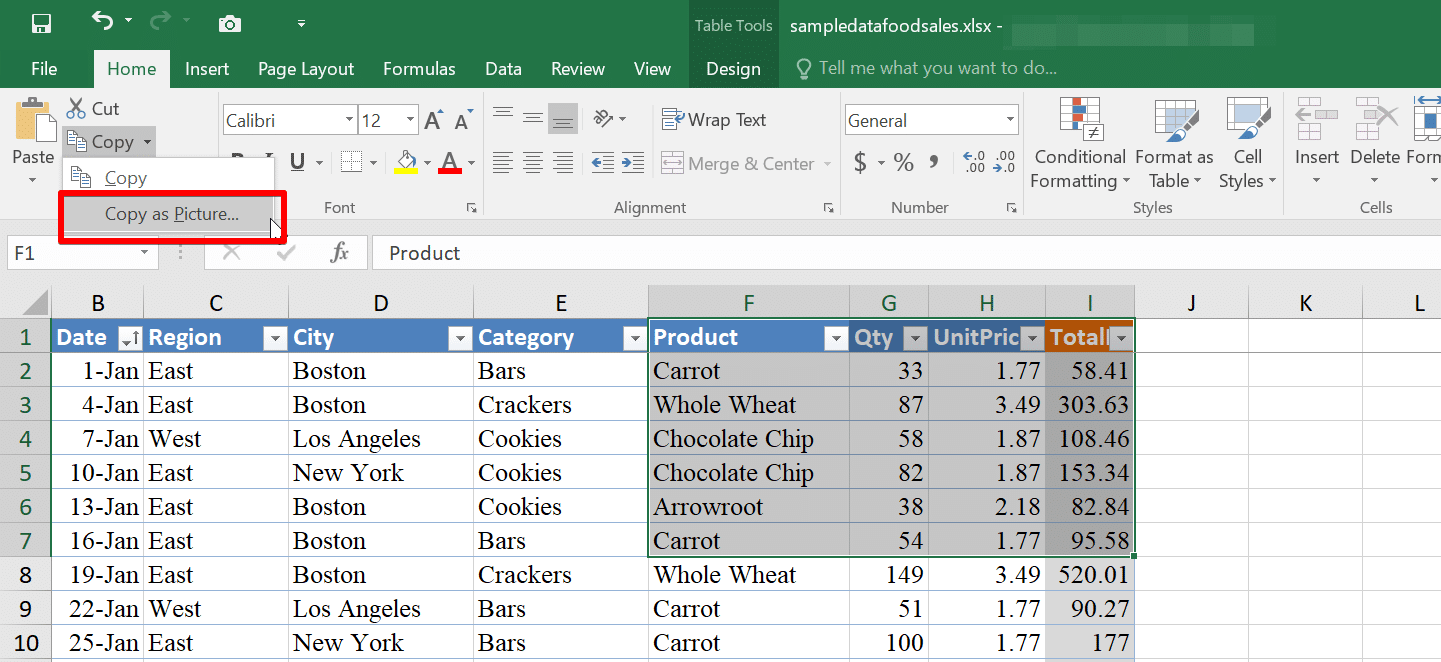
Excel offers another awesome feature called the Copy as Picture tool for taking screenshots.
With it, you can take a snapshot of a range of cells in your spreadsheet, just like with the Camera tool.
However, the main difference between the Copy as Picture tool and the Camera tool is that the former doesn’t produce linked Screenshots.
So, if you update the cells after taking a screenshot, it will not reflect in the screenshot.
Here’s how you can use the Copy as Picture tool to take a screenshot in Excel:

Highlight the range of cells you want to screenshot.
Select the Copy as Picture option from the Excel toolbar.
A small window will come up. For the appearance, select As Shown on Screen and for the File Format, select Bitmap
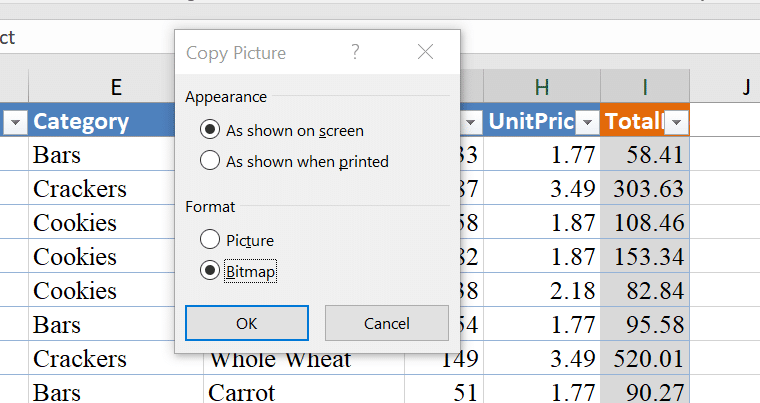
Navigate to where you want to put the screenshot in on your Workbook and click paste
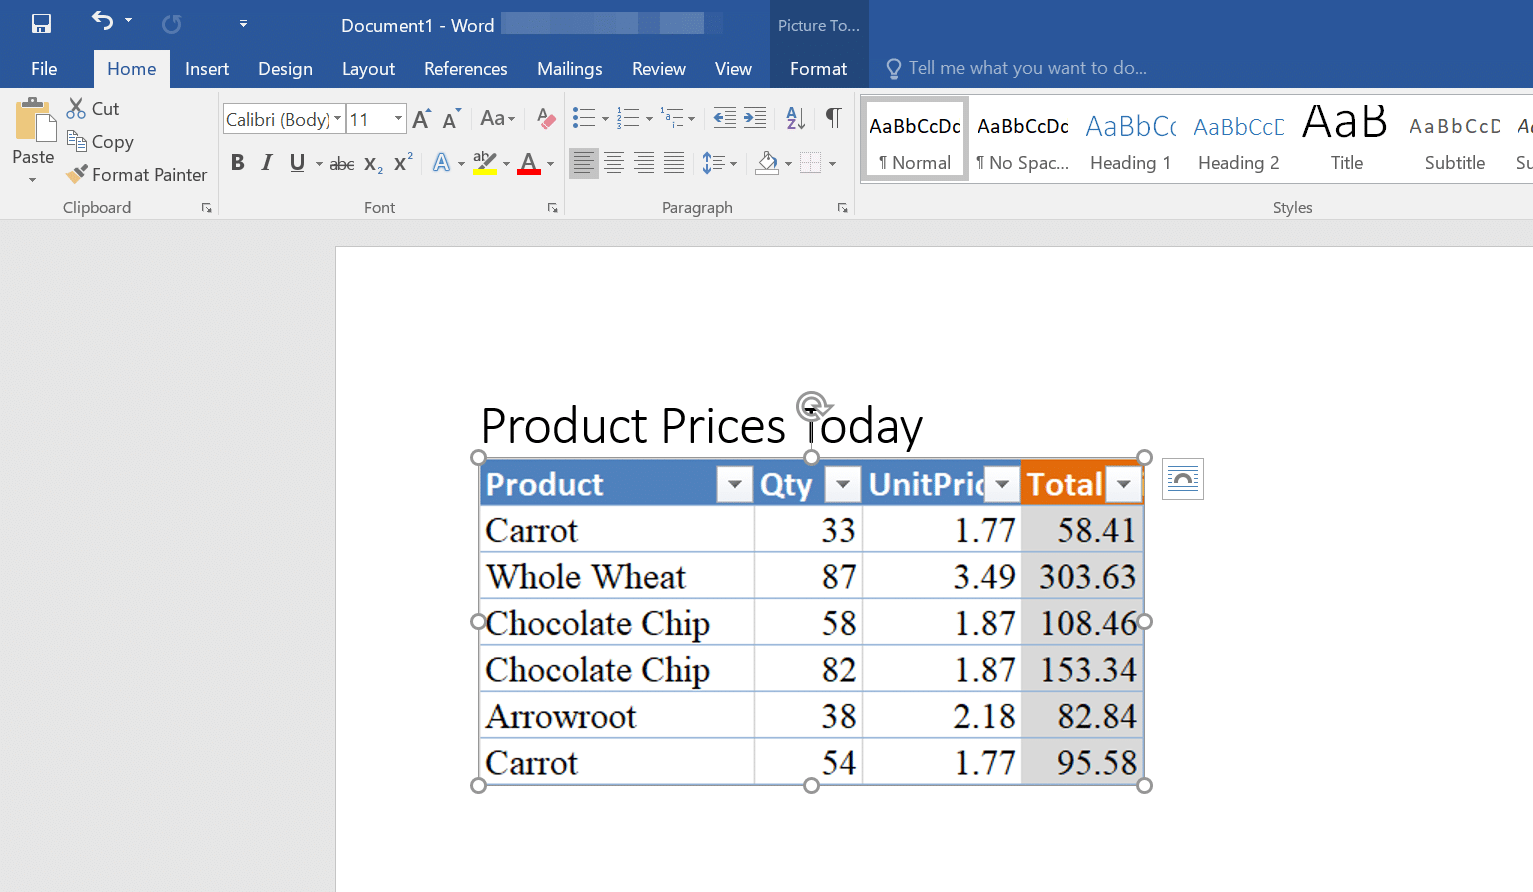
You can also paste you screenshot in a PowerPoint or Word document.
How to Take Screenshots in Excel on Mac
If you are a Mac user and looking for ways to take screenshots in Excel, you can use the built-in macOS screenshot tools to capture screenshots in Excel.
Press Command + Shift + 4 to capture a selected area or Command + Shift + 3 to capture the entire screen.
After taking the screenshot, the image will be saved on your desktop with a name like Screenshot 2022-11-01 at 14.29.59.png.
You can then insert the screenshot into your Excel worksheet by dragging and dropping the image from your desktop or using the Insert menu.
If you want to edit the screenshot, you can open it in Preview or any other image editing application and make the necessary adjustments before inserting it into your Excel workbook.
How to Take Excel Screenshots with Microsoft Snip & Sketch
Microsoft Snip & Sketch is a versatile and user-friendly tool that is perfect for taking screenshots in Excel too.
It offers various screenshot modes, such as full-screen capture, rectangular snip, and freeform snip, giving you the flexibility to capture your desired Excel content.
To take a screenshot in Excel using Microsoft Snip & Sketch, follow these steps:
Open Excel and go to the worksheet you want to capture.
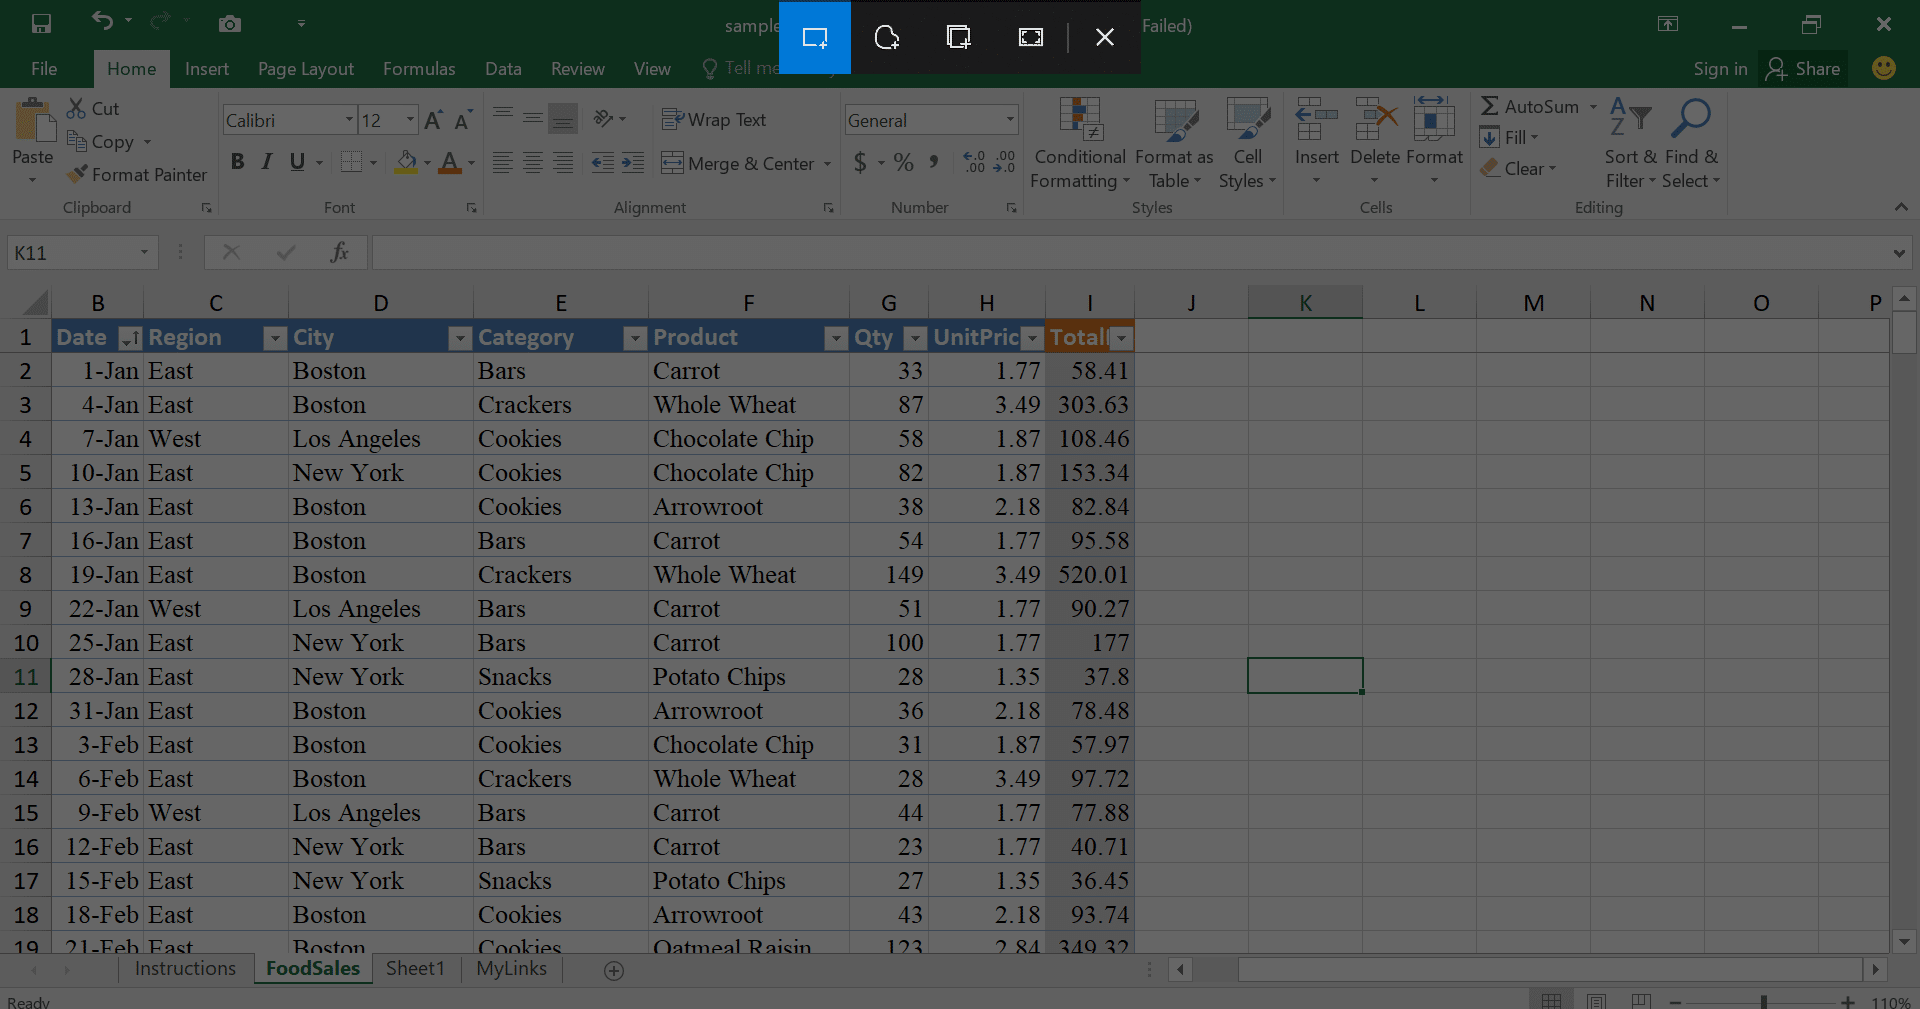
Press the Windows + Shift + S keyboard shortcut. This will open the Snip & Sketch tool.
Choose your desired snipping mode:
Rectangular Snip: Click and drag to create a rectangular snip around the content you want to capture.
Freeform Snip: Click and drag to create a freeform snip around the content you want to capture.
Full-Screen Snip: Capture the entire screen.
Once you’ve captured the snip, it will be copied to your clipboard. You can then paste the screenshot into your Excel worksheet or any other application by pressing Ctrl + V.
Alternatively, you can save the snip as an image file. To do this, click the Save button in the Snip & Sketch window and choose a location to save the image.
With these steps, you can easily take screenshots in Excel using Microsoft Snip & Sketch. This tool is a convenient and effective way to capture your Excel content for sharing, analysis, or documentation.
Final Thoughts
Capturing screenshots in Excel is an essential skill for anyone working with data and spreadsheets.
With this knowledge, you can effortlessly create visually appealing reports, presentations, and documents by incorporating relevant images and data from Excel and other applications.
By following the steps outlined in this article, you can quickly master this skill and enhance your Excel proficiency. Happy screenshotting!
Looking for a new data analytics platform? Here’s all you need to know about the all-new Microsoft Fabric.
Frequently Asked Questions
How to save a screenshot in Excel?
To save a screenshot in Excel, first capture the desired screenshot using the Snipping Tool, Snip & Sketch, or the Print Screen feature. Save the screenshot and then use the Save As function to store it in your desired location on your computer.
For screenshots taken with Excel tools like the Camera and Copy as picture tools, Excel doesn’t offer a way to save them directly. To save these screenshots, you have to copy them into a Word or PowerPoint document, then use the Save as Picture option to save them to your desired location.
How to capture a screenshot of a cell in Excel?
To capture a screenshot of a cell in Excel, you can use the Snipping Tool or the Snip & Sketch tool. Open the tool and select the cell or range of cells you want to capture. Save the screenshot and then insert it into your Excel worksheet.
How to capture a screenshot of a chart in Excel?
To capture a screenshot of a chart in Excel, you can use the Snipping Tool or the Snip & Sketch tool. Open the tool and select the chart you want to capture. Save the screenshot and then insert it into your Excel worksheet.
How to take a screenshot of an entire worksheet in Excel?
To take a screenshot of an entire worksheet in Excel, you can use the Snipping Tool or the Snip & Sketch tool. Open the tool and select the entire worksheet. Save the screenshot and then insert it into your Excel worksheet.
You can also the Windows Print screen key to take the screenshot. To do this, just press the windows key plus the Print screen button:
Once you’ve taken the screenshot, it will be saved in your gallery.


