Triggers and Properties are both relevant topics in PowerApps. In this tutorial, we’ll have an overview of PowerApps Triggers. If you’ve taken any programming class, you’ll probably know that a class has two things—properties and methods.
In PowerApps, elements have properties and triggers.
Understanding PowerApps Triggers
Properties are things that define the element. For example, if we look at this textbox, one of the properties might be the text box size, the actual text within the text box, the padding to the left and right, or its Y and X coordinates.
These are properties that you can change with triggers as well. For example, if you change the text, that’s a trigger. If you type a text and click enter, that’s also a trigger.
Another example is the checkmark (?) on the top right. Once clicked, it’ll submit the form.
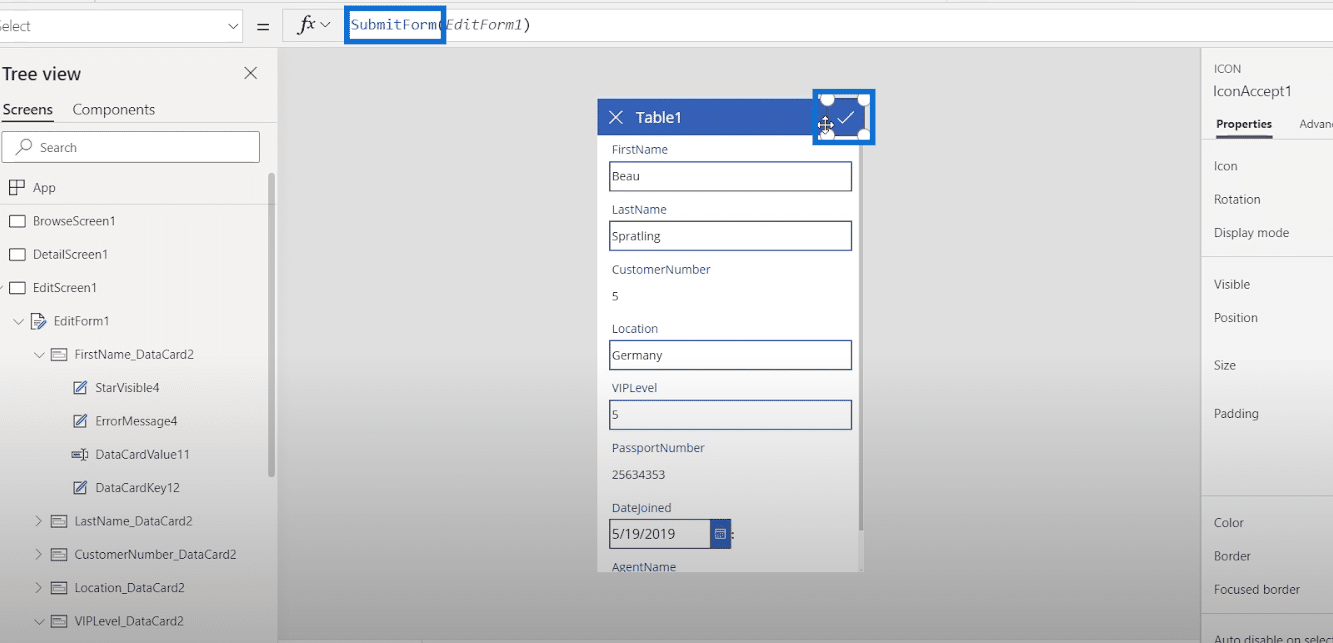
So, how does that work? Let’s click the checkmark (?) and click the drop-down arrow. Then, we’ll see its trigger which is OnSelect.
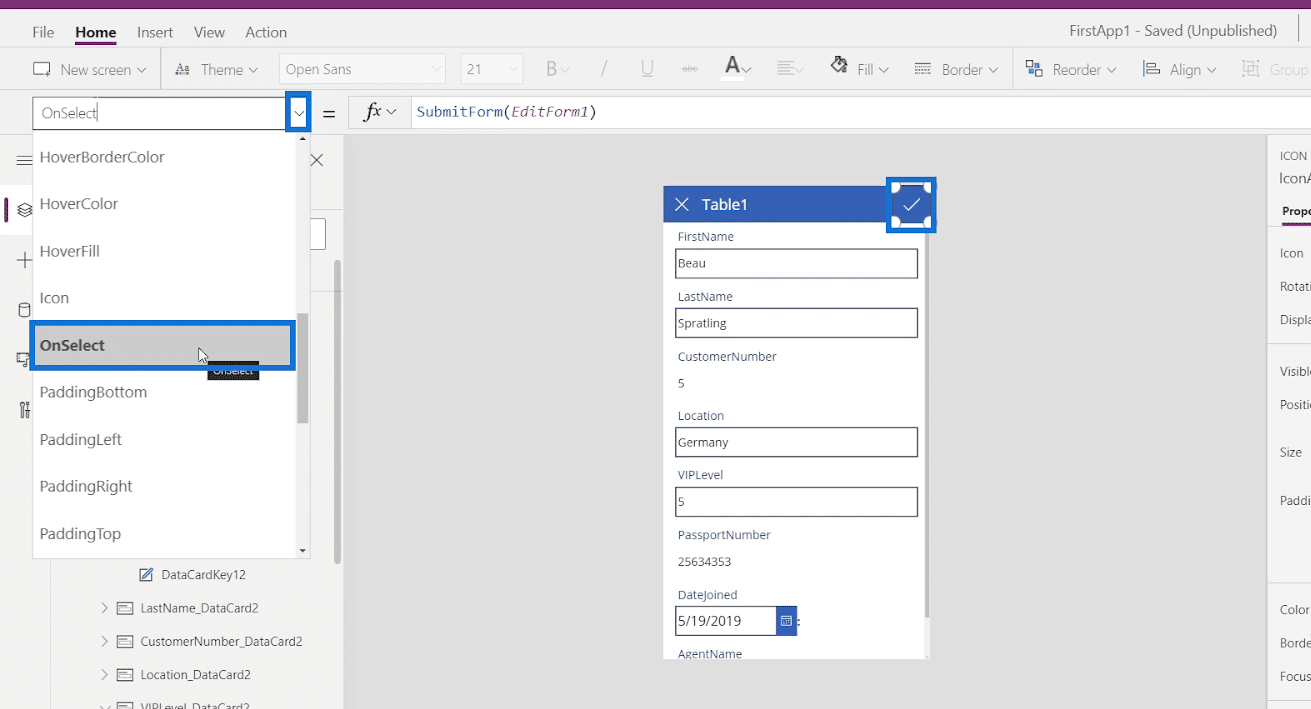
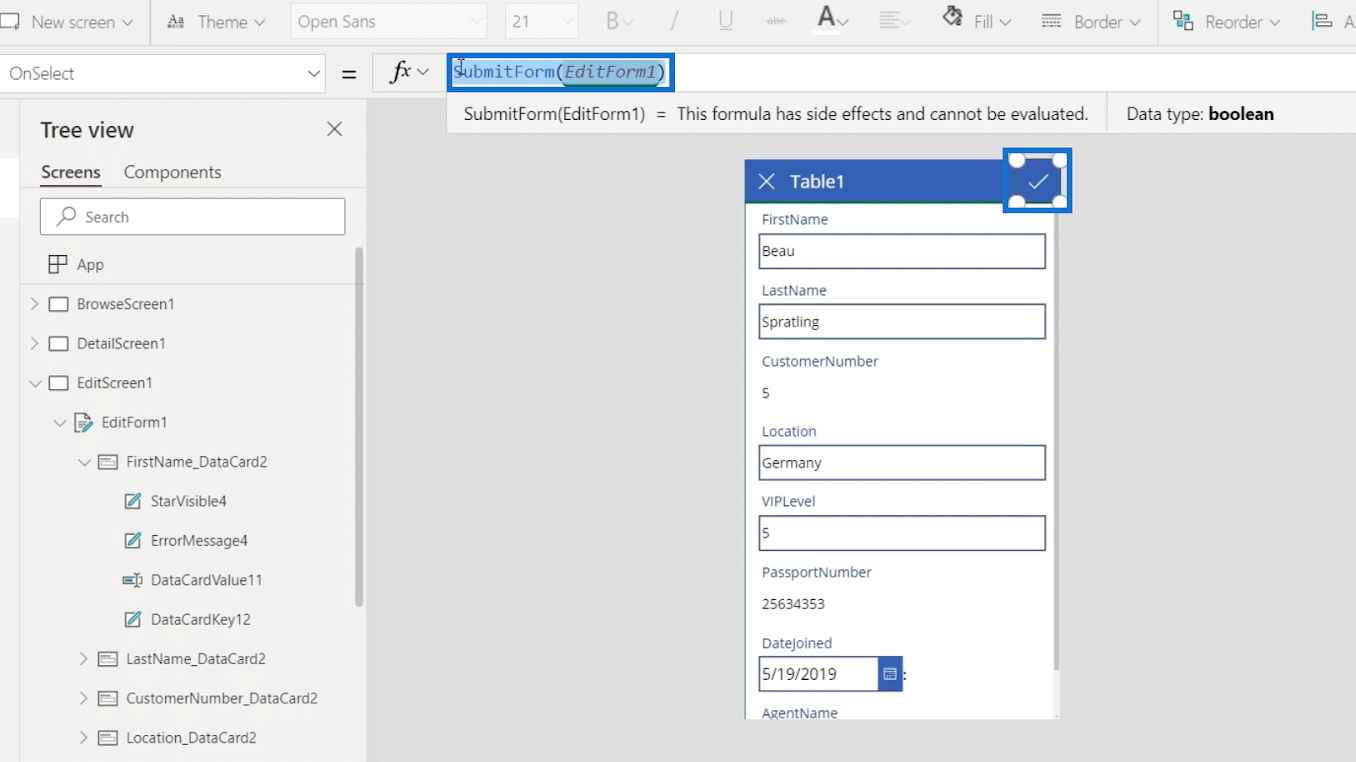
This means that if the element is selected, the specified action gets performed, which is to submit the form.
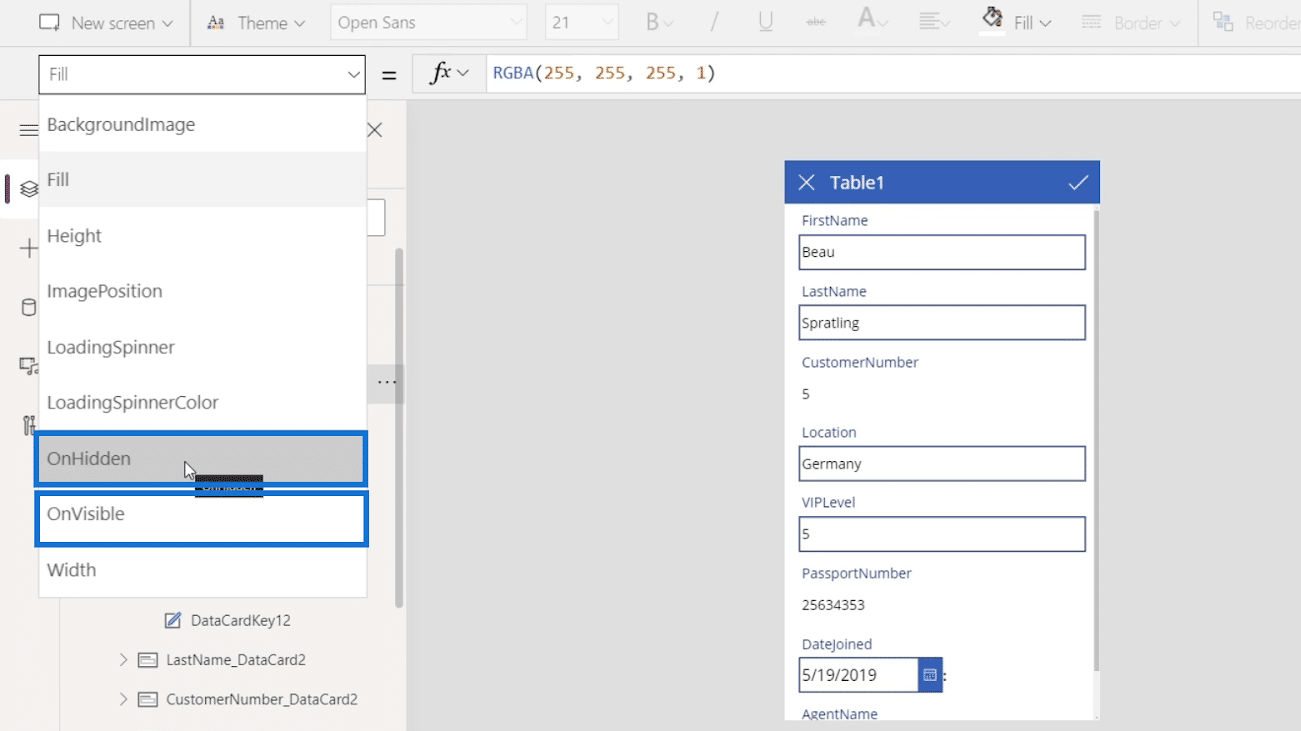
All triggers found in the drop-down menu begin with the word “On”. So, that’s how we’ll know that the option is a trigger.
Different Types Of PowerApps Triggers
There are many different types of triggers. For example, let’s click a text box and we’ll see that it has an OnSelect trigger. It also has an OnChange trigger.
If we type a number in the FirstName field, it may trigger another action like a pop-up message saying we can’t put numbers to change it. But for now, it’ll just default to “false” because nothing happens yet.
Another one is the X icon. Once clicked, It’ll perform two functions. It resets the form and then returns back to the main screen.
As we can see, the two functions were separated by a semi-colon (;). This symbol is used to indicate the end of a function and whatever comes next after the semi-colon is another function.
Now, let’s click the BrowseScreen1 to go back to the browser screen.
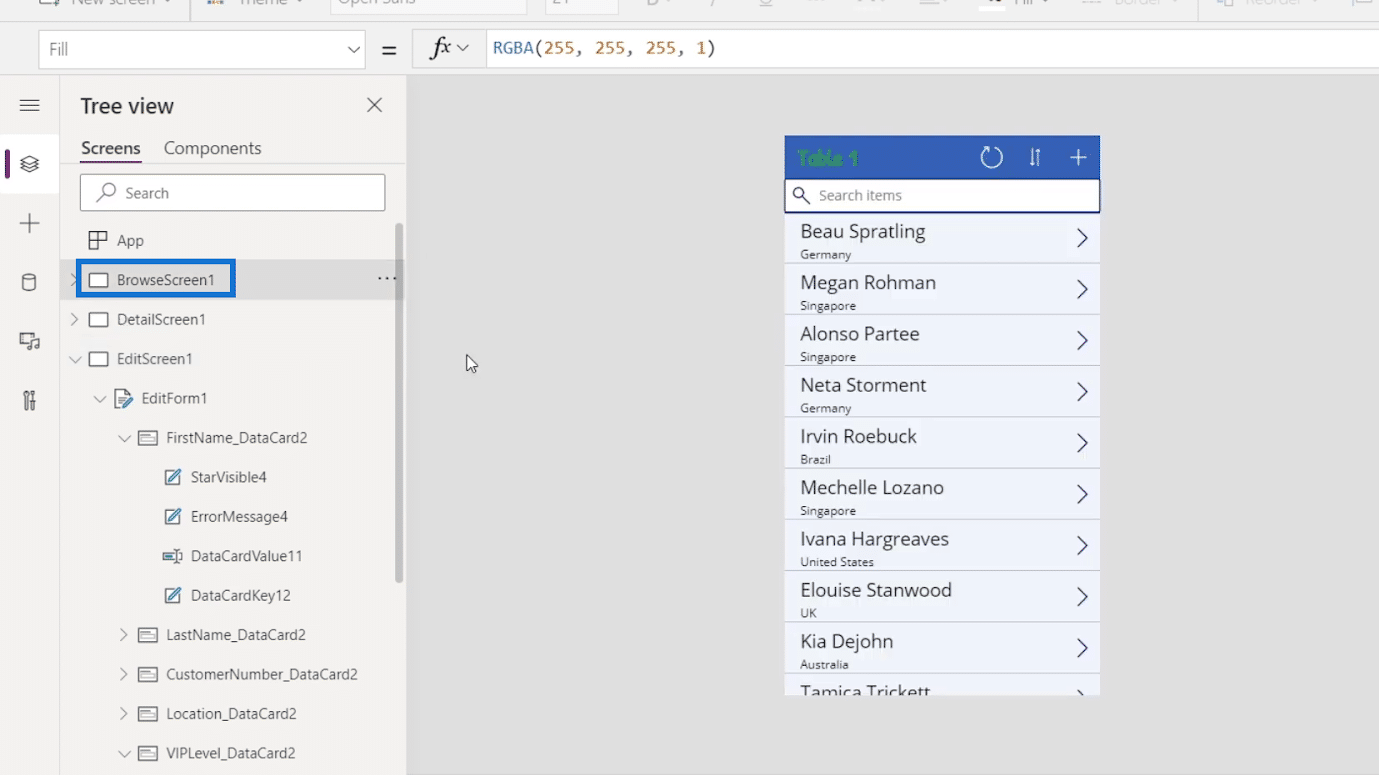
Let’s try clicking another button and see what it does. Click its OnSelect trigger. The function of this element is to refresh Table 1.
On the other hand, this button is an element that sorts data.
Now, let’s click the whole data card or the BrowseGallery1 to see its trigger.
It has an OnSelect trigger as well.
Click Separator5 to select a part of the data card and see its trigger.
As we can see, it also has an OnSelect trigger.
Navigating To The Detail Screen
Aside from the trigger, we’ll see that the data card has the function to navigate to the detail screen.
Now, for example, let’s try changing the function of the browser gallery with the word “False” and press Enter.
After that, click the play button.
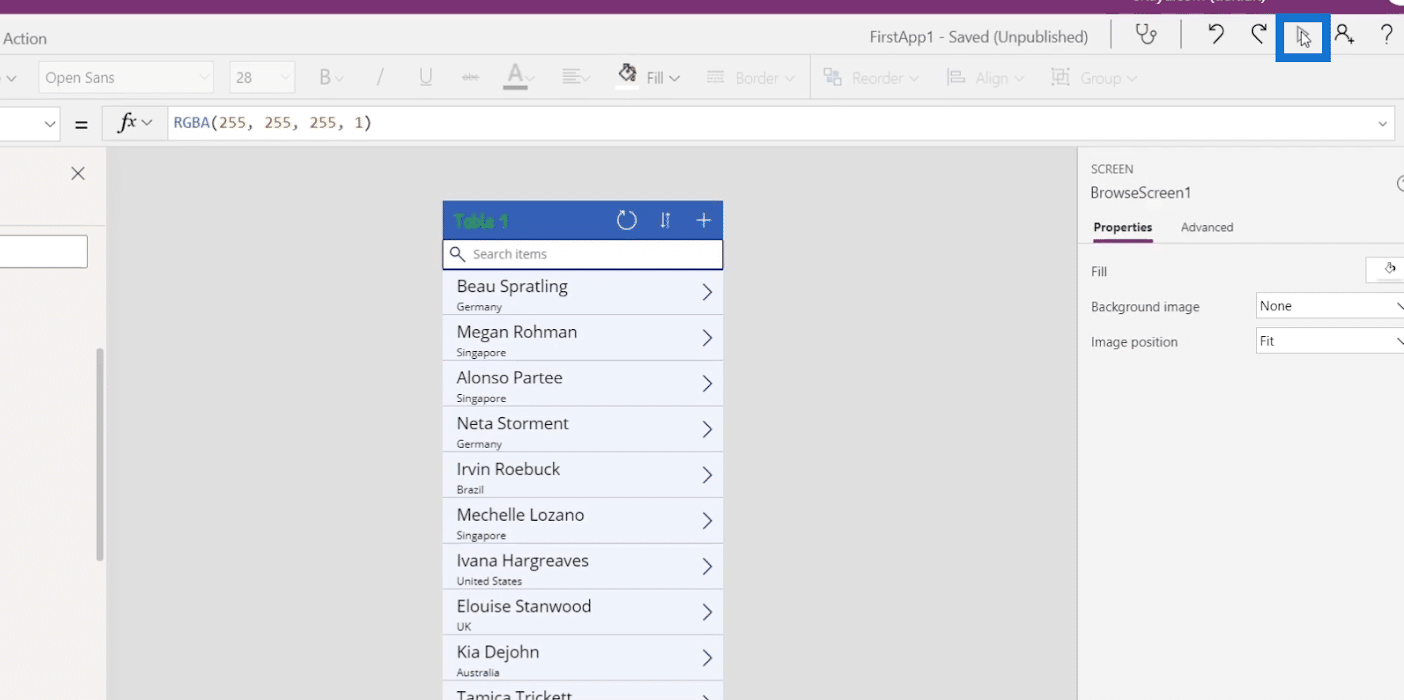
We’ll then see that the triggers are gone. Whatever we select won’t perform any action. We can still scroll the browser gallery but we can’t do anything because we removed the actual action.
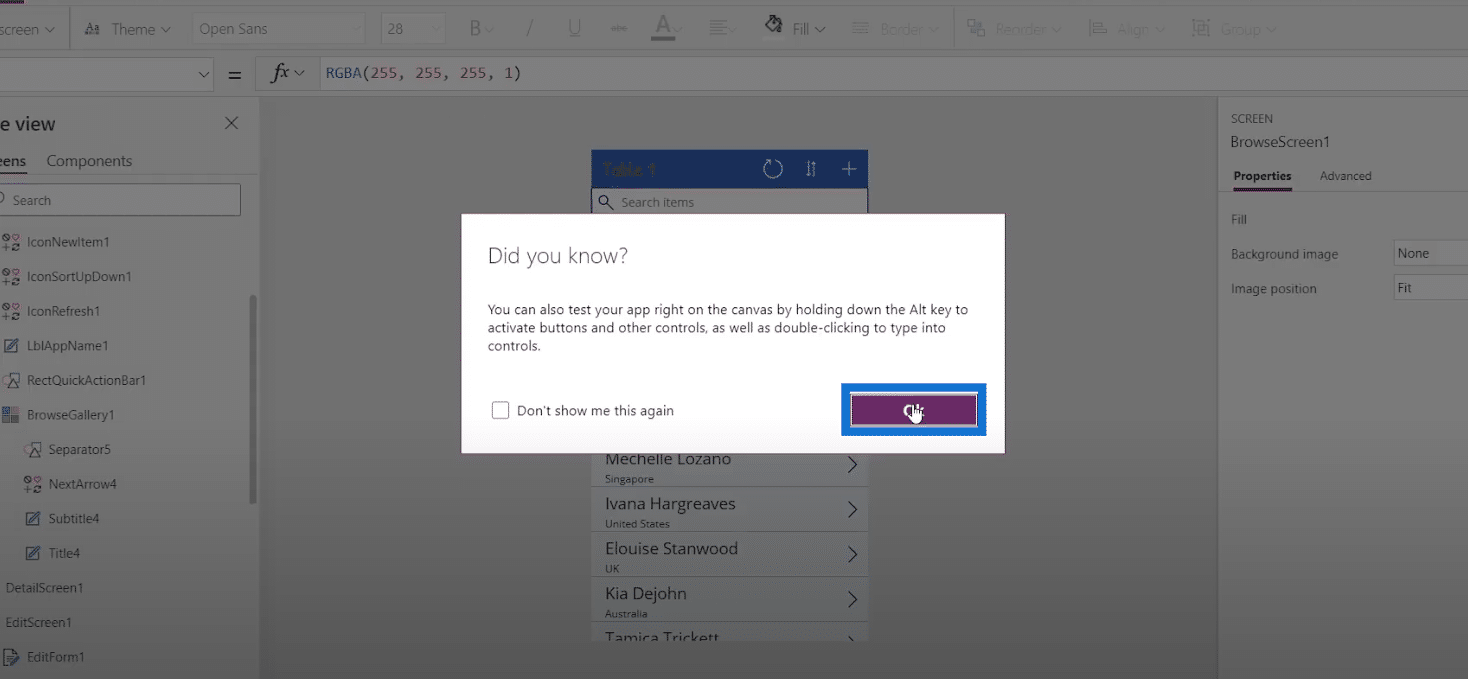
Now, we’ll reverse and undo what we did. First, let’s close the screen.
Then click OK.
Click the reverse icon.
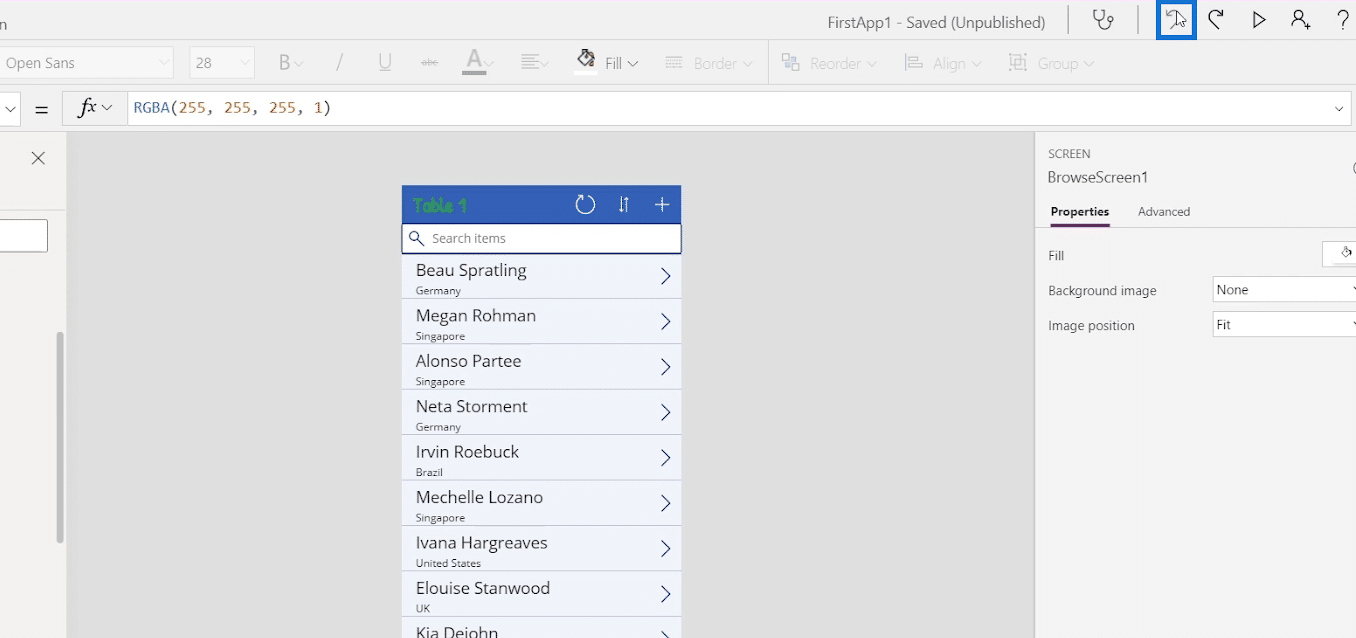
Click BrowseGallery1 and check if it’s reversed.
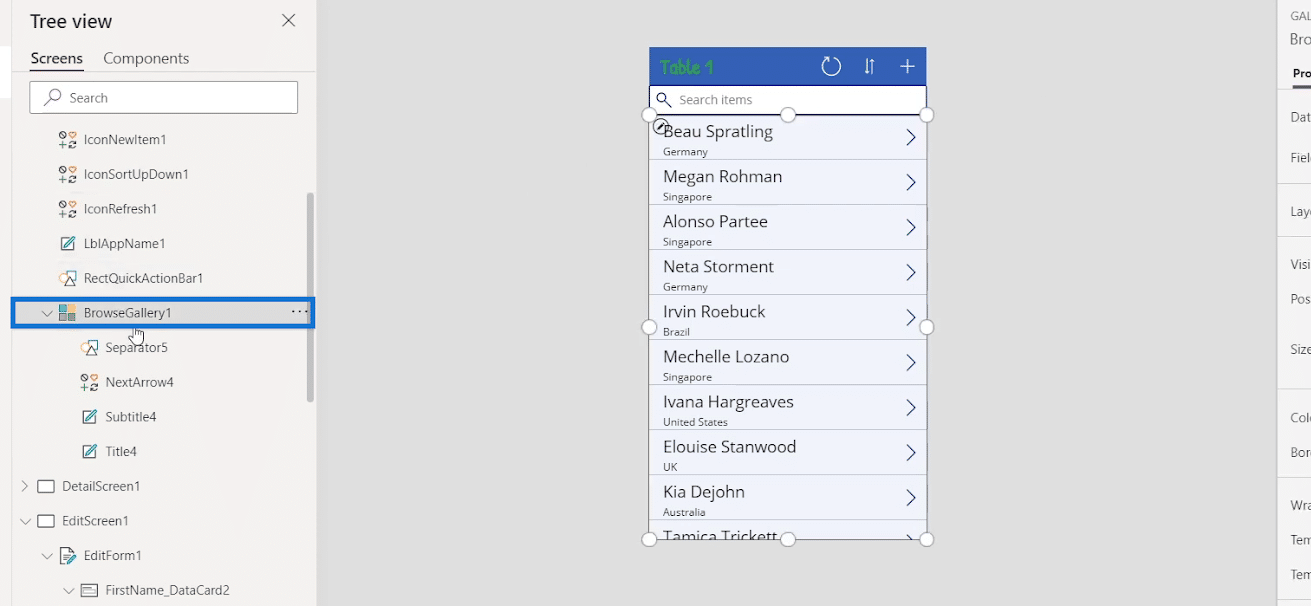
If not, click the reverse icon again and now we’ll see that it’s back to normal.
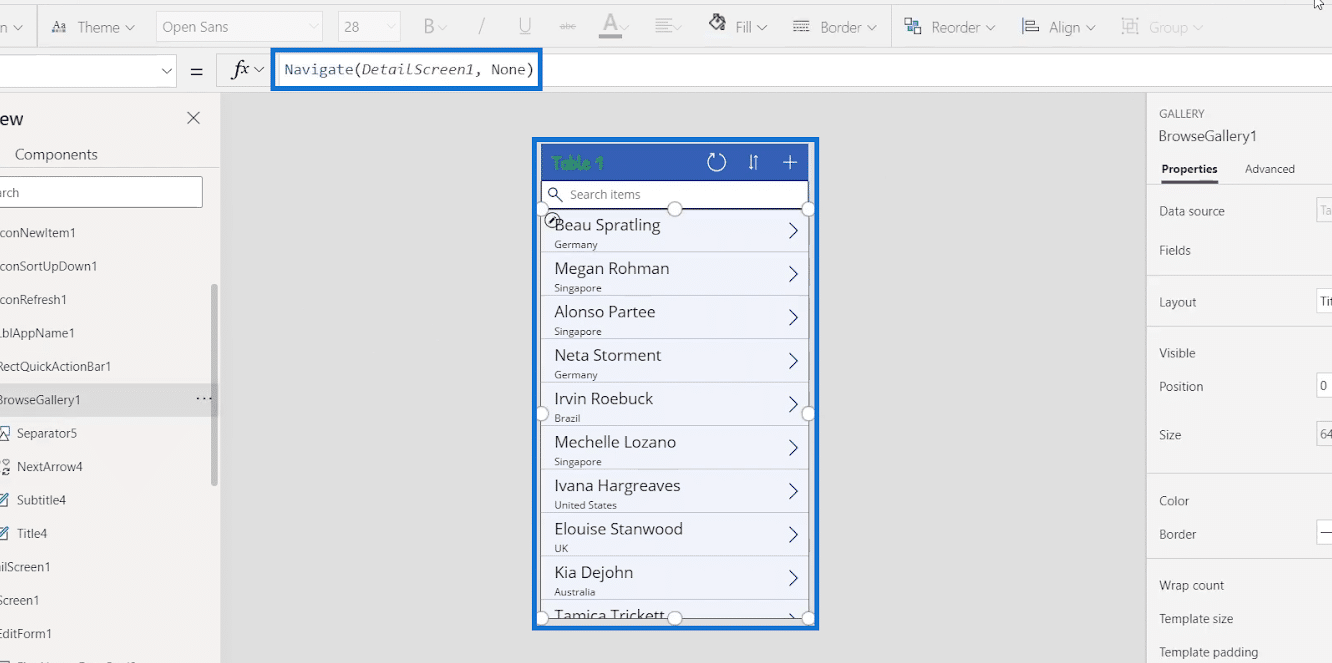
Let’s check it again. Click the play button.
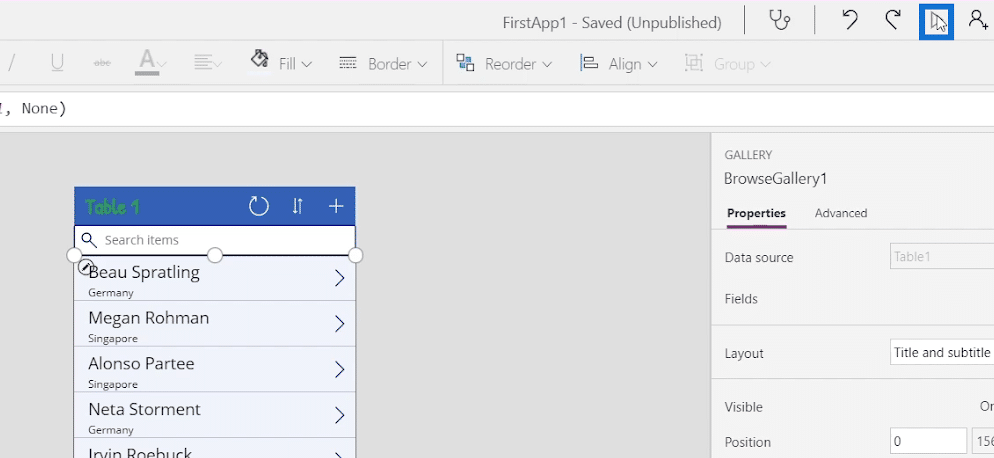
Let’s click the first item.
Then it’ll navigate to its detail screen as it normally would.
To return back to the gallery, just click the arrow icon.
Then close the screen.
***** Related Links *****
Power Apps Introduction: Definition, Features, Functions And Importance
Power Apps: Getting Started With This Revolutionary Tool
PowerApps Data Cards And Property Assignment
Conclusion
To summarize, a trigger is simply an action performed by the user on a corresponding element. Triggers play a key role within the Power Apps system. They’re as essential as properties. We’ll learn more about complicated triggers when we do data validation and tackle updating of variables. But for now, it’s important to learn how triggers work along with properties.
Henry
All the best,


