In this tutorial, I’m going to show you how to set up a Power BI background image using PowerPoint. This is one of my techniques in creating my reports in Power BI. You may watch the full video of this tutorial at the bottom of this blog.
When creating a report, once I have my color schemes picked out and implemented into my model, I would then create the page background for each one of these slides using PowerPoint.

If you go over here to the formatting pane and go down to the page background, you’ll see that the background for this page is a saved photo that I have saved to my computer.

What’s great about this is when you click up in the page, normally where somebody would enter a text box or an image for the logo, these are all implemented in the strategy that I’m going to show you in PowerPoint.
Creating A Power BI Background Image In PowerPoint
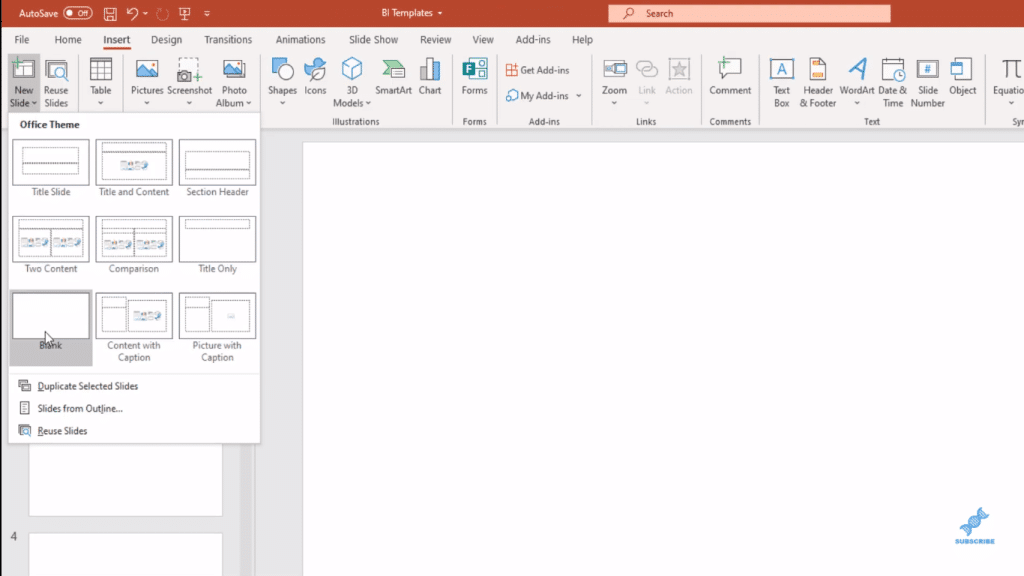
Inside PowerPoint, the first thing that you do is go to Insert and then click New Slide. In this case, choose a blank slide.
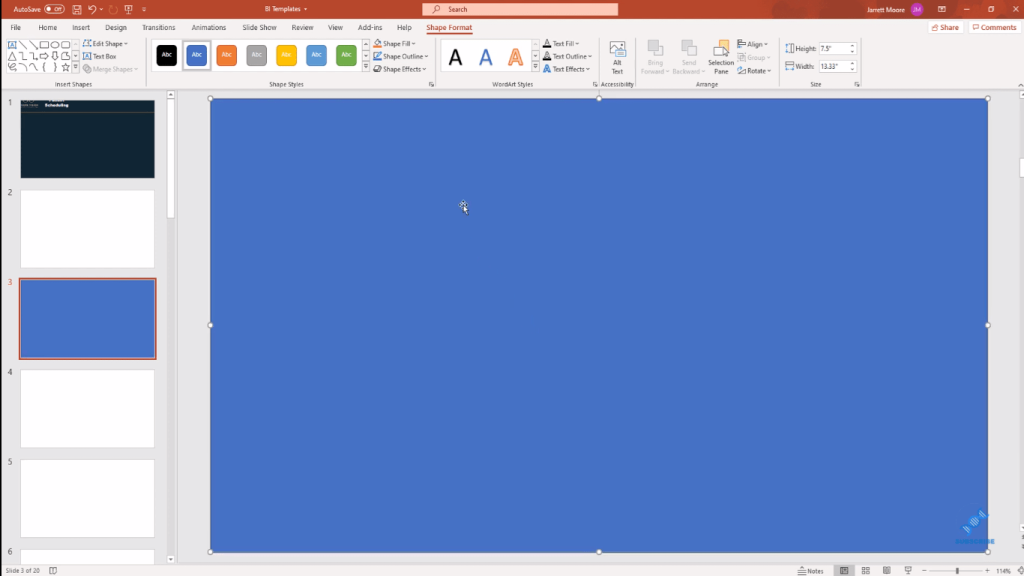
Next, go over to Shapes and insert a rectangle into the screen.

Just fill the screen up as much as you can. Go out to the very edge of the screen of the PowerPoint slide
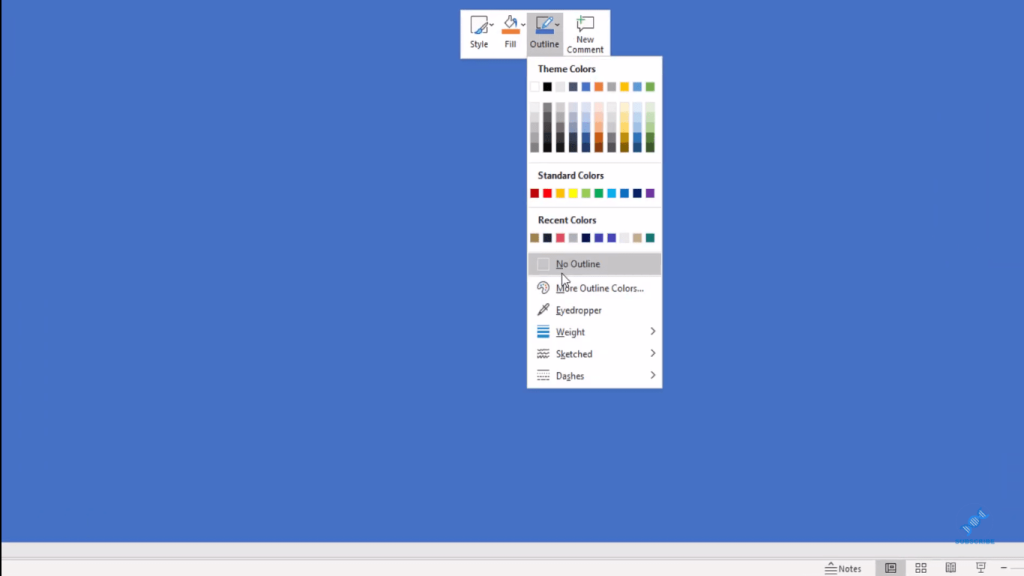
Then, right click on the screen, and on the Outline, select No Outline. If you leave an outline there on your finished product, you’ll see this blue border around that and you don’t want that to show up on your Power BI report page.
The next step is to change the color of this slide. To do that, go to the Fill button and click on More fill colors.
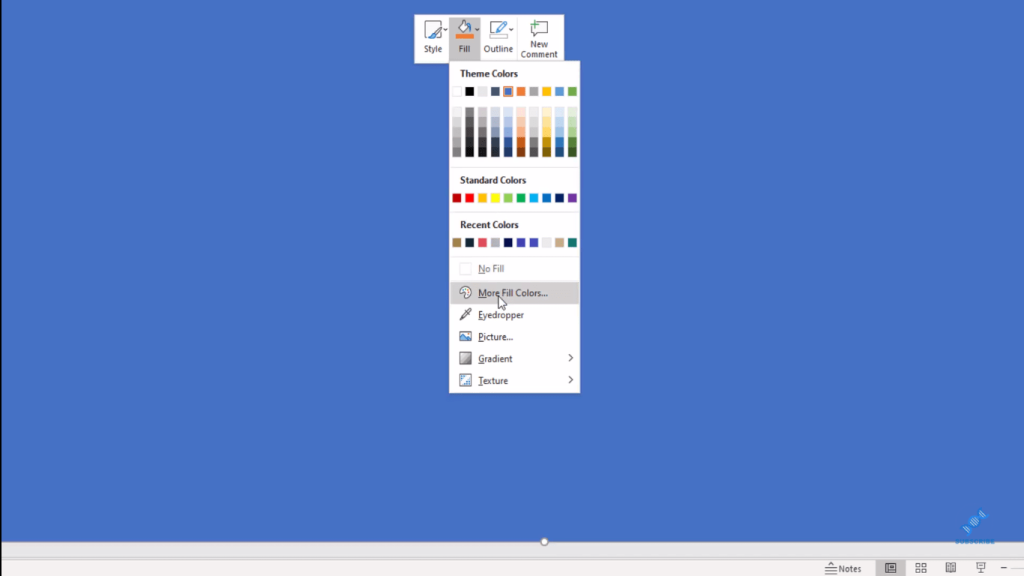
In this example, I’ve already saved the hex codes to a separate file. So I’ll just copy and paste it in the hex area tab, then click OK.
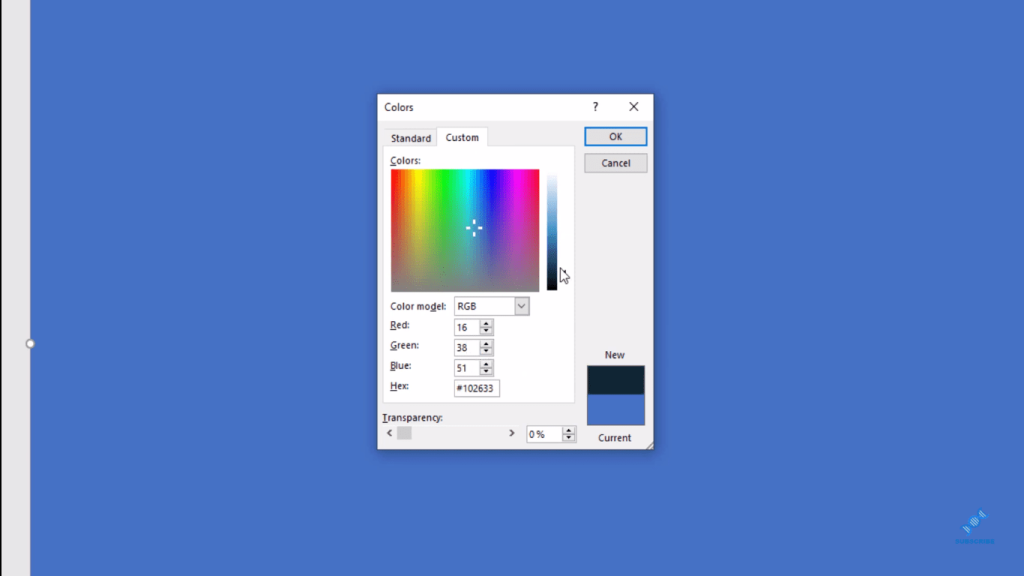
Now we have this great background color.
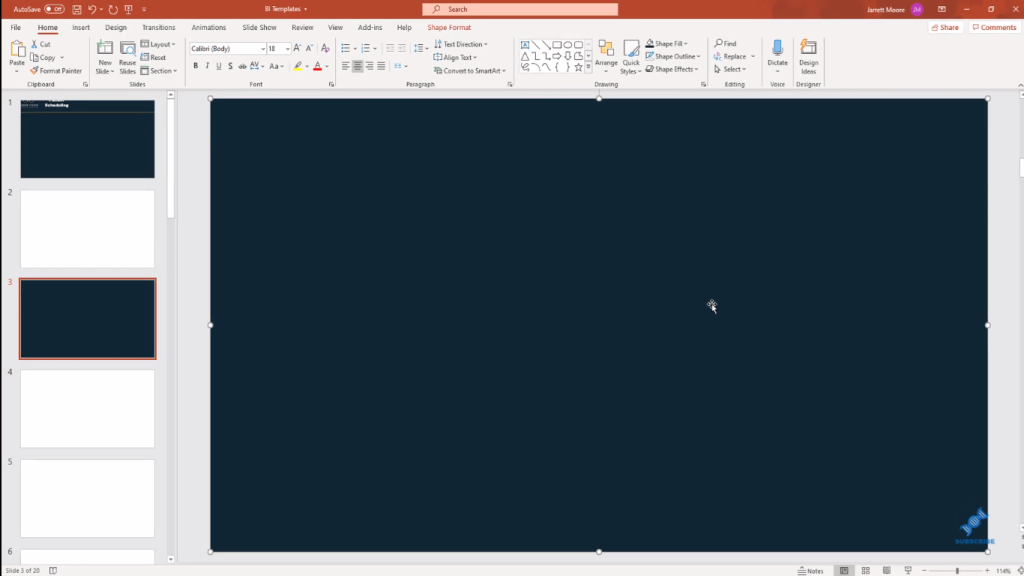
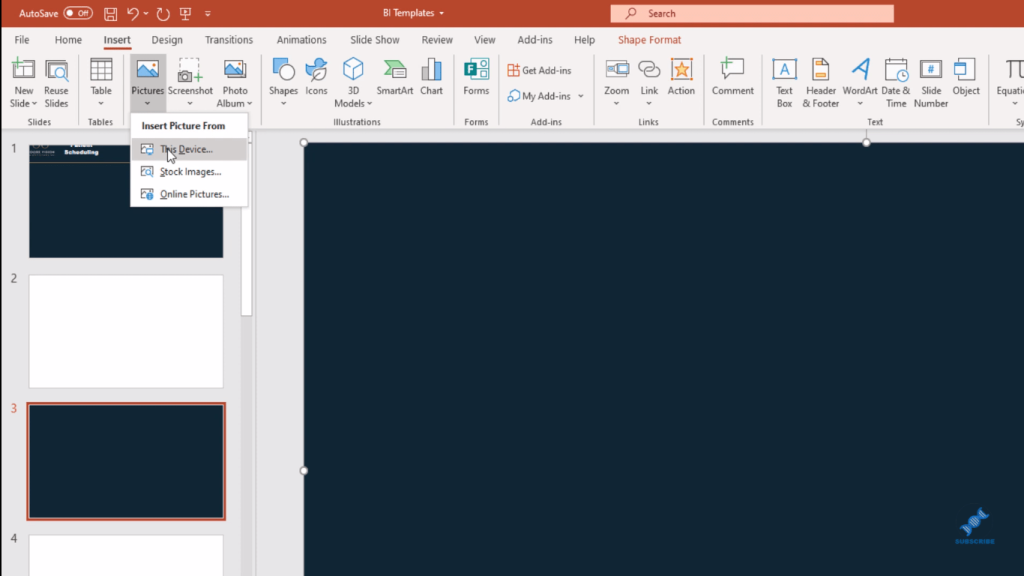
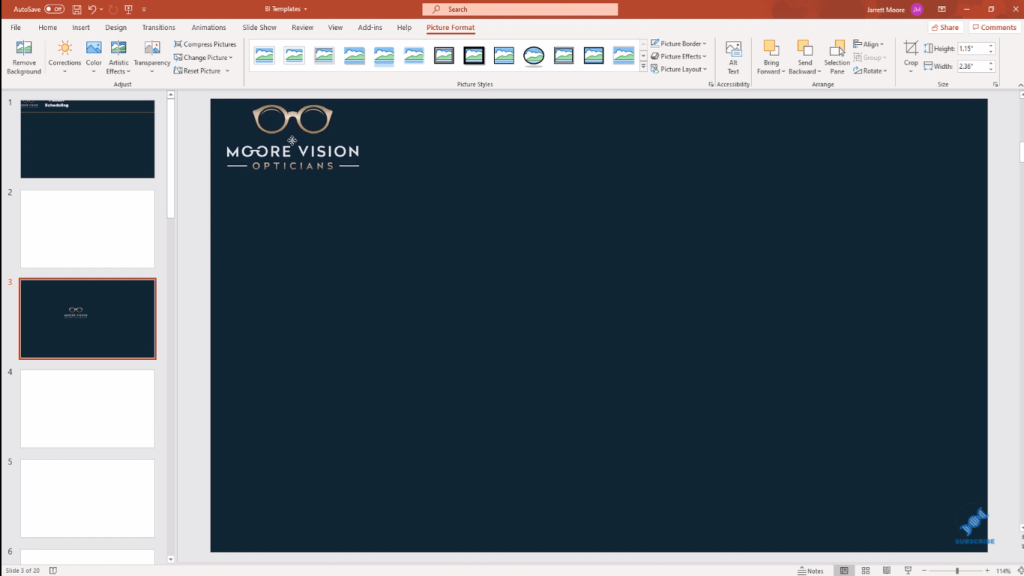
Next, insert the logo. Go to Insert, then click on Pictures and select This Device.
Then, find that logo from your files.
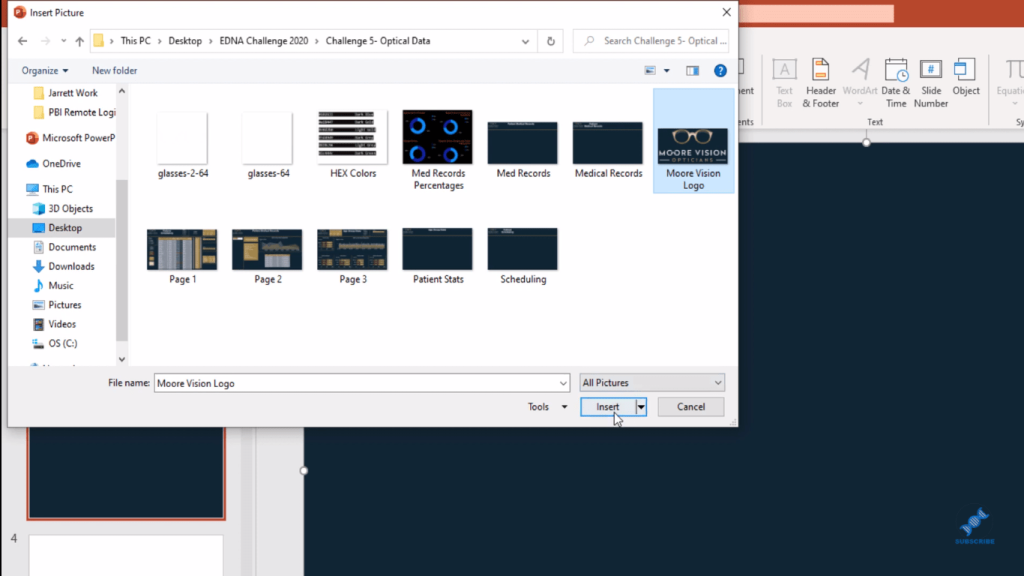
Click that picture or logo, and then click insert. And you’ll have it on the PowerPoint slide. You can resize it the way you want it and drag it to where you want to place it.
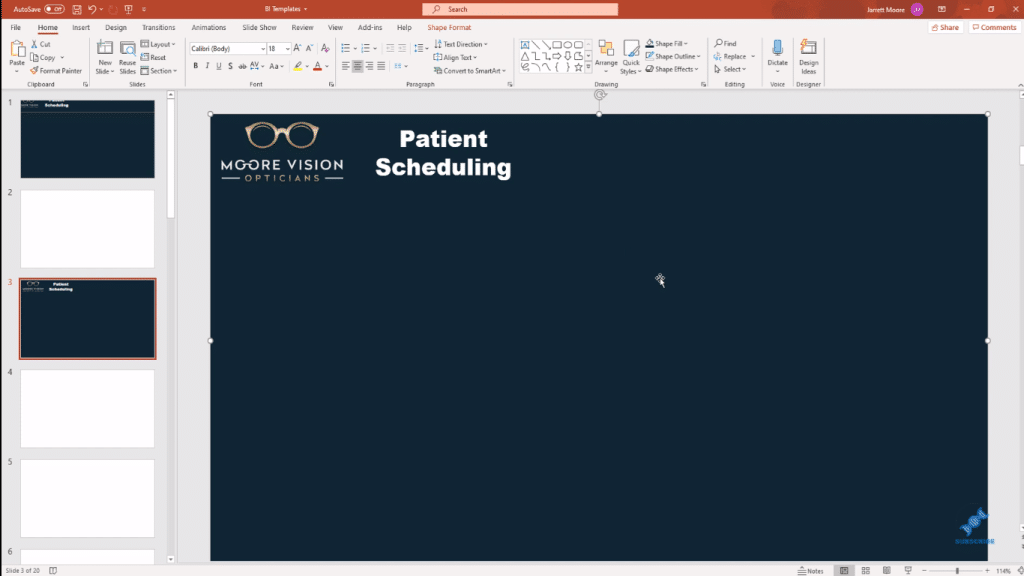
Next, insert a text box for your title. Again, resize it as you wish and drag it to where you want the title to be.
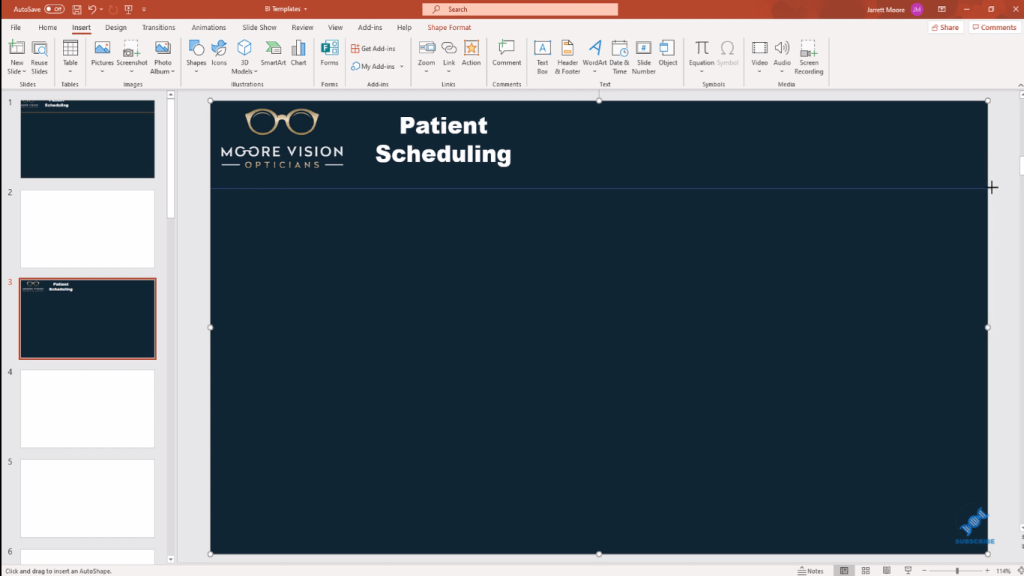
The last step is to add that gold line that you see in the Power BI report page example. To do that, go to Insert, then Shape, and choose a line. And then, just run that line across the screen till you see it at the very end.
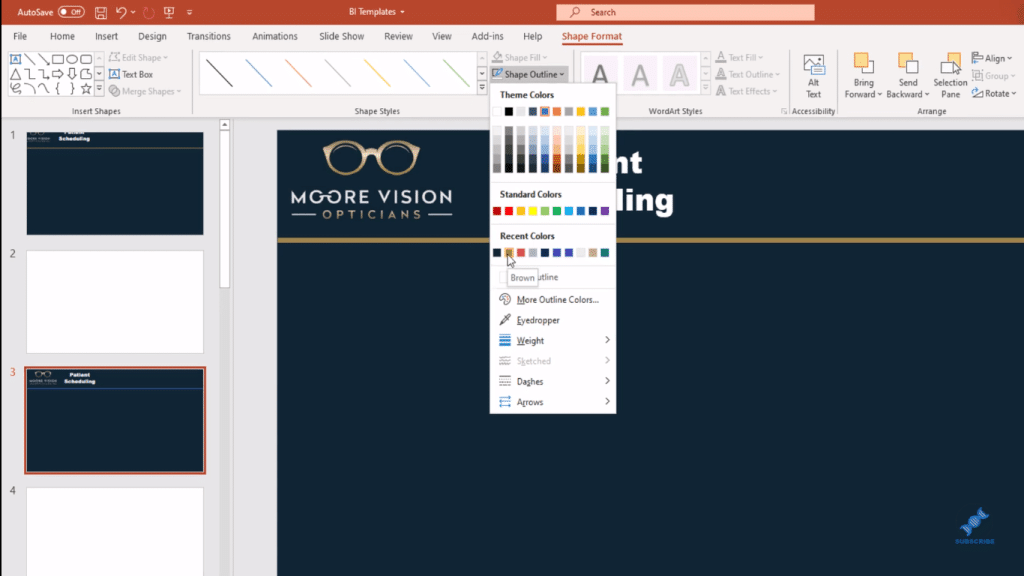
Once you’re happy with that line, go to Shape Outline and choose the weight or the thickness. I usually choose a four and a half-point.
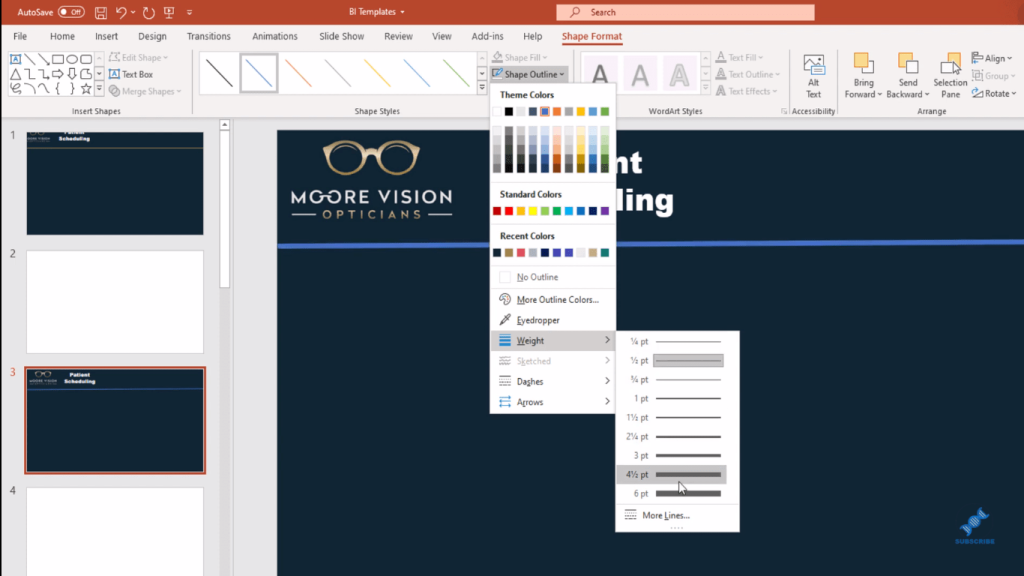
Then, choose your desired color for this line.
Saving The Background Image File As Picture
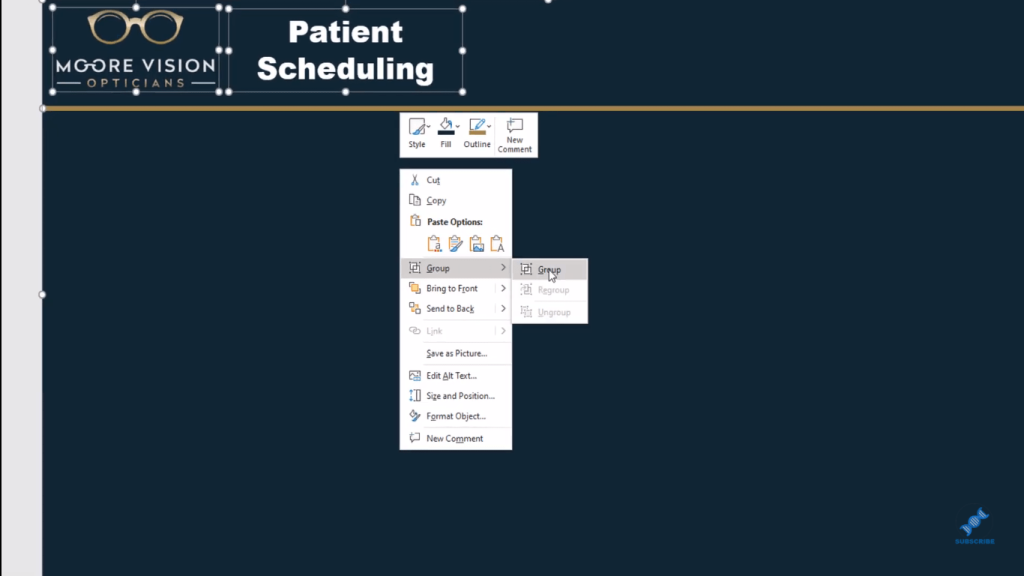
The next thing to do here is to select all of these items and then group them. So click on the line then hold down the control key and click on the logo as well as the text box. Then, right-click on the screen and select Group. This is going to group everything together.
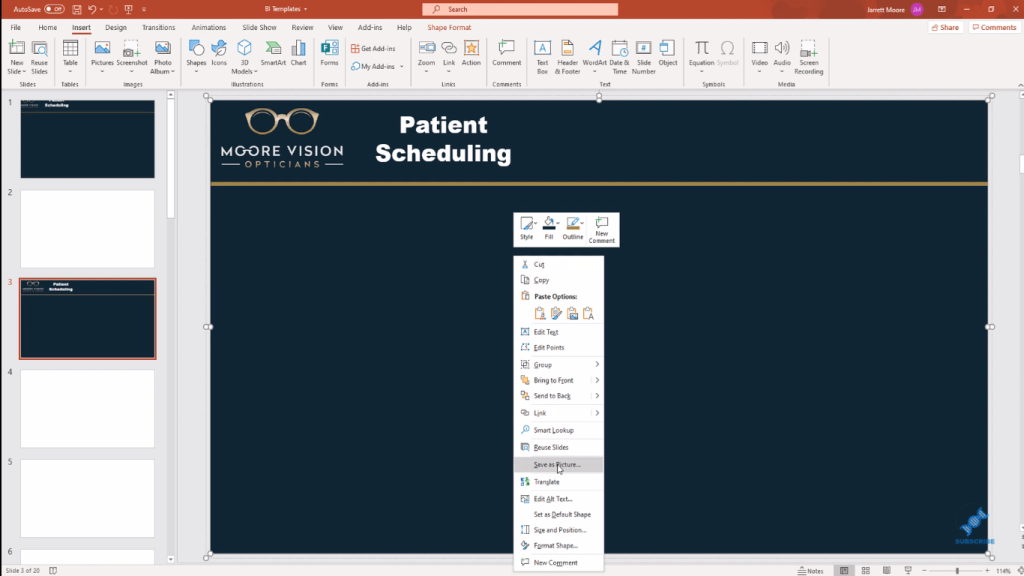
After that, save this file as a picture.
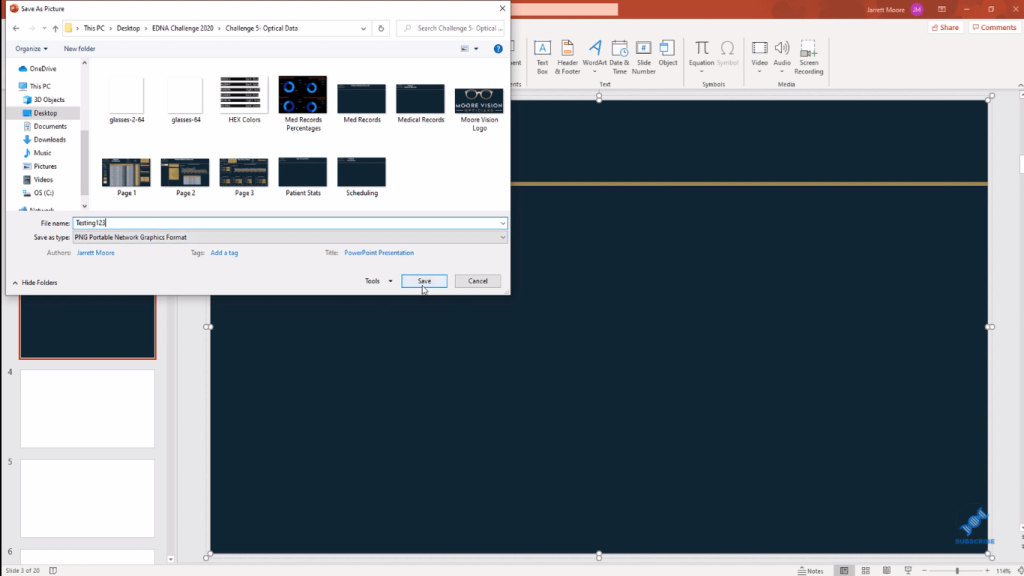
For this demonstration, I saved it as Testing 123.
Adding The Picture As Power BI Background Image
The final step is to head back over to Power BI and go over to the formatting pane to enter that same picture.
Normally, when this shows up, Transparency is often set at 100. You want to make sure you change that to 0, so that when you add the image, it shows up correctly.
When you click on the Add Image button, choose that picture file that you saved (testing 123) and click Open.

Initially, it doesn’t look right, but once you go back to the formatting pane and select Fit under Image Fit, you’ll see that you have this great background image for your report.

***** Related Links *****
Power BI Visualization Technique: Learn How To Create Background Design Plates
How To Create Compelling Power BI Color Palette
Power BI Design – Best Practice Tips For Dashboards
Conclusion
I really like this technique of creating a Power BI background image for your reports using PowerPoint. This is what I do for each one of my slides in all of my Power BI reports.
And what’s great about this is that you don’t have that issue of clicking anywhere on these icons and something showing up irregular on your screen.
I hope you enjoyed learning this technique. Check out the links below for more tutorials like this.
Cheers!
Jarrett


