In this blog, we’ll discuss OFFSET and FETCH. These two – when combined – are very powerful and can help us with our SQL data extraction tasks. We can use these two to extract data based on our requirements or needs.
The purpose of OFFSET is to skip the first rows that you have mentioned in your dataset. On the other hand, we use FETCH to restrict the rows. They’re both options of order by clause. Keep in mind that these two won’t work if you don’t use ORDER BY clause.
In this example, we can use order by ID or order by Name. After that, when you use OFFSET 5 ROWS, it’ll skip the first 5 rows. When you combine FETCH NEXT 10 ROWS ONLY, it’ll only get the next 10 data after the 5 rows.
But if we don’t use the command FETCH, it will show all the other rows except for the ones where we used OFFSET.
This means rows 6 to 15 will appear in our output and nothing else.
Selecting A Table
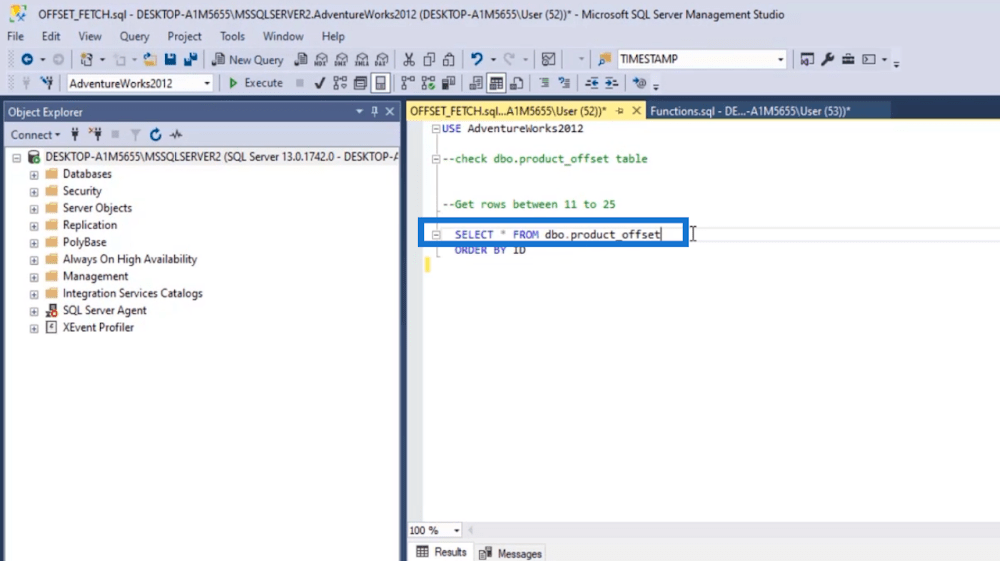
First, let’s open our SSMS. In this example, we already have a simple table.

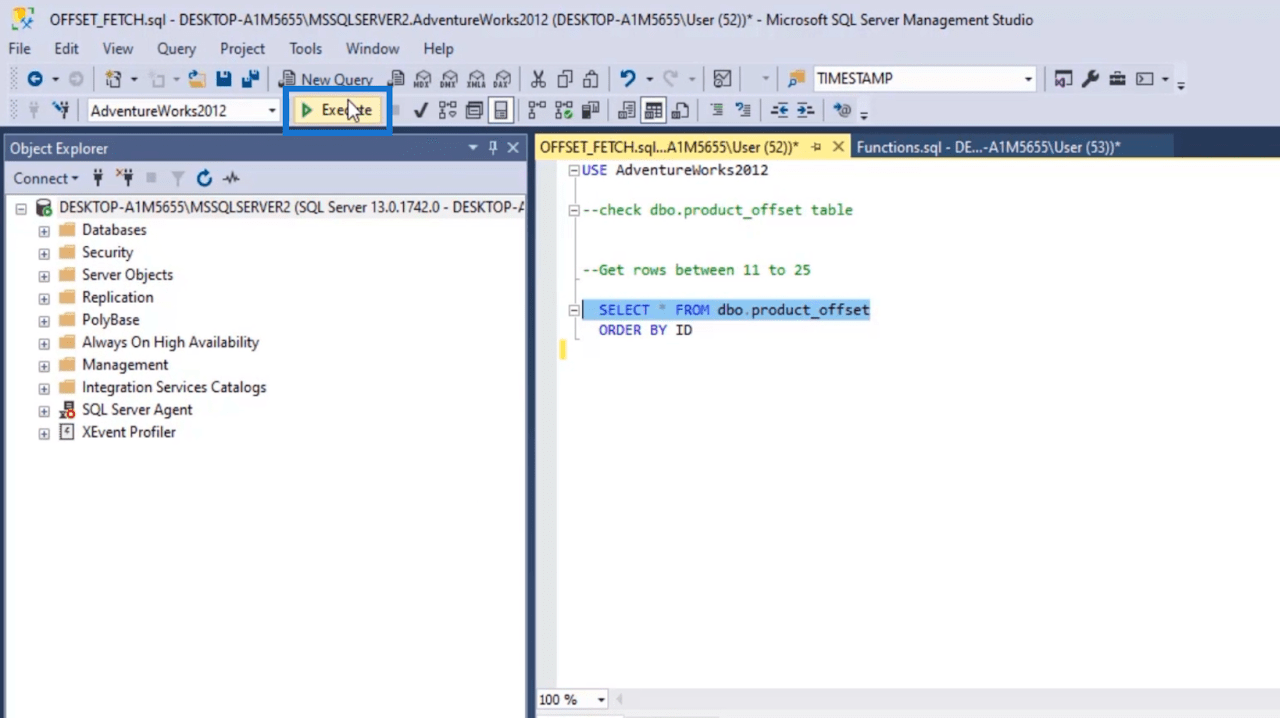
Next, highlight the command to load the table.
After that, click Execute.

Then you’ll see the table in the Results Tab.
Using OFFSET For SQL Data Extraction
In the output, you’ll see that we have ID and Name.
If we execute the command with “ORDER BY ID,” it’ll sort the data in an ascending manner depending on the ID number.
We can also use the command “ORDER BY ID DESC” to sort the data in a descending manner.
But for this example, we’ll execute the “ORDER BY ID” command. Next, let’s skip the first 10 rows in our output. So we’ll type “OFFSET 10 ROWS.”
After that, let’s highlight the commands we’re going to execute. Then click Execute.
Upon checking the output in the Results tab, we’ll see that the command we used skipped the first 10 rows. Now, it just shows the data from the ID 11.
Using FETCH For SQL Data Extraction
Let’s now use FETCH. In this example, we’ll only FETCH 2 rows. This means the ID 11 and ID 12 will be the only ones in the output.
First, let’s type “FETCH NEXT 2 ROWS ONLY.”
Next, we’ll highlight the commands, and click Execute.
Then, you’ll see that the output shows ID 11 and ID 12 only in the Results tab.
You can change the permission anytime you want to depending on your goal. You can skip the first 15 rows by typing “OFFSET FIRST 10 ROWS.” When combined with FETCH, it becomes more powerful. Aside from using “ORDER BY ID,” you can also use “ORDER BY NAME.”
***** Related Links *****
Common SQL Functions: An Overview
SQL SELECT Statement: An Introduction
Querying Data From Multiple Data Sources
Conclusion
To wrap it all up, we’ve discussed the usage of OFFSET and FETCH. Using these two simple commands, you’ll be able to change restrictions and control the output on which rows you want to appear.
If you don’t need the first 50 rows, you don’t need to scroll down. Instead, you can easily get it by using these simple yet powerful commands. OFFSET and FETCH may be simple. But when used together, they become powerful as you have more control on the data.
If you’d like to know more about this topic and other related content, you can certainly check out the list of relevant links below.
All the best,
Hafiz


