
In this tutorial, we’ll discuss the Selenium IDE option in Power Automate UI flows. When creating UI flows, we’ll be prompted with two options. First is the Windows Recorder for desktop applications. The second one is the Selenium IDE for website use.
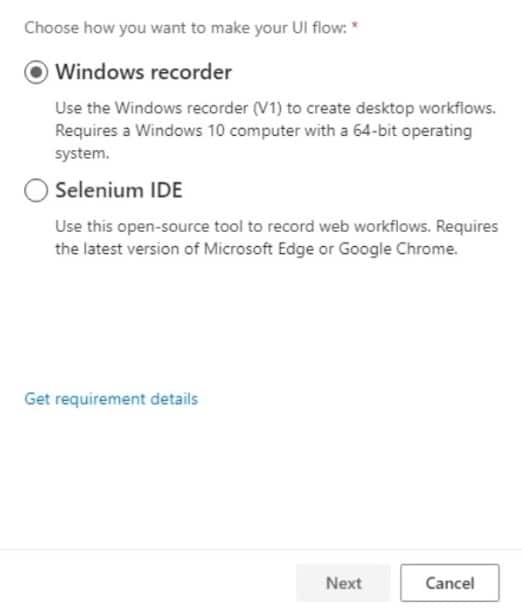
Selenium IDE is used to create automation for website processes.
We mainly use the Windows recorder, but there are still some cases wherein we’ll be using the Selenium IDE. Let’s see how we can use it.

Using Selenium IDE In UI Flows
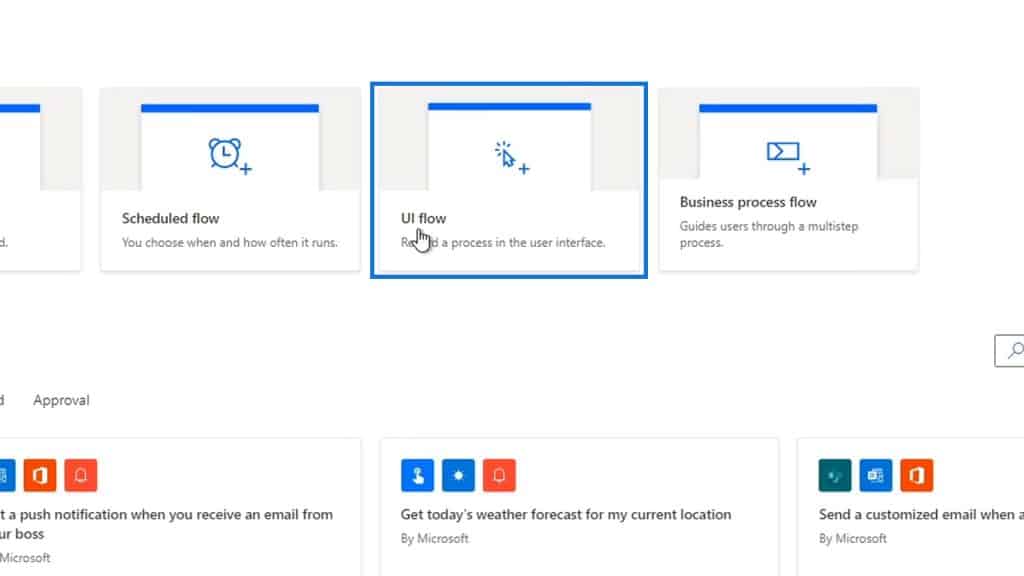
First, let’s create a new UI flow.
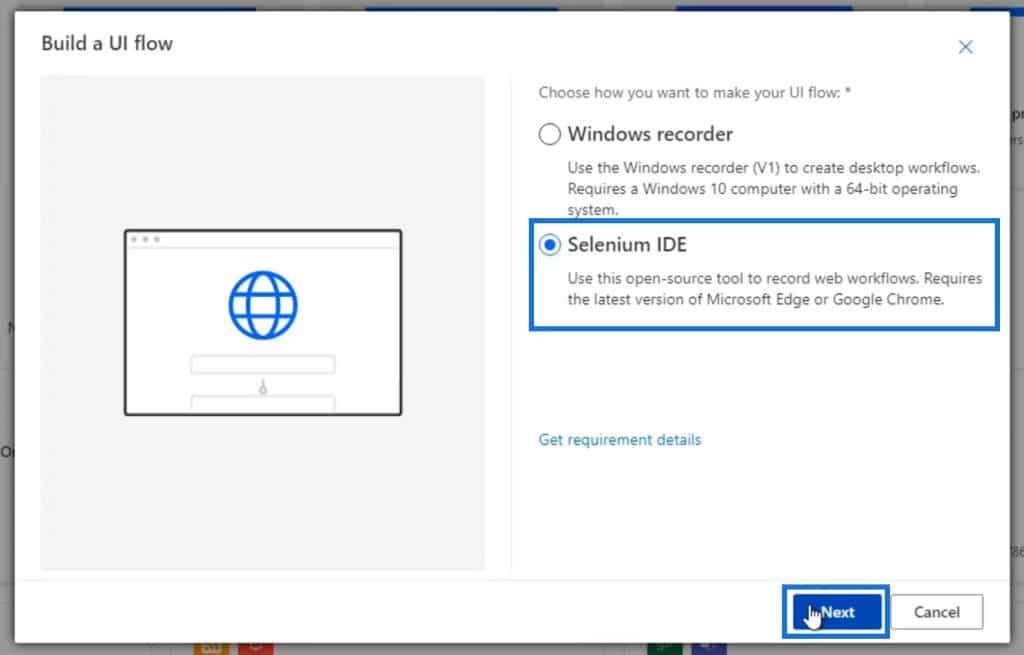
Then select the Selenium IDE option and click Next.
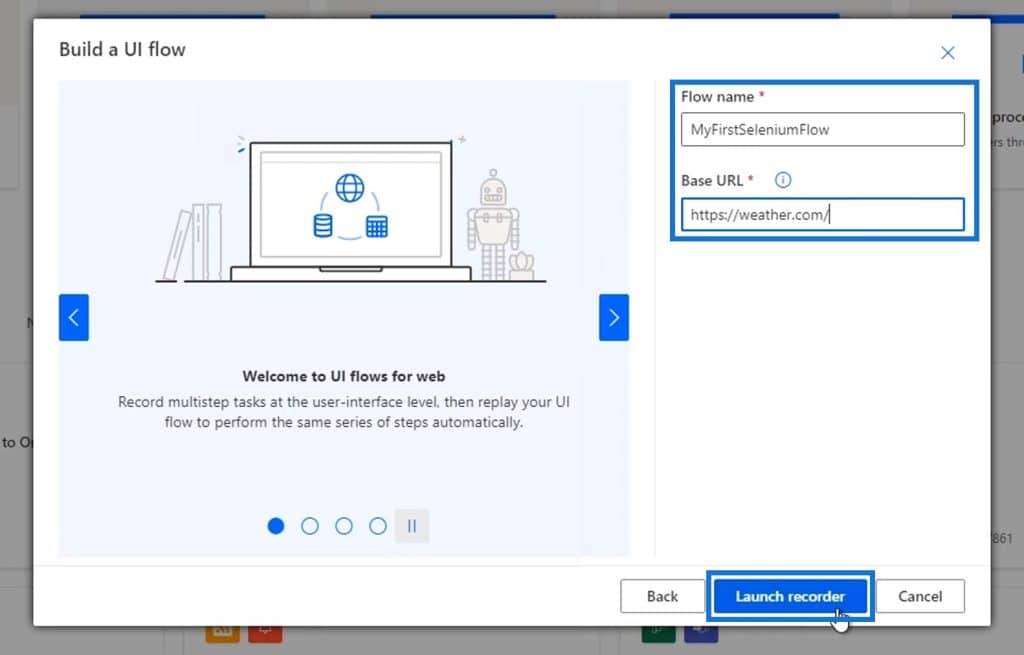
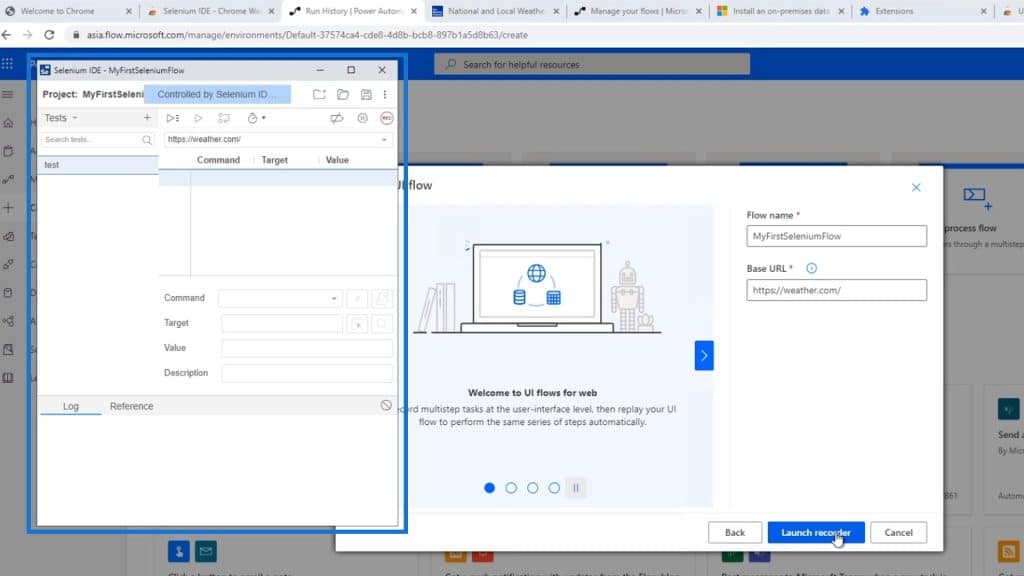
Let’s set the name to MyFirstSeleniumFlow, then set the Base URL to https://weather.com. This base URL is the web address we’ll start with to record the first steps of our process. After that, click Launch recorder.
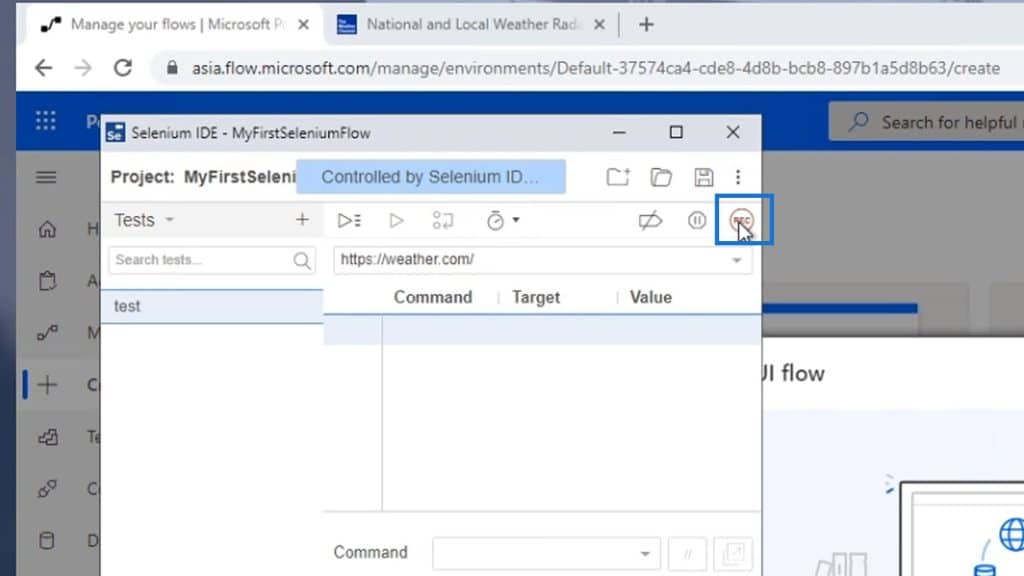
As a result, it’ll execute the flow that we created.
Let’s then click the record icon.
Once clicked, it’ll open up a website based on the base URL that we specified which is https://weather.com. That’s where the flow will begin.
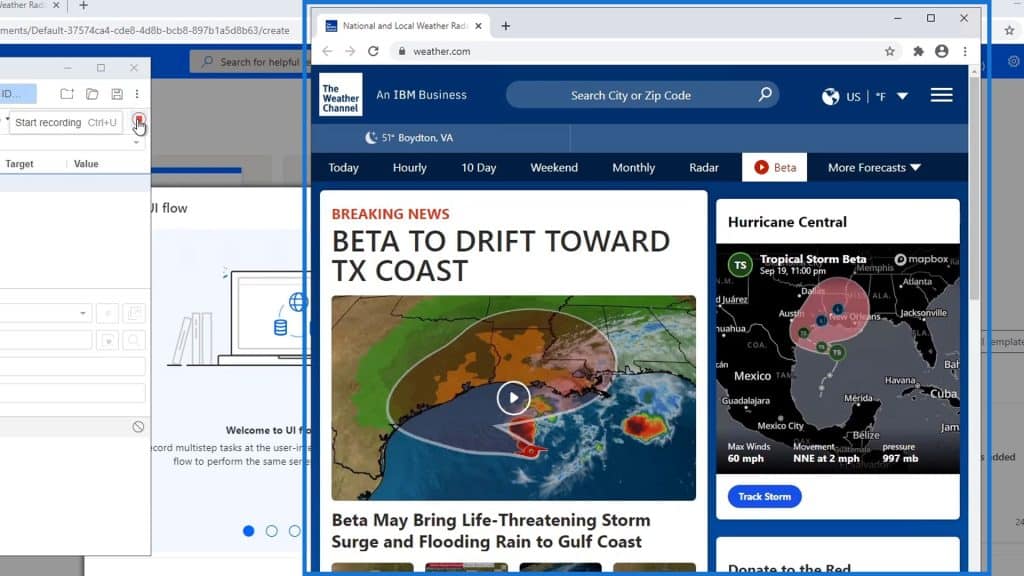
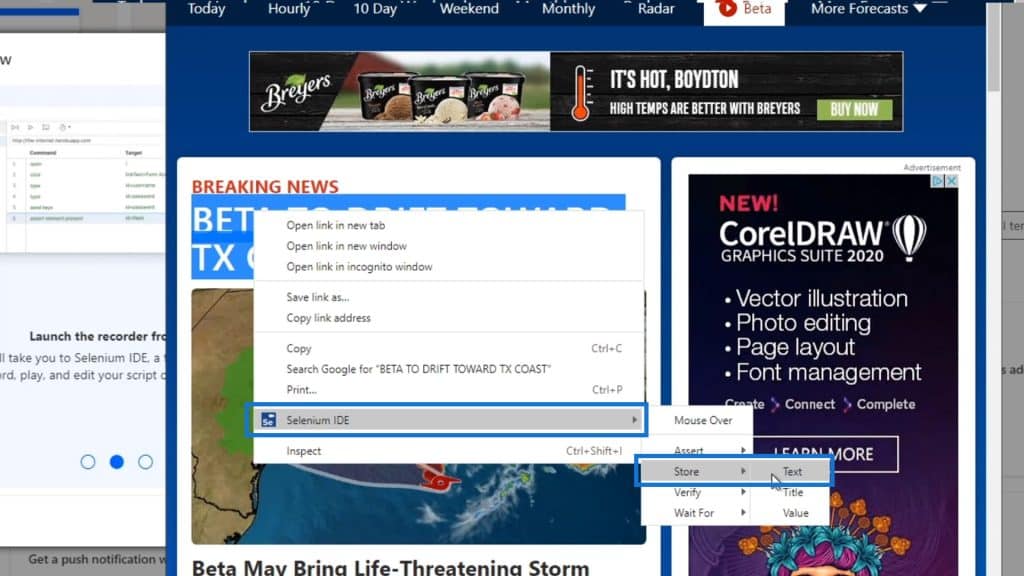
Let’s say for example that we want our flow to grab the headline within the website. First, we need to highlight it.

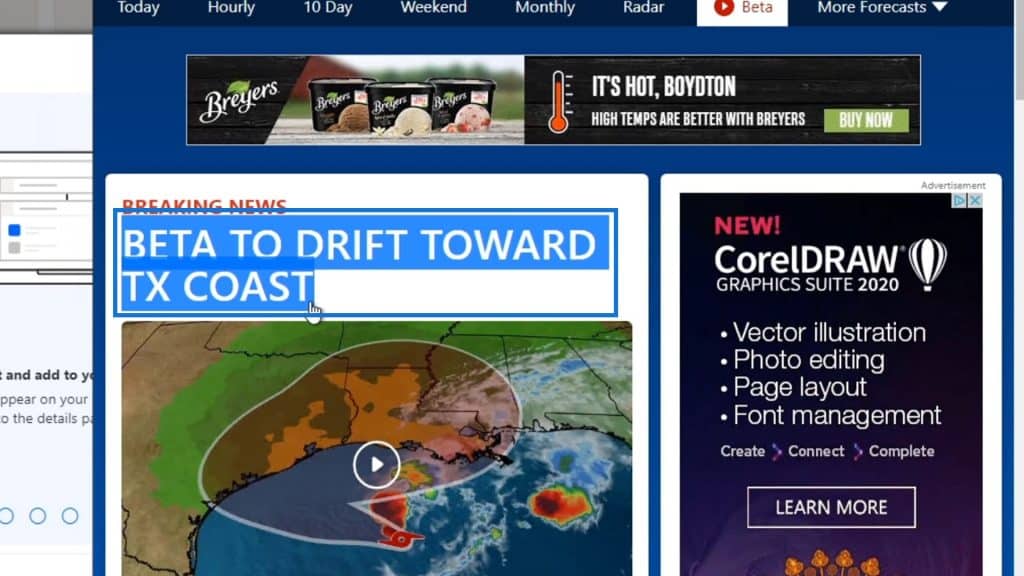
Right-click, then hover over the Selenium IDE option. Choose a store, then click Text. This will store the text that we highlighted.
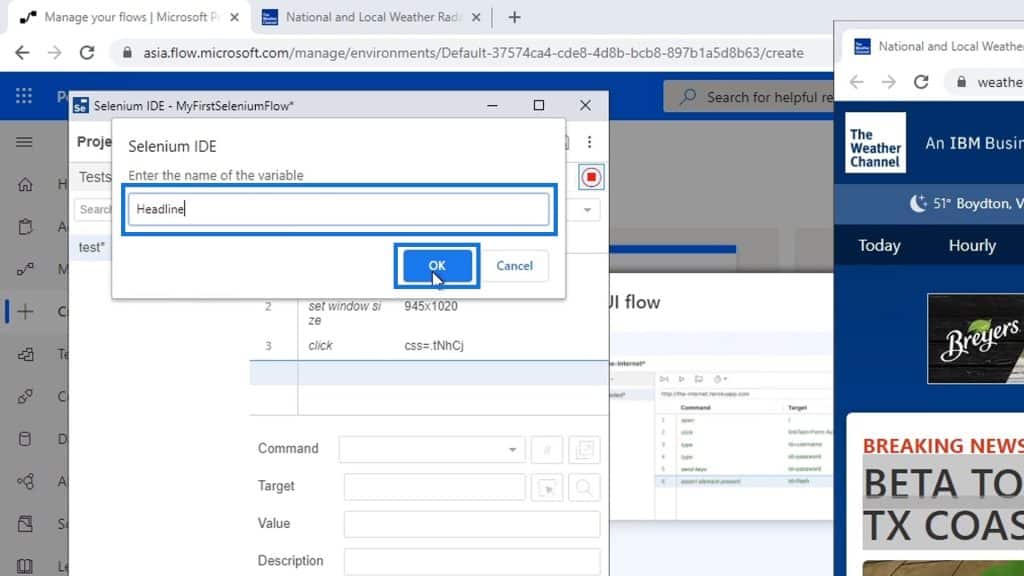
Set the name of the variable to Headline then click OK.
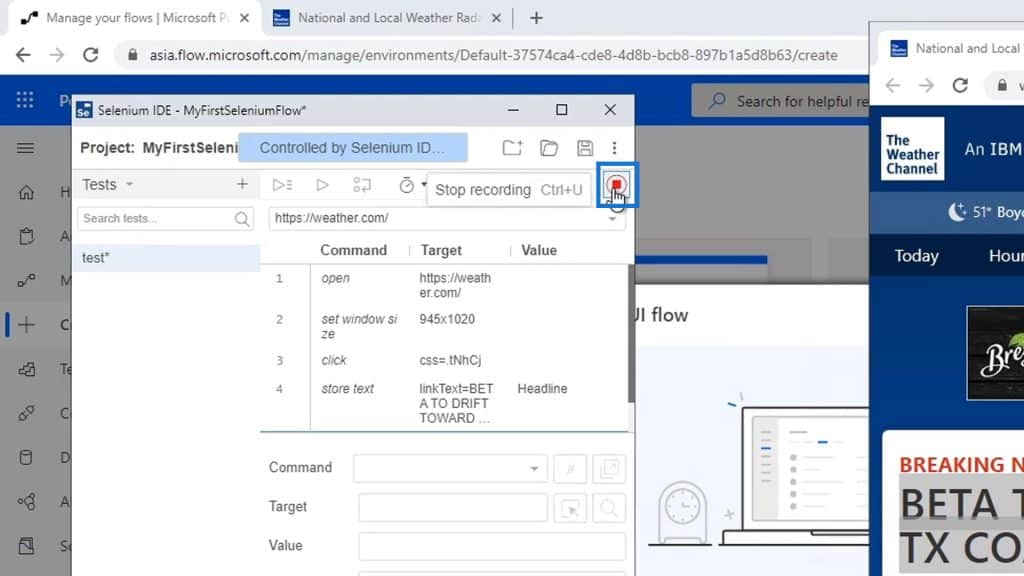
After that, stop the recording.
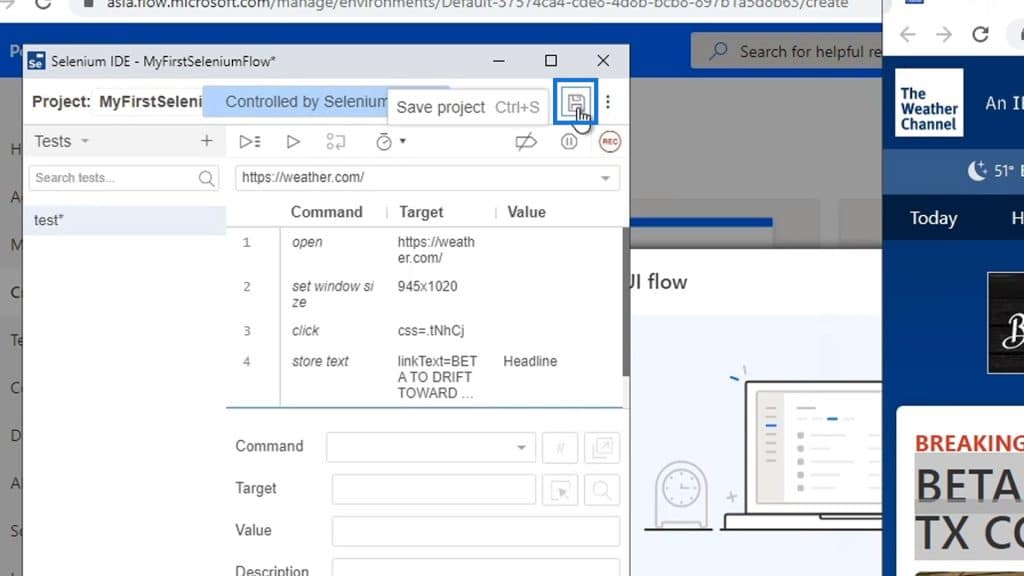
Lastly, save the project.
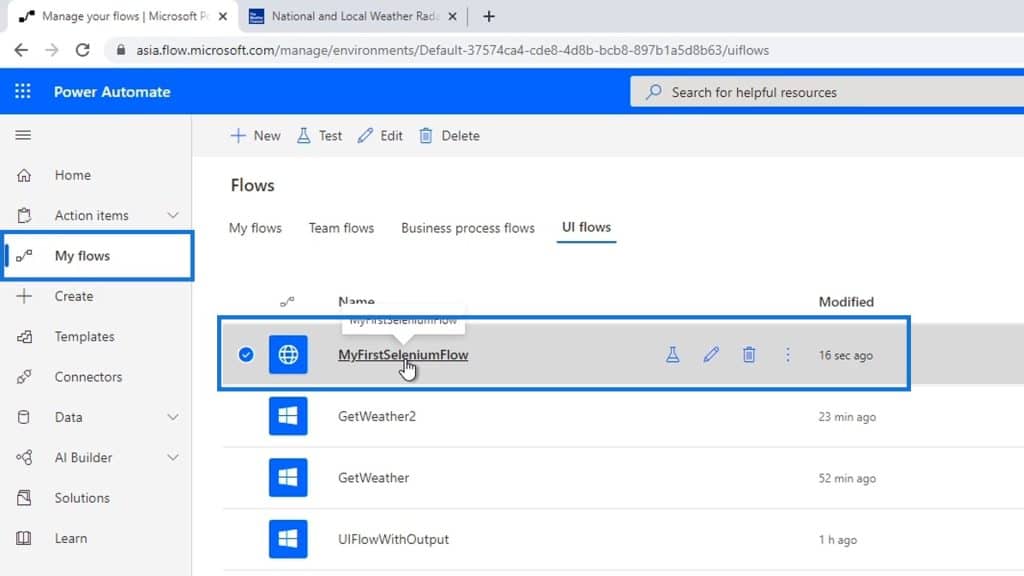
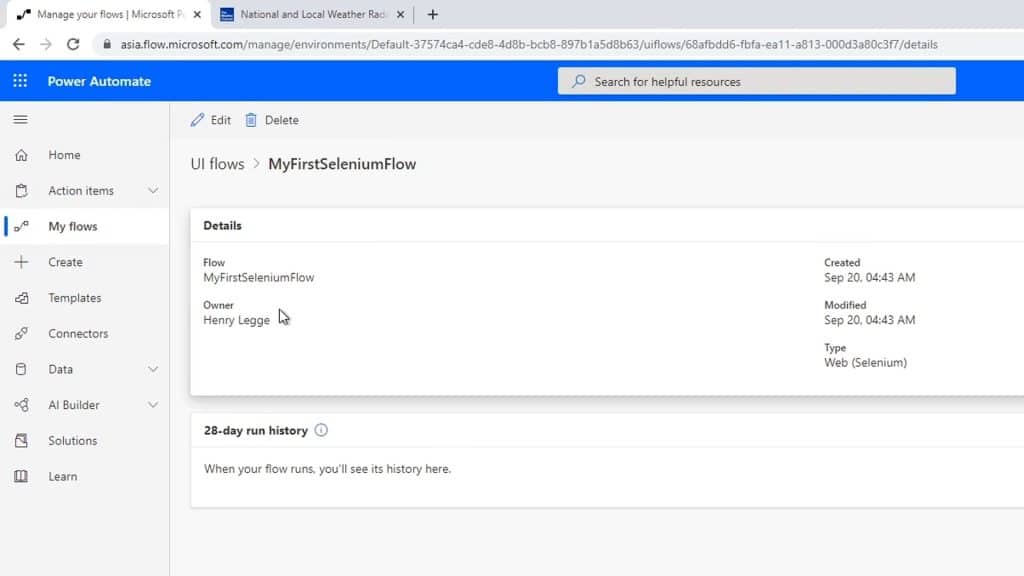
Let’s now go to My flows, then click the flow that we created under UI flows.
Click Edit.
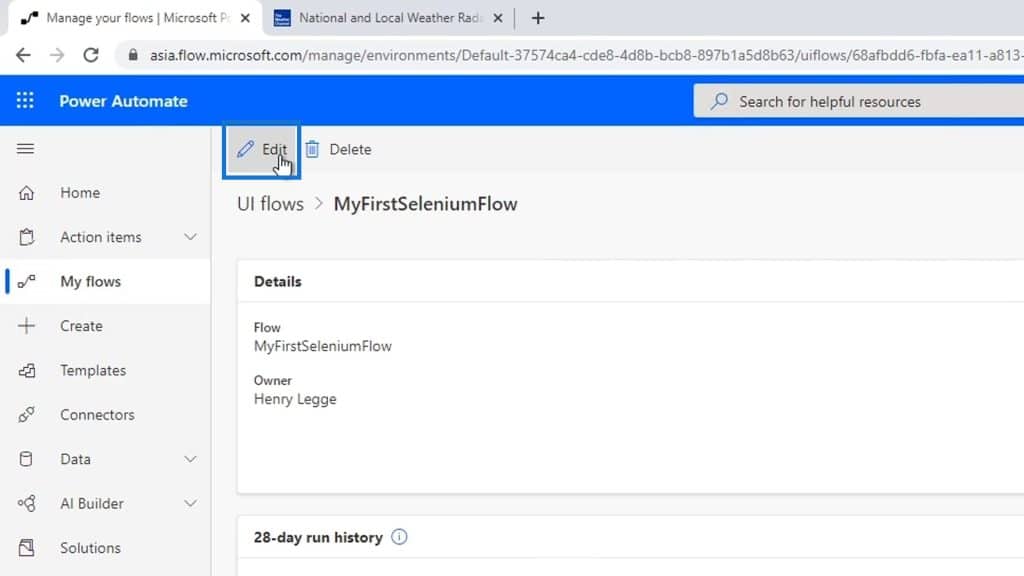
We need to edit this UI flow using the Selenium IDE itself. Again, this is a third-party application that’s used by professionals to automate website processes.
Testing The Flow
Let’s now test our flow. First, click the play icon.
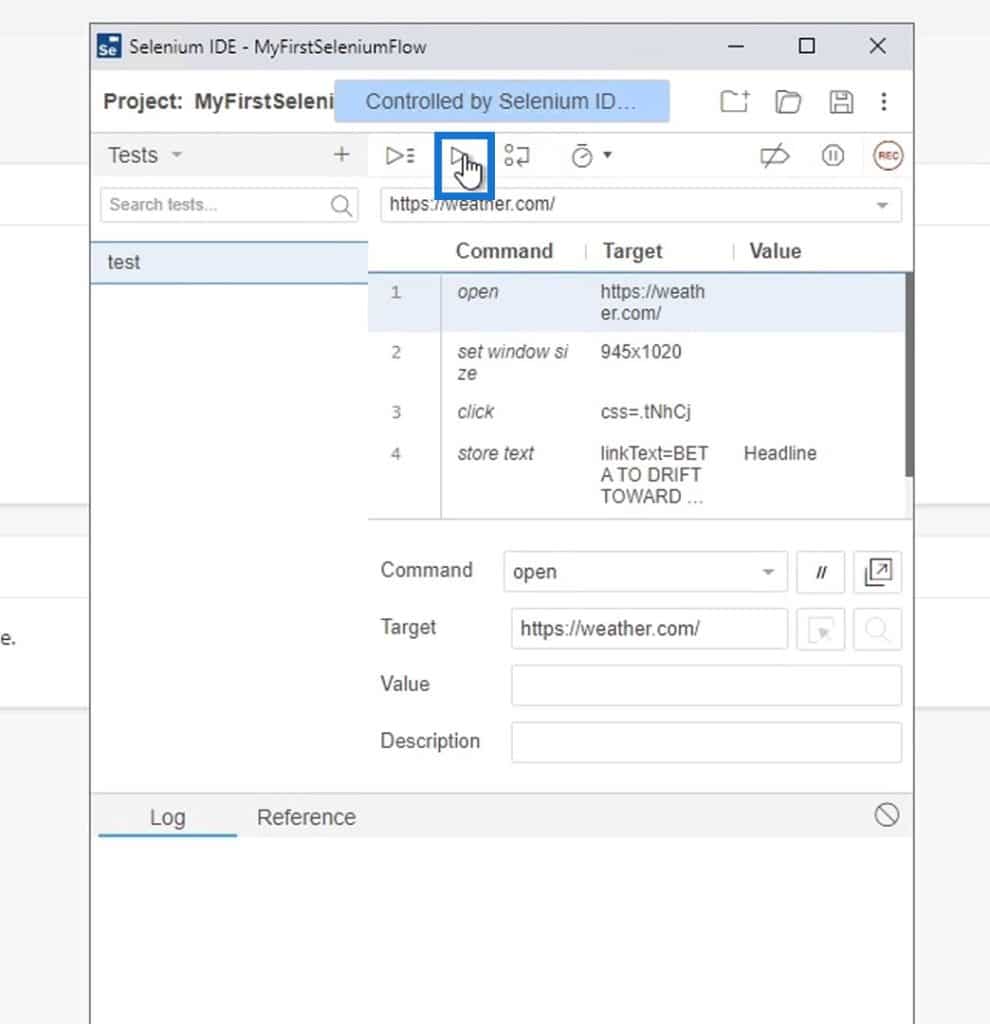
It will then quickly run the flow as expected.
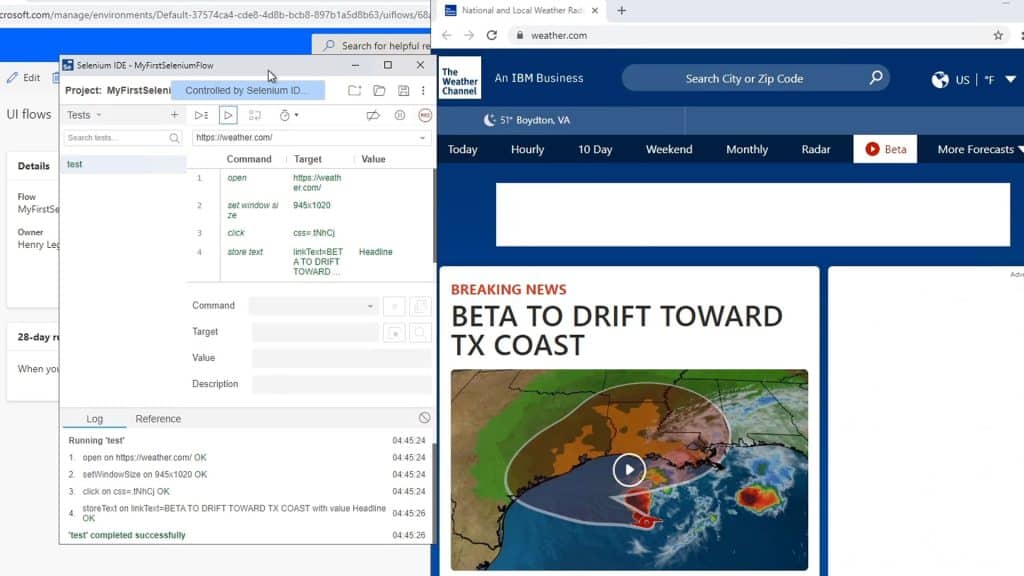
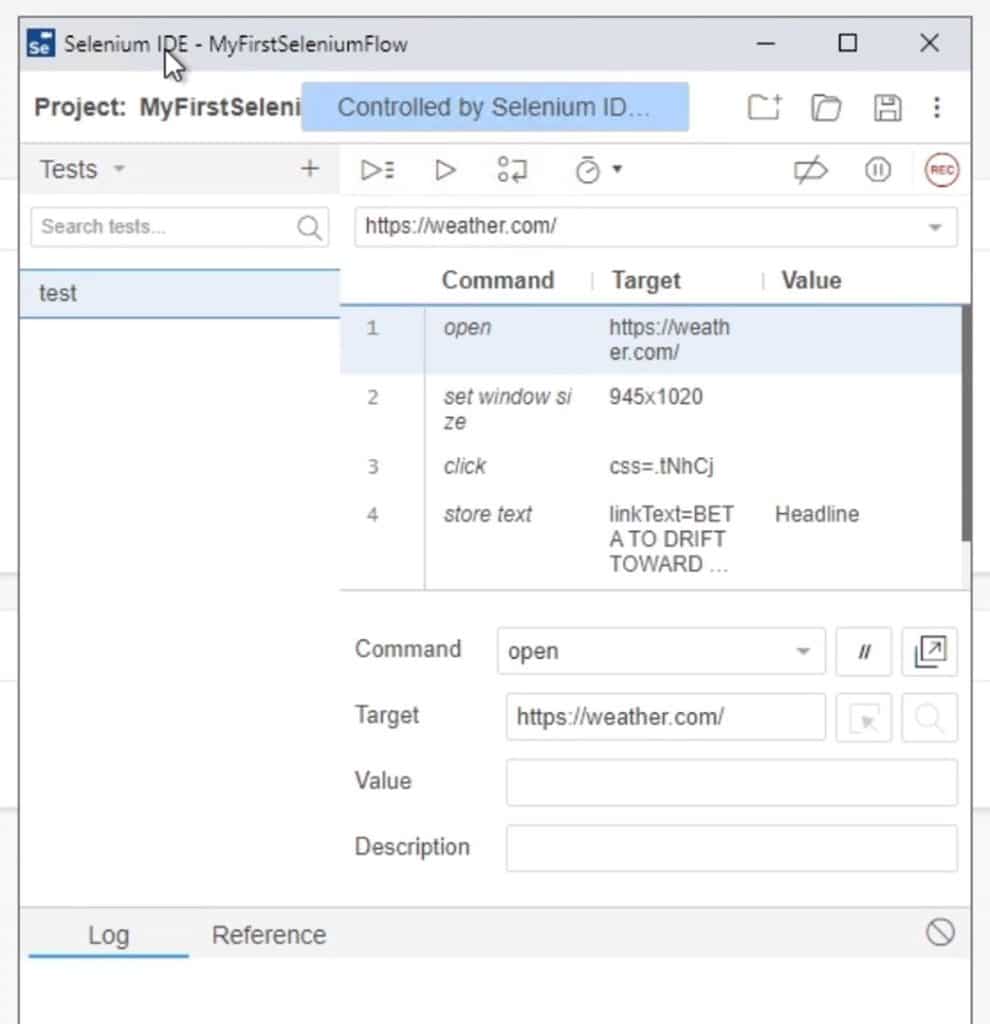
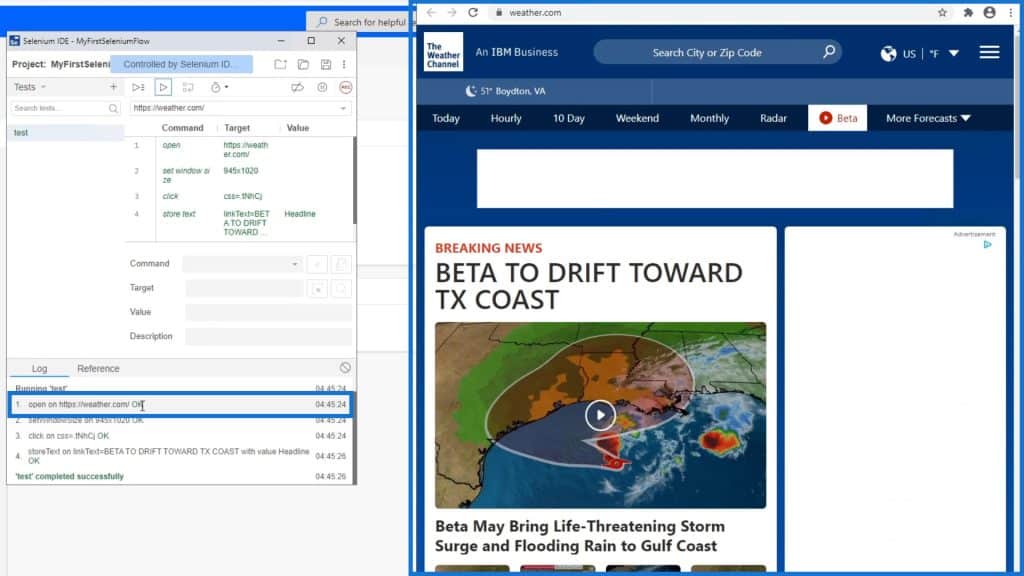
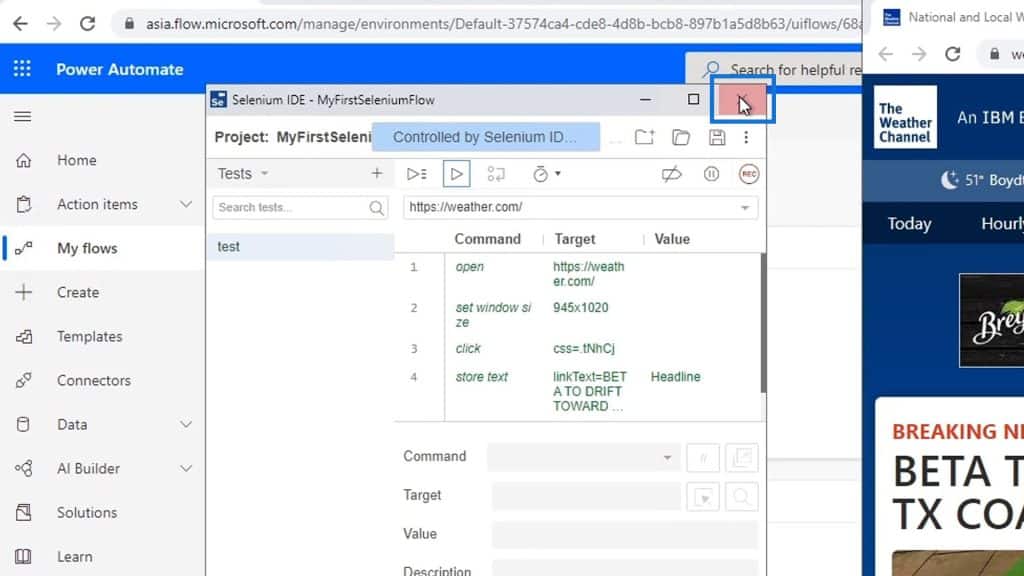
Let’s analyze what happened via the Log section in the Selenium IDE window. First, it opened the specified base URL.
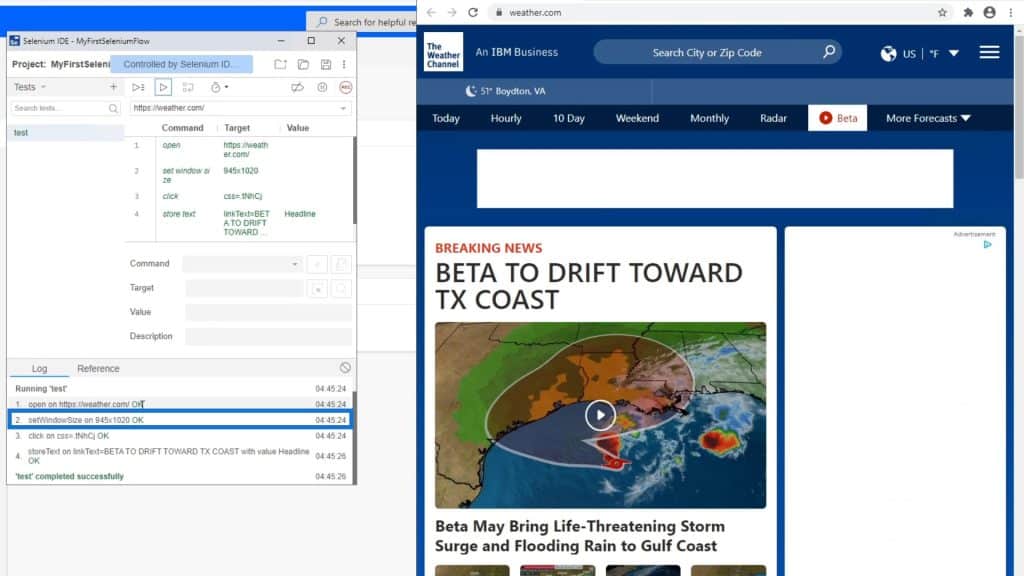
Then, it set the window size to 945×1020. We don’t need to focus much on this.
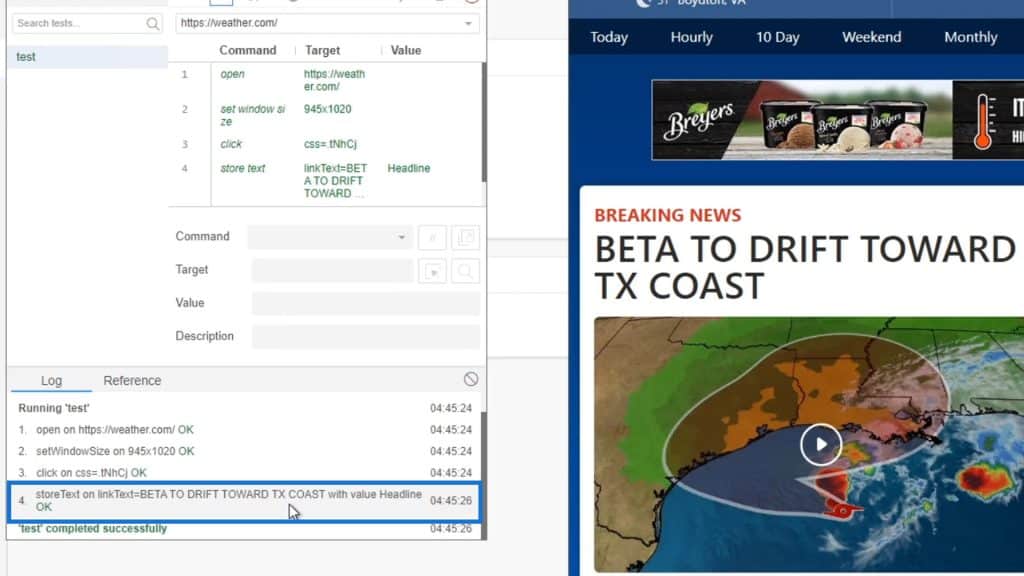
As we can see, it stored the text that we previously highlighted.
Let’s close the MyFirstSeleniumFlow window.
We can now integrate this into our more complex flows.
***** Related Links *****
Power Automate UI Flow: An Introduction
Power Automate Flows Creation From Scratch
Microsoft Power Automate: Workflow Automation

Conclusion
In a nutshell, Selenium IDE flows allow users to automate website processes. We can also record actions across multiple HTTP or HTTPS websites within the same tab.
After creating a UI flow, we might need to edit it. Again, we can only edit it in Selenium IDE itself and not in the Power Automate desktop app. We won’t be covering too much about it in this tutorial, but we can certainly integrate this kind of automation into Power Automate flows.
All the best,
Henry


