
In this tutorial, we’ll be creating Power Automate flows from scratch. Our goal here is to create a Twitter flow from scratch instead of using a template. This means we’ll be creating the triggers and actions by ourselves. You can watch the full video of this tutorial at the bottom of this blog.
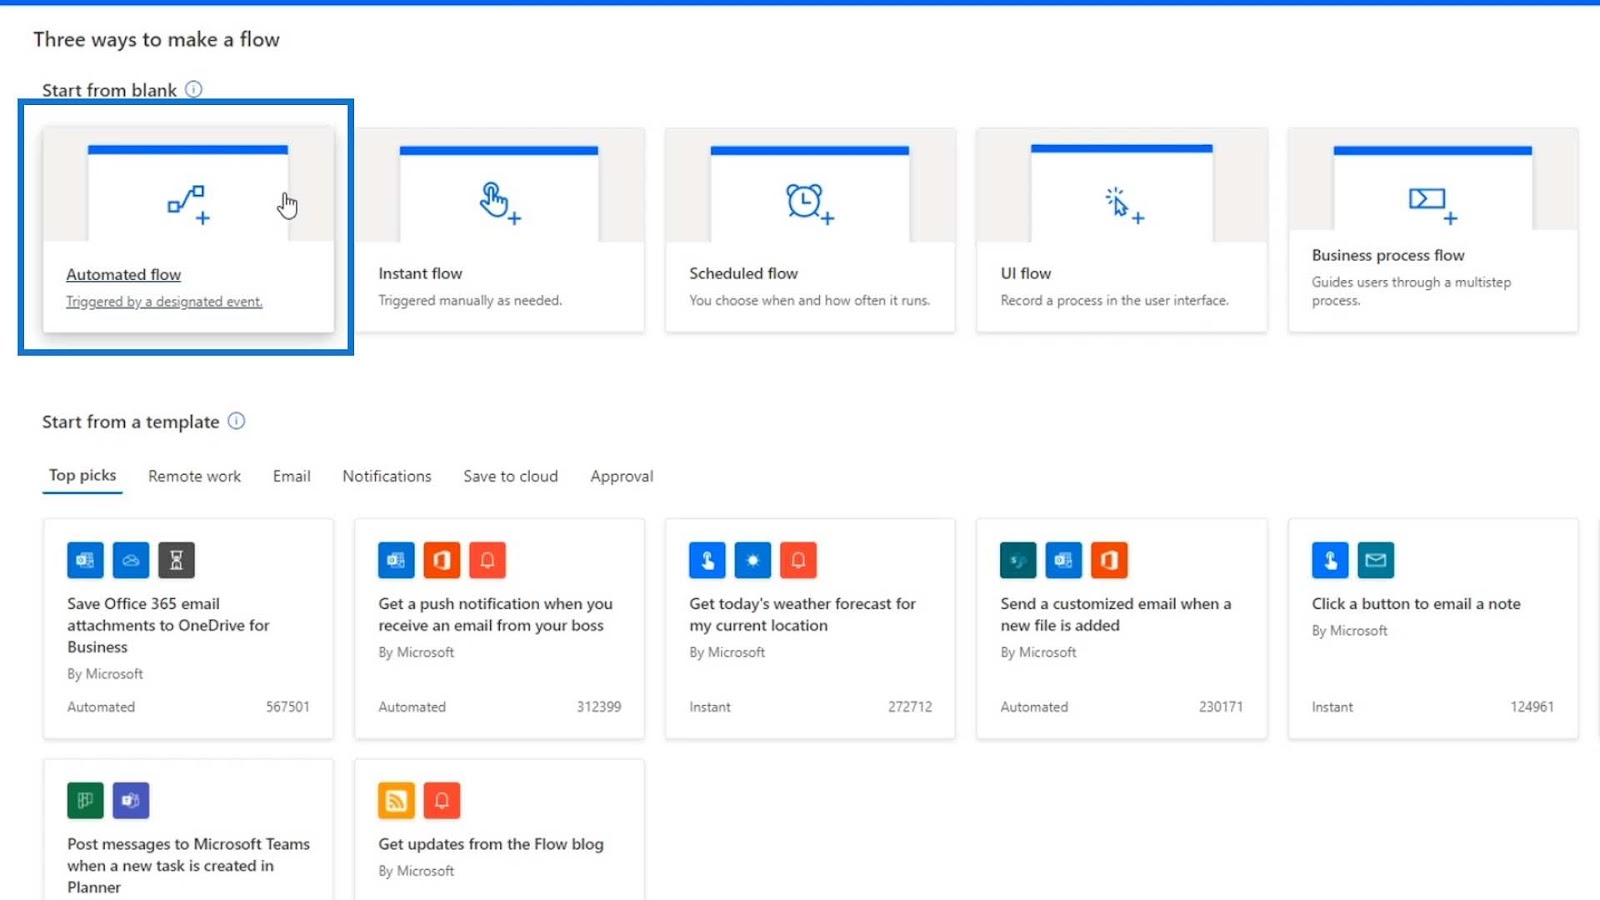
If we go to the Create page, we’ll see that there are five types of flows. We’ve already tried the Automated flow and Instant flow using templates in separate tutorials. Now, we’ll try to create a flow from scratch.


Setting Up The Environment For Power Automate Flows
Let’s start creating by clicking the Automated Flow option.
Let’s name this flow as “ScratchFlow – Twitter”.
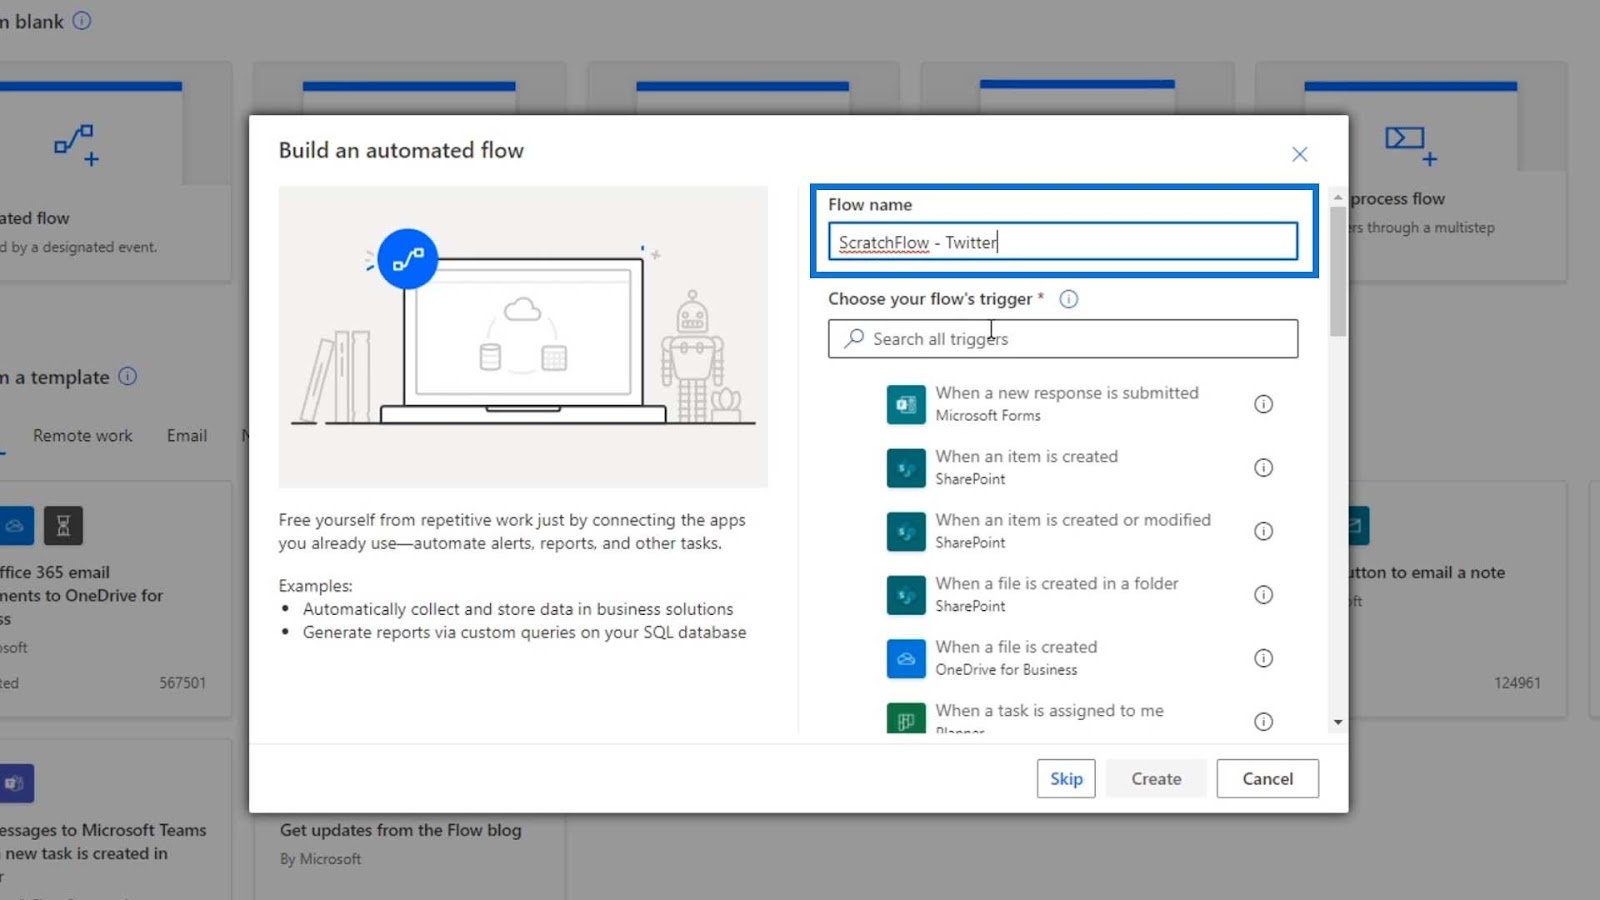
Let’s not choose the flow’s trigger for now because we want to set up the development environment first. So, just click the Skip button.
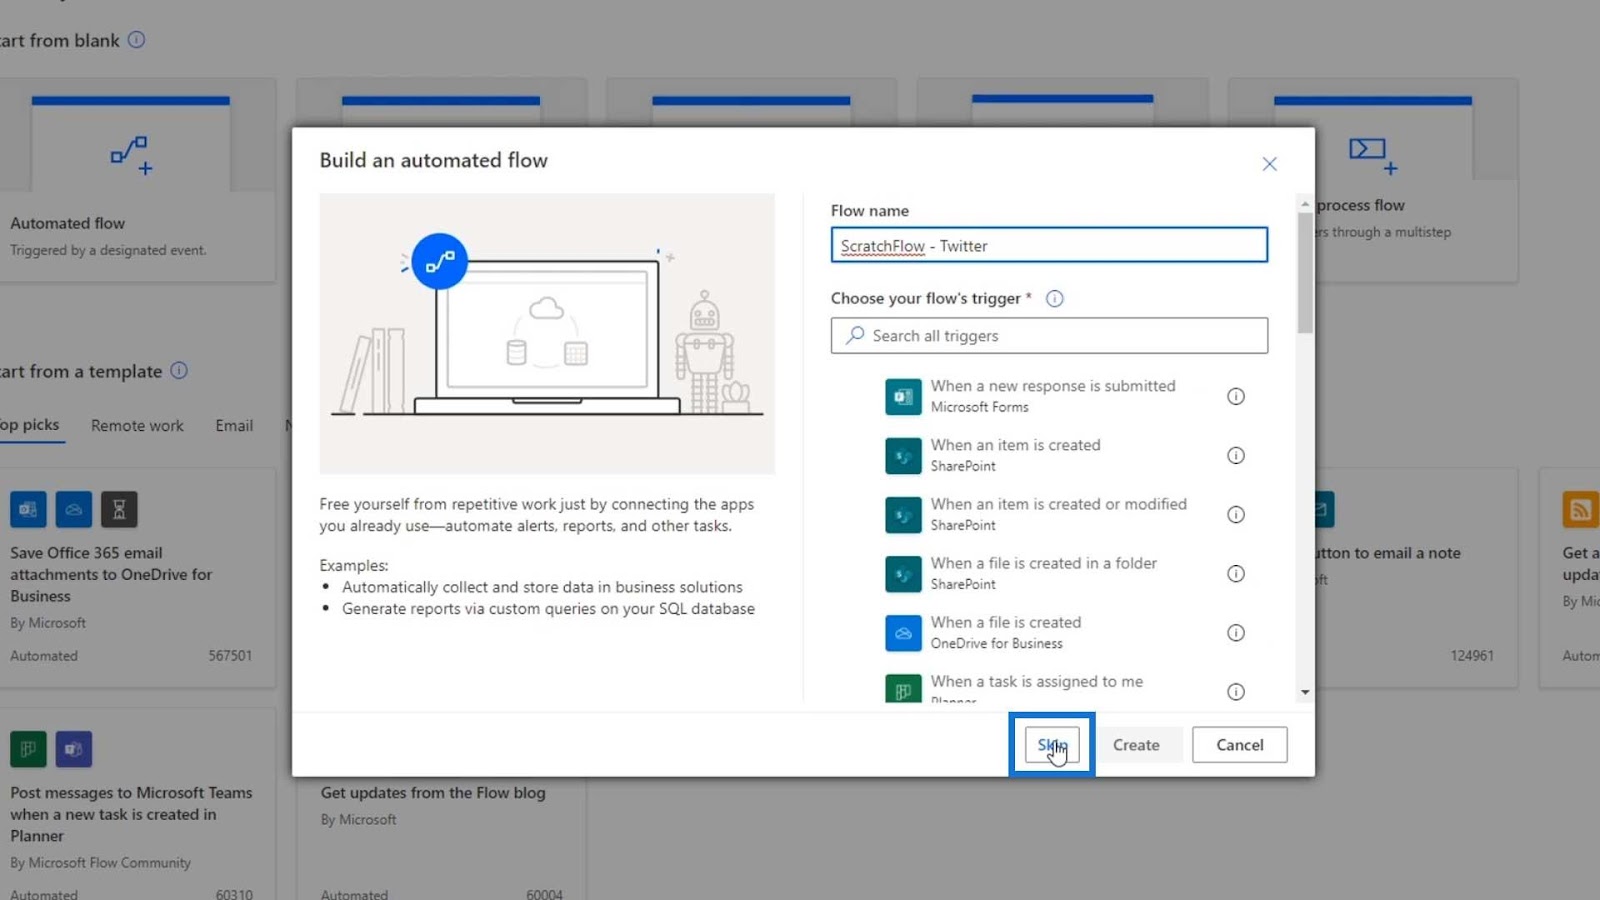
Now, we’re in our Flow diagram page. This is the page where we see the trigger, action, and condition for our flow.
Creating A Trigger For Flows In Power Automate
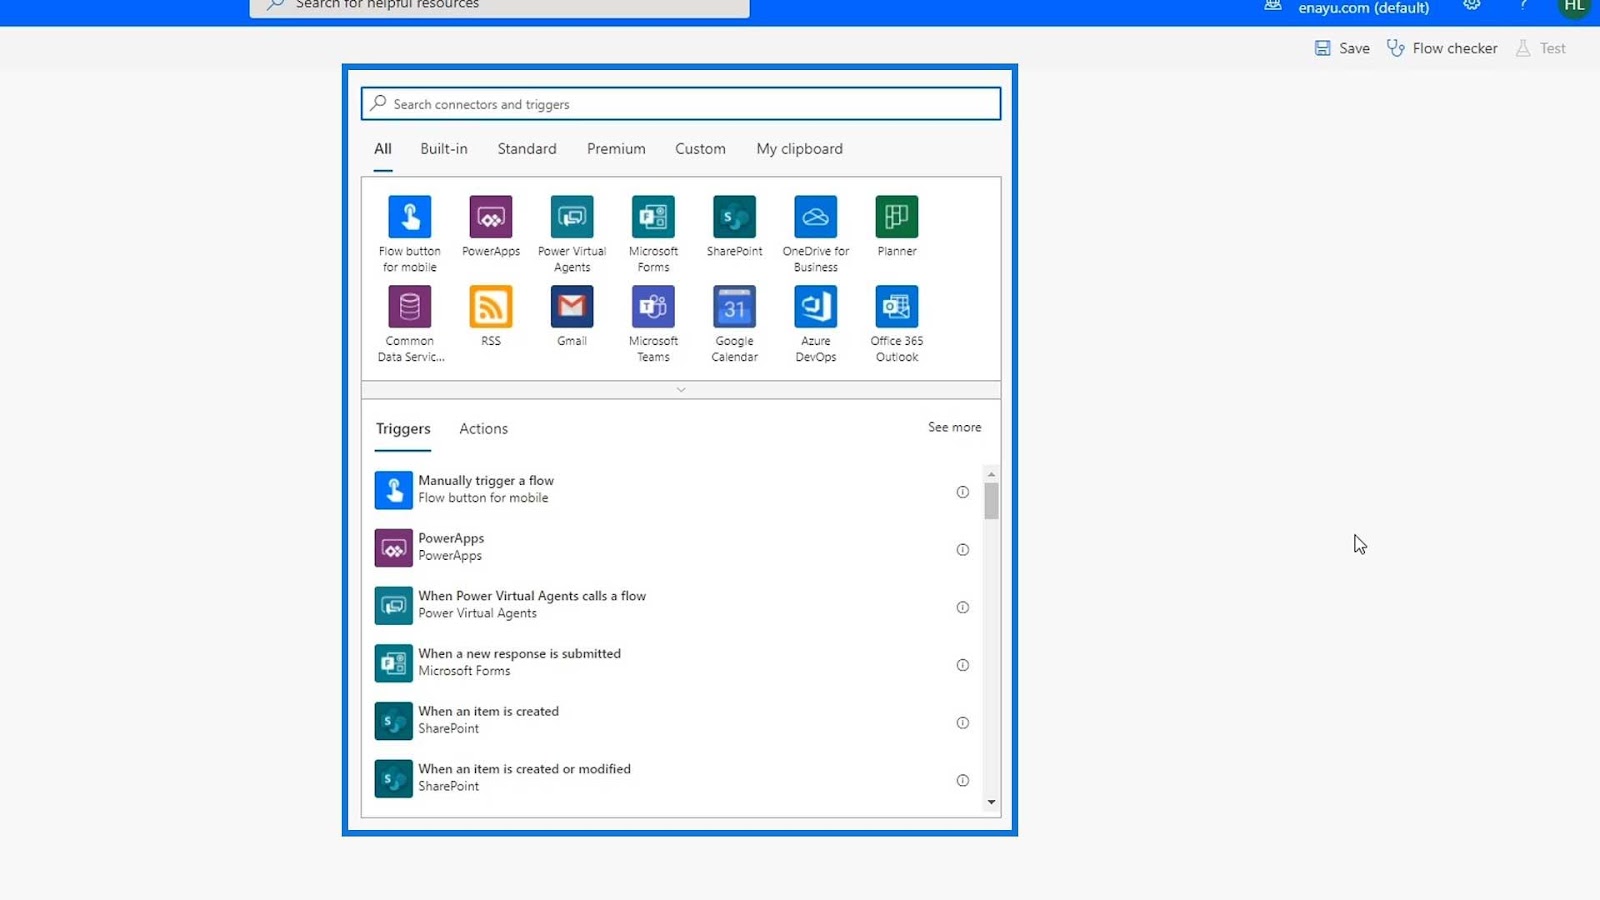
The first thing that an automated flow needs is the trigger. For this flow, we want it to be triggered when a new tweet is posted. There are two ways to build triggers. First, we can search for triggers.
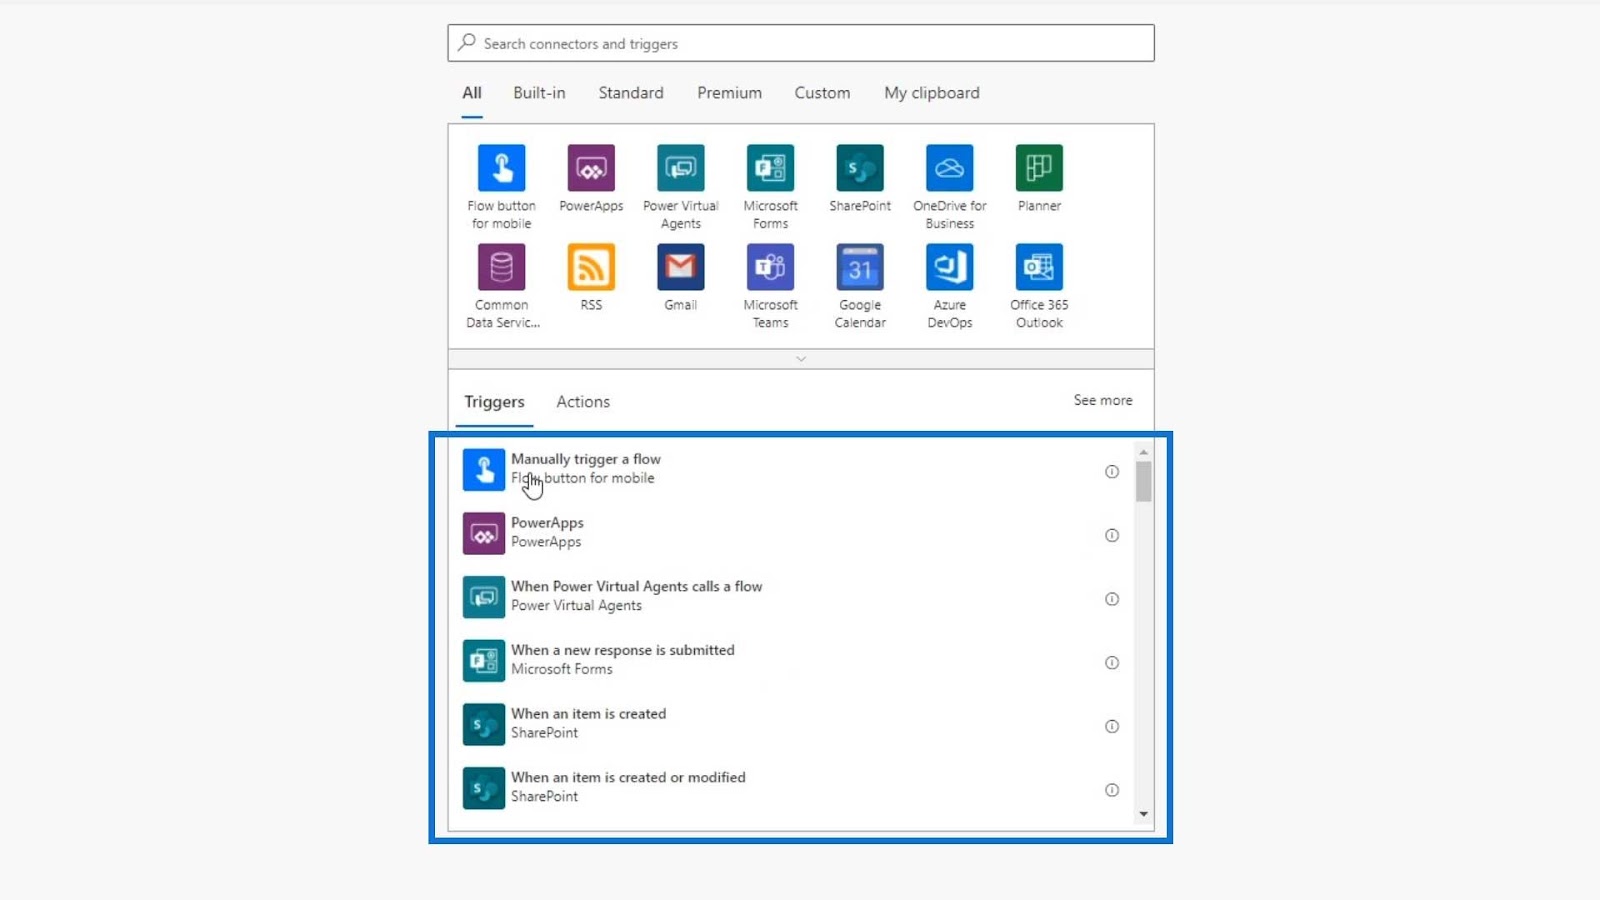
On the other hand, we can also specify the actual connector or application that we want the trigger to run from. For this example, we’ll do it using the second method.

As I’ve mentioned, the trigger is going to be from the Twitter connector. So, let’s search “Twitter”, then click the Twitter connector.

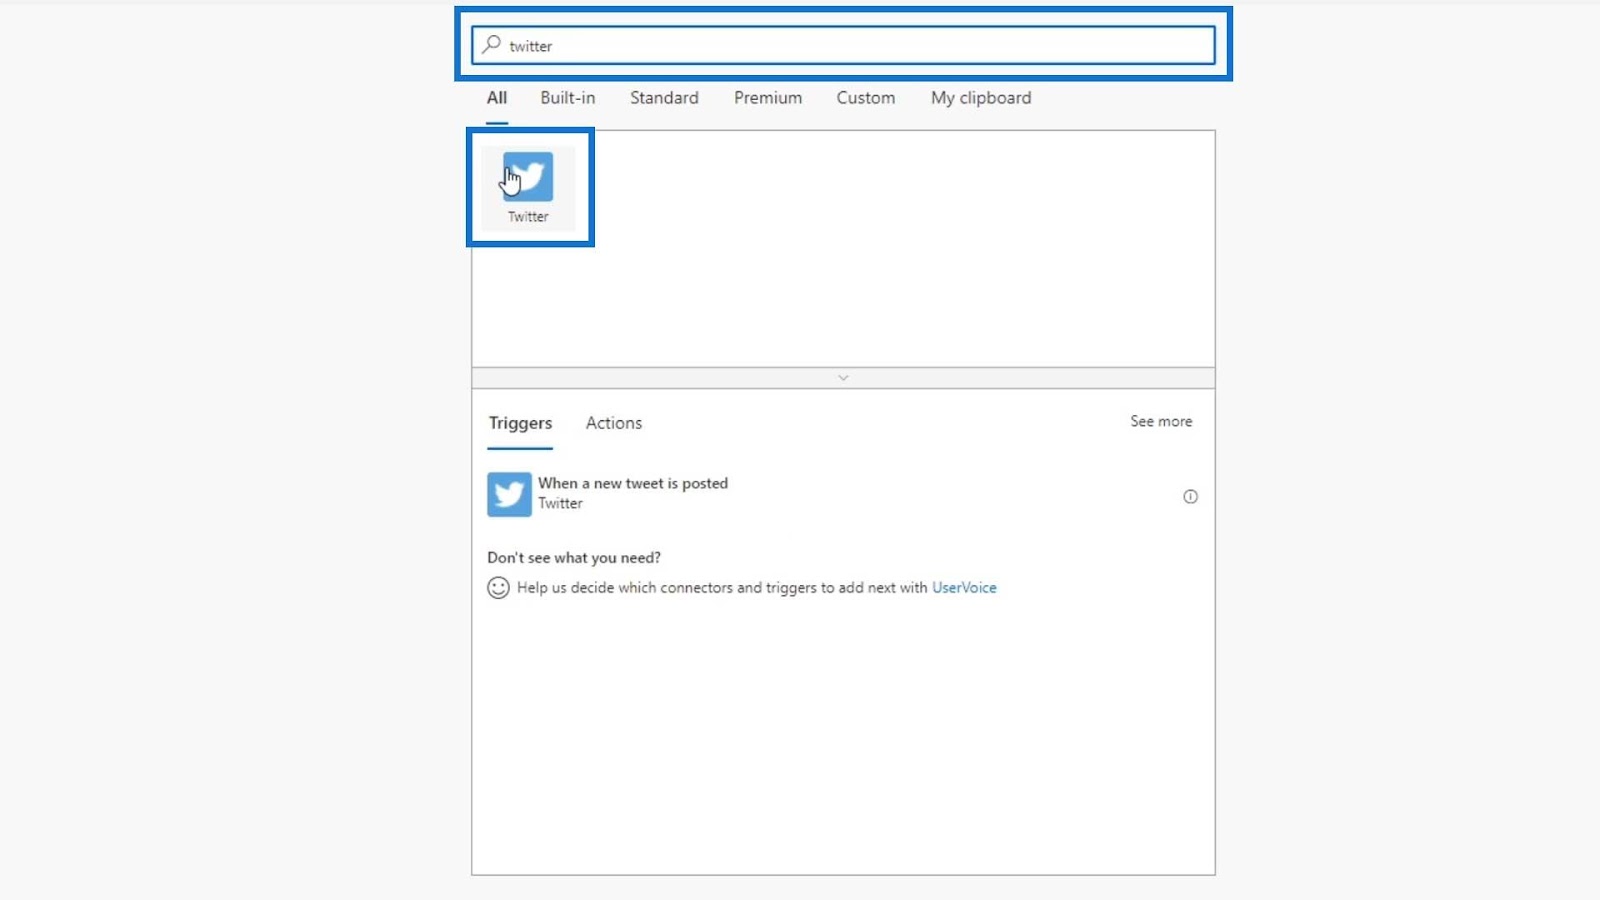
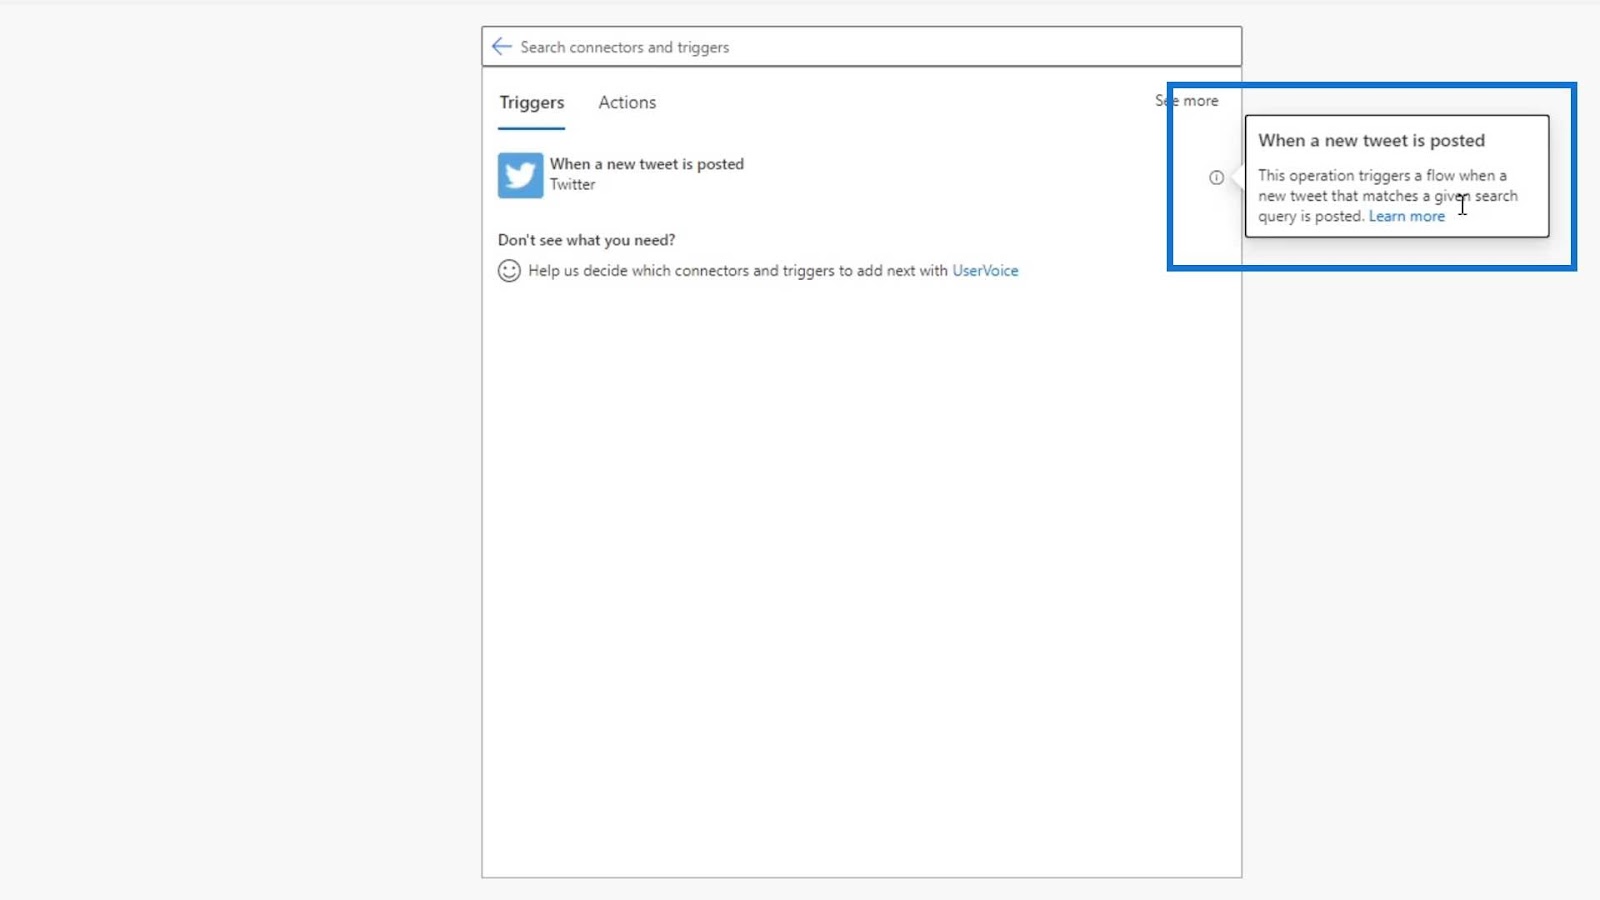
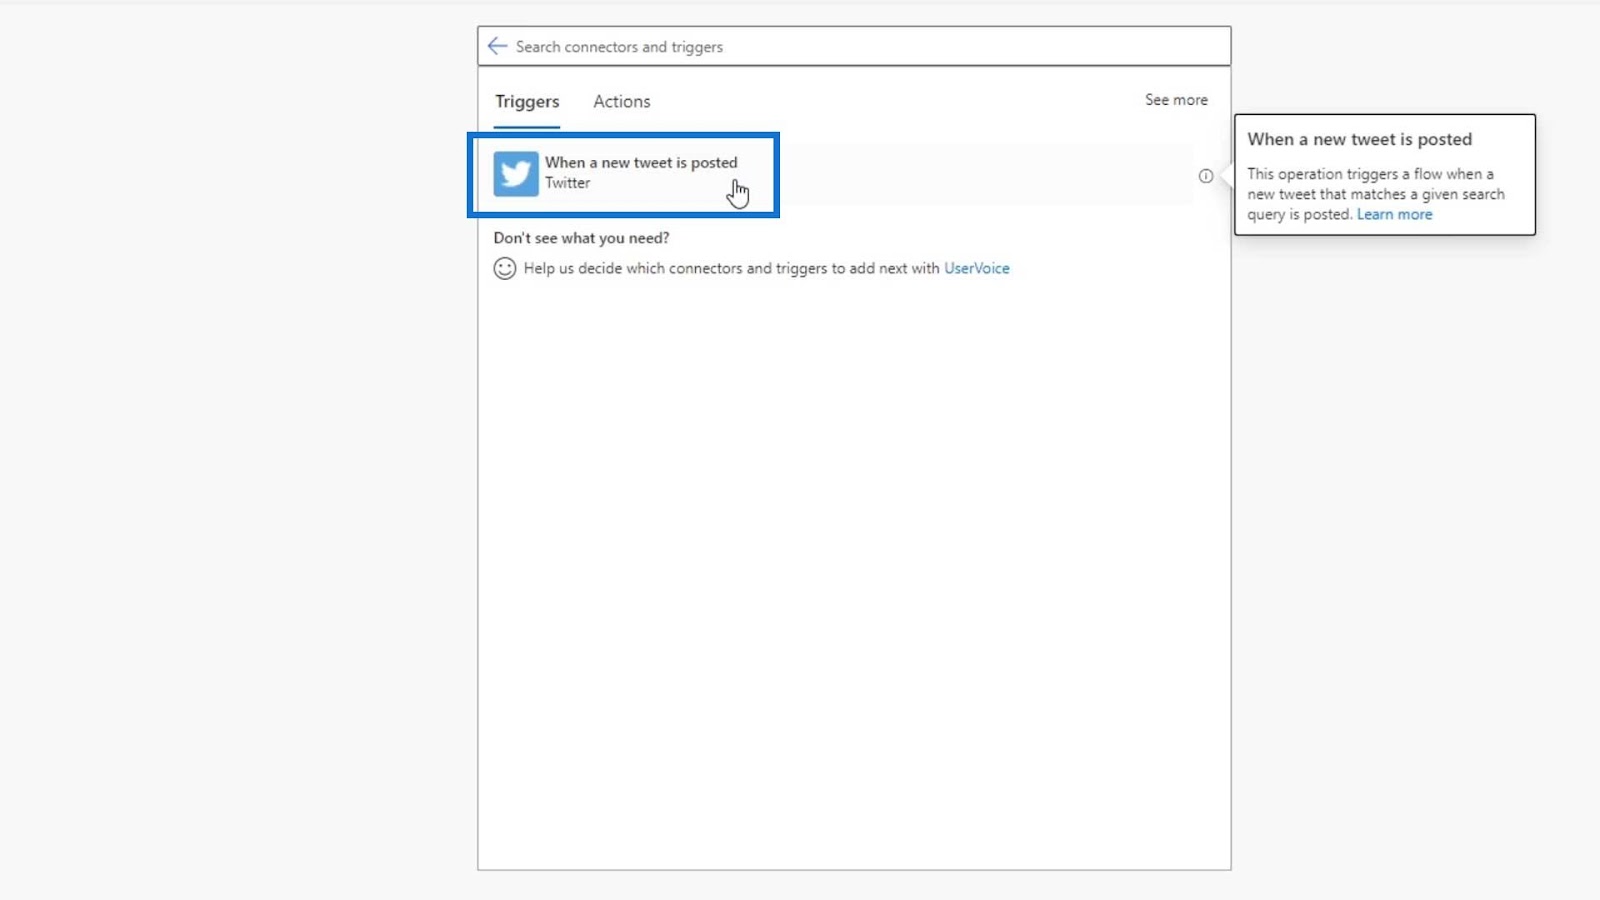
It will then show us the associated trigger with Twitter. In this case, the associated trigger for Twitter is when a new tweet is posted.

We can also see some additional information here about what it actually does.
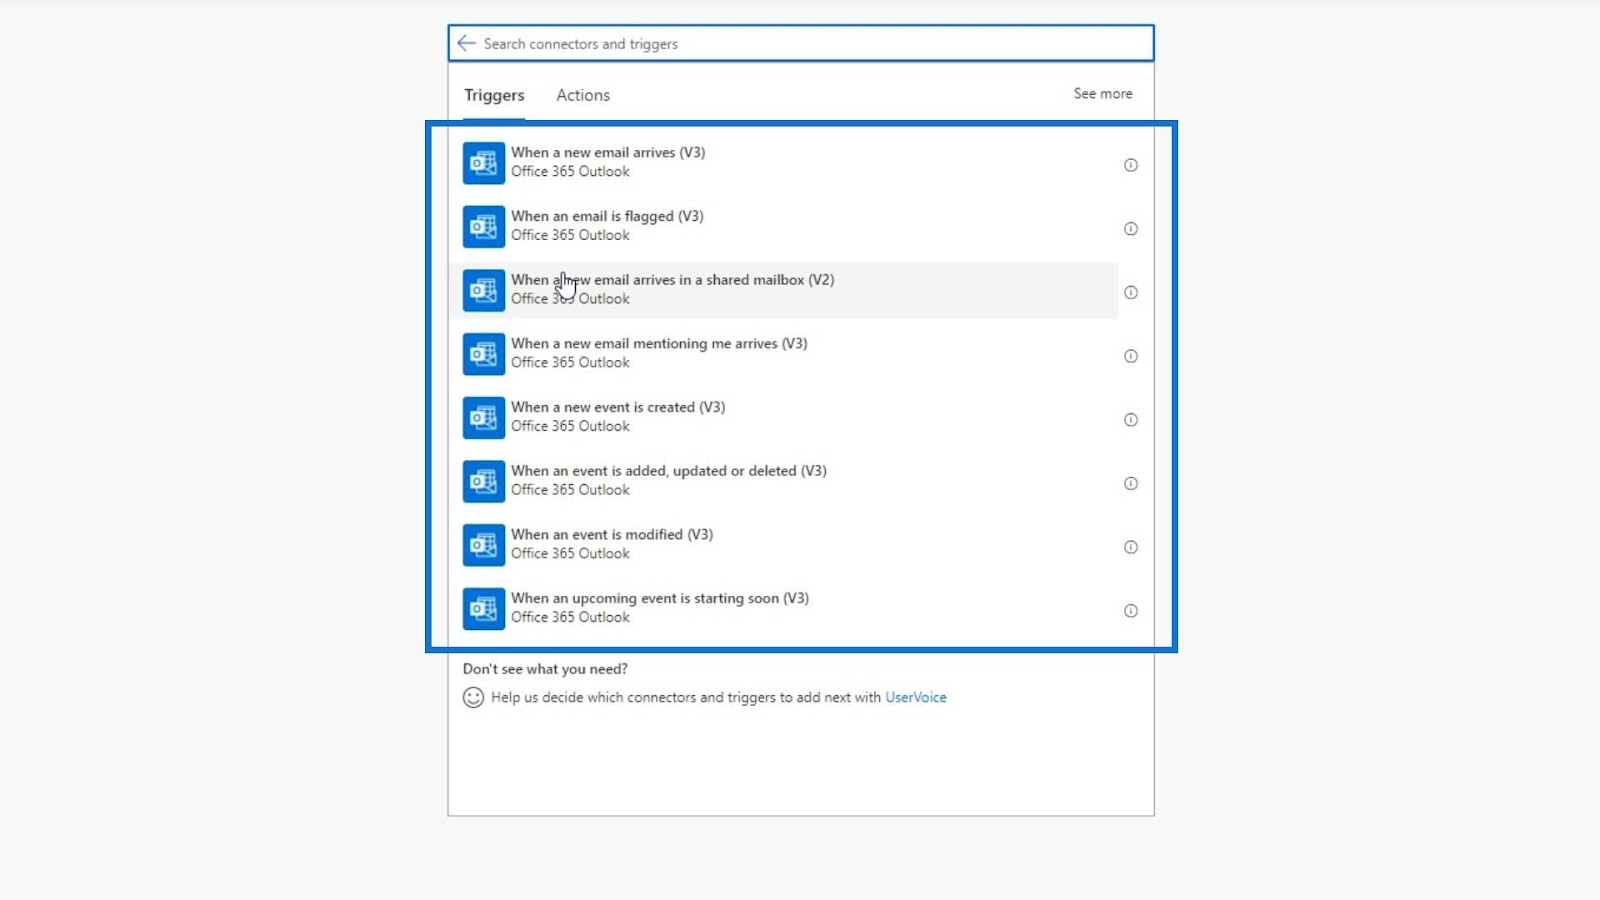
Just to show you another example, let’s try to search for the Outlook connector.

If we click the Outlook connector, we’ll see that it has a lot of associated triggers.
When you’re building a flow, it’s easier to choose the connector or application first. Then, choose the trigger and action afterwards.
Let’s now go back to our Twitter connector, and click on the associated trigger.
When Microsoft made this trigger, they put the Search text as a variable/parameter for us to fill in. Because of that, this flow will only be triggered when a new tweet matches the text we’ll be setting over here.
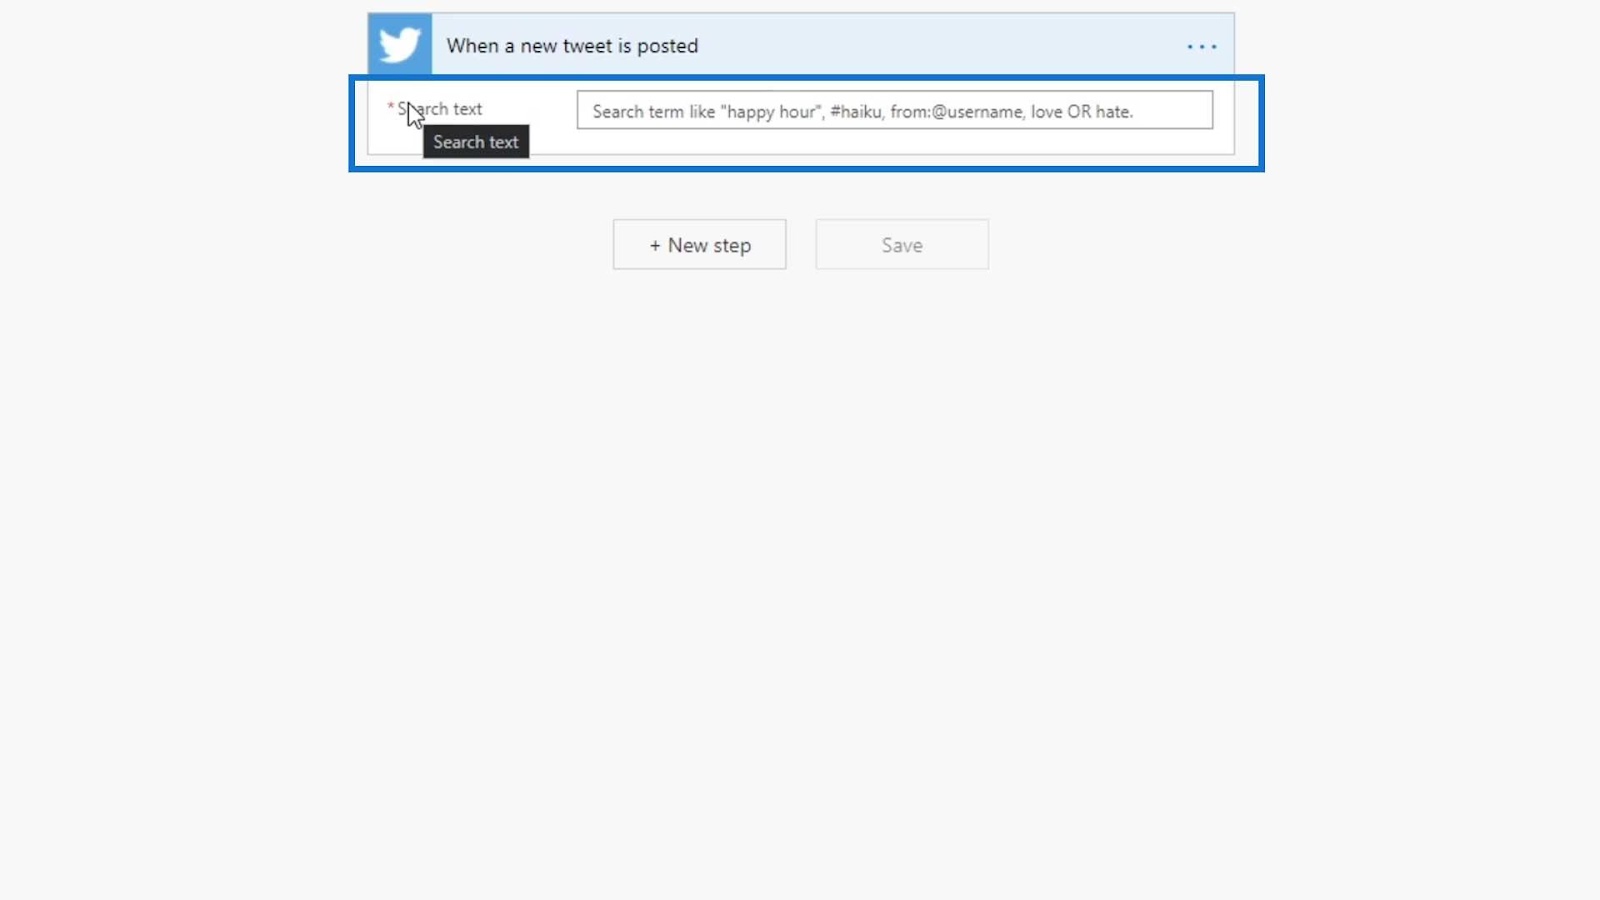
We have different options for our trigger here. We can put a text, hashtag, or username. For this example, let’s just use and type “Power Automate” as our keyword or search term.
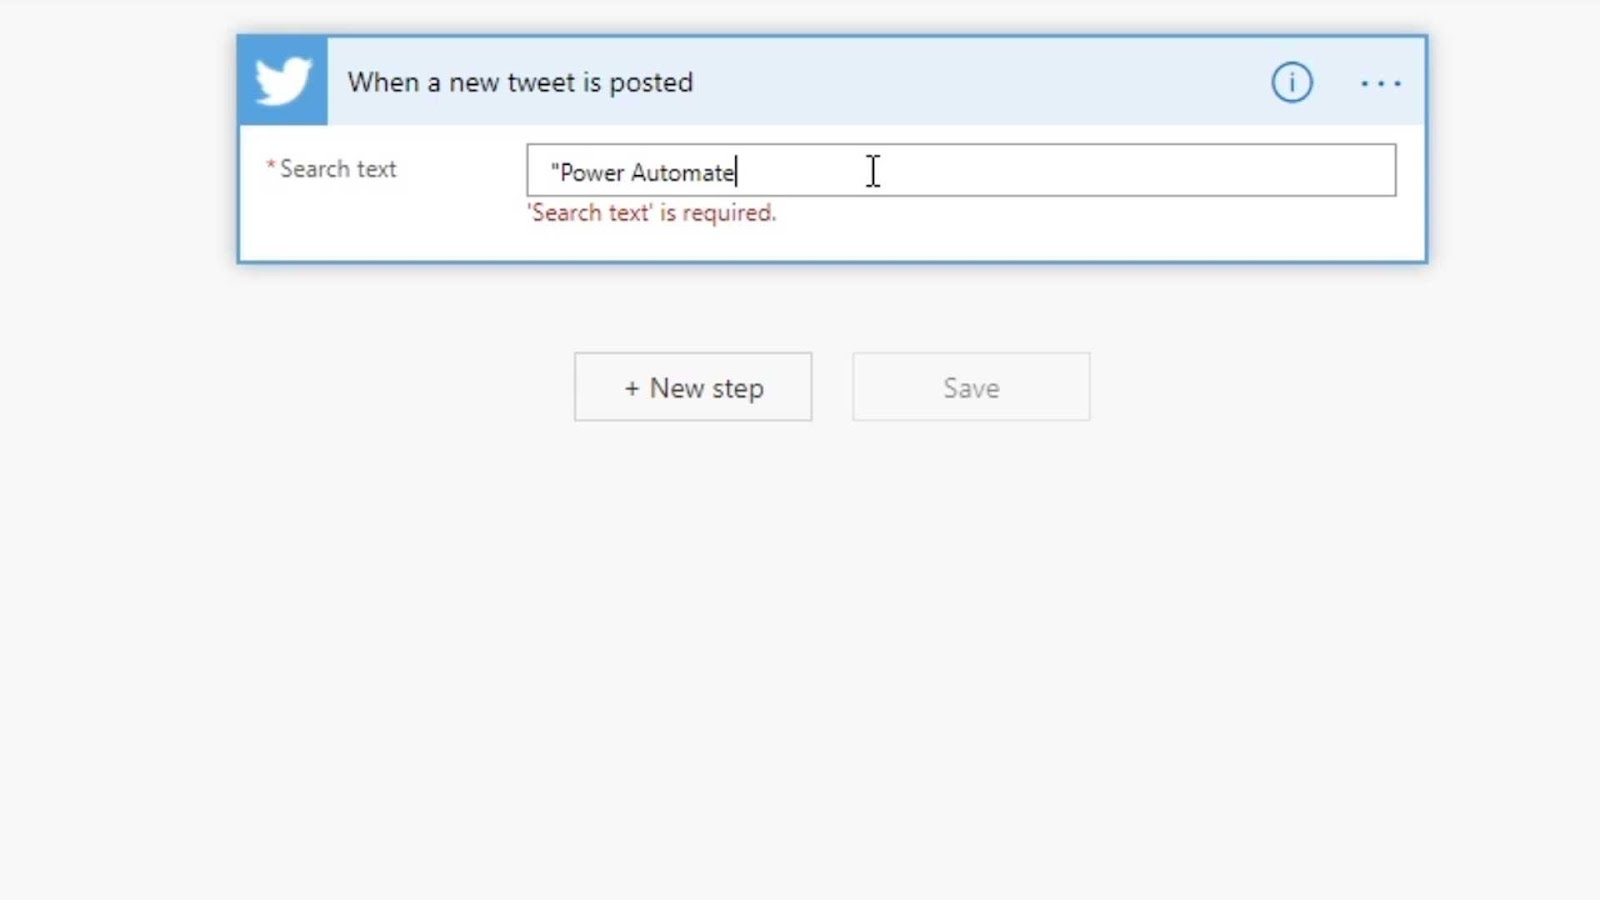
And that’s how we set up our own trigger from scratch.
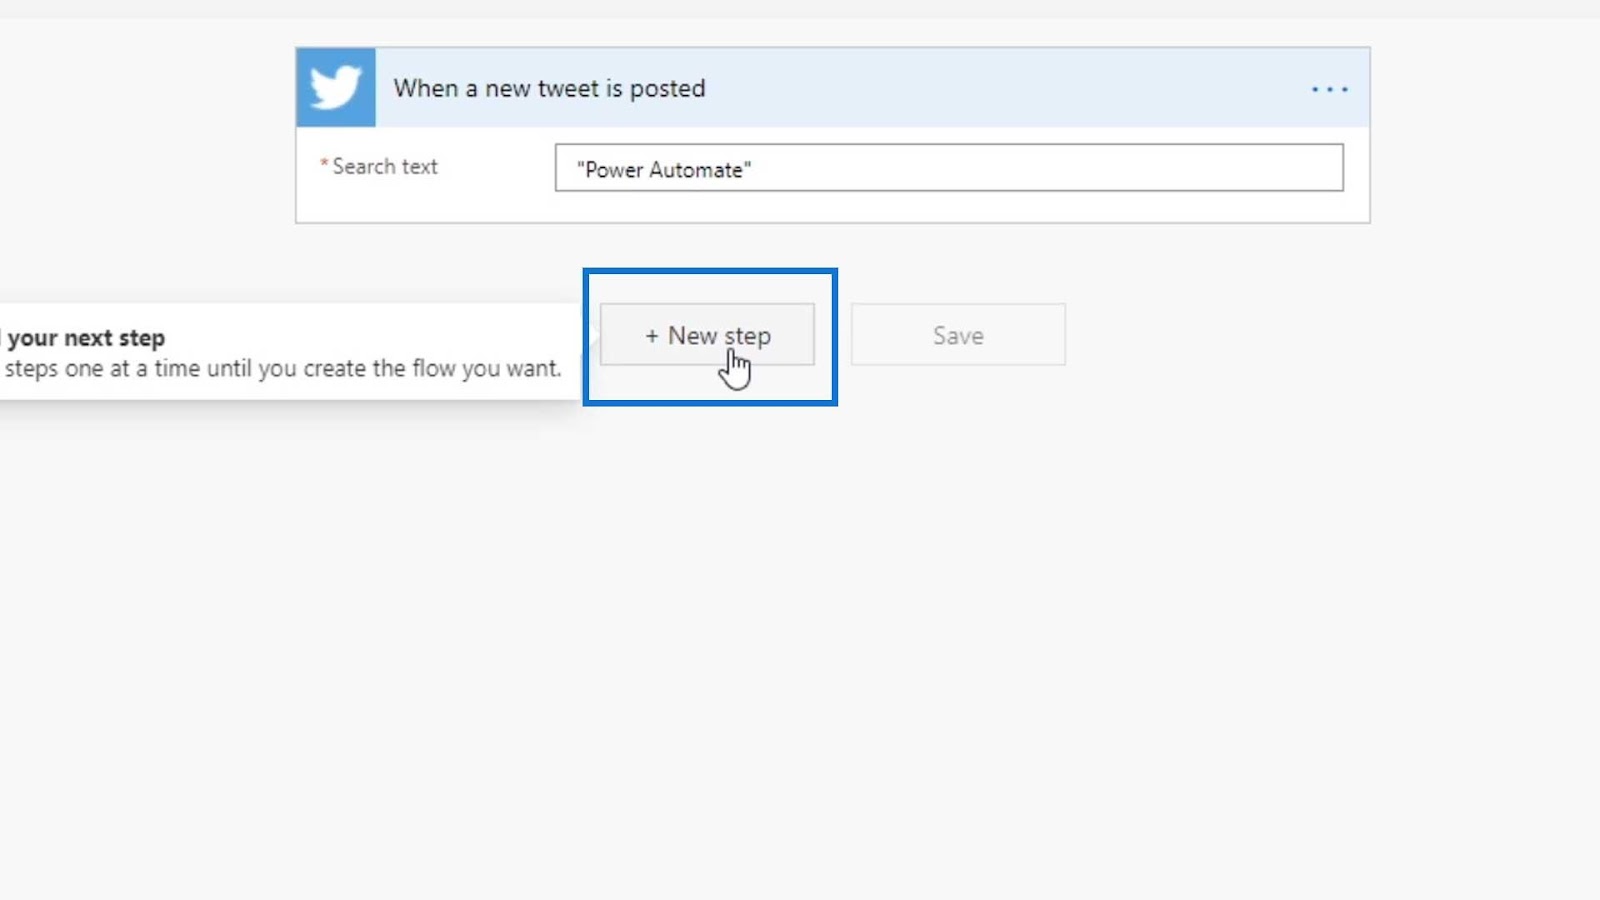
Creating An Action For Flows In Power Automate
Now, let’s add an action for our flow. Click the New step button.
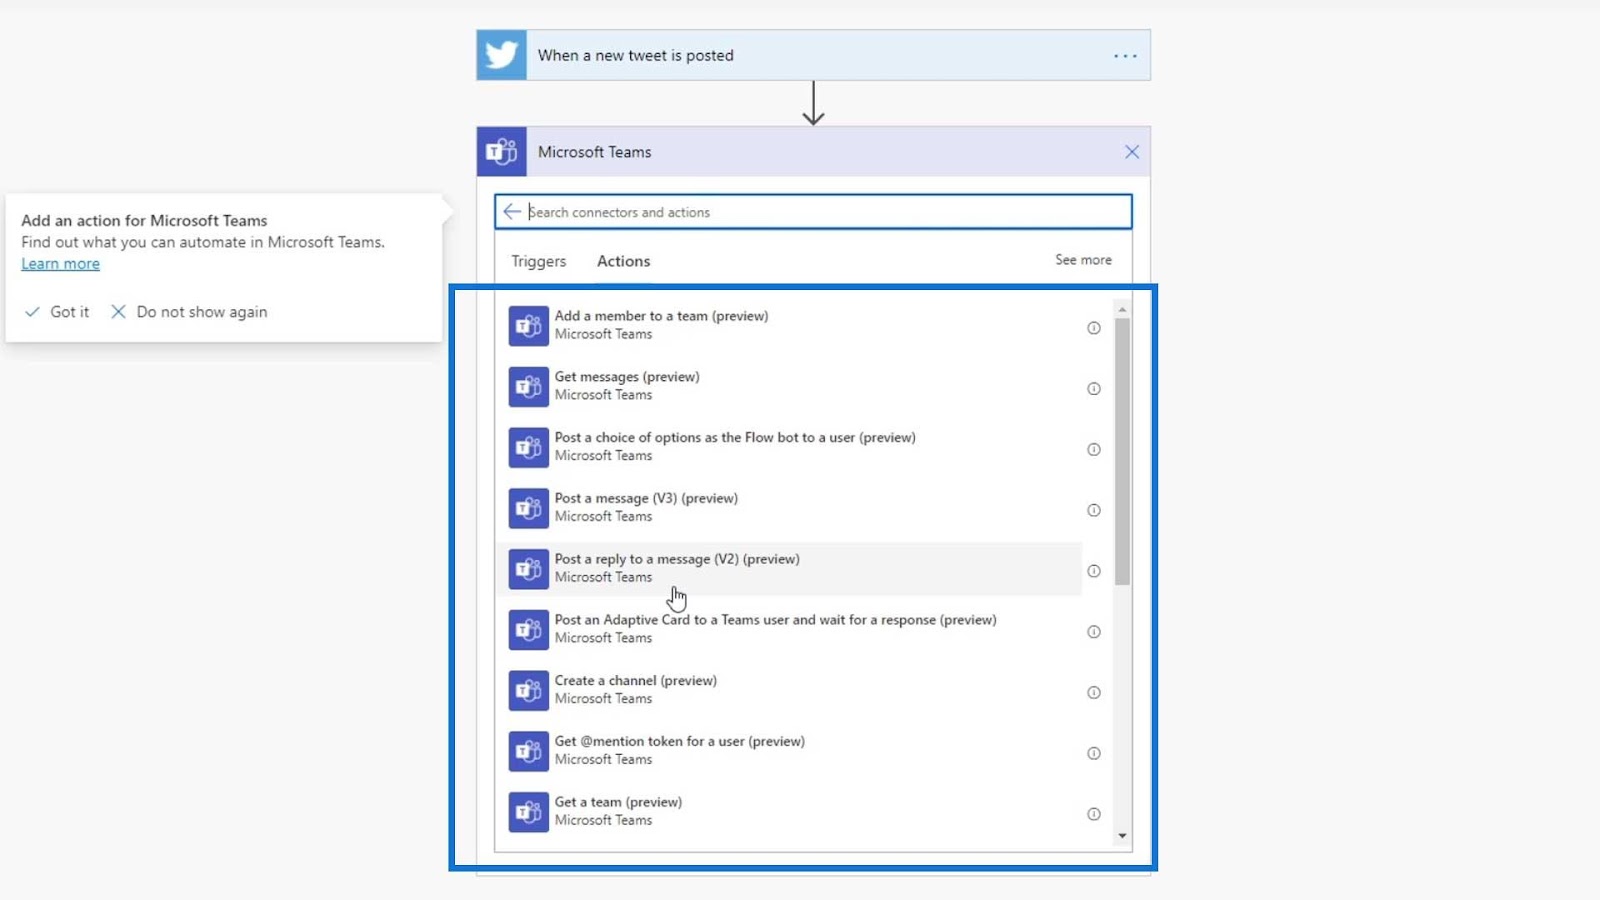
As I’ve mentioned, we should always choose the connector first, then the associated action with the connector. There are different connectors that we can choose from. For example, we can use Teams if we want to.

Microsoft Teams offers different types of actions that we can use such as posting a message, posting a reply to a message, and many more.
We can also use the Microsoft notification system called Notifications.
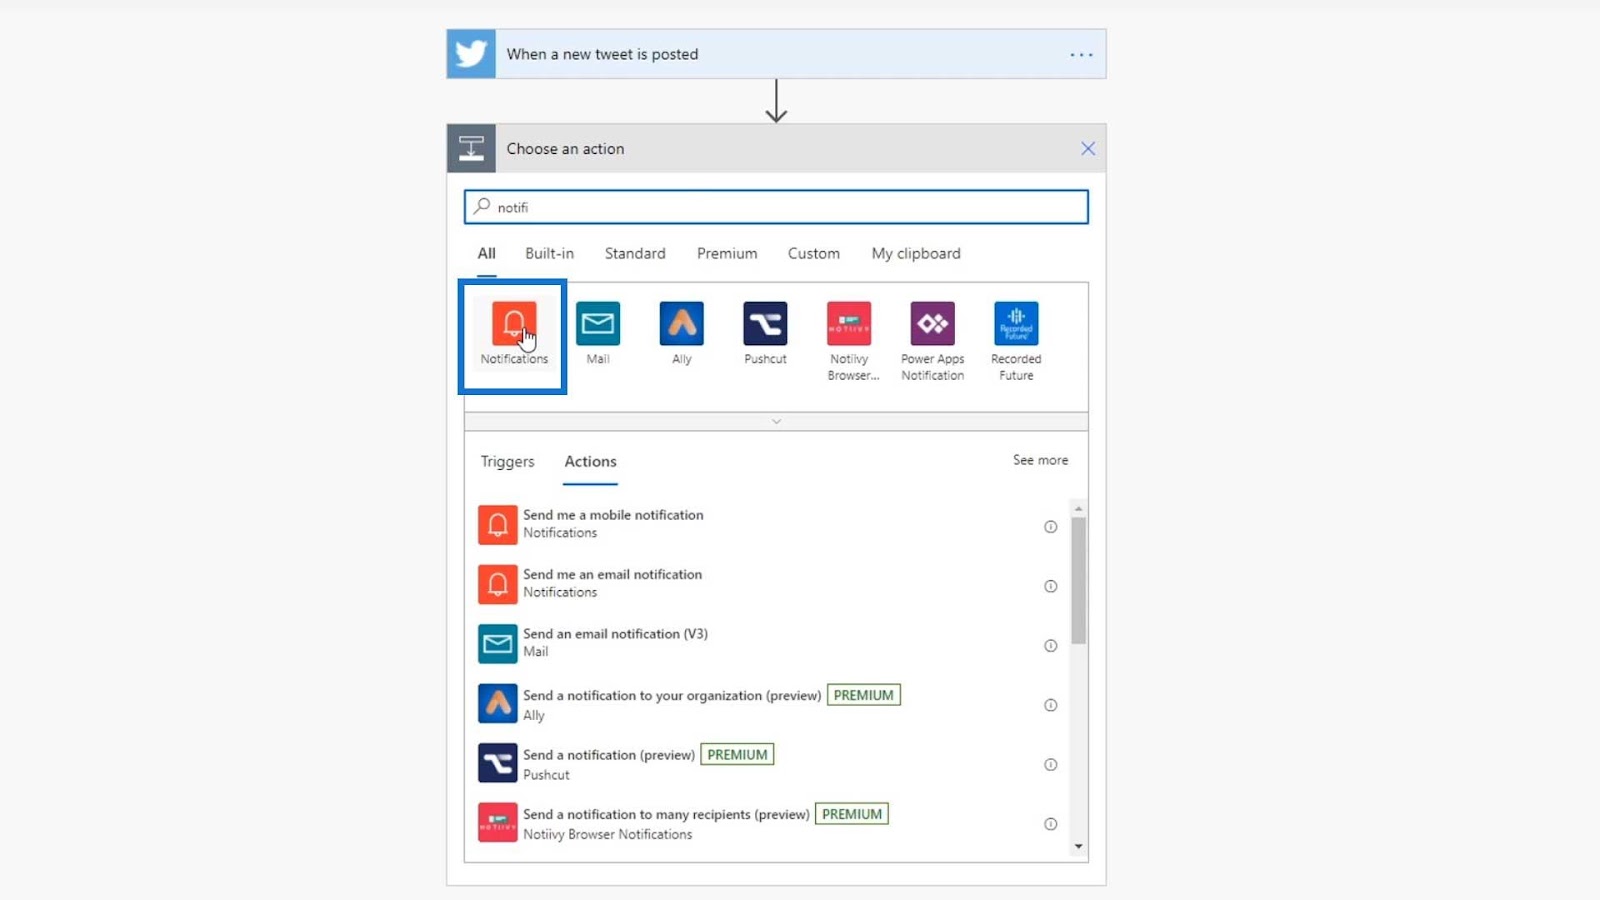
This connector can send us a mobile or email notification.

Aside from Microsoft connectors, we can also use Gmail.
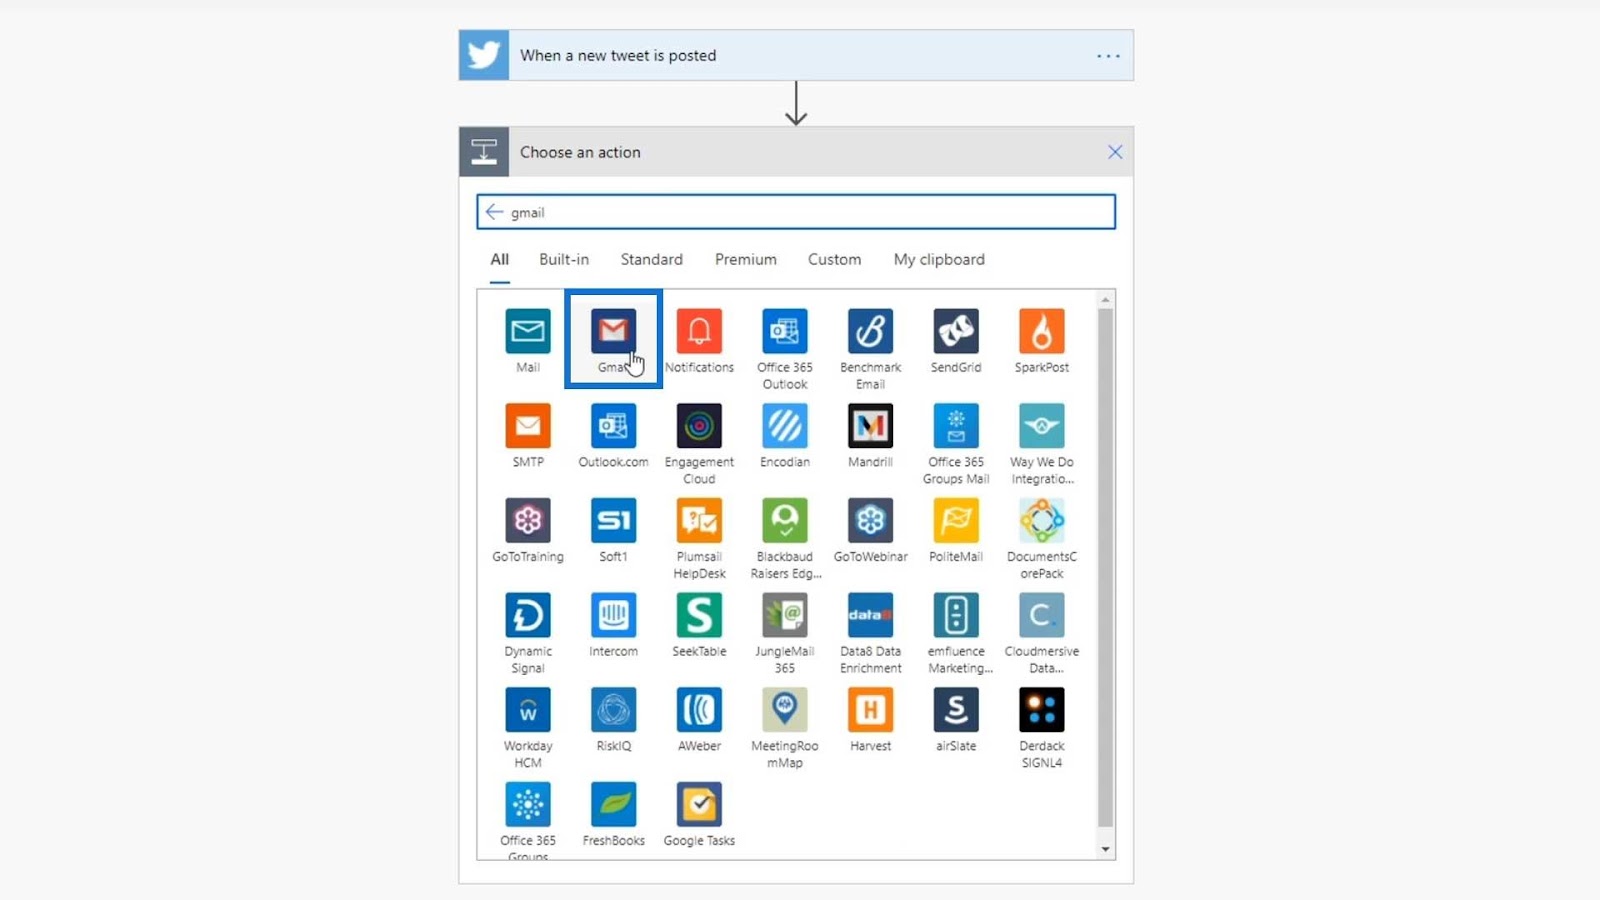
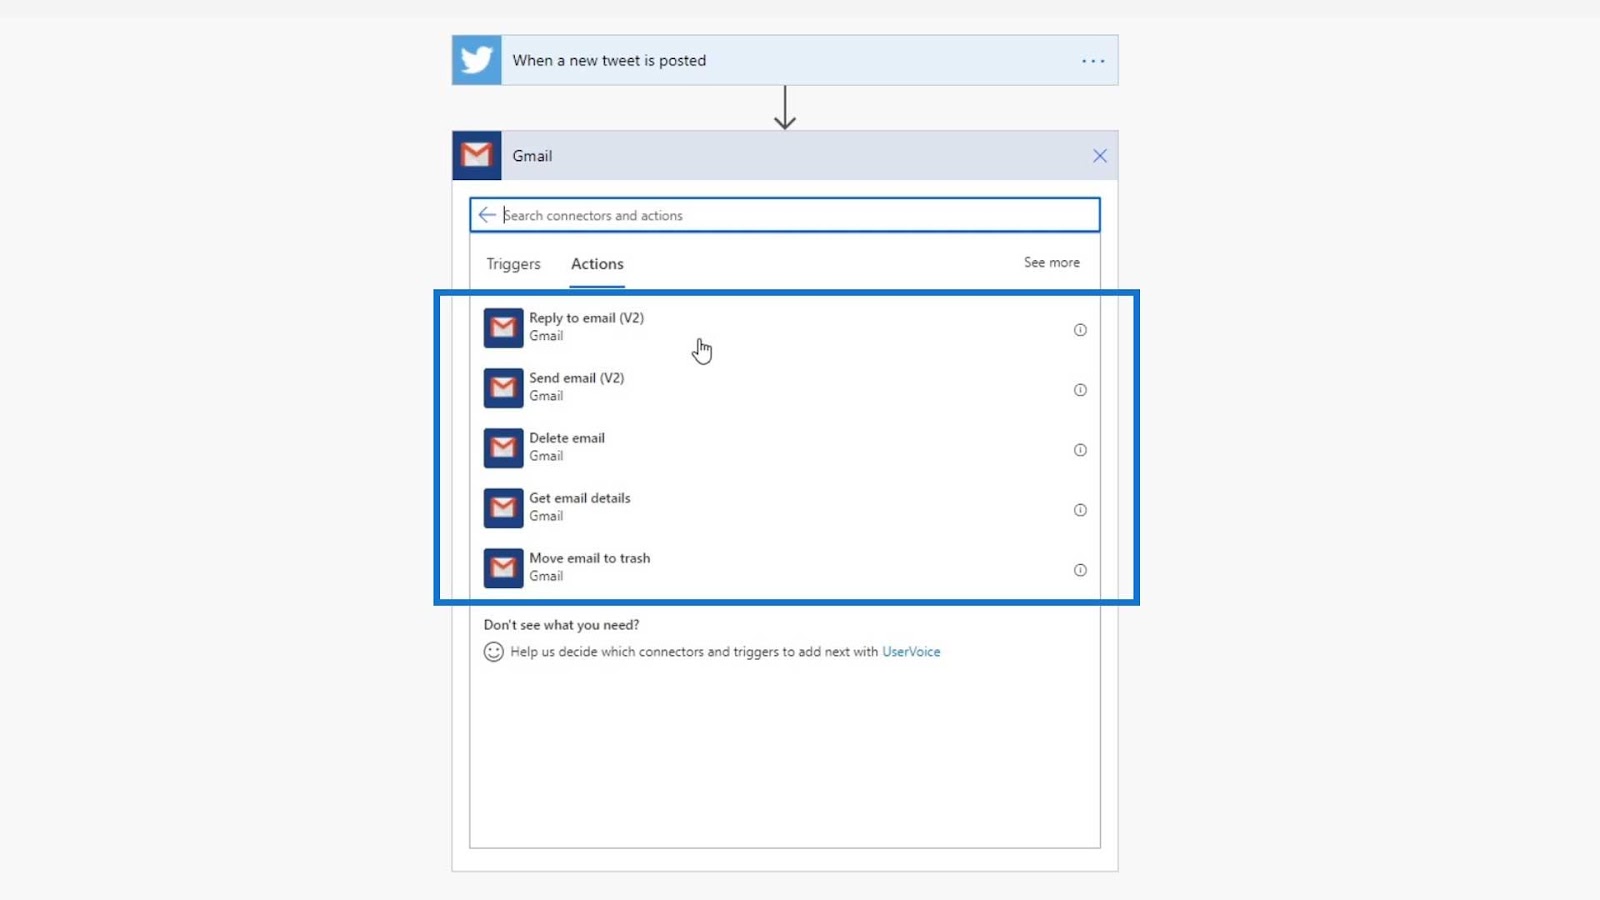
Gmail also offers a bunch of actions.

Trello is available as well. We can create a card every time a new tweet is posted.

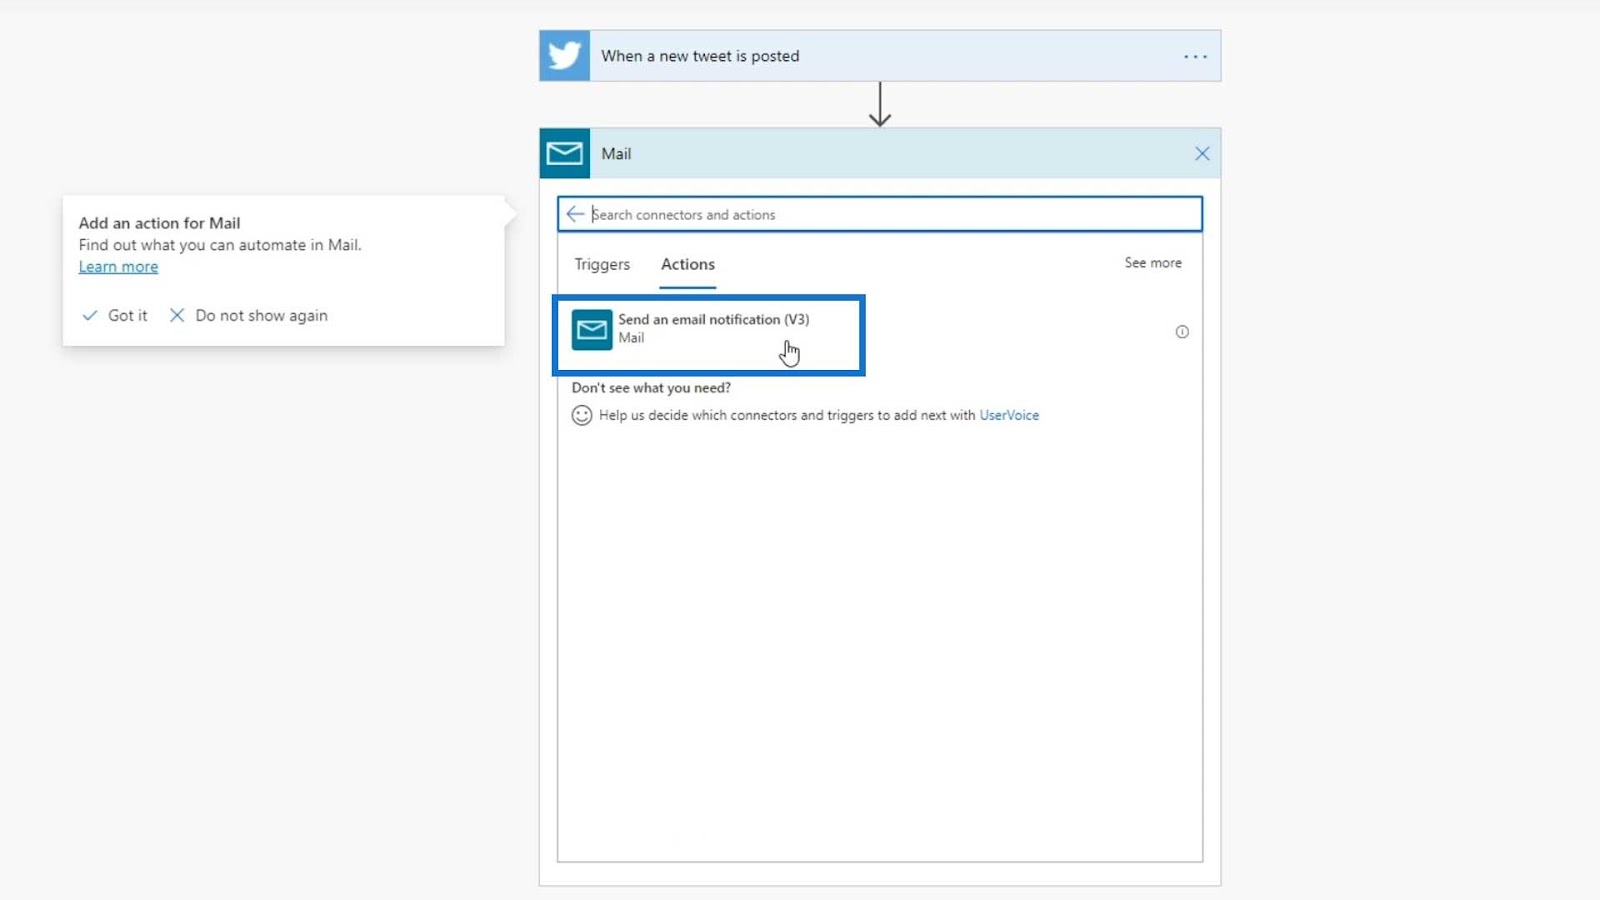
There are endless possibilities for actions. For this example, we’ll use the Mail connector. Let’s search for Mail and click on it.
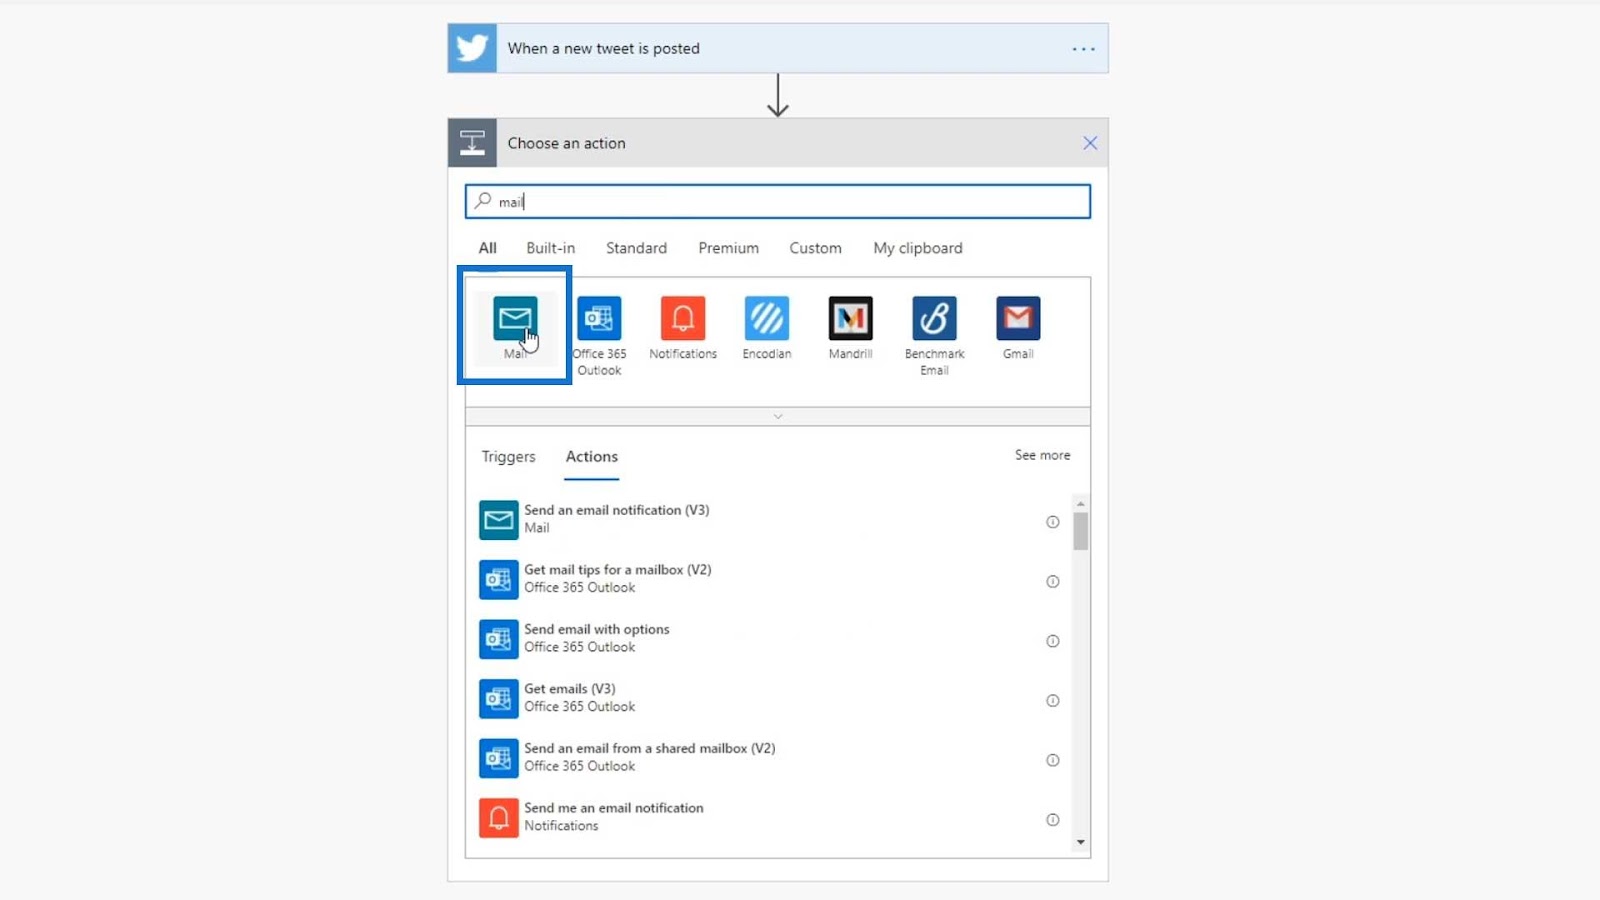
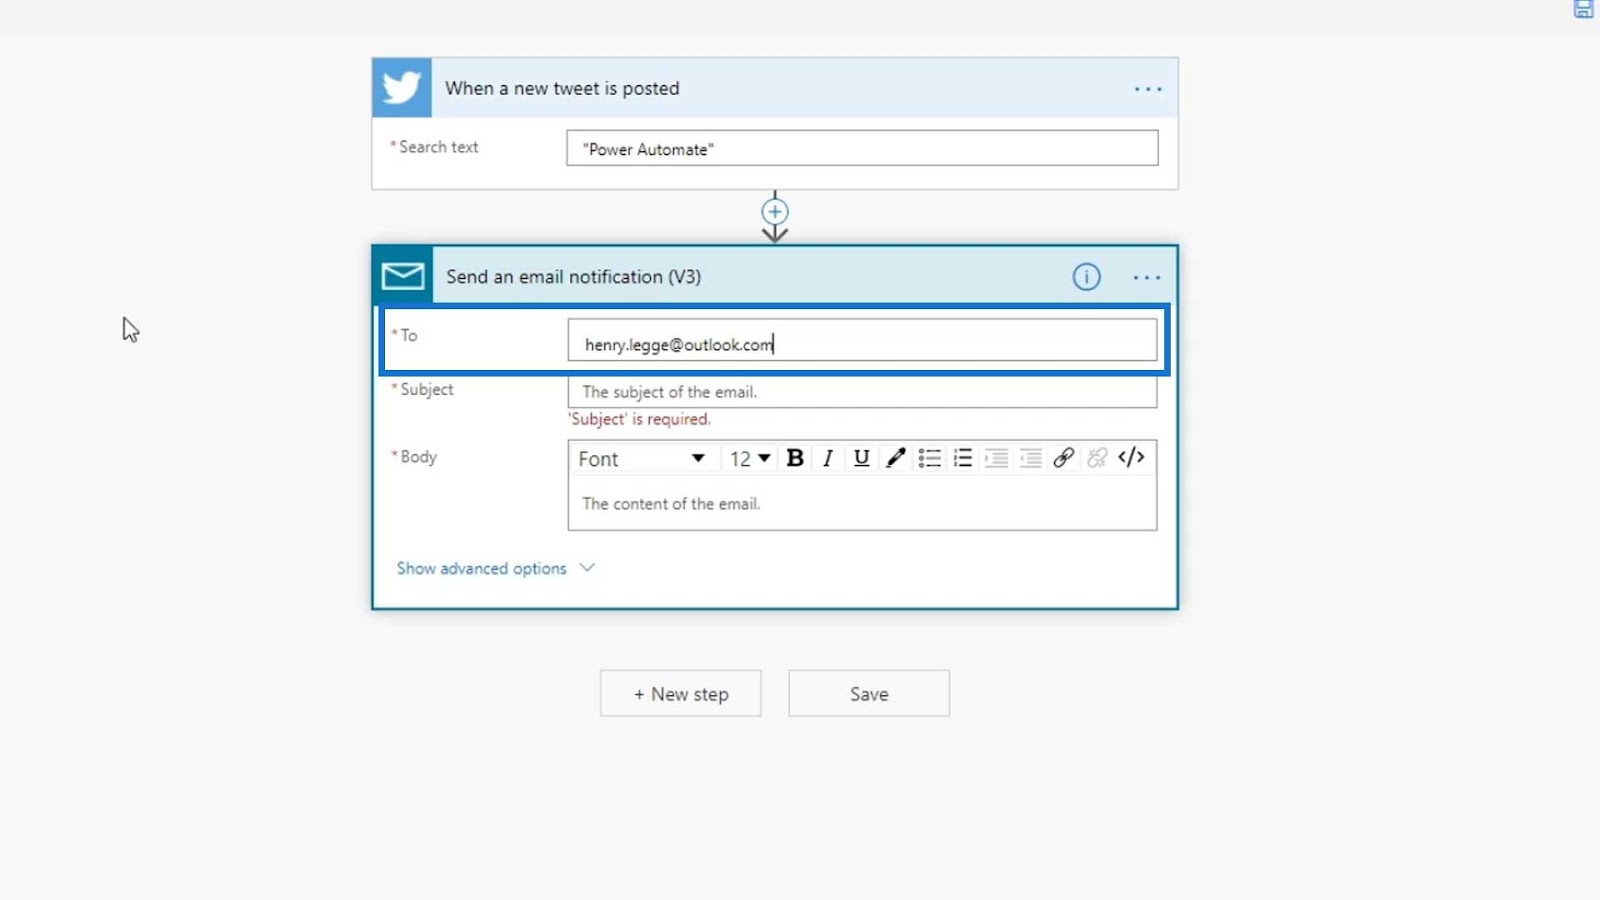
Our action for this flow is to simply send an email notification.
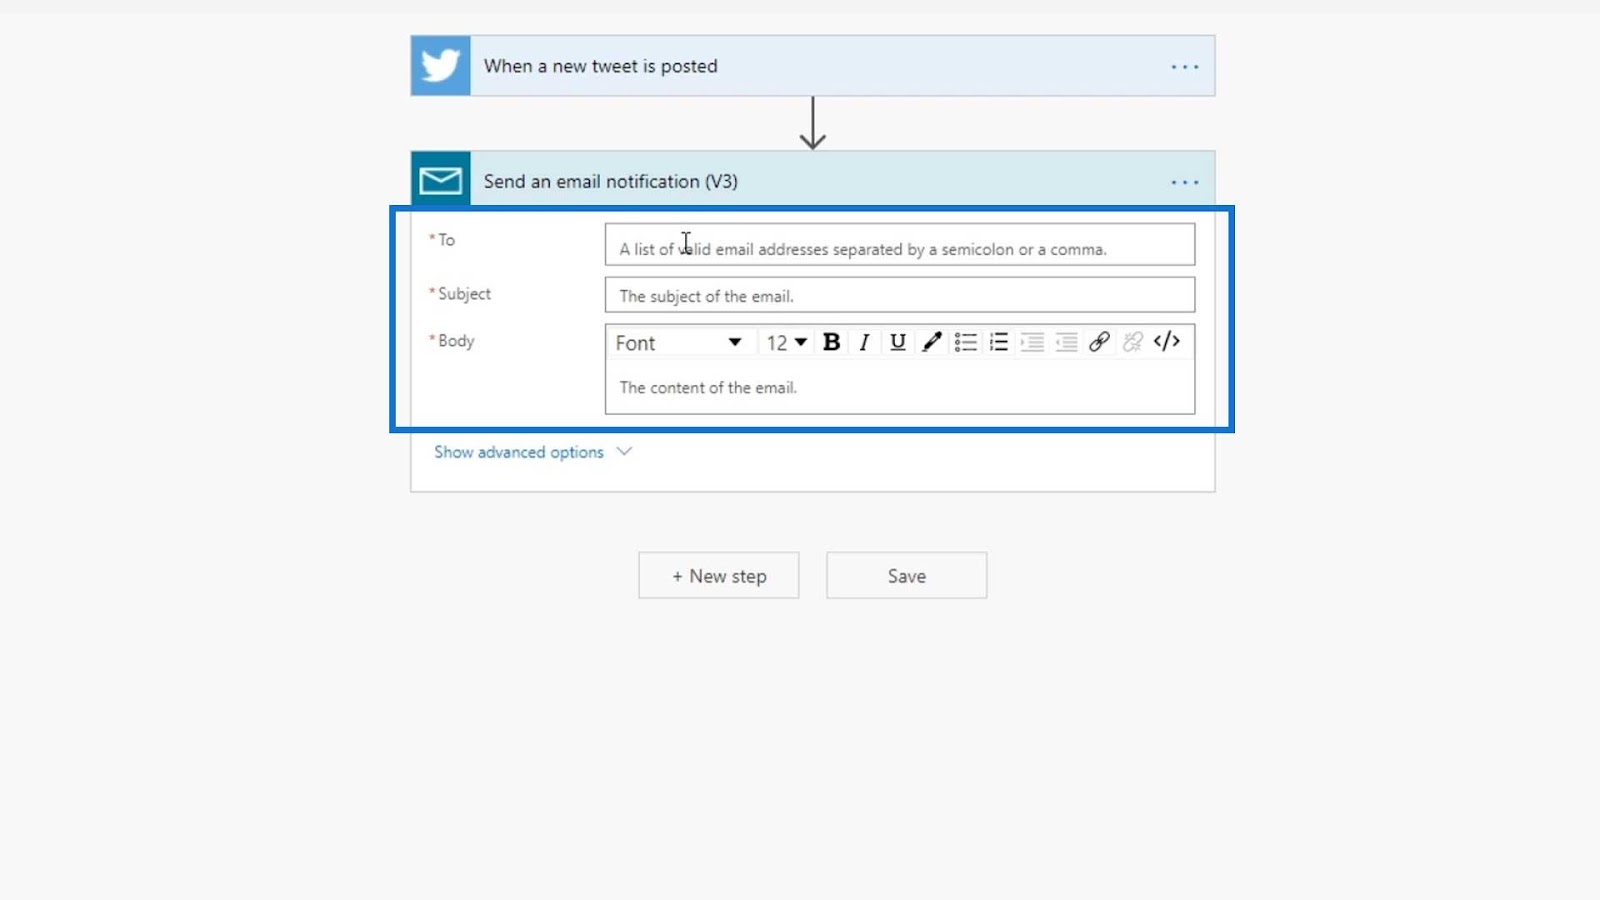
We need to specify the email address where it will send the email notification, the subject, and the body of the message.
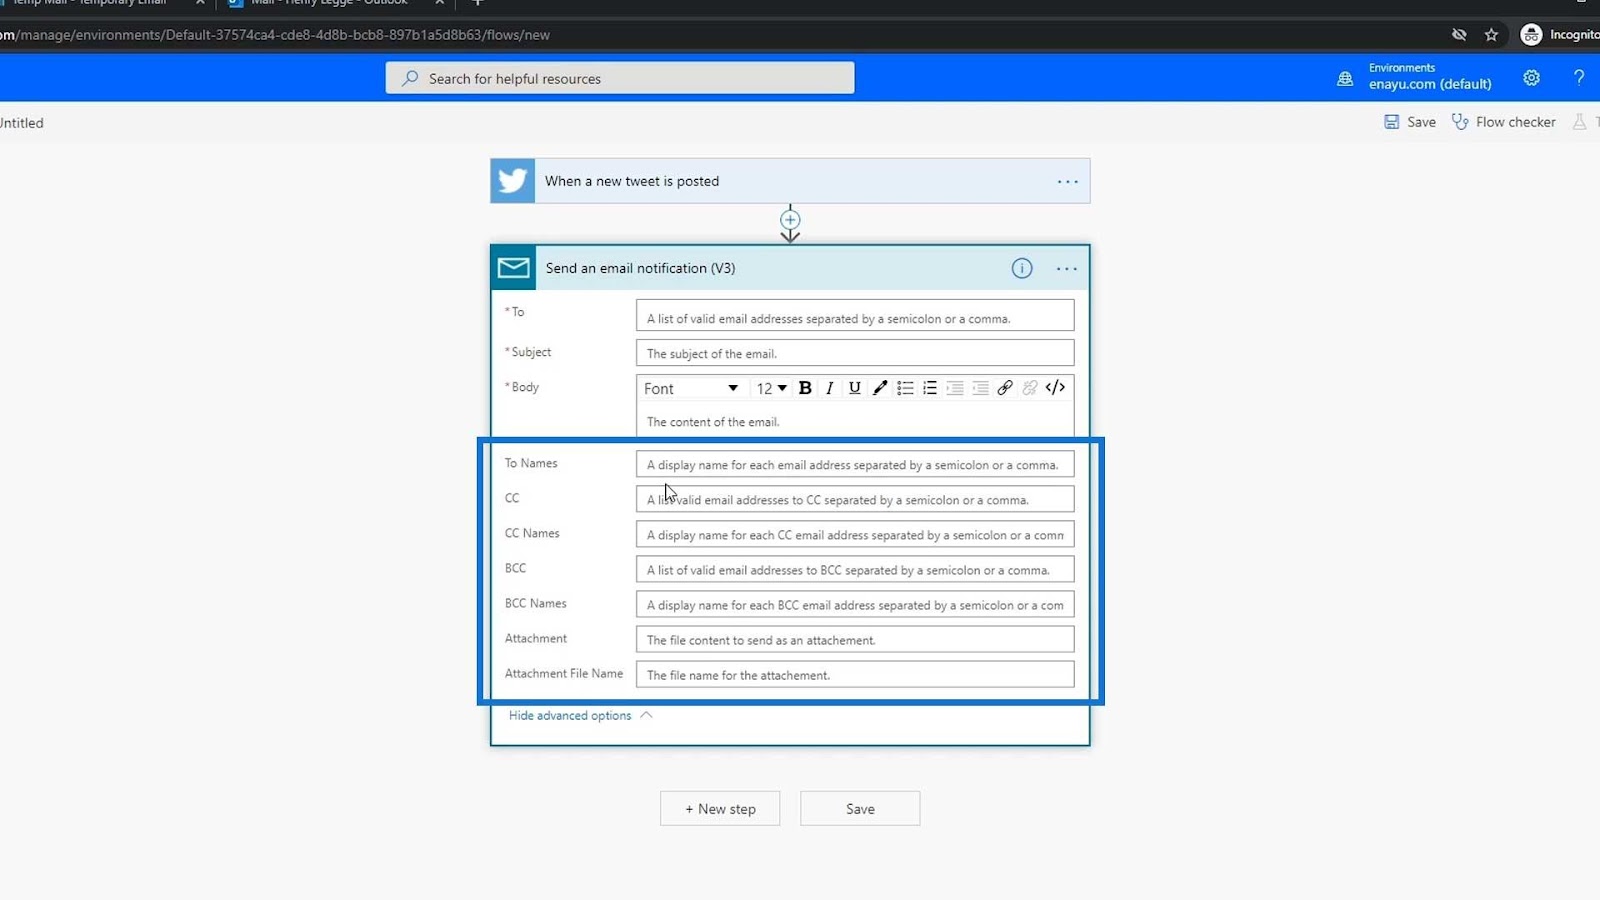
We can also add some advanced options to the body of the message such as adding attachments, copies, or carbon copies.
We’ll just stick to the defaults for now then go from there. For this example, I’ll use my email to receive the notification.
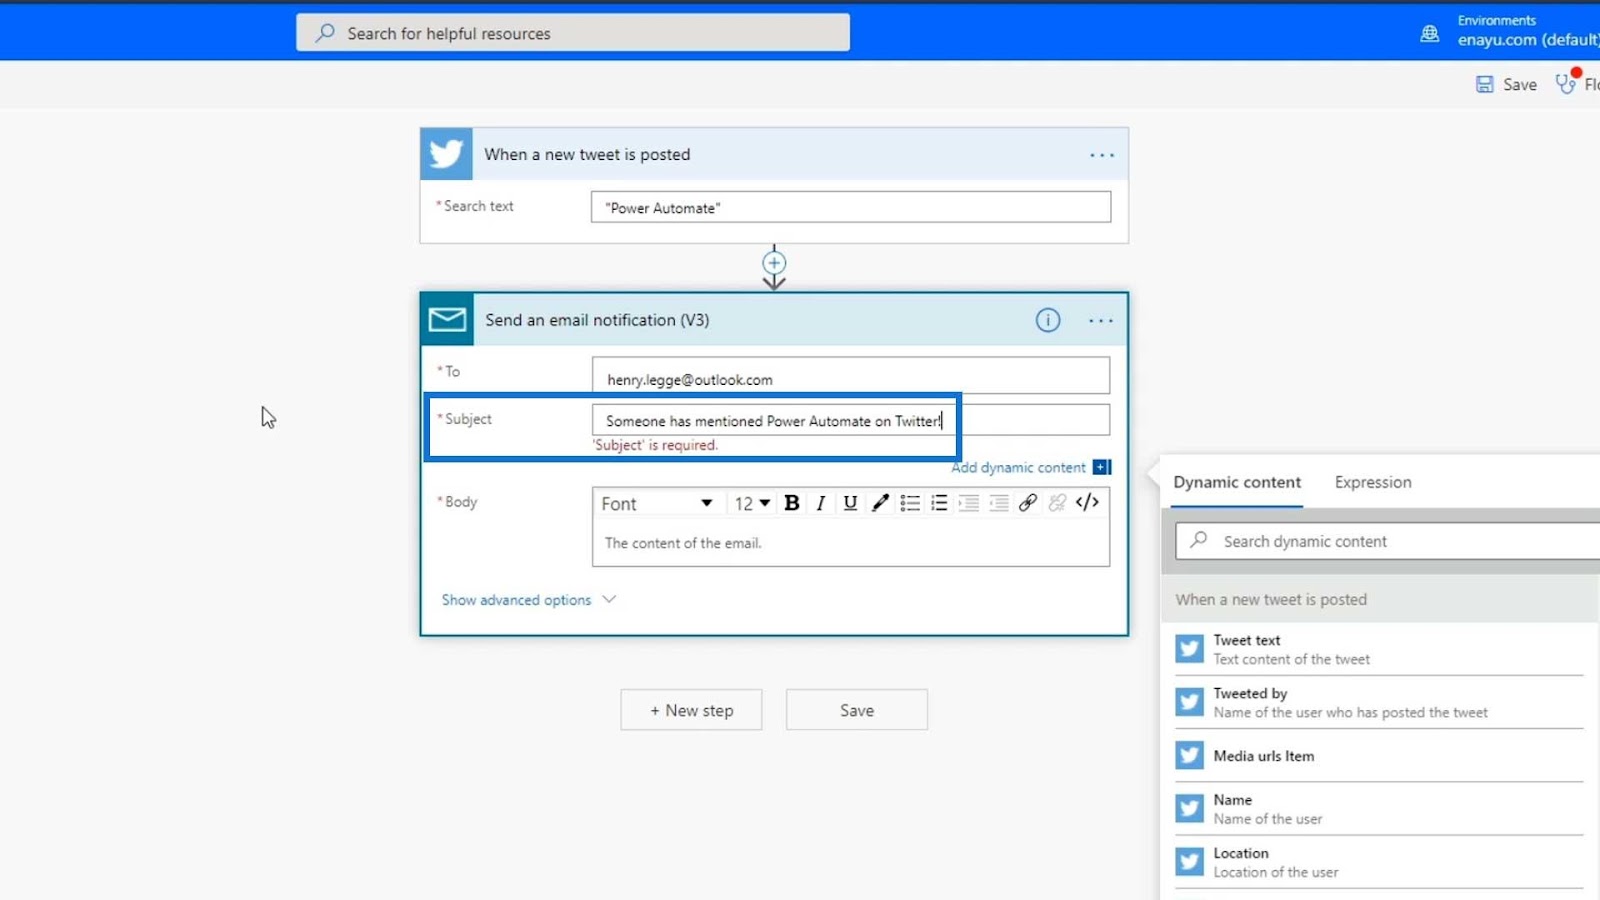
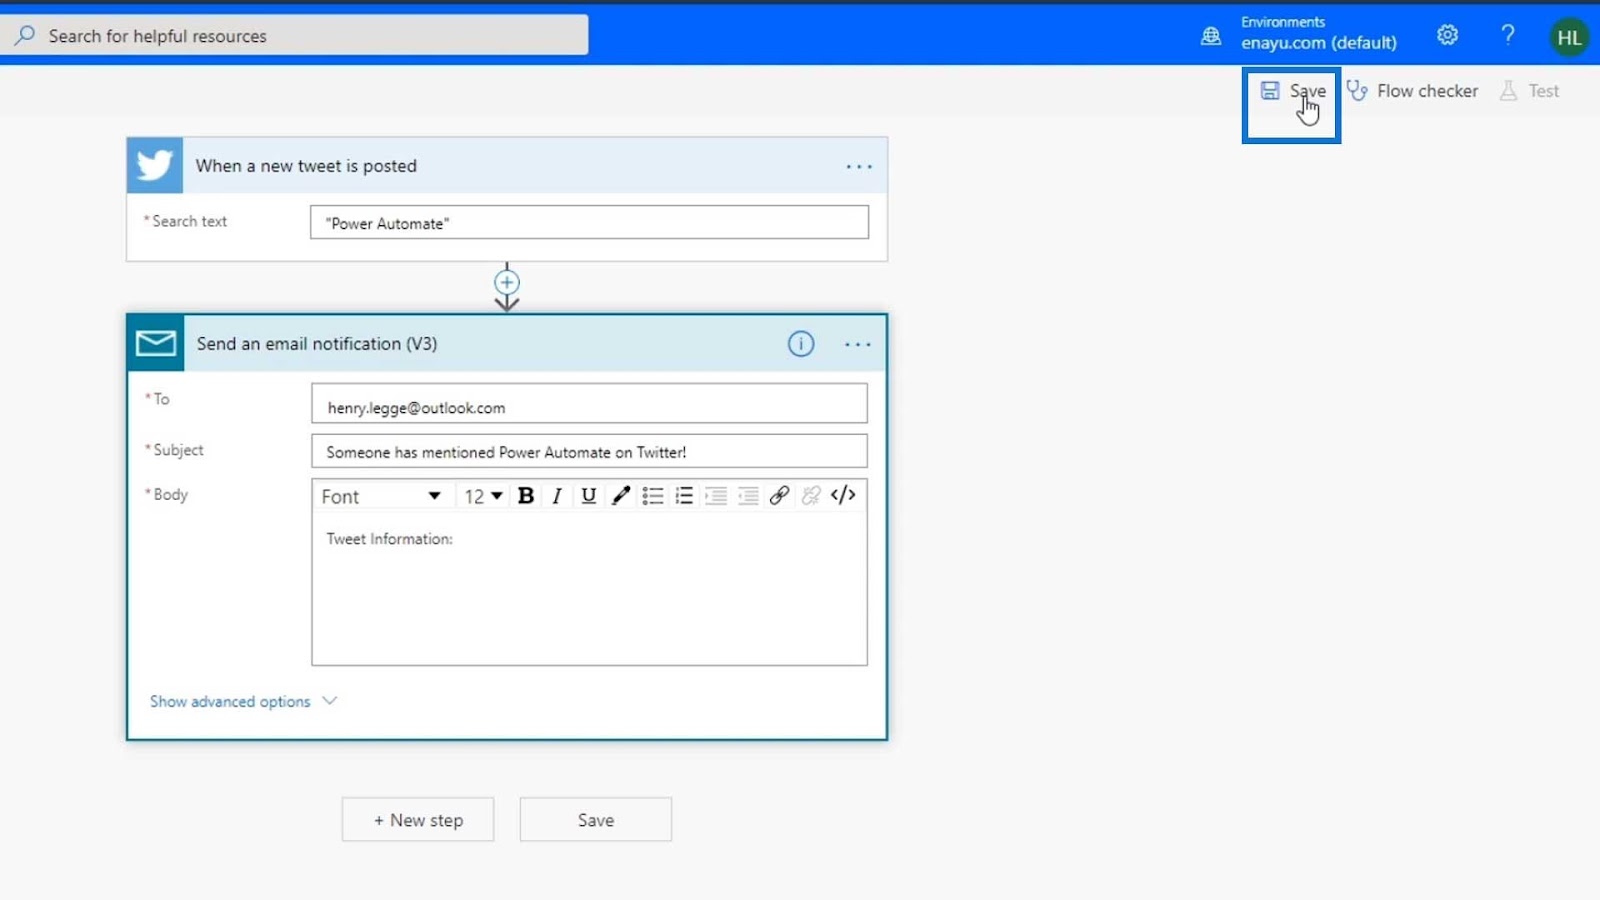
In the Subject, let’s type “Someone has mentioned Power Automate on Twitter!”.
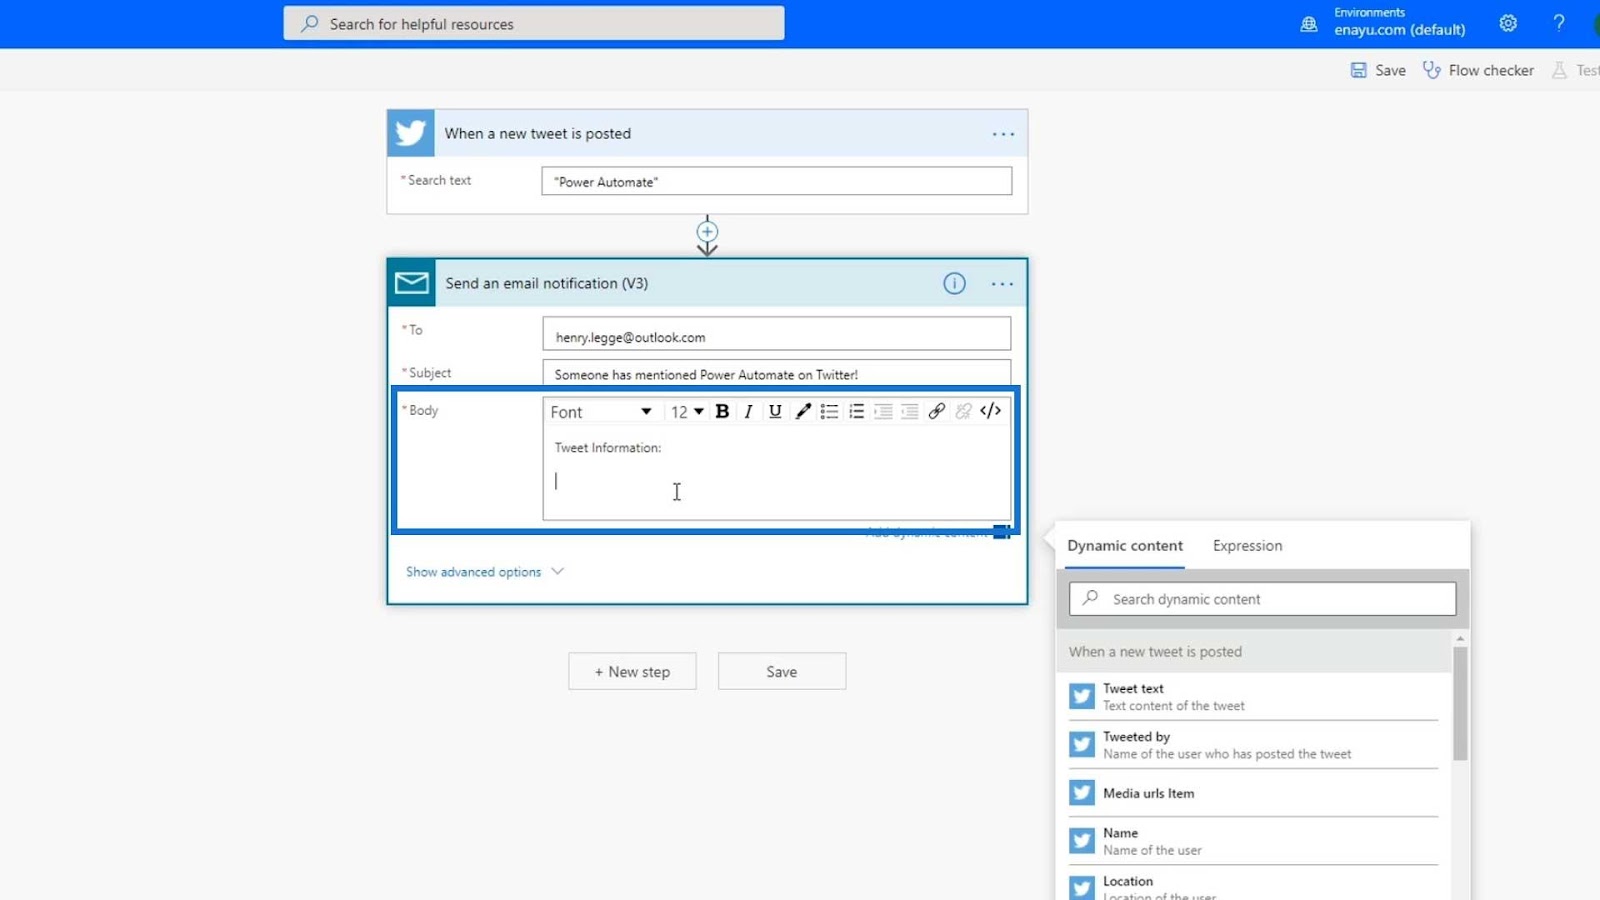
For the Body, let’s type “Tweet information”. We can then add the other information below later on.
Checking The Flow
Let’s then click the Flow checker to check if there’s an error.
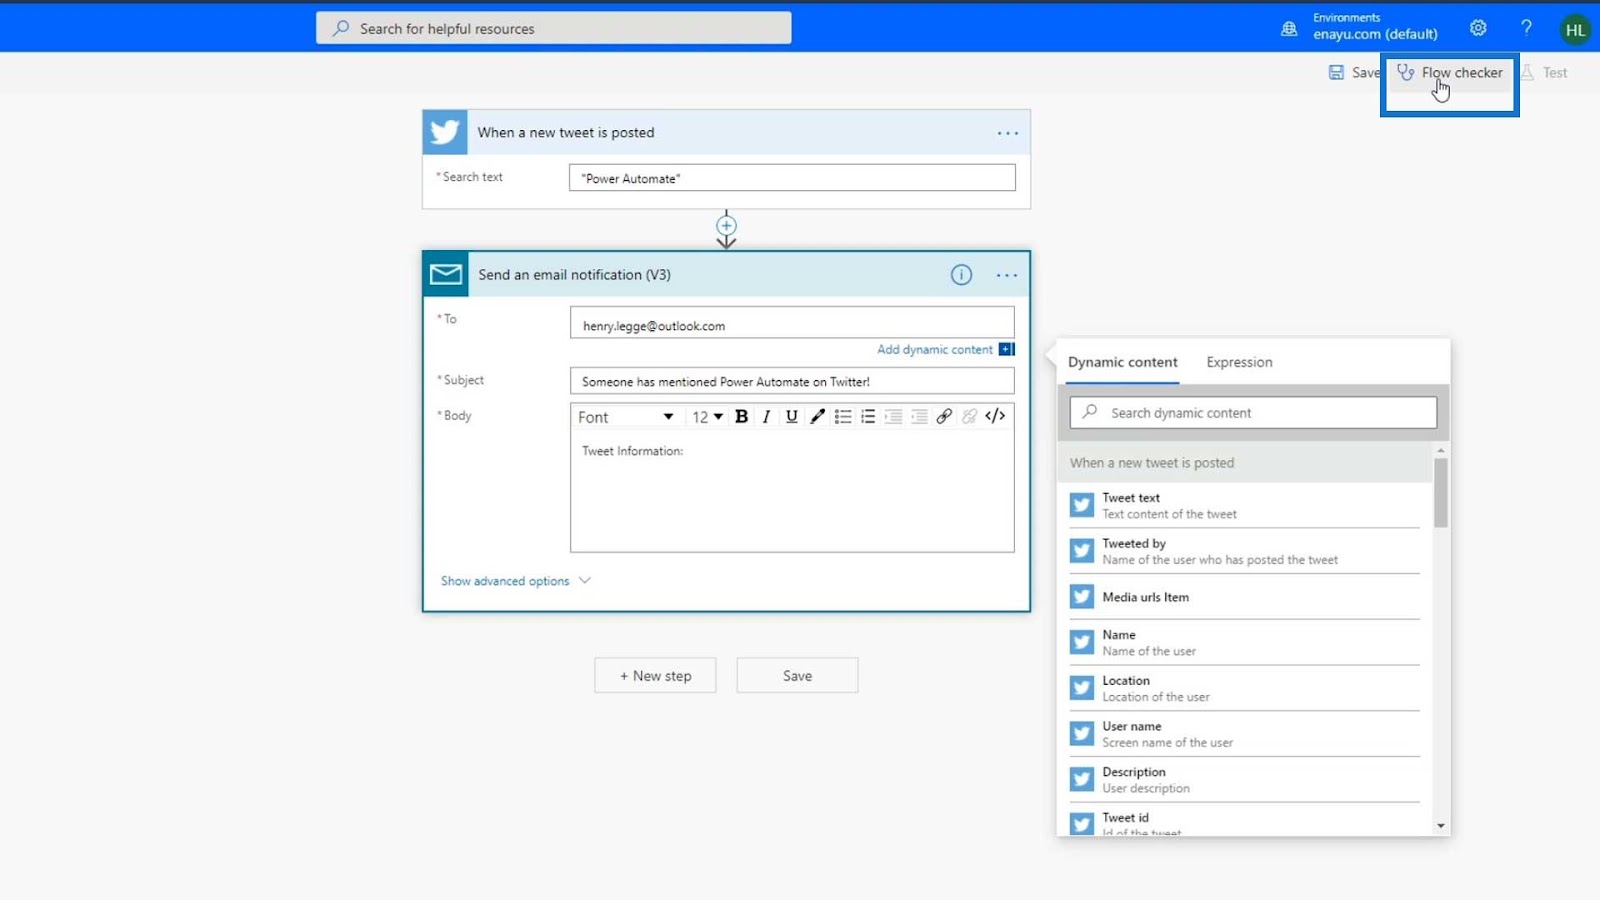
As you can see, there’s no error with our flow right now.
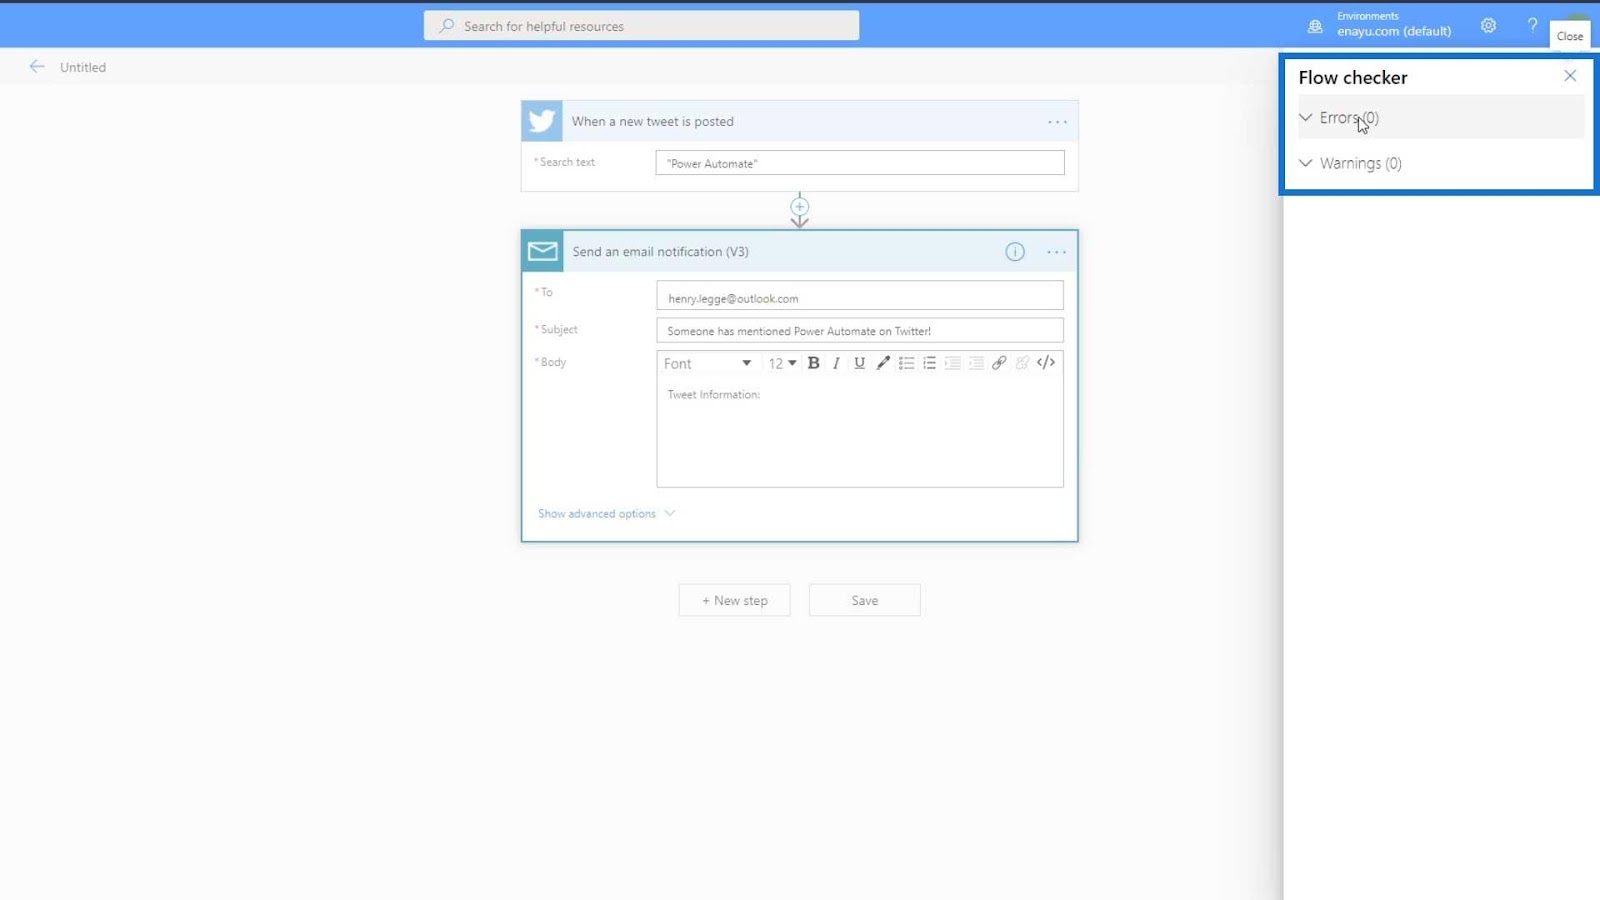
So, let’s click Save.
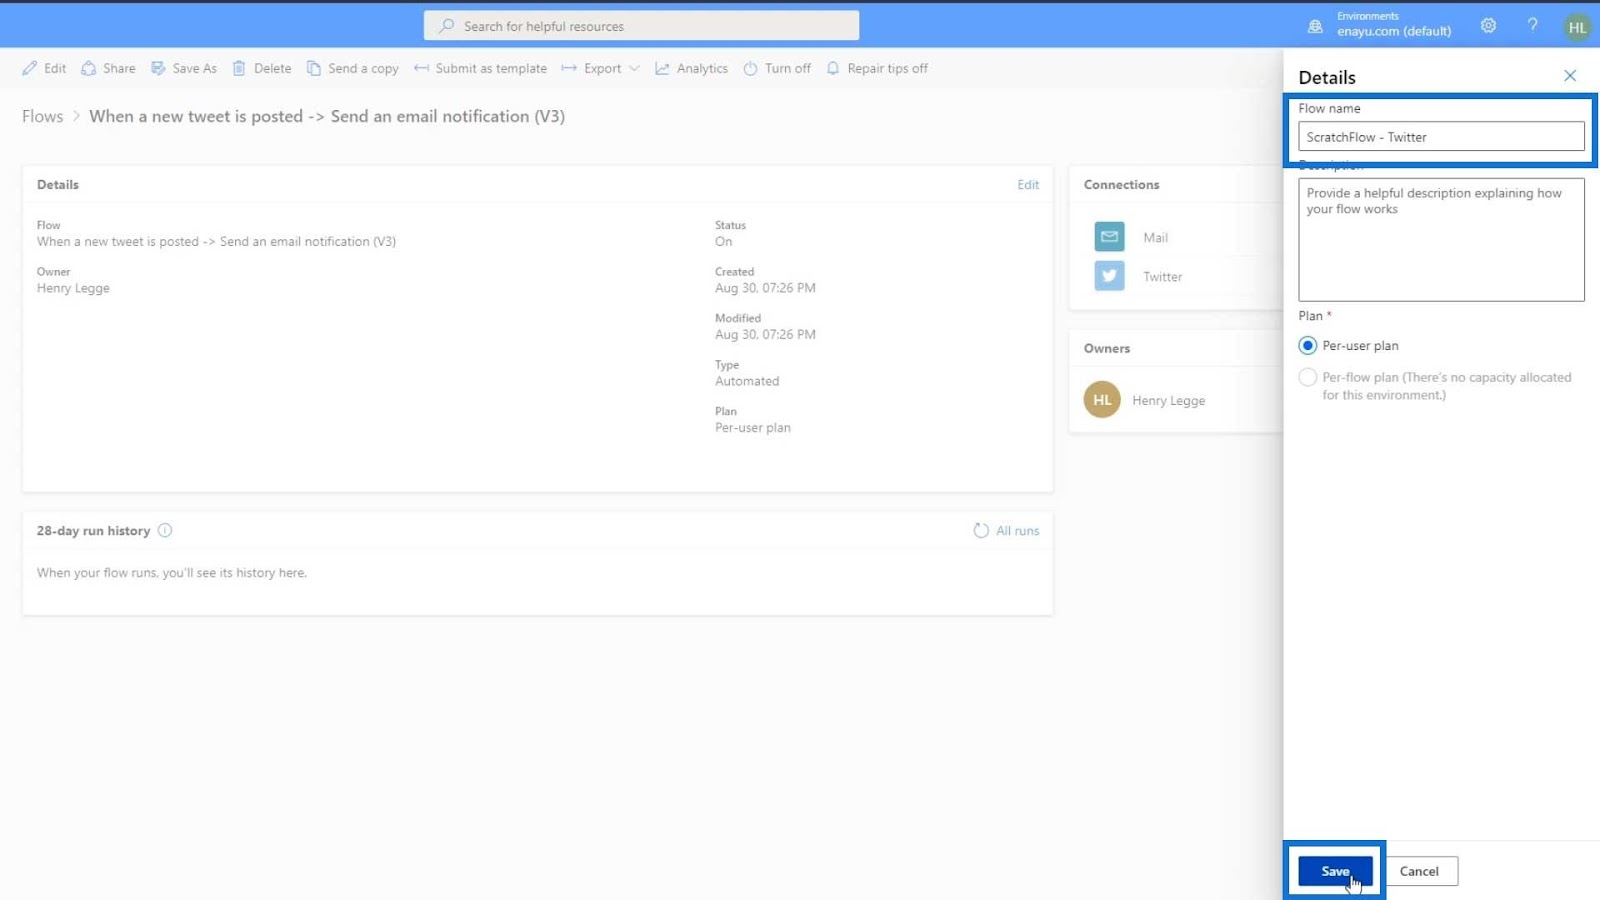
Our action and additional parameters are all set. Let’s then properly rename our flow. Go to the My flow page and click the flow that we’re working on.
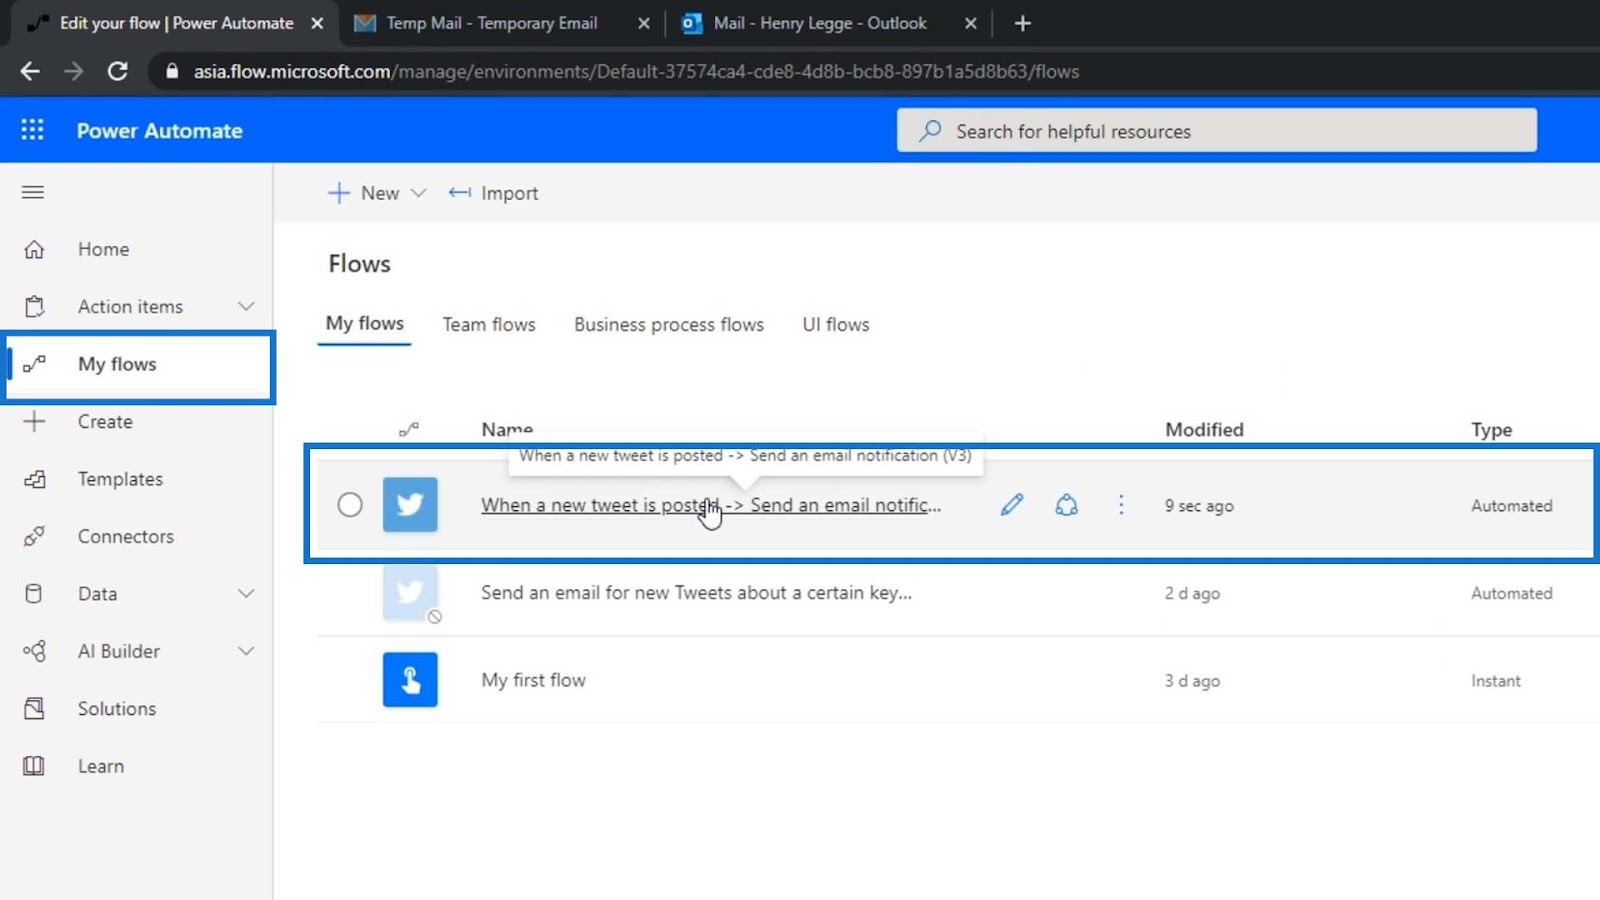
Then, click the Edit option.
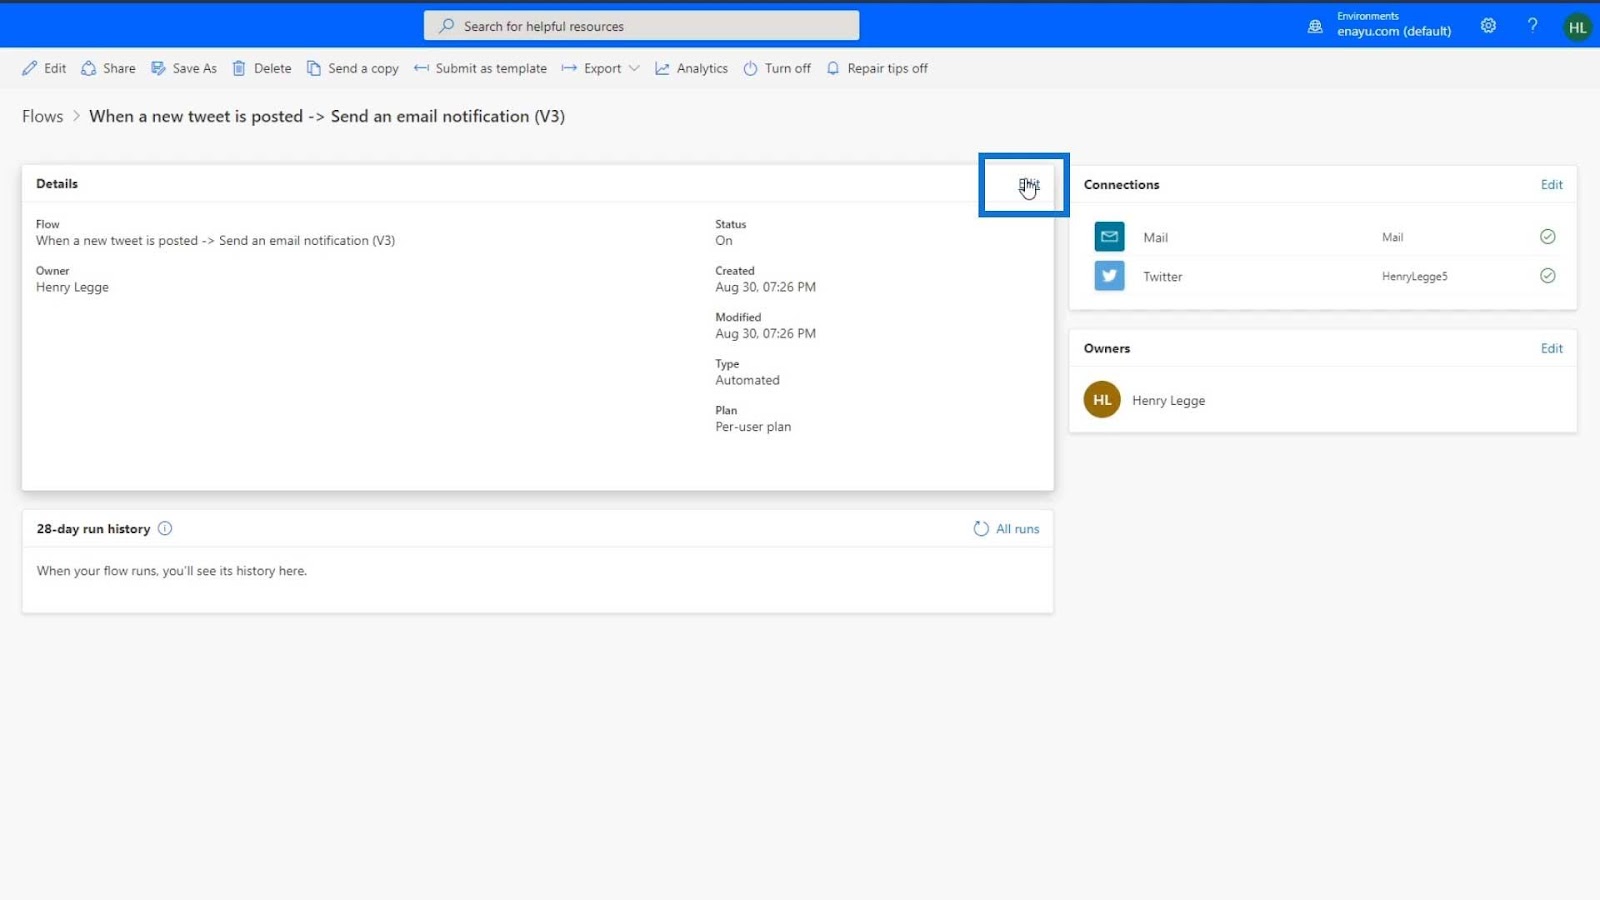
Let’s name this flow as “ScratchFlow – Twitter”, then click the Save button.
***** Related Links *****
Microsoft Power Automate: Workflow Automation
Flow Diagrams And Flow Detail Page In Power Automate
Power Automate Flow Types Explained
Conclusion
We’ve successfully created an automated flow from scratch and learned how to add triggers and actions. Keep in mind that it’s always better to choose the connector first, then decide on the triggers and actions based on your chosen connector.
Learning how to create Power Automate flows from templates is important when learning the basics of Microsoft Power Automate. However, learning how to create flows from scratch is also essential to improve your process automation.
All the best,
Henry


