
In today’s blog post, we’ll take another look at the Power Query M function for the extended date table. Since initially posting the code, there have been a number of updates with the help of our Enterprise DNA community.
It has grown into quite an extensive date table that pretty much covers everything you’ll likely require. You can watch the full video of this tutorial at the bottom of this blog.
The most recent update also includes documentation on parameters and some clarification notes on attributes found in the date table.

I recommend getting the most recent version directly from the Enterprise DNA forum. You’ll also need this post about creating dynamic start and end date for date table queries, as well as the cheat sheet that Brian Julius developed.
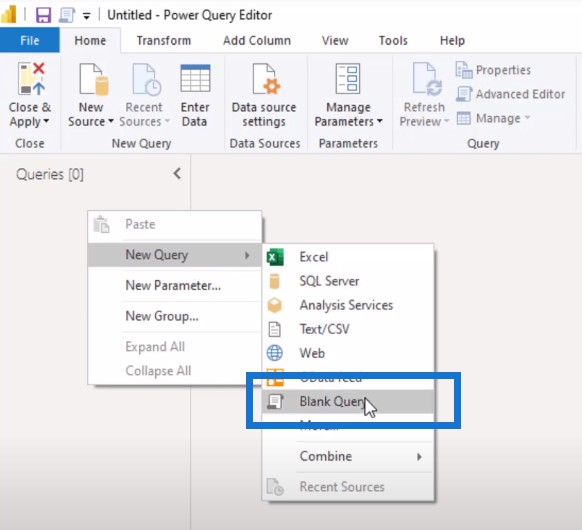
Creating A Blank Query
Let’s get started. We’ll create a new blank query by right-clicking in the query pane and selecting a new blank query.
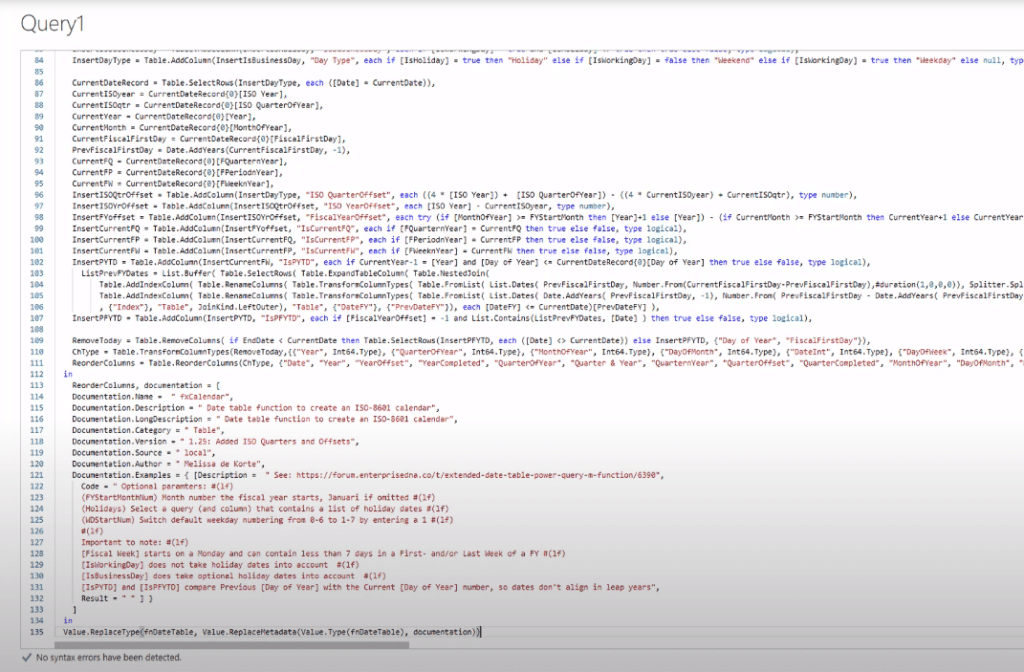
Open the advanced editor window, select everything we see, paste in the code, then press Done.
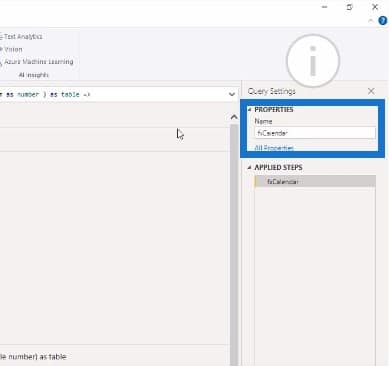
Let’s rename this query.
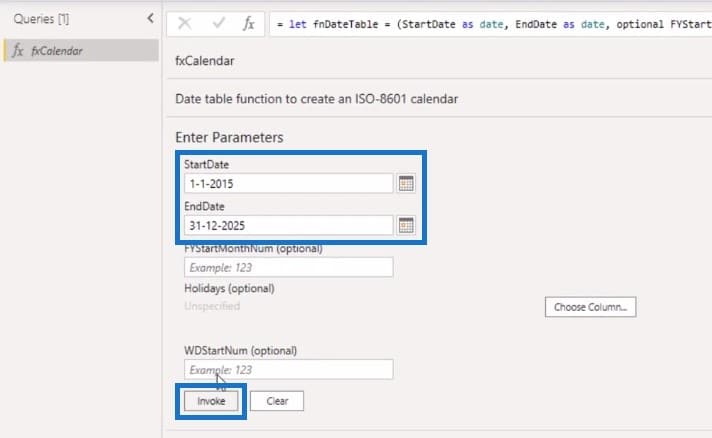
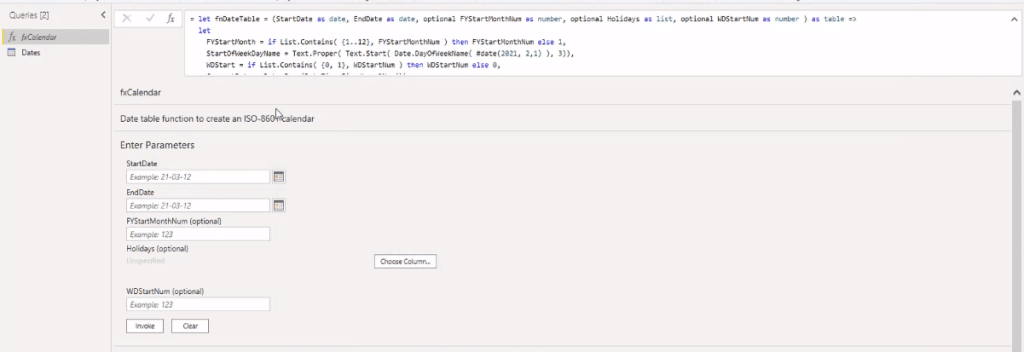
To create an actual date table, let’s invoke this function query. Let’s enter a start date and an end date.
I won’t pass a fiscal year start month or a weekday start number. I’ll just press Invoke.

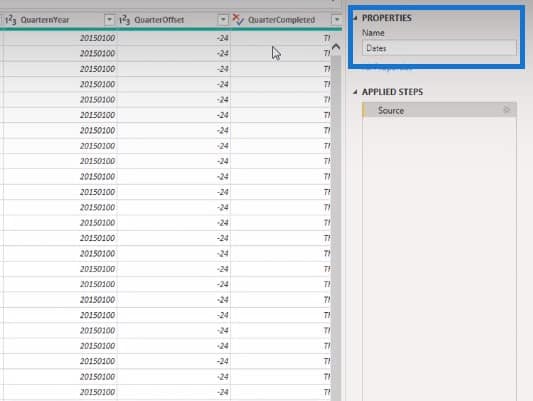
Then let’s rename this query as our Dates table.
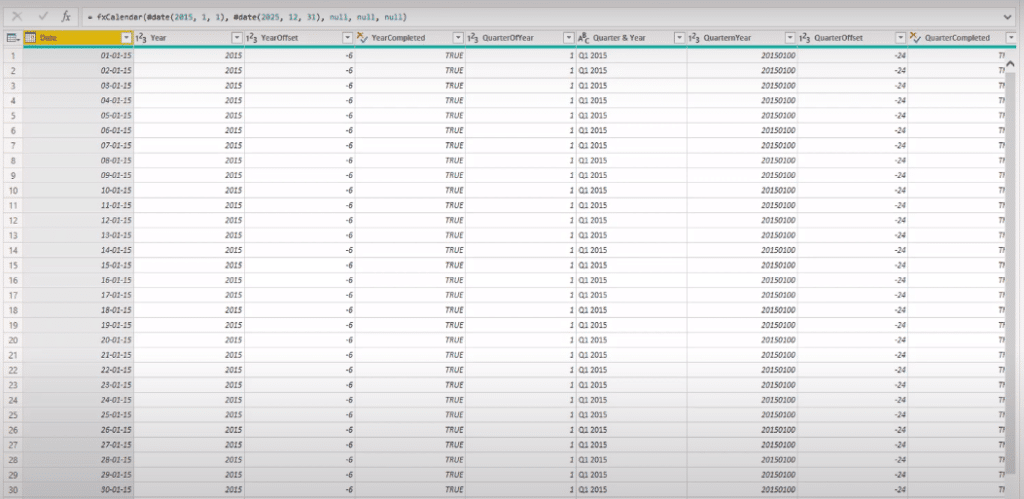
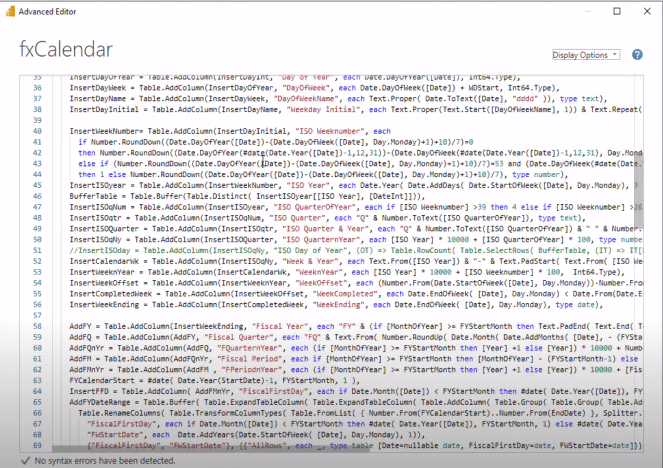
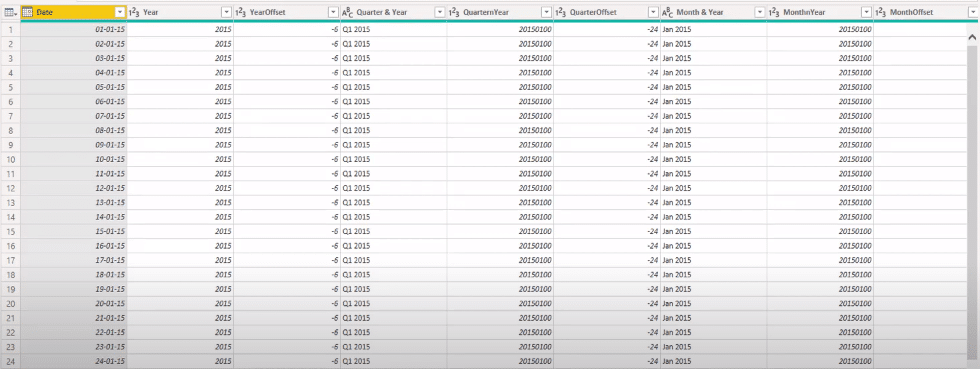
As you can see, this is a very extensive date table and will most likely contain fields that we’ll never require.
Now, if that is the case, you can add a single line of M code to the date table M function to generate only the columns that you require for your business needs.
I’ll walk you through how to make that modification to the code. We can use the user interface to write most of the M code.
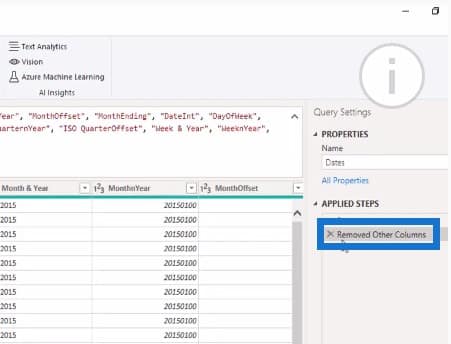
Let’s select the columns that we want to keep in this query. Once we have all columns selected, we can right-click one of the columns and select Remove Other Columns.
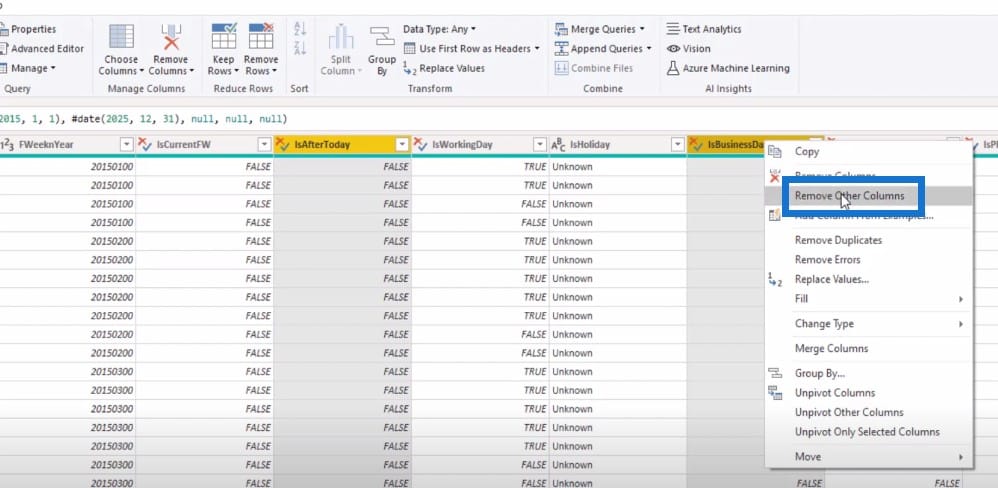
As you can see in the formula bar, this now lists all the column names for the columns that we want to keep in this query.
All we need to do is copy that bit of M code directly from our formula bar. We’ll extend the formula bar and copy the entire code that we see.

Adjusting The M Code For The Extended Date Table
At this point, we can step back to the function query, open the advanced editor again, and scroll all the way down to the bottom.
At the end of the last line of the reorder column step, skip to the end, add a comma, then enter to get a new line.
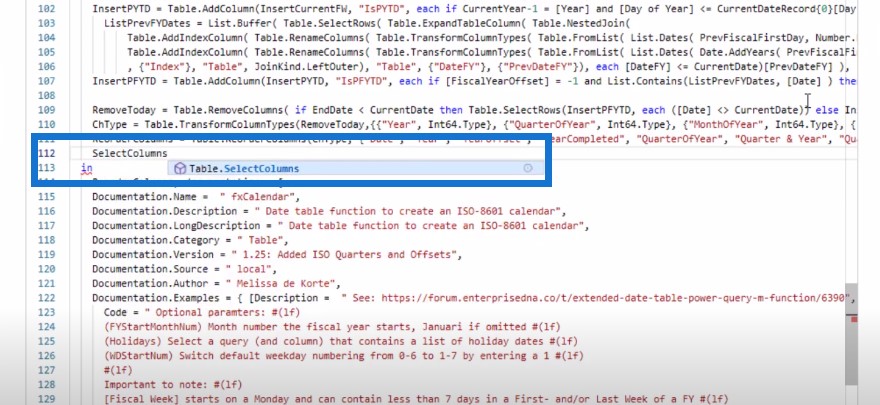
Let’s create a variable, call it SelectColumns, then paste in the code that we’ve copied. Move to the front of the line again.

As you can see, this points to the source right now, and we don’t want that. We want the last step instead.
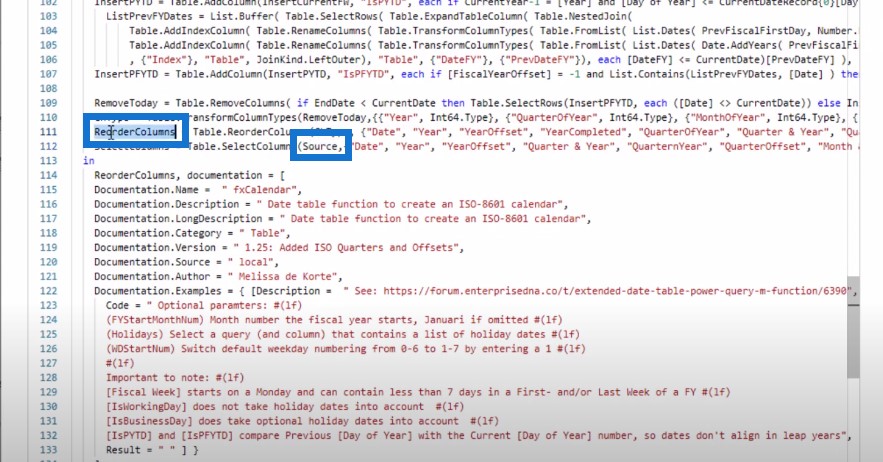
So copy this variable name and paste it in the in the clause, then press Done.
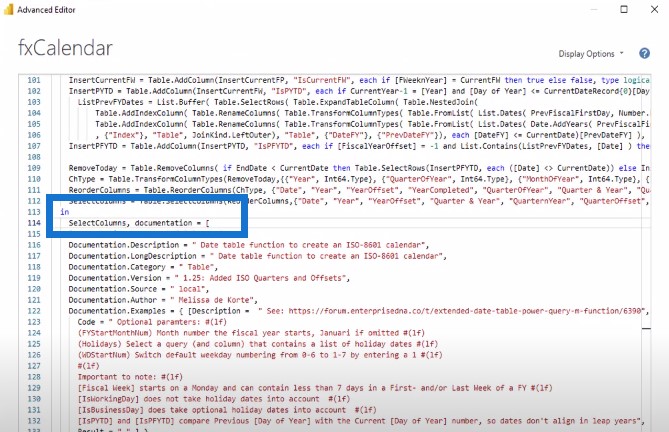
This updated our query.
Let’s move to our date table query and remove that last step.
This table is now 27 columns wide.

By making a slight adjustment in the code, I can get a subset of all the columns from the extended date table that I can use in my business.
***** Related Links *****
Using The M Function To Create An Extended Power BI Date Table
Build A Comprehensive Date Table In Power BI Really Fast
Creating A Date Table In Power BI The Fastest Way Possible
Conclusion
I hope you’ve enjoyed this one. If you enjoyed the content covered in this particular tutorial, please subscribe to the Enterprise DNA TV channel.
We have a huge amount of content coming out all the time, all dedicated to improving the way that you use Power BI and the Power Platform.
Melissa
[youtube https://www.youtube.com/watch?v=-C3_P-jJo4U&t=15s?rel=0&w=784&h=441]


