
Most of the time, people think error handling is similar to debugging. Those two are completely different, but go hand-in-hand when it comes to flow creation and development. In this tutorial, we’re going to discuss error handling in Power Automate.
Debugging is the process of locating and removing bugs from a program. On the other hand, error handling refers to responding and preventing errors.
When our users are using our flows, we want to have specific pathways that our flows follow. If for whatever reason, an error occurs, we need to make sure that they’re properly handled in order to avoid our flow from failing. We either address it with a condition or an error message so that the user knows the reason behind the error.

Sample Scenario For Error Handling In Power Automate
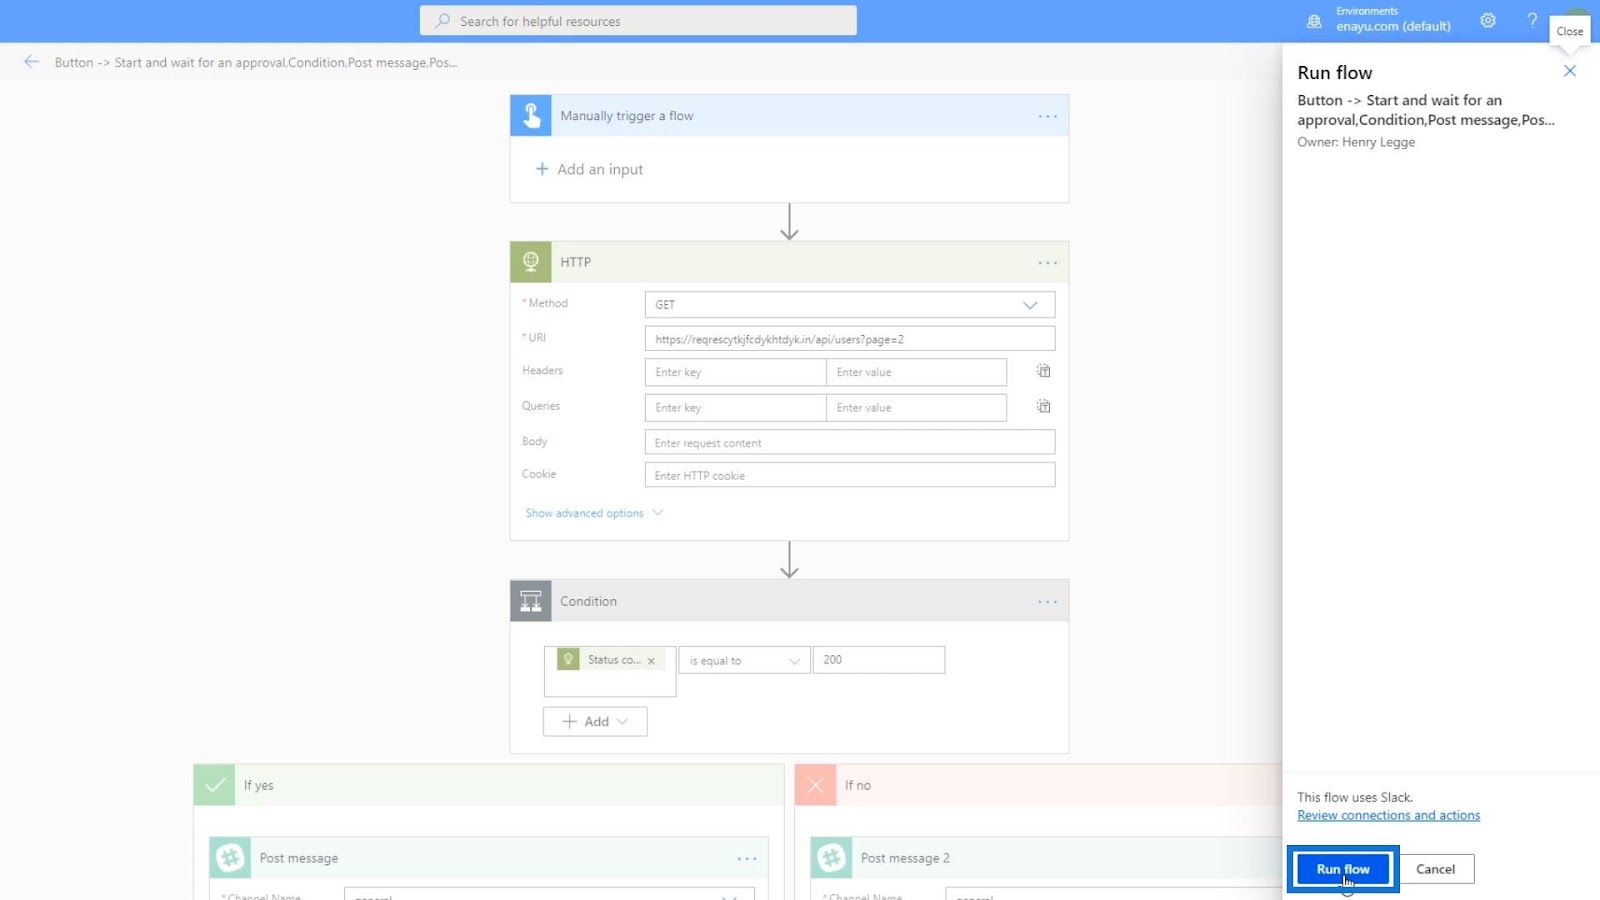
Let’s first go through an example of where we’d use some error handling. We’ll open up a sample flow that’s triggered manually by a person and doesn’t require any inputs. This flow tries to make an HTTP request to the specified URL.
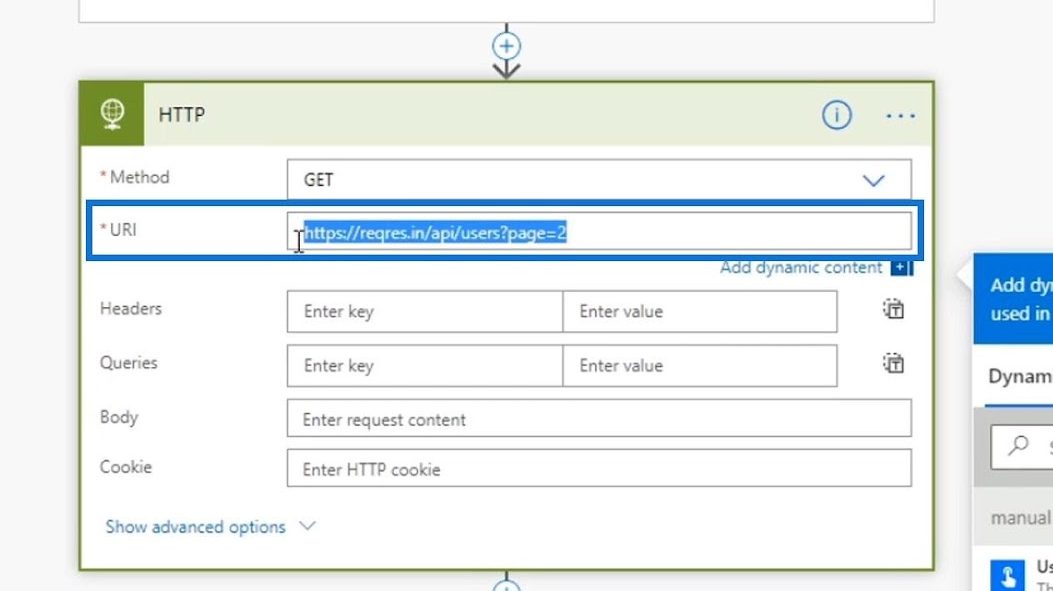
And this is what it’s trying to get.

Then, it goes through a condition wherein if it returns a successful result, it’ll post a message to a Slack channel with the content of the page. If it doesn’t give an approved request from the server, it’ll post a message saying “DENIED”.
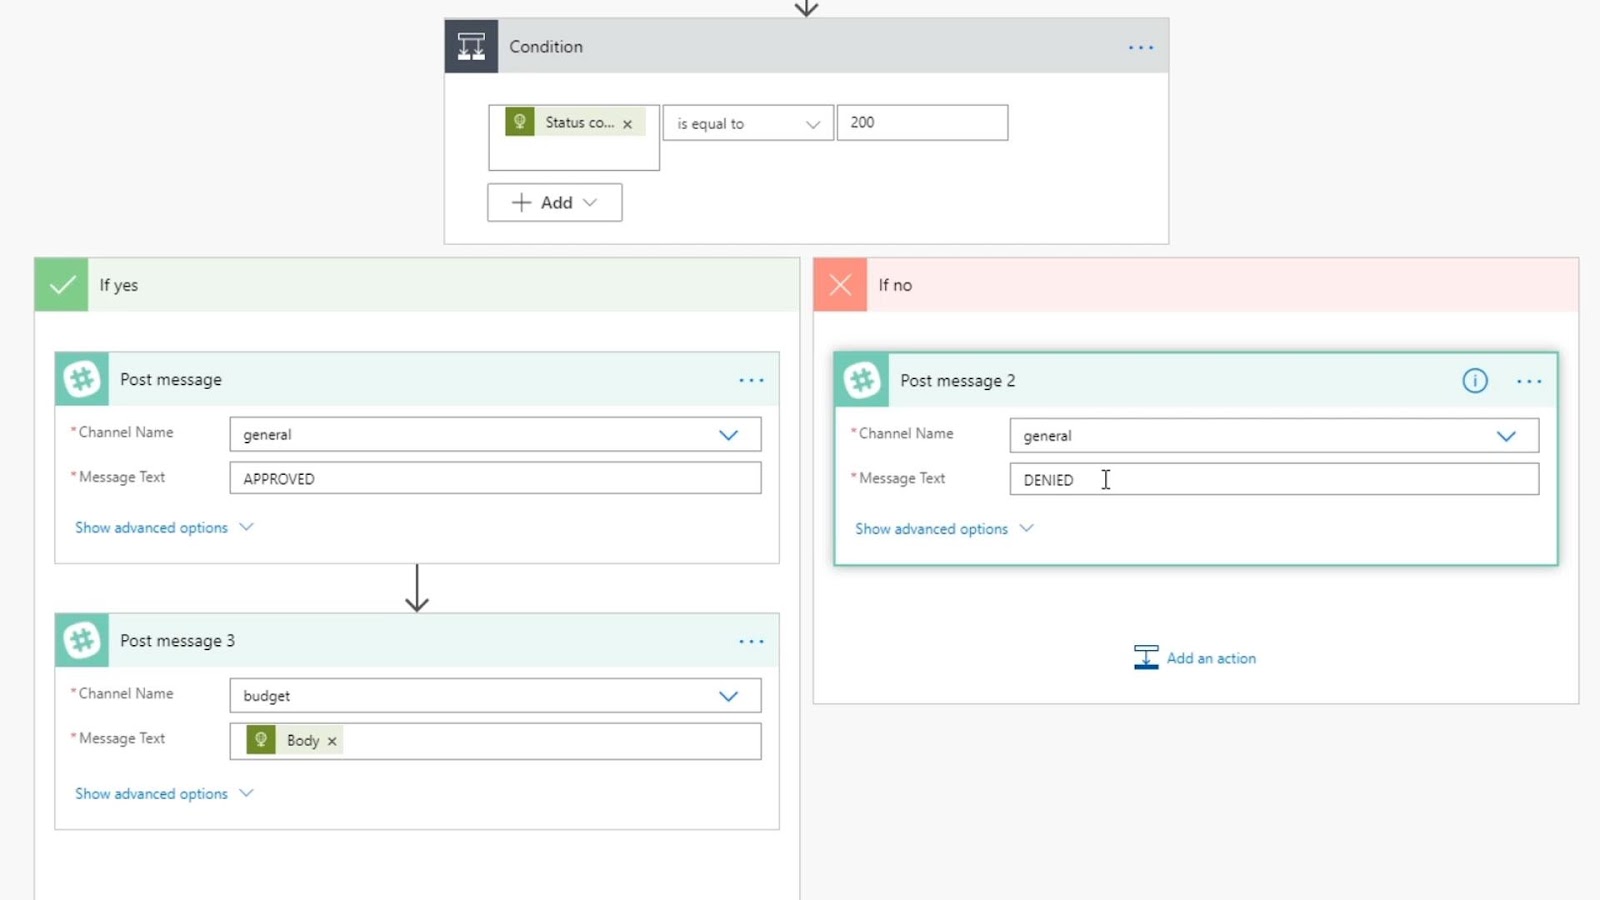
Using this condition, it would seem like the error was handled. But what if for some reason, this page goes down or can’t be found anymore? The HTTP request connector can’t even connect to this page because it’s down. Hence, it won’t return a status code.
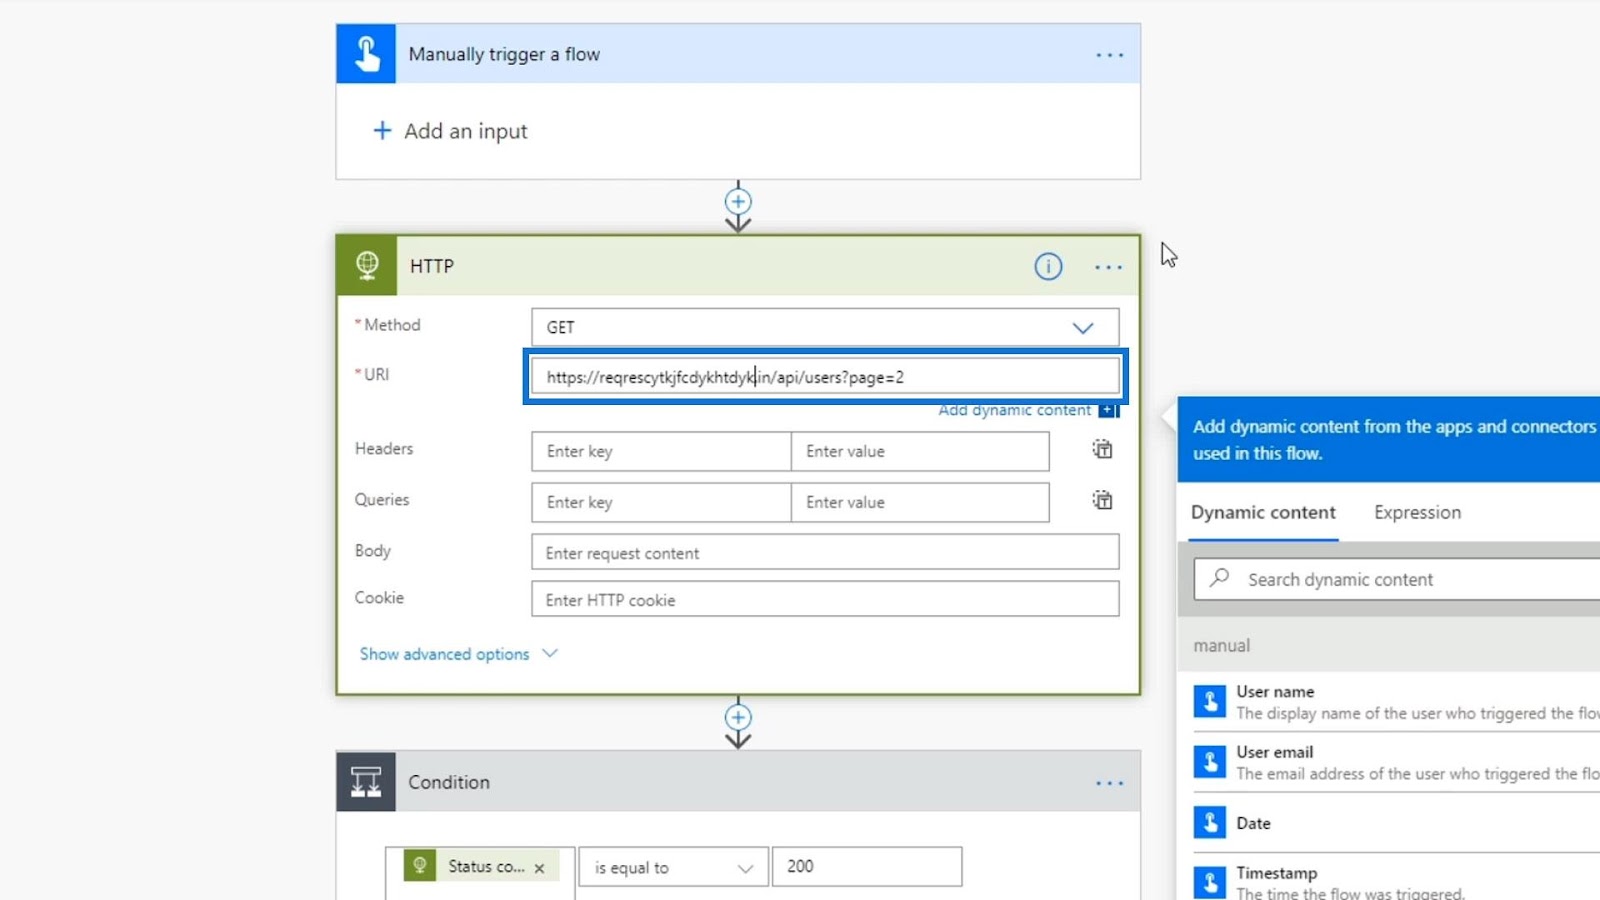
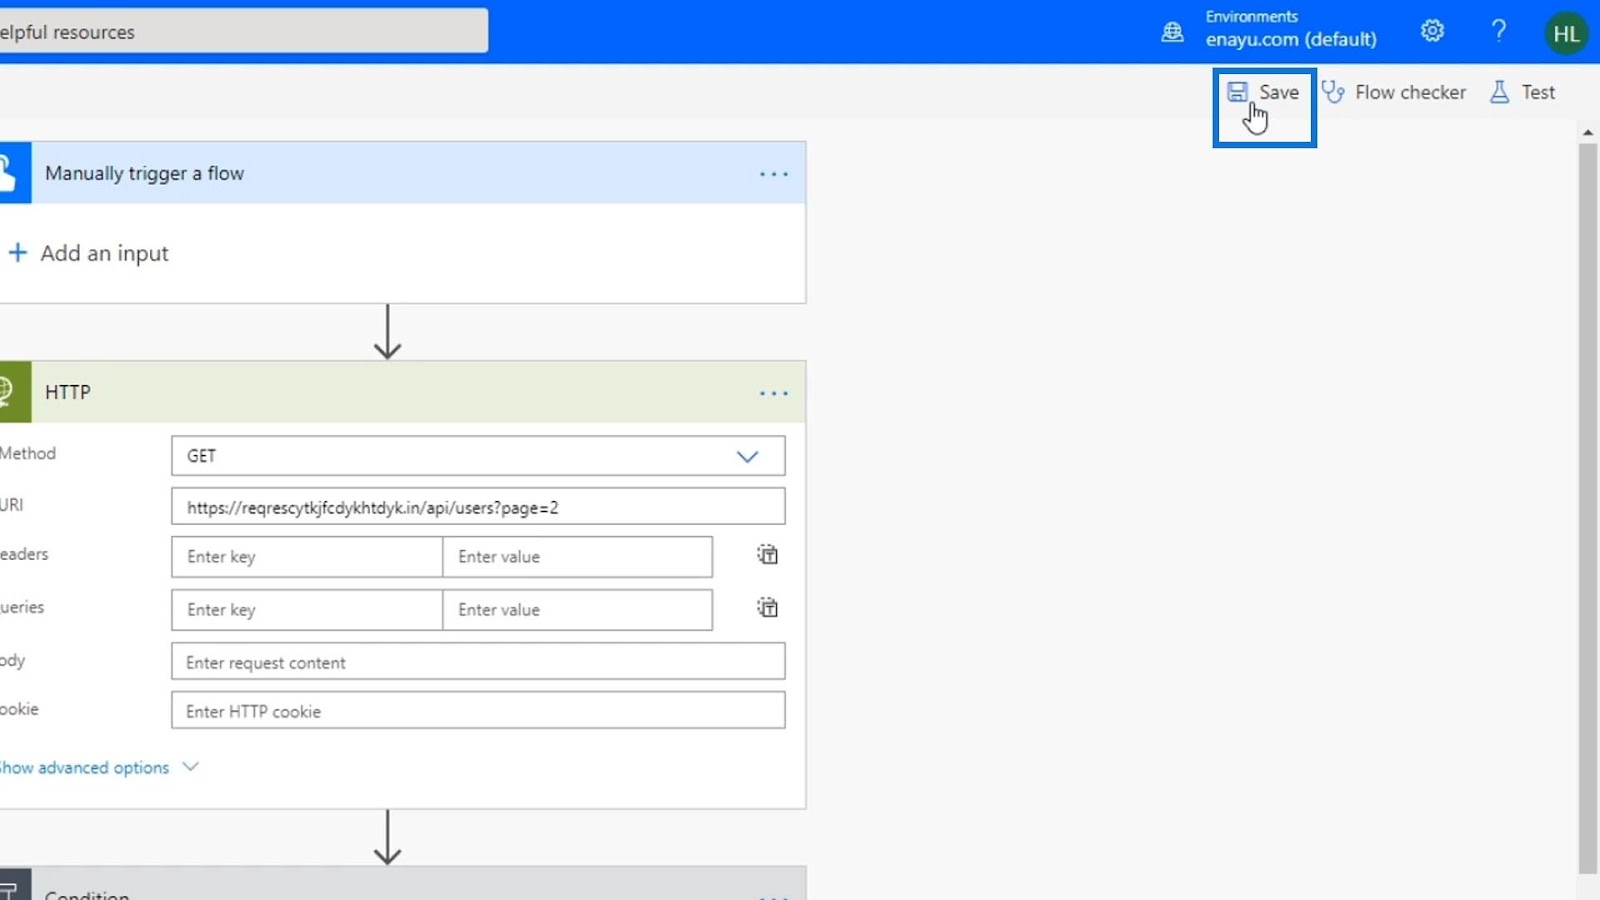
Let’s check what it’s going to look like if we don’t have an error handler for that situation. We’ll try to edit this and change the URL to something that doesn’t exist so we can force it to fail.
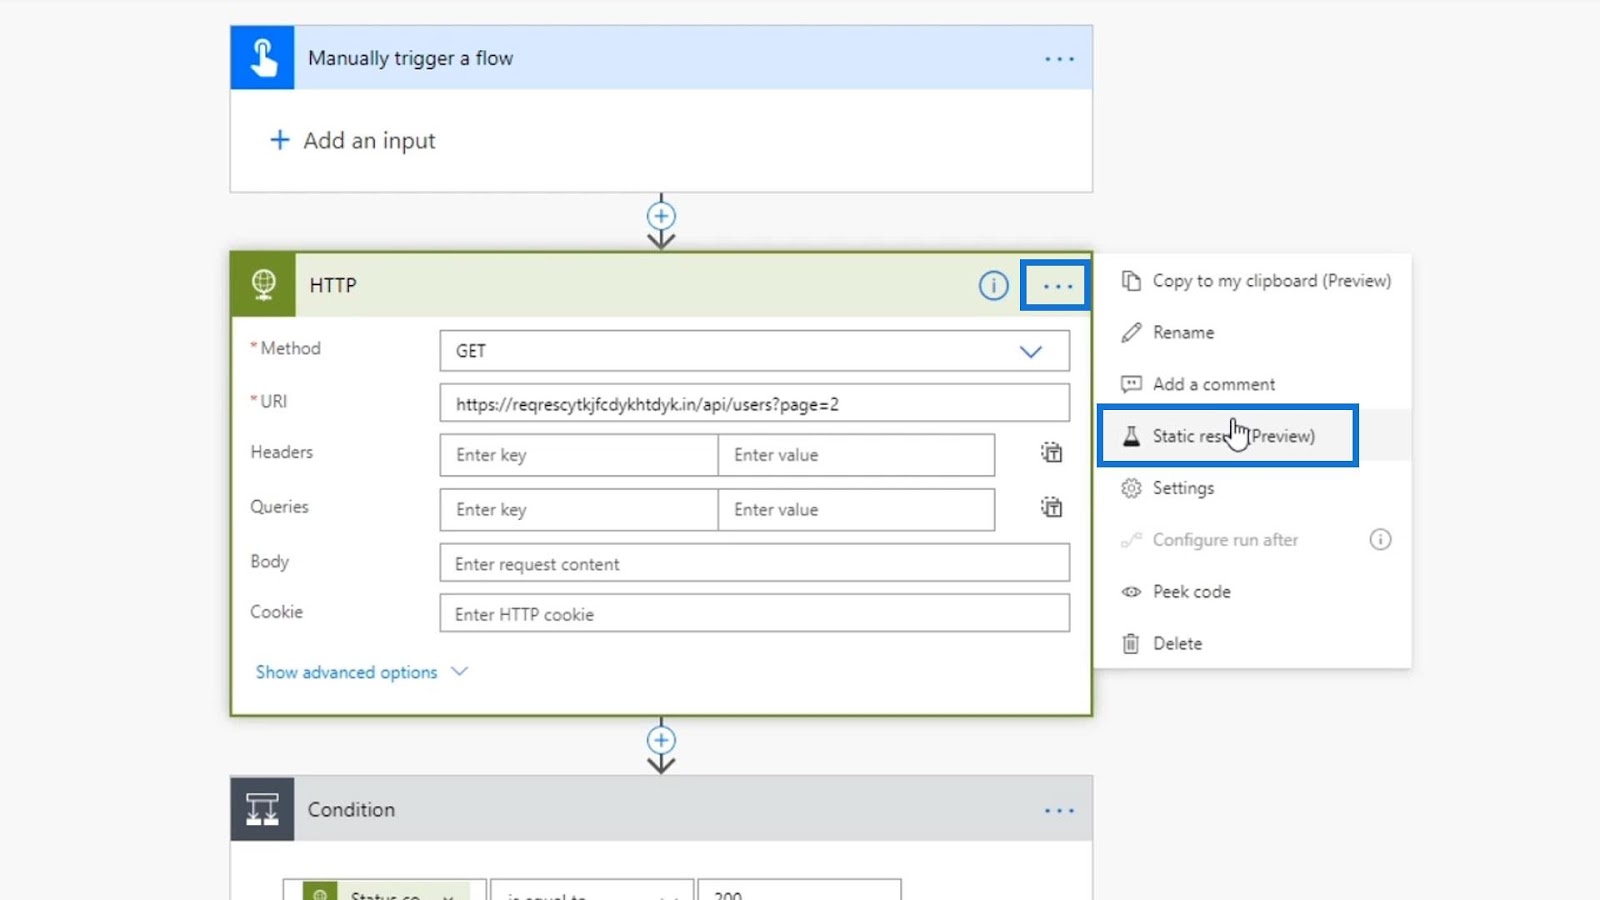
Click the three dots and choose the Static result.

Then, turn off the static result and click Done.
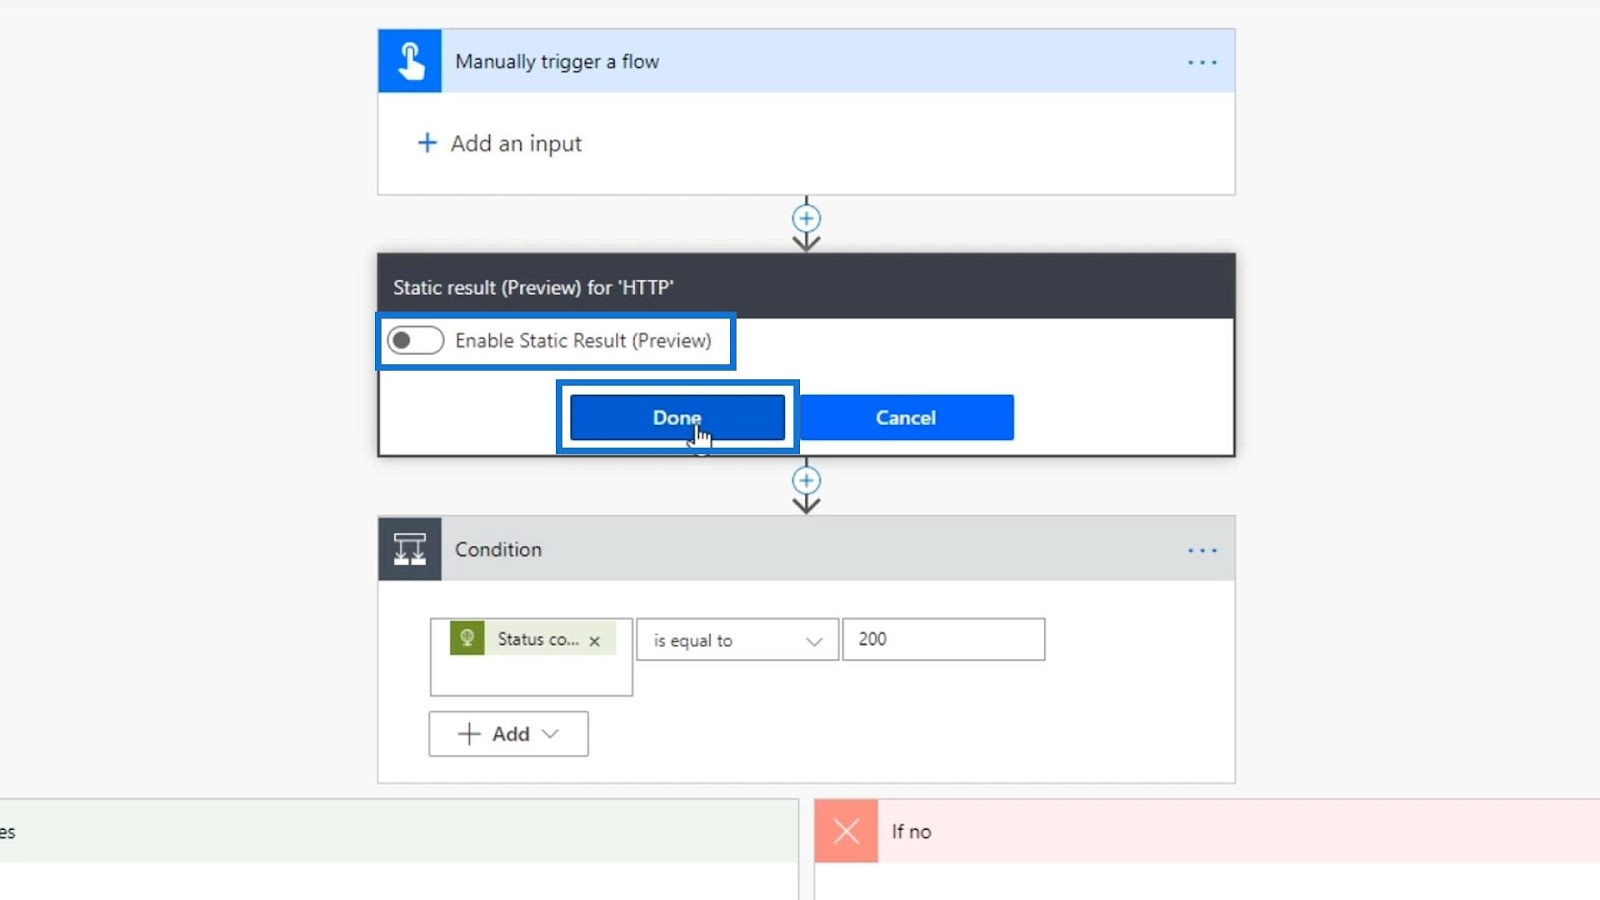
After that, click Save.
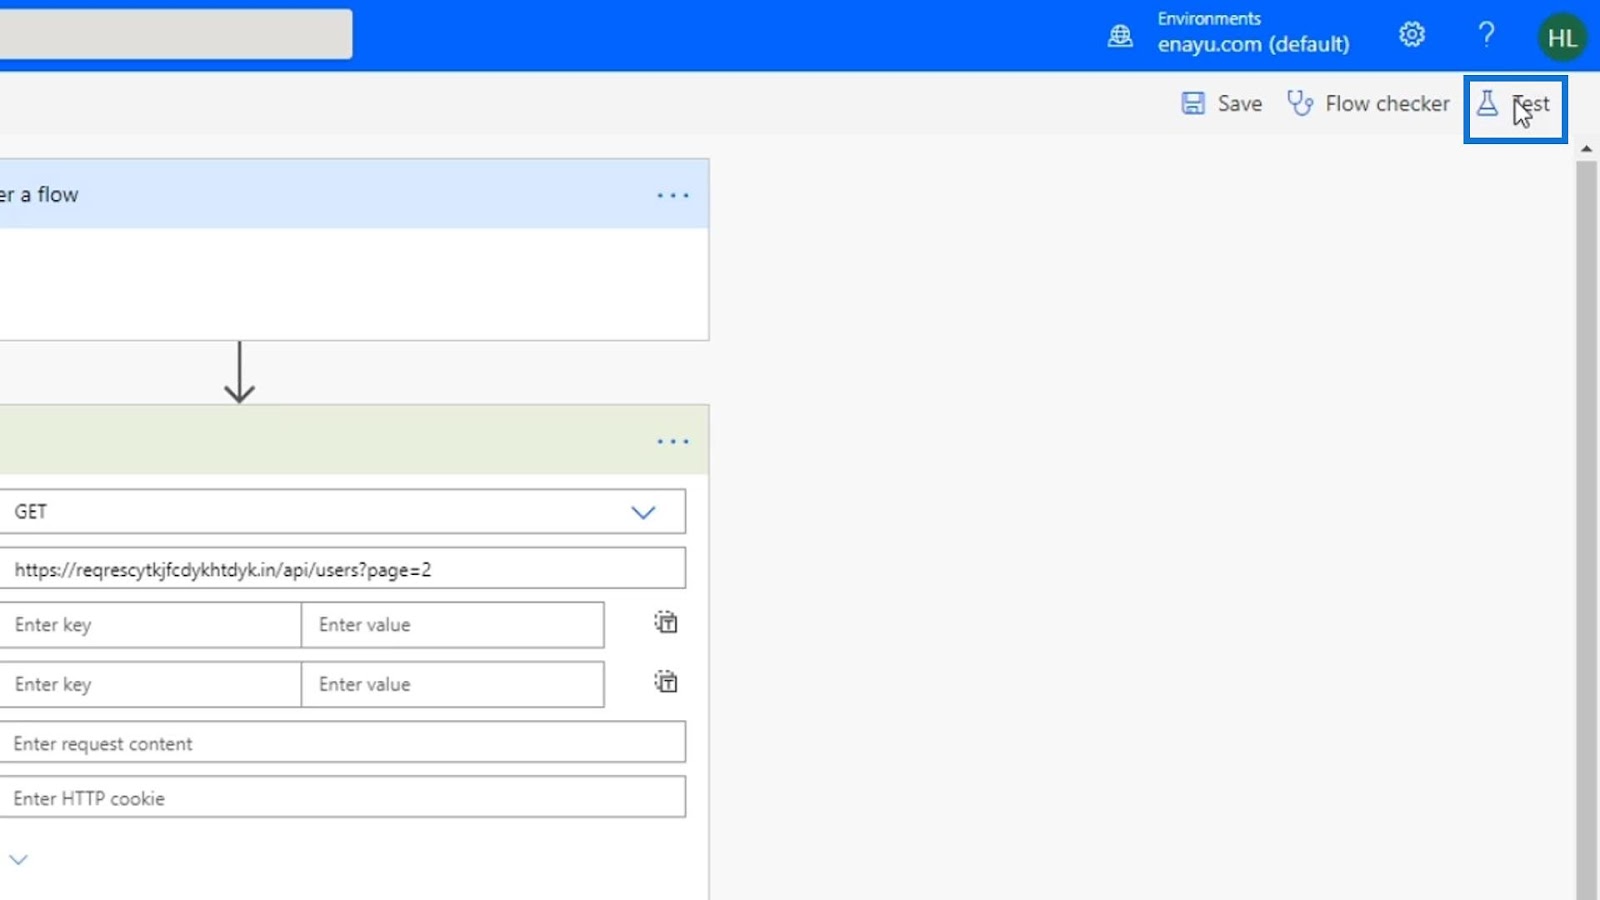
Finally, let’s test it.
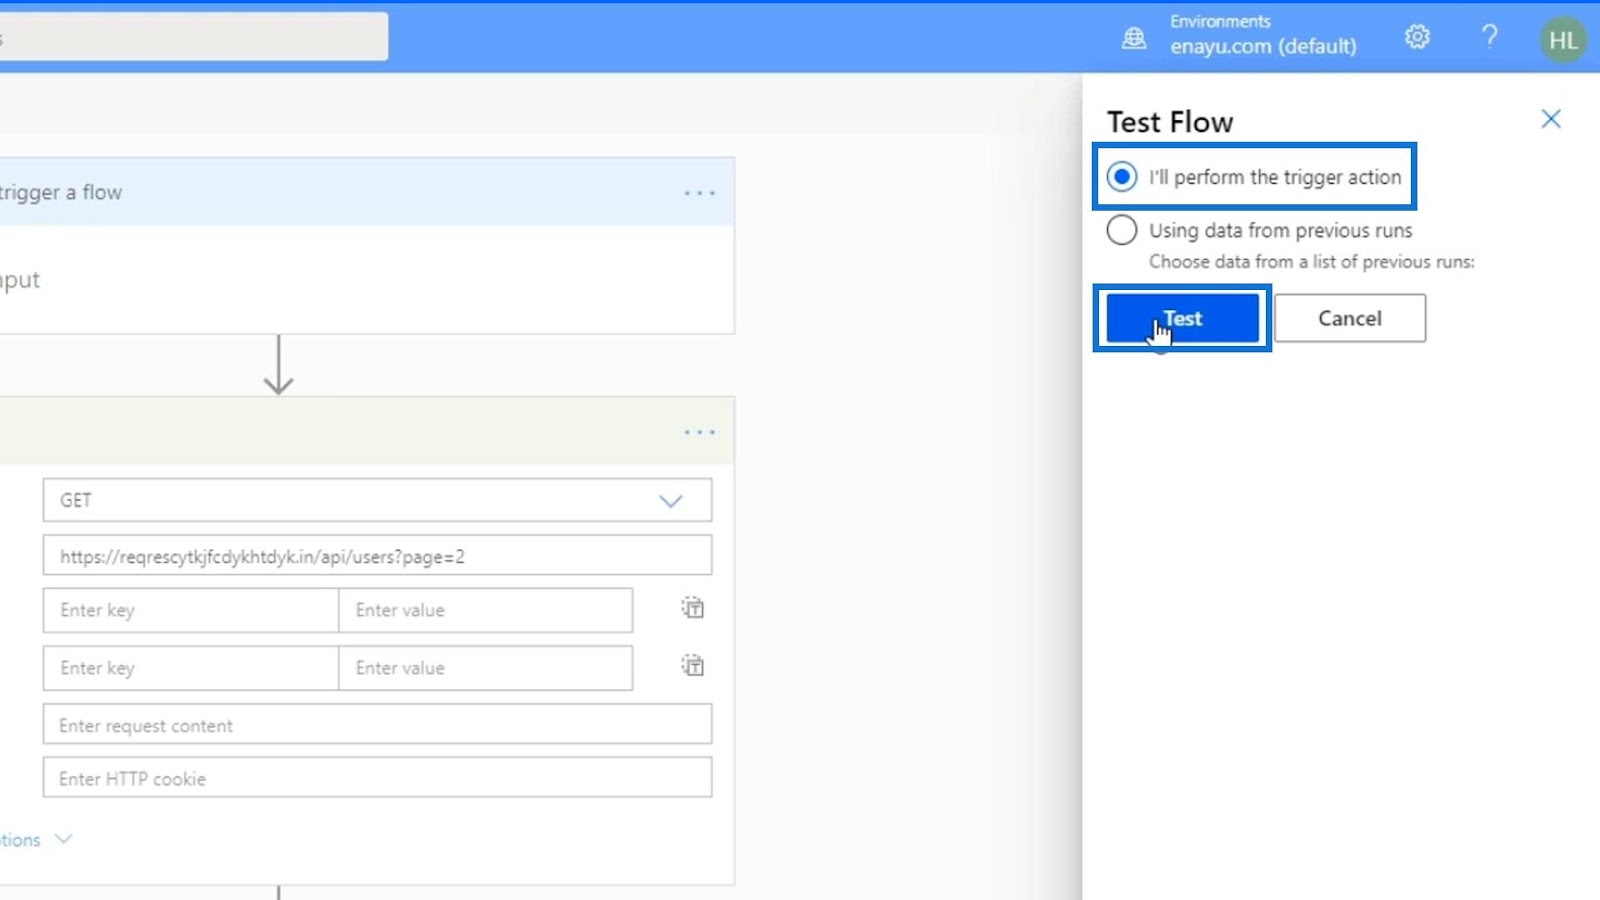
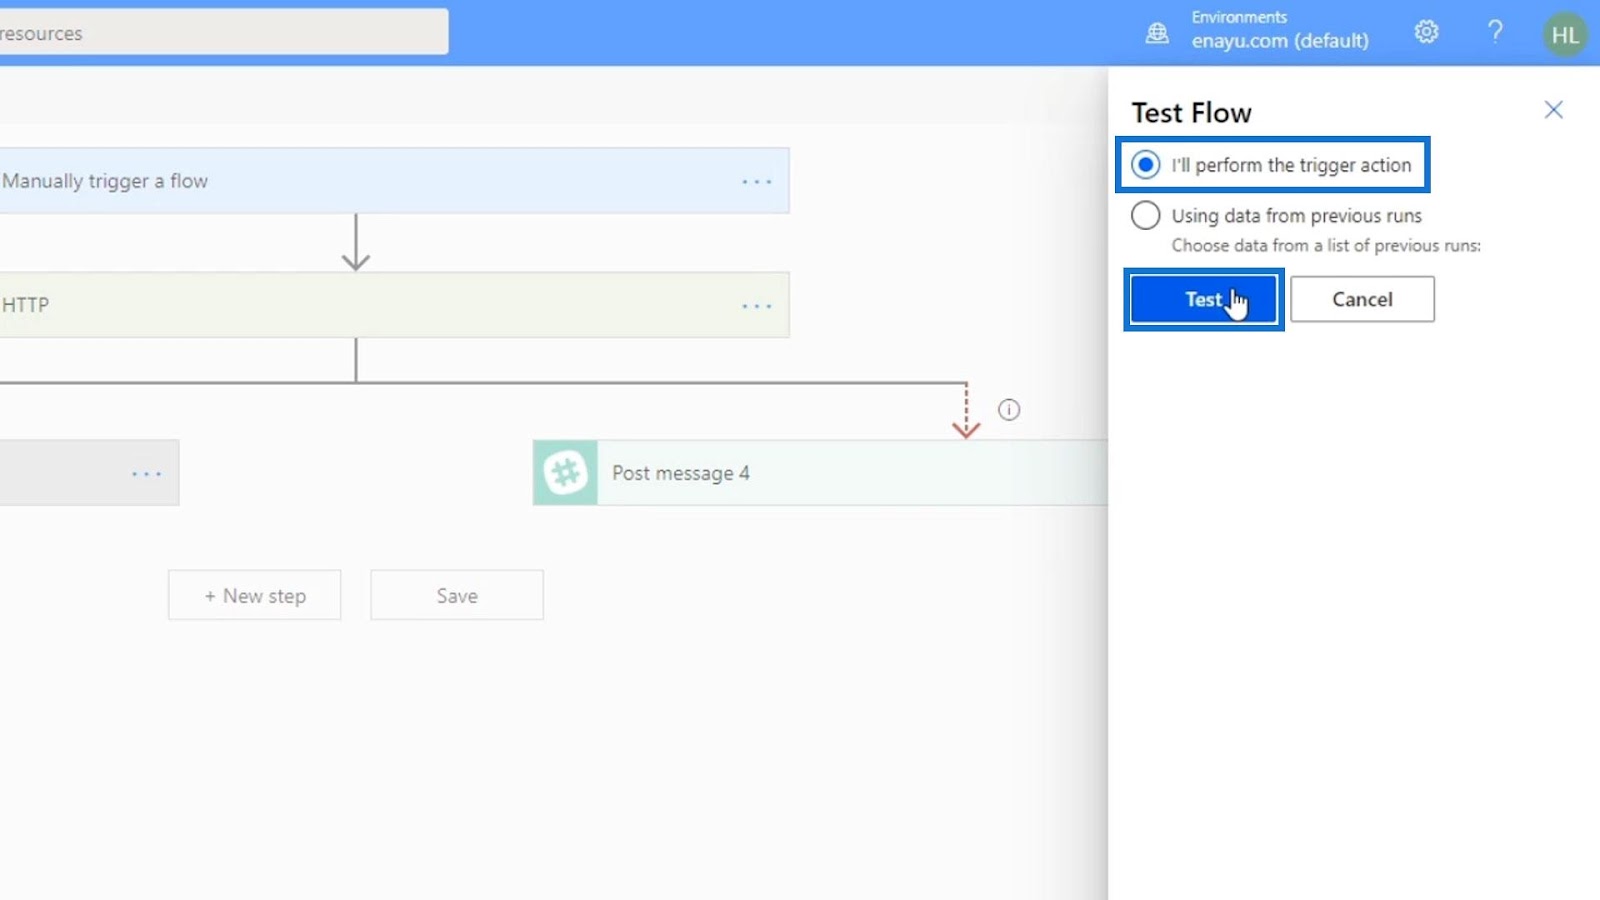
Choose the I’ll perform the trigger action option, then click Test.
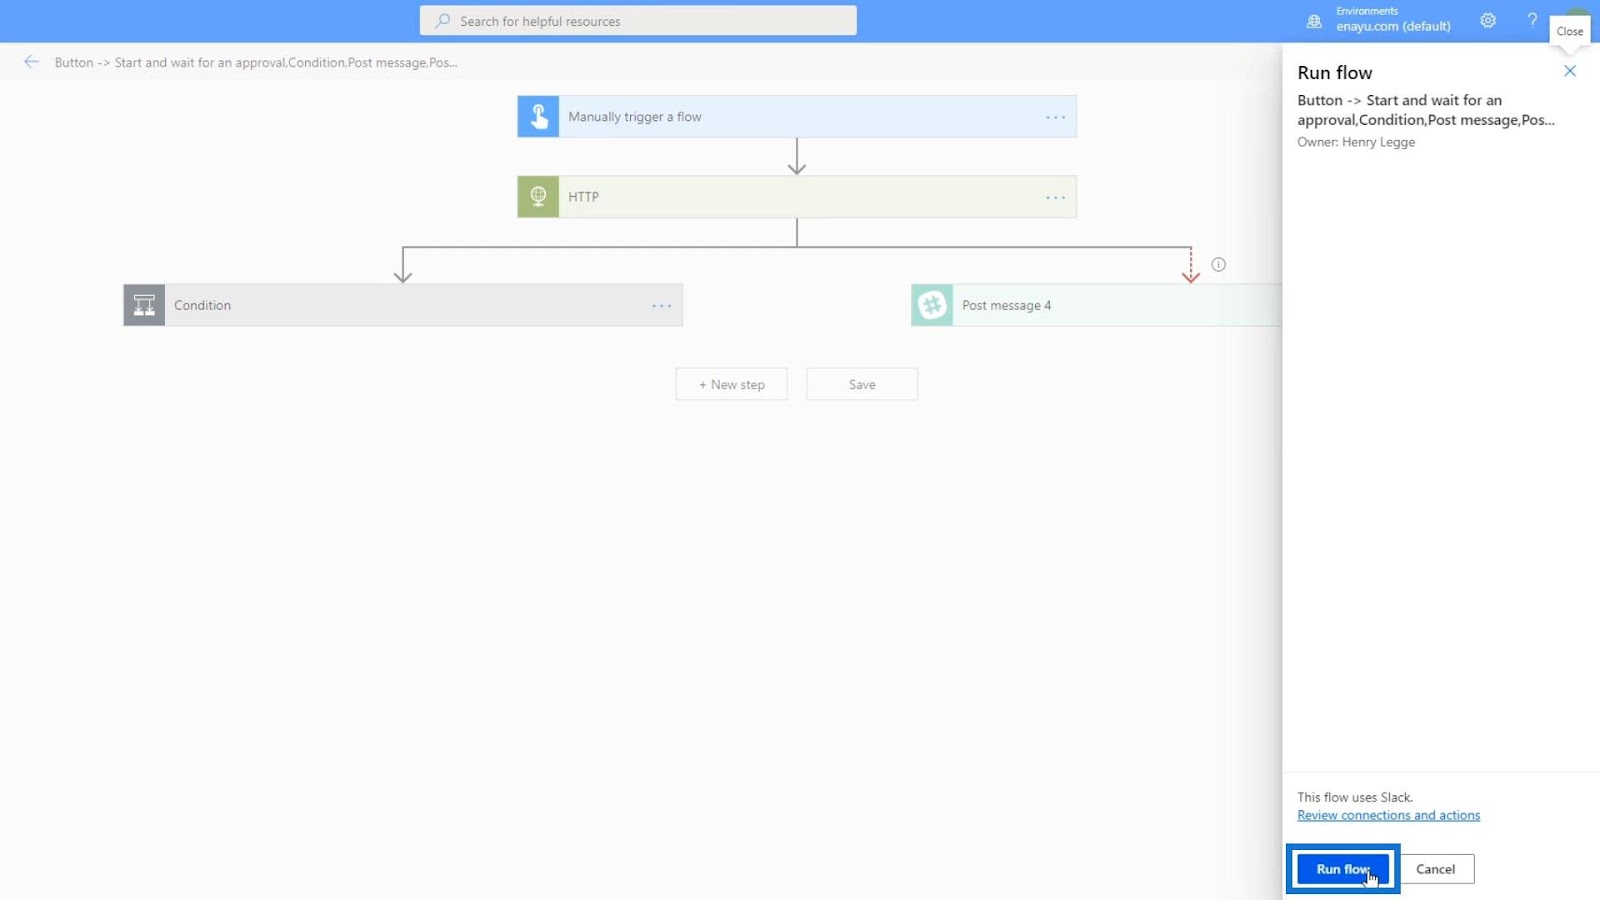
Click Run flow.
Since we didn’t set an error handler for this situation, the flow run failed.
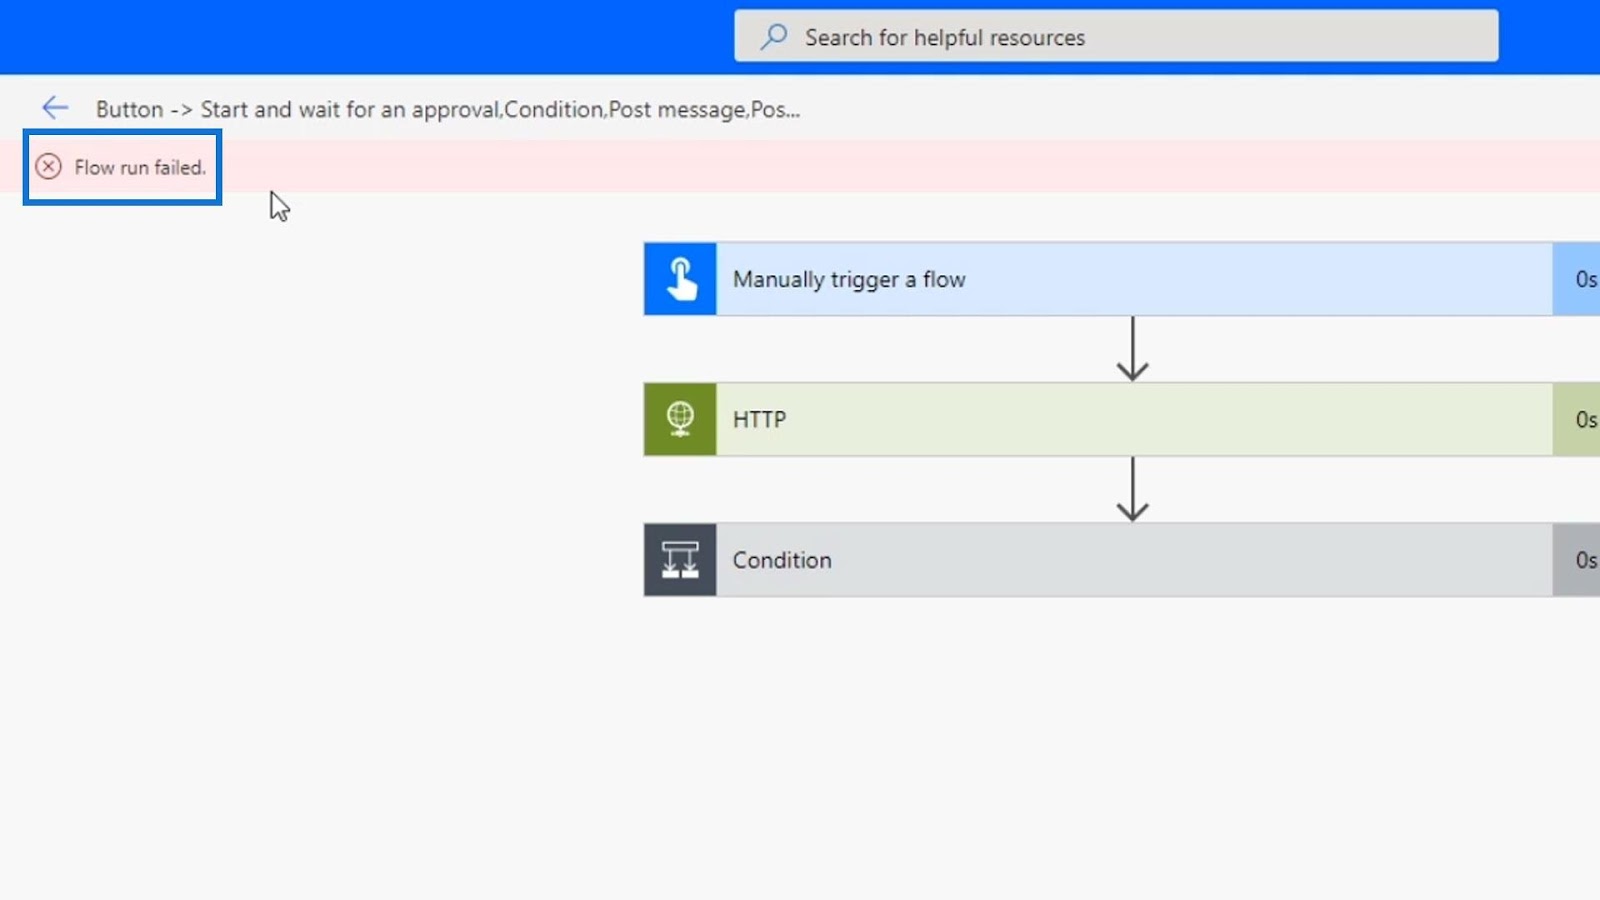
This will be hard for our users to interpret. Therefore, it’ll be very frustrating to them. So how do we handle and check those things? That’s the context that I’d like to discuss before we move on to how we actually solve that.
Parallel Branching For Error Handling In Power Automate
Now that we have discussed the context, let’s do some error handling for this flow that we’ve set up. We’ll be doing that through parallel branches.
First, anticipate which action might produce an error. In this example, as we previously discussed, it’s the HTTP request. Under that, click the plus icon then choose the Add a parallel branch option.
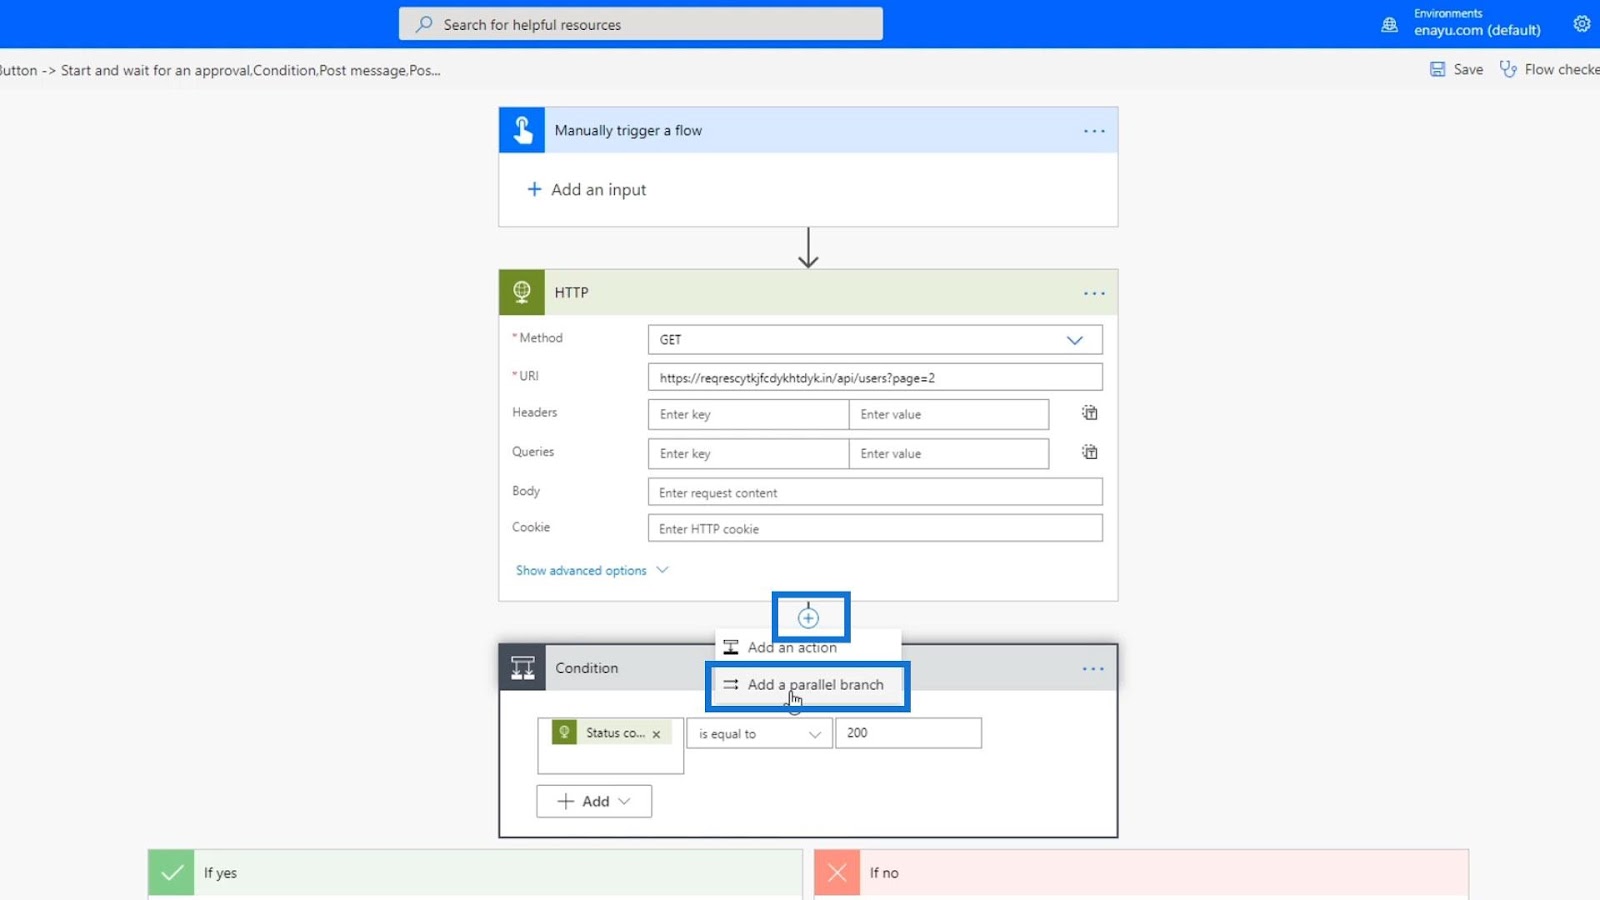
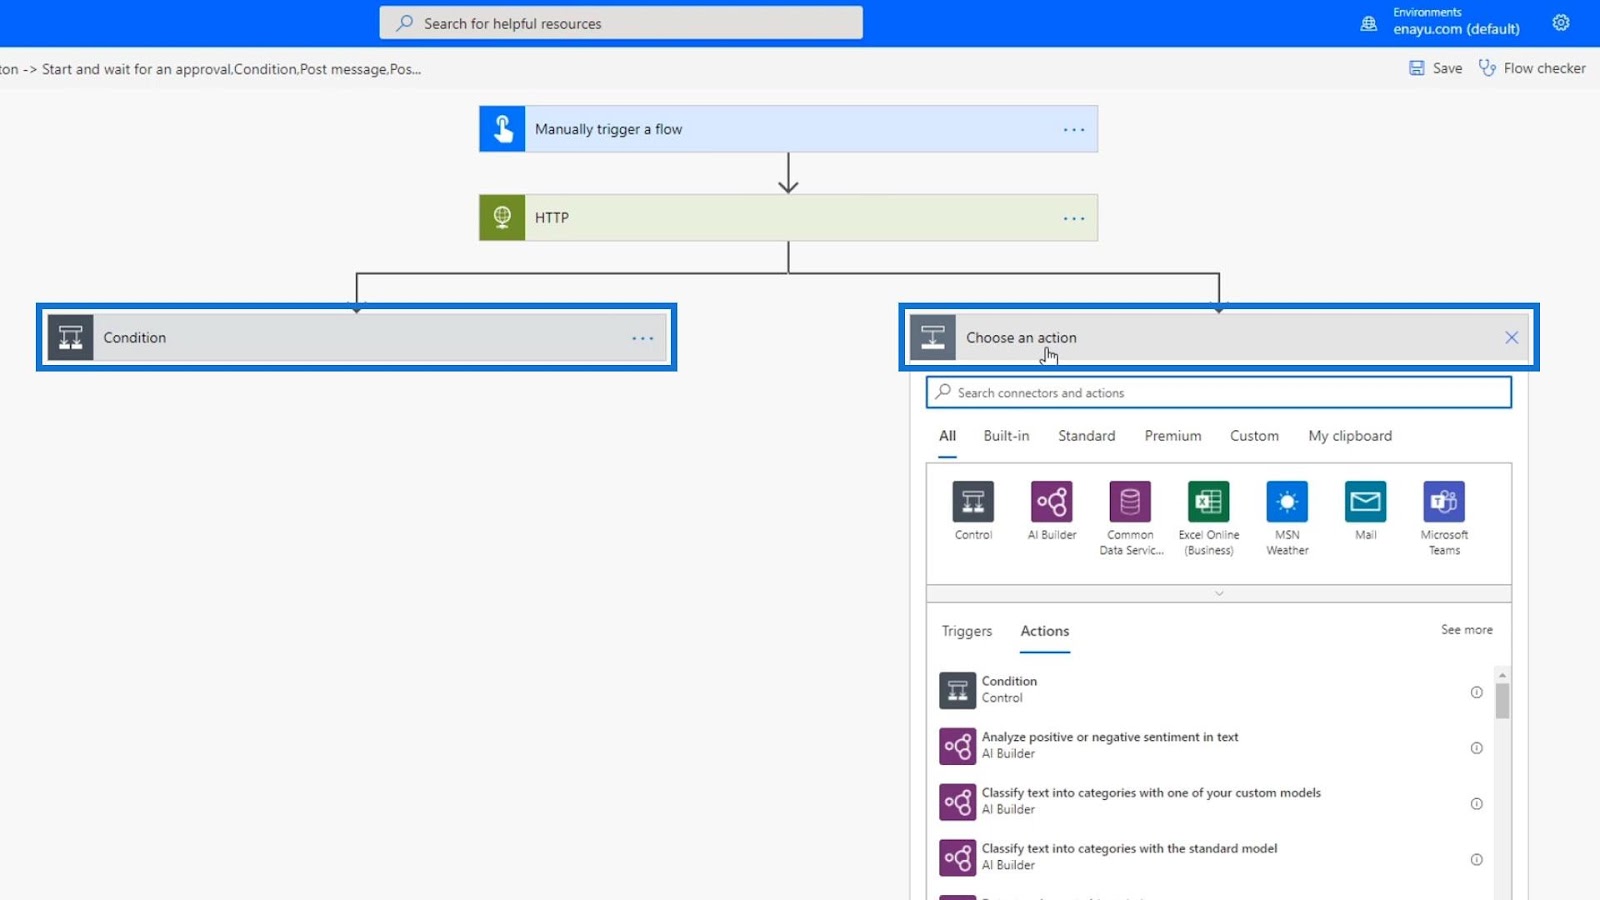
With parallel branching, these two actions will happen simultaneously.
However, we can also set this action to only happen if the previous action is successful. Simply click the three dots over here and choose Configure run after.
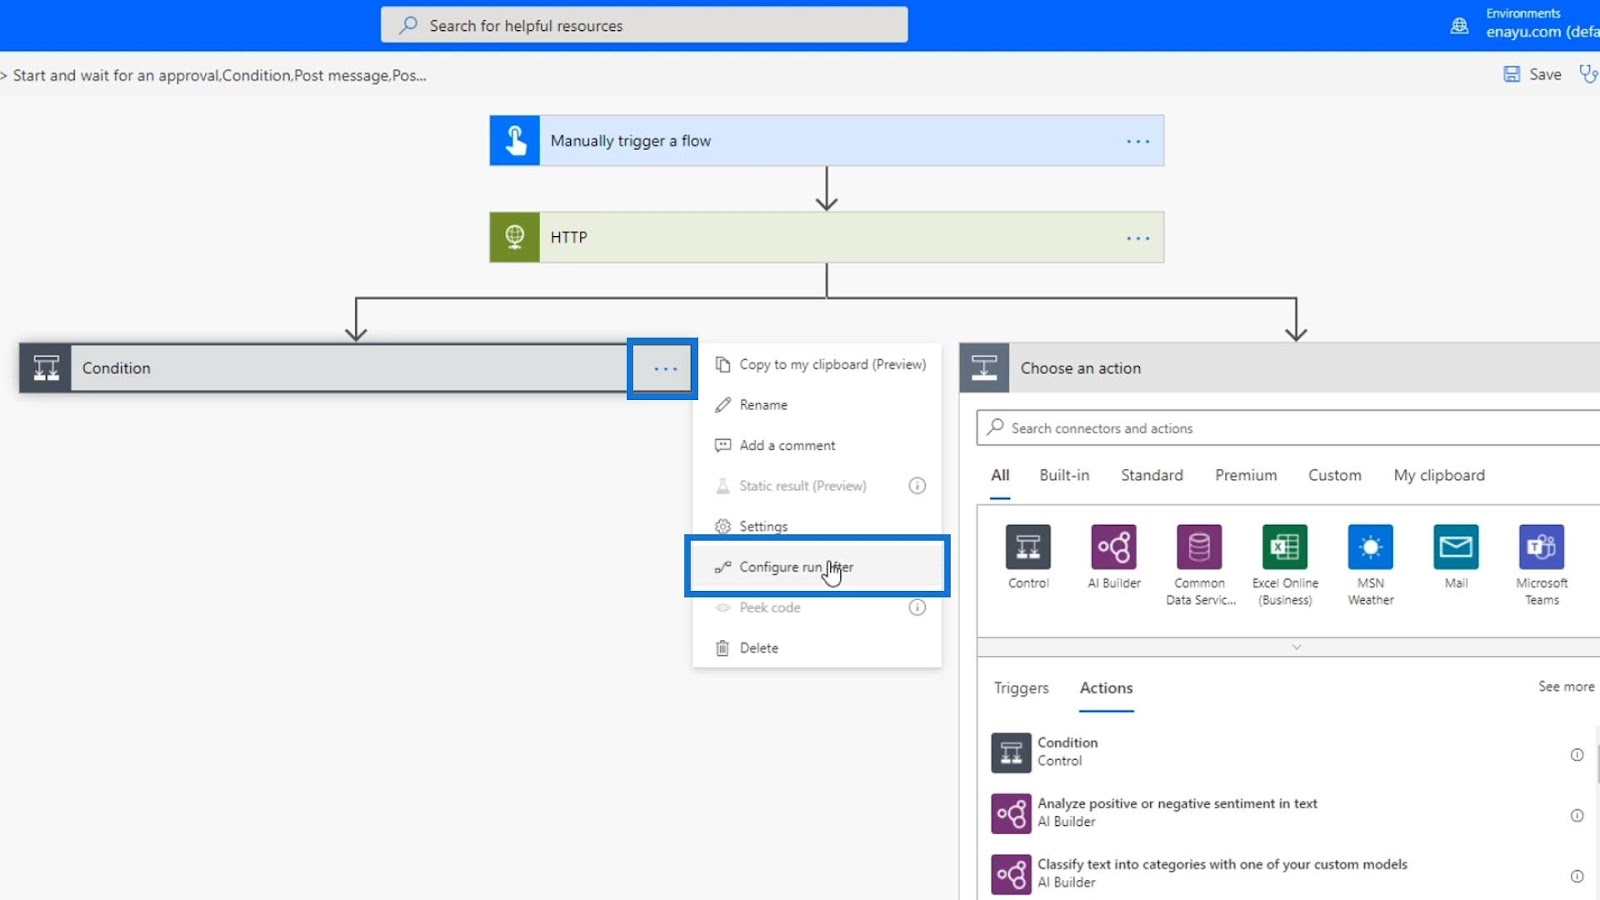
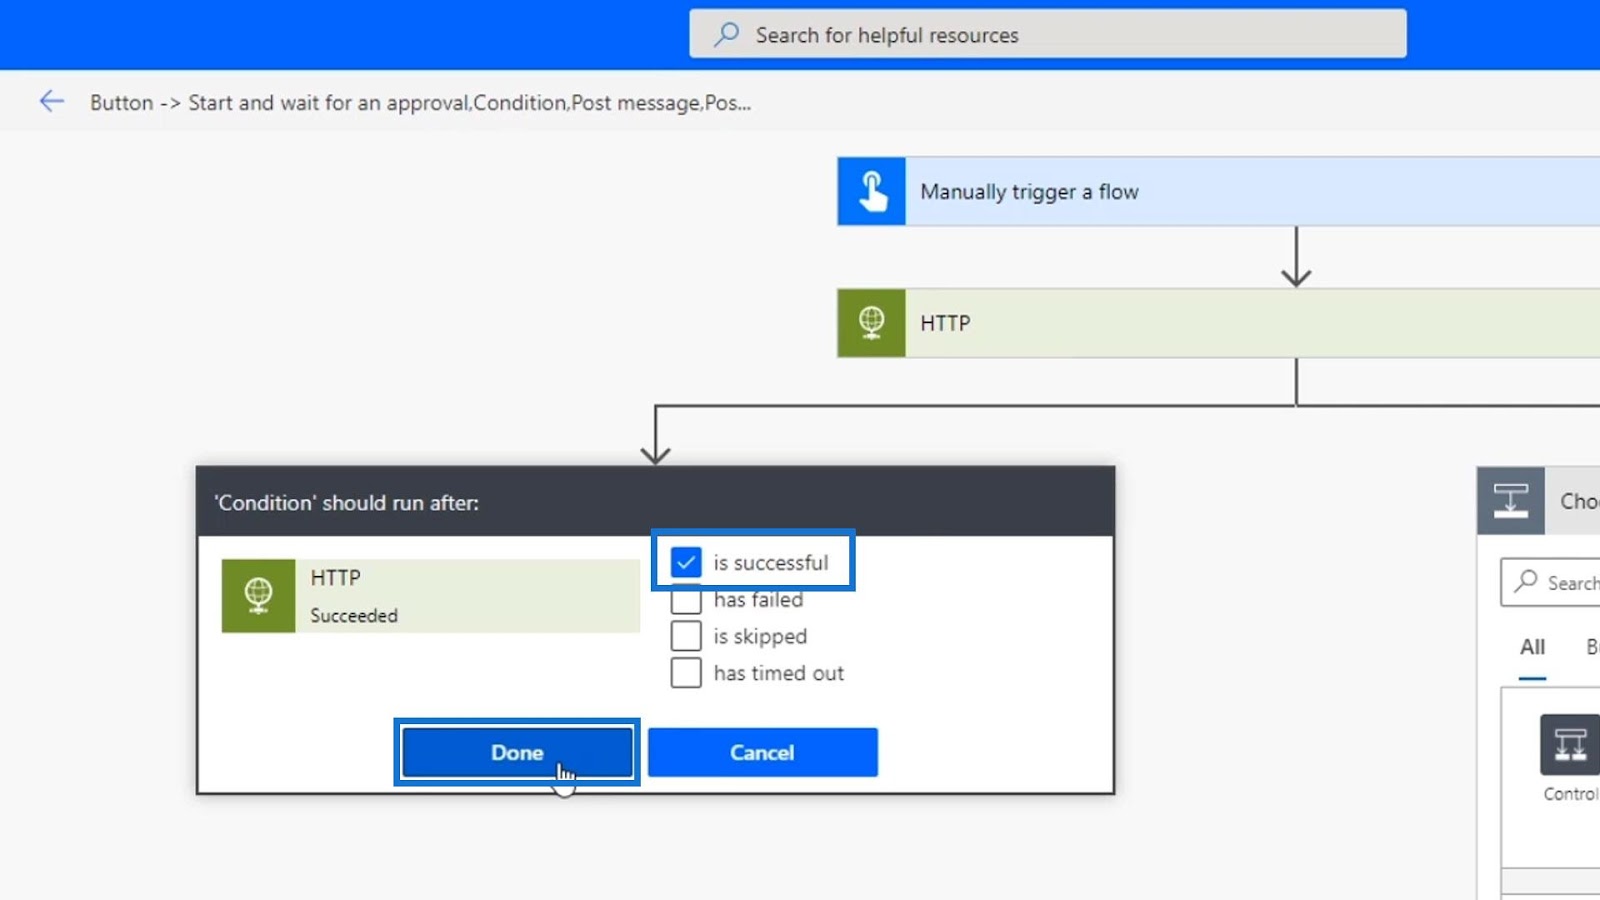
In this part, we can specify when the current action should happen based on the previous one. For this example, just choose the is successful option then click Done.
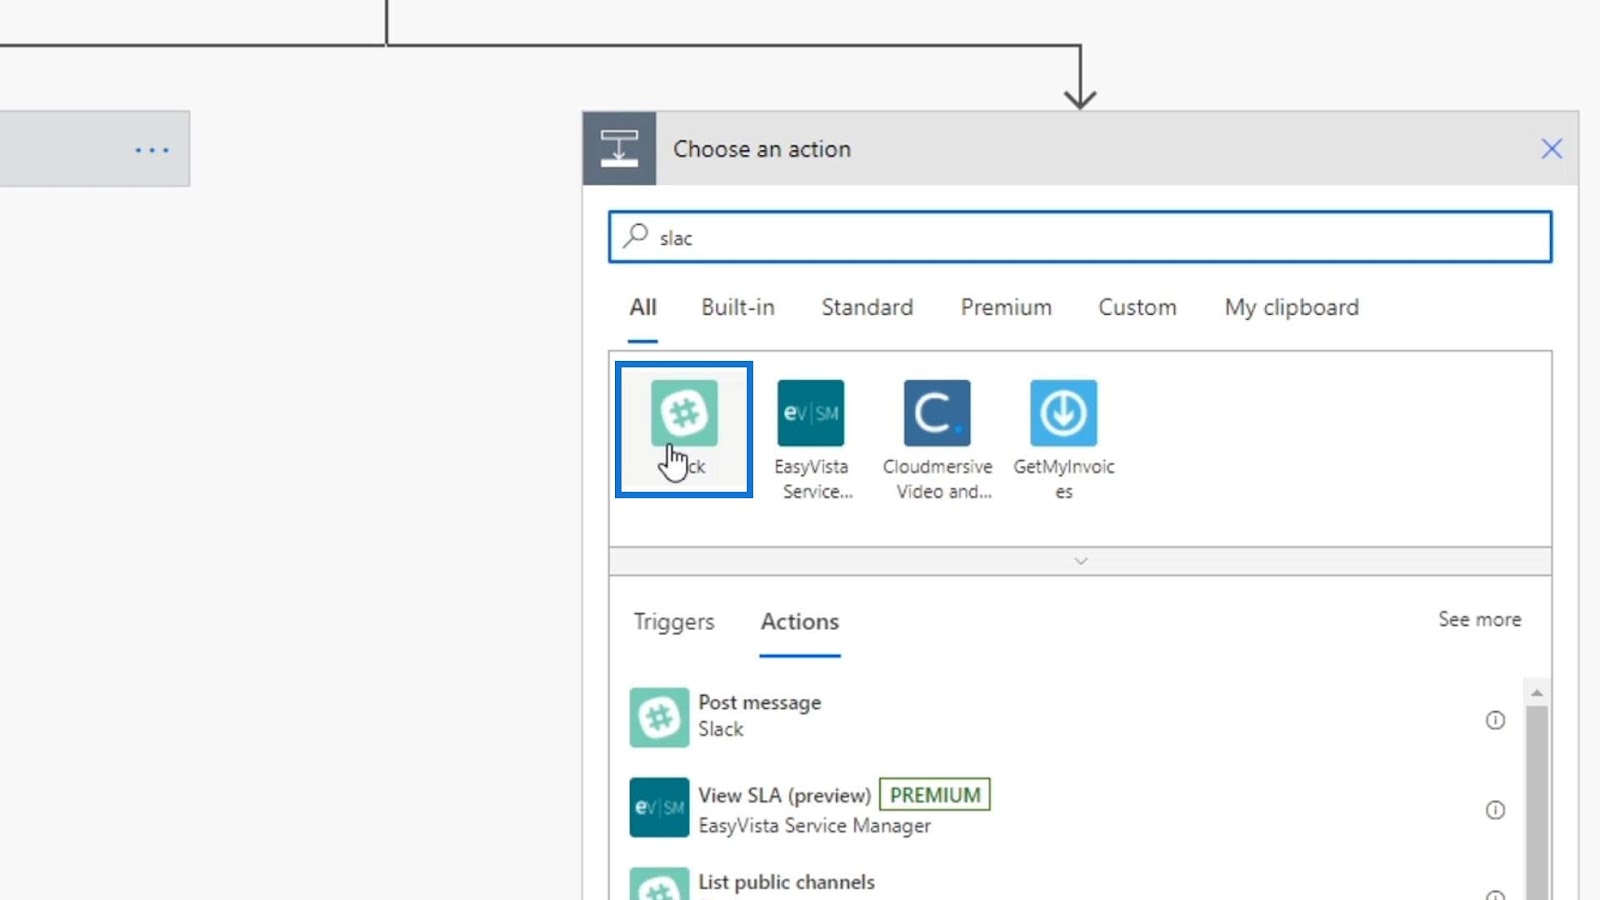
On the other hand, we’d like this one to run if the previous action fails. First, search and select the Slack connector.
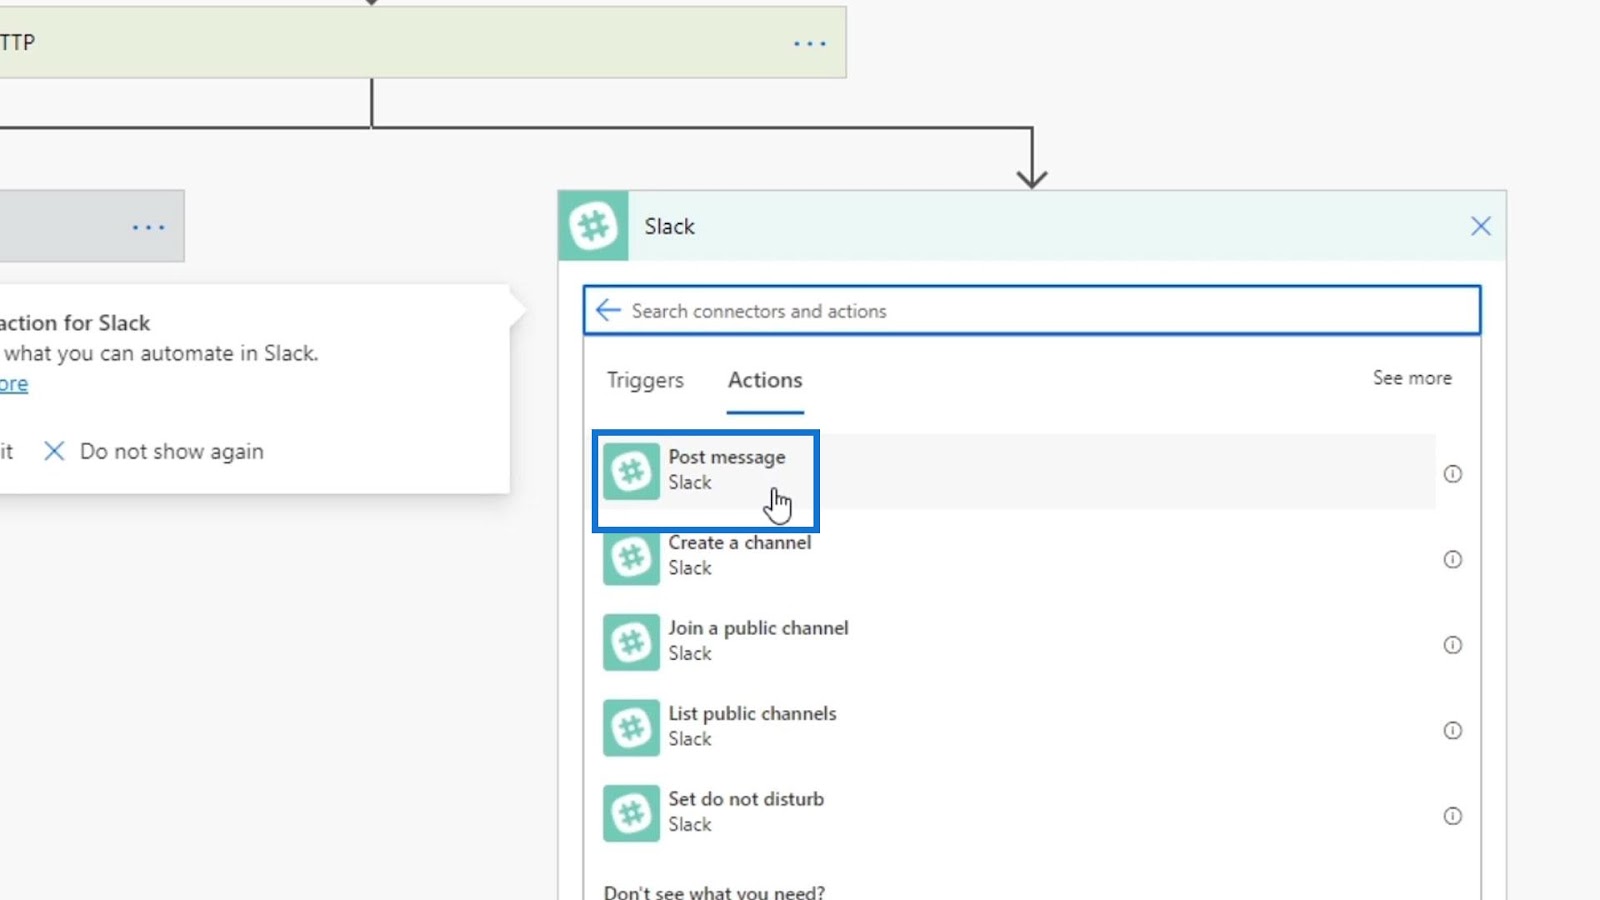
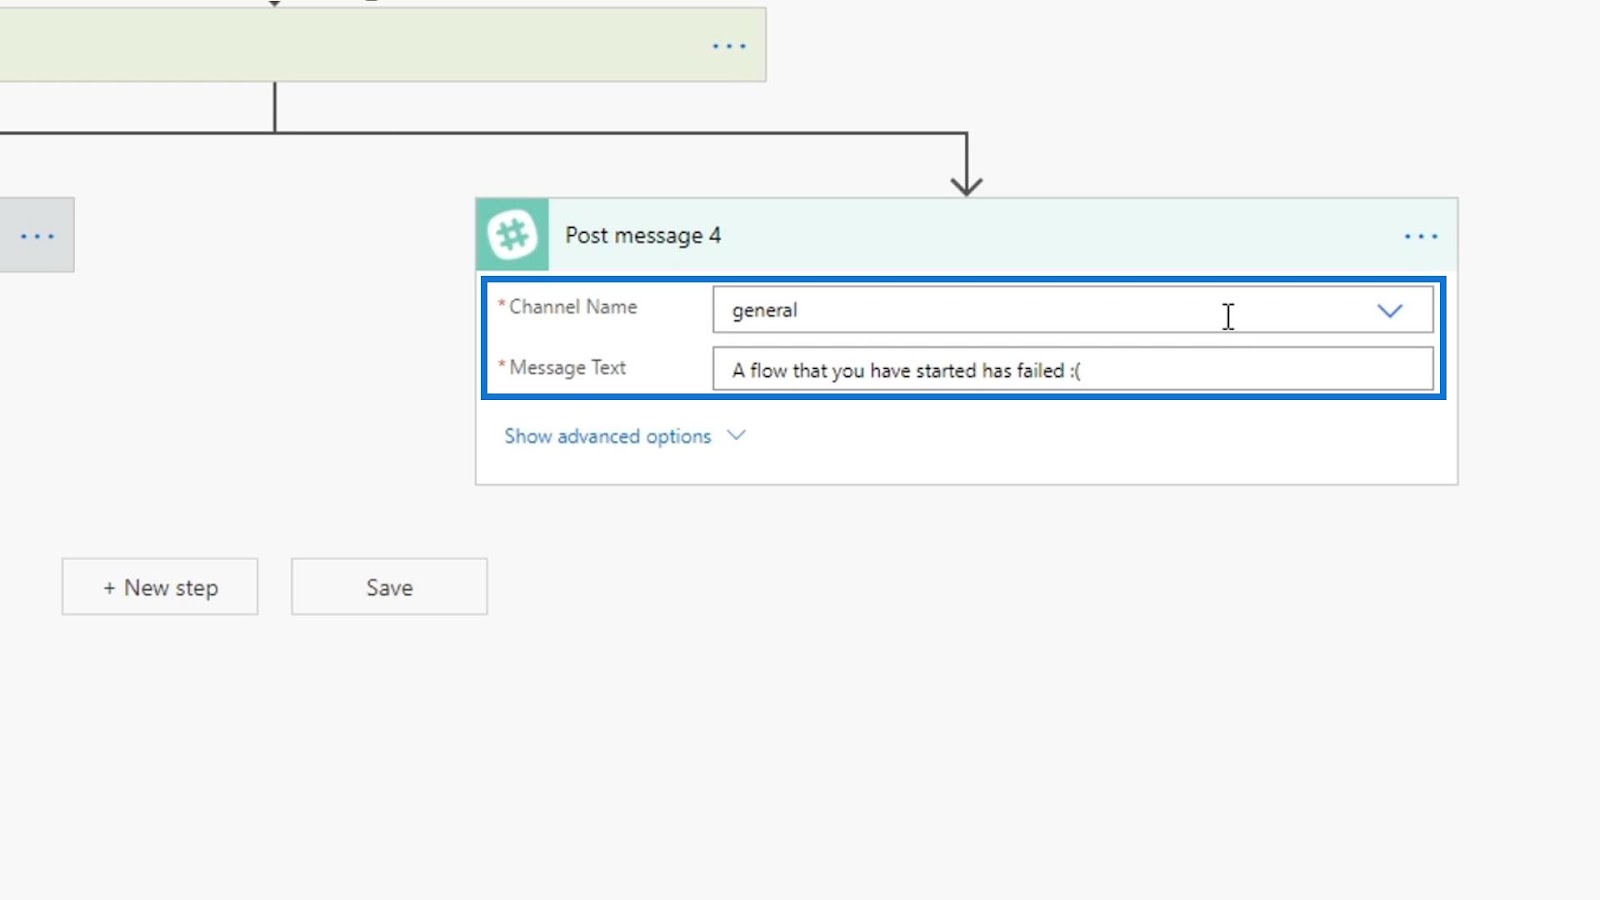
Then choose the Post message action.
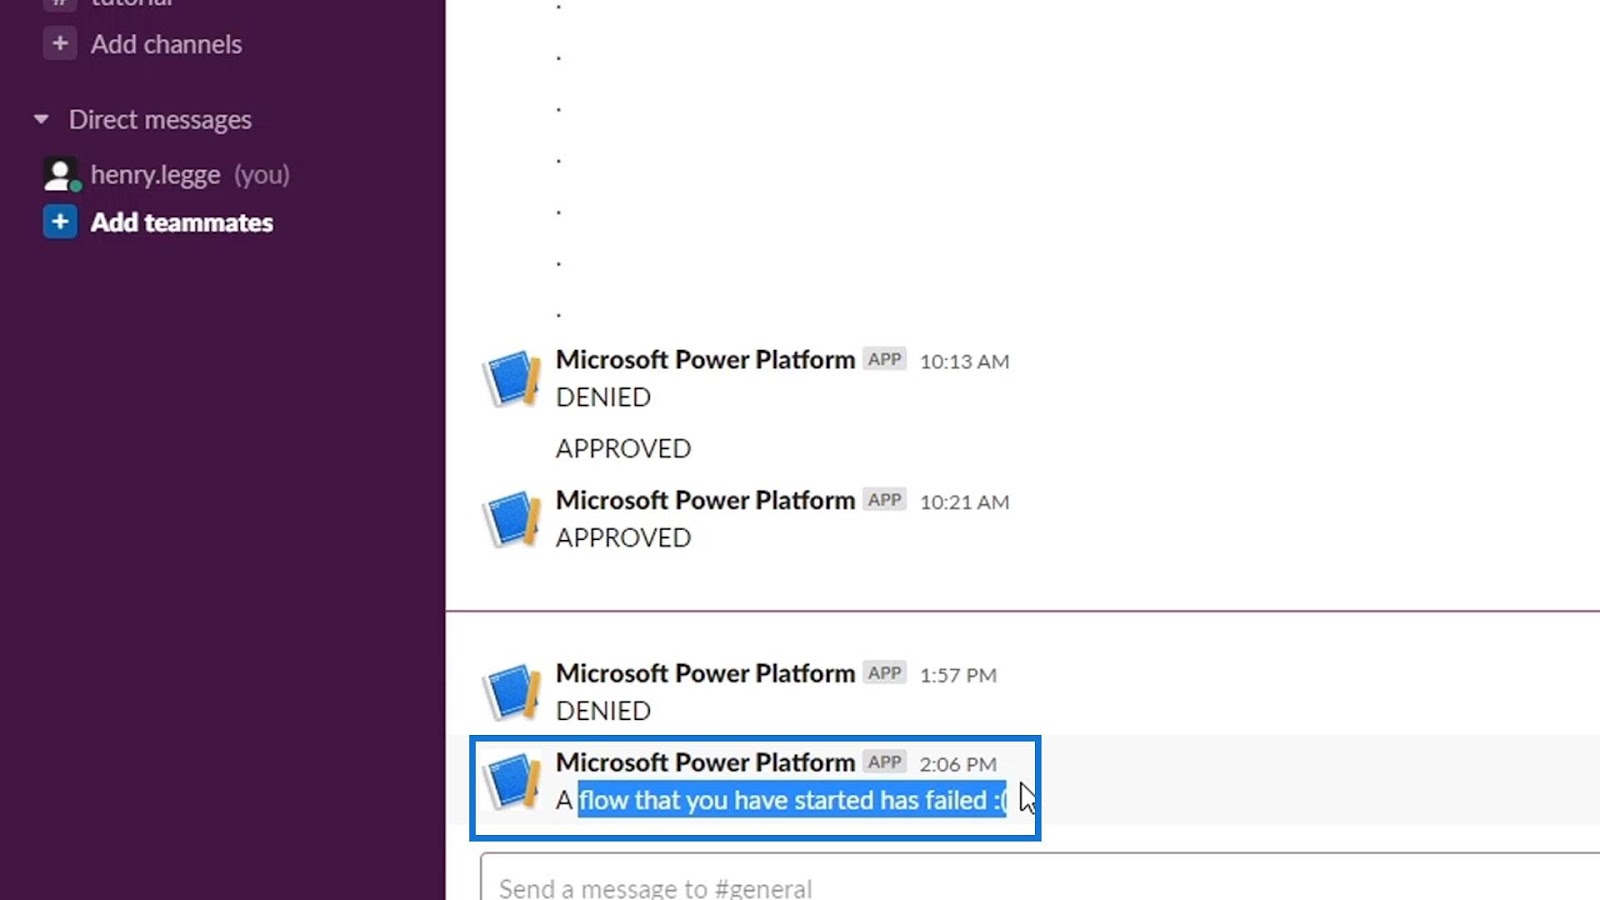
We’ll post a message to the general channel saying “A flow that you have started has failed ?”.

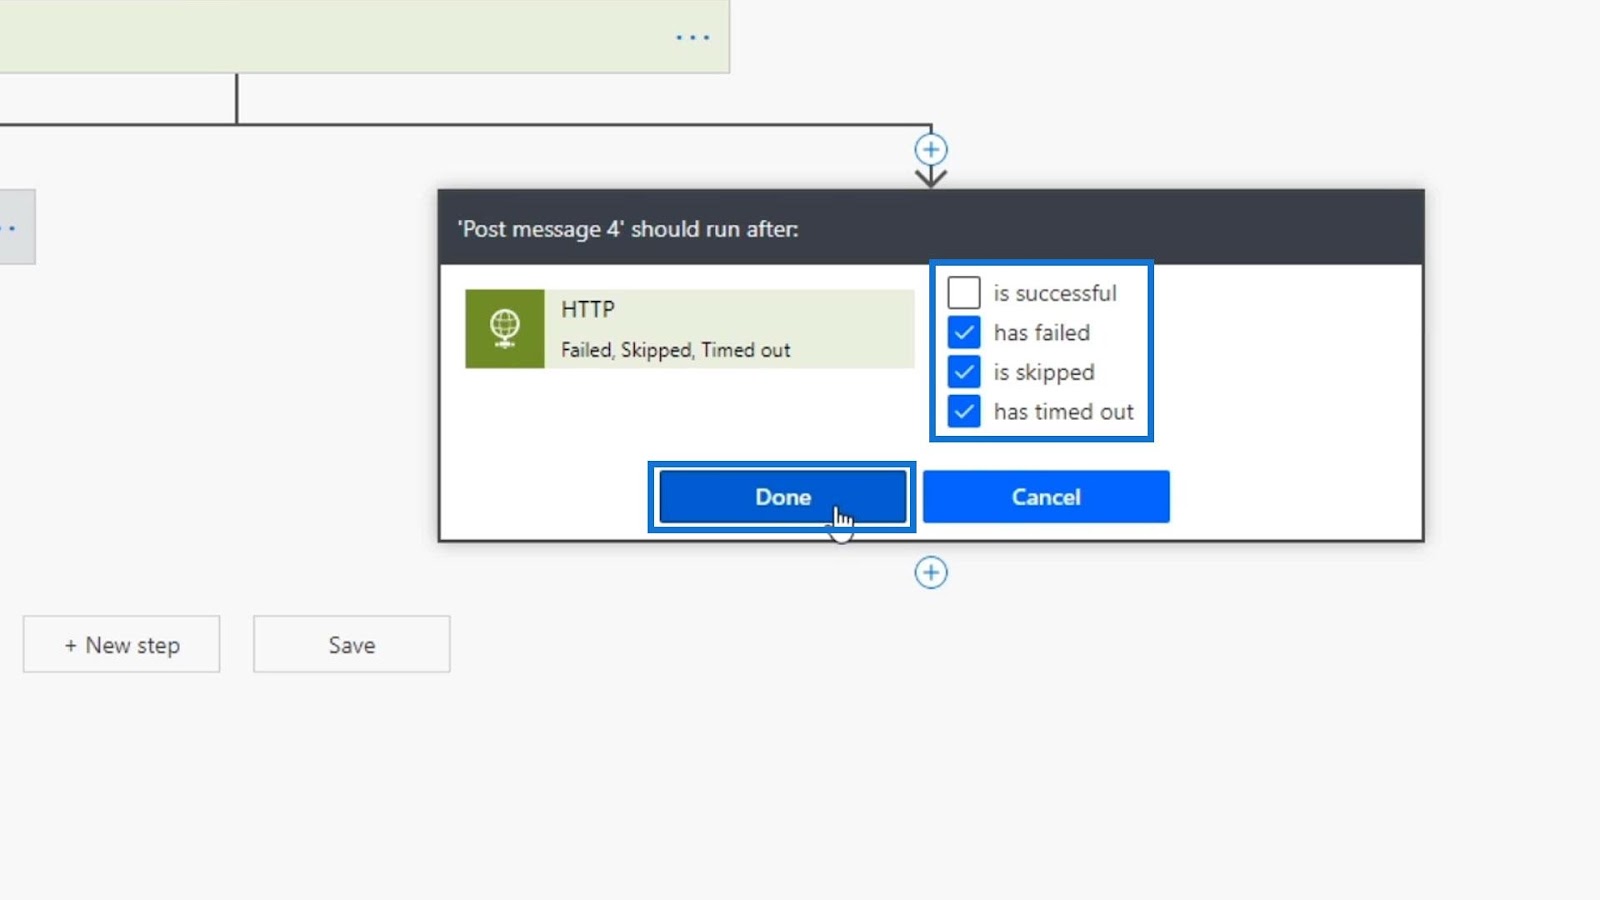
After that, click the three dots and choose Configure run after.

Uncheck the is successful and check the has failed, is skipped, and has timed out options. Lastly, click Done.
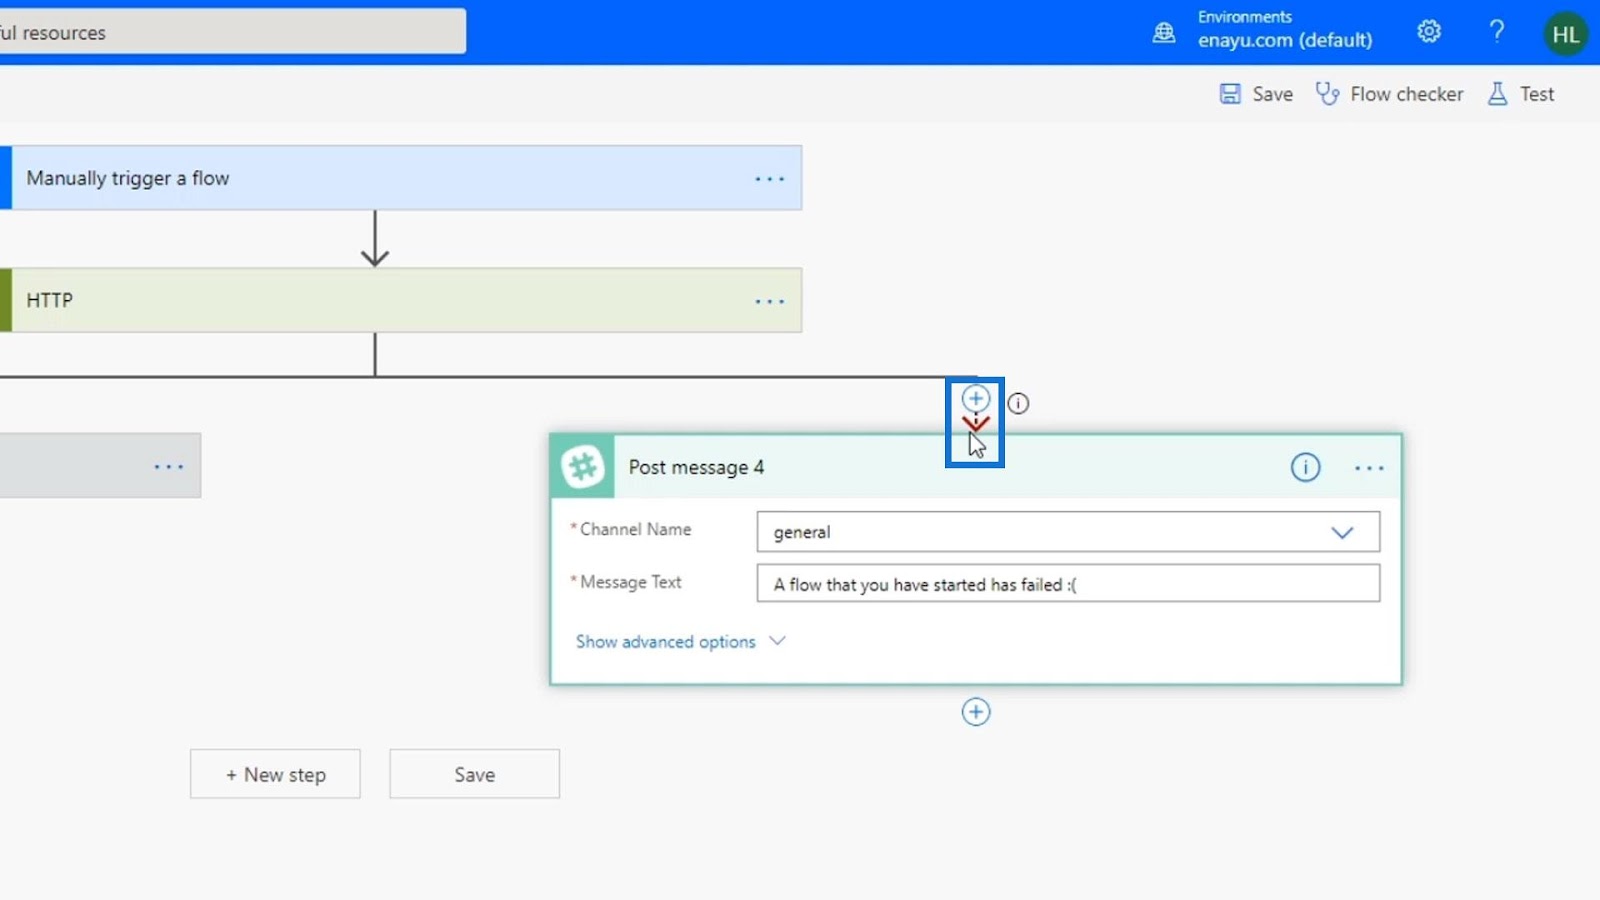
We’ll then see that there’s a little red arrow above the action now. This indicates that the action will only happen if the flow doesn’t run successfully.
Testing The Flow
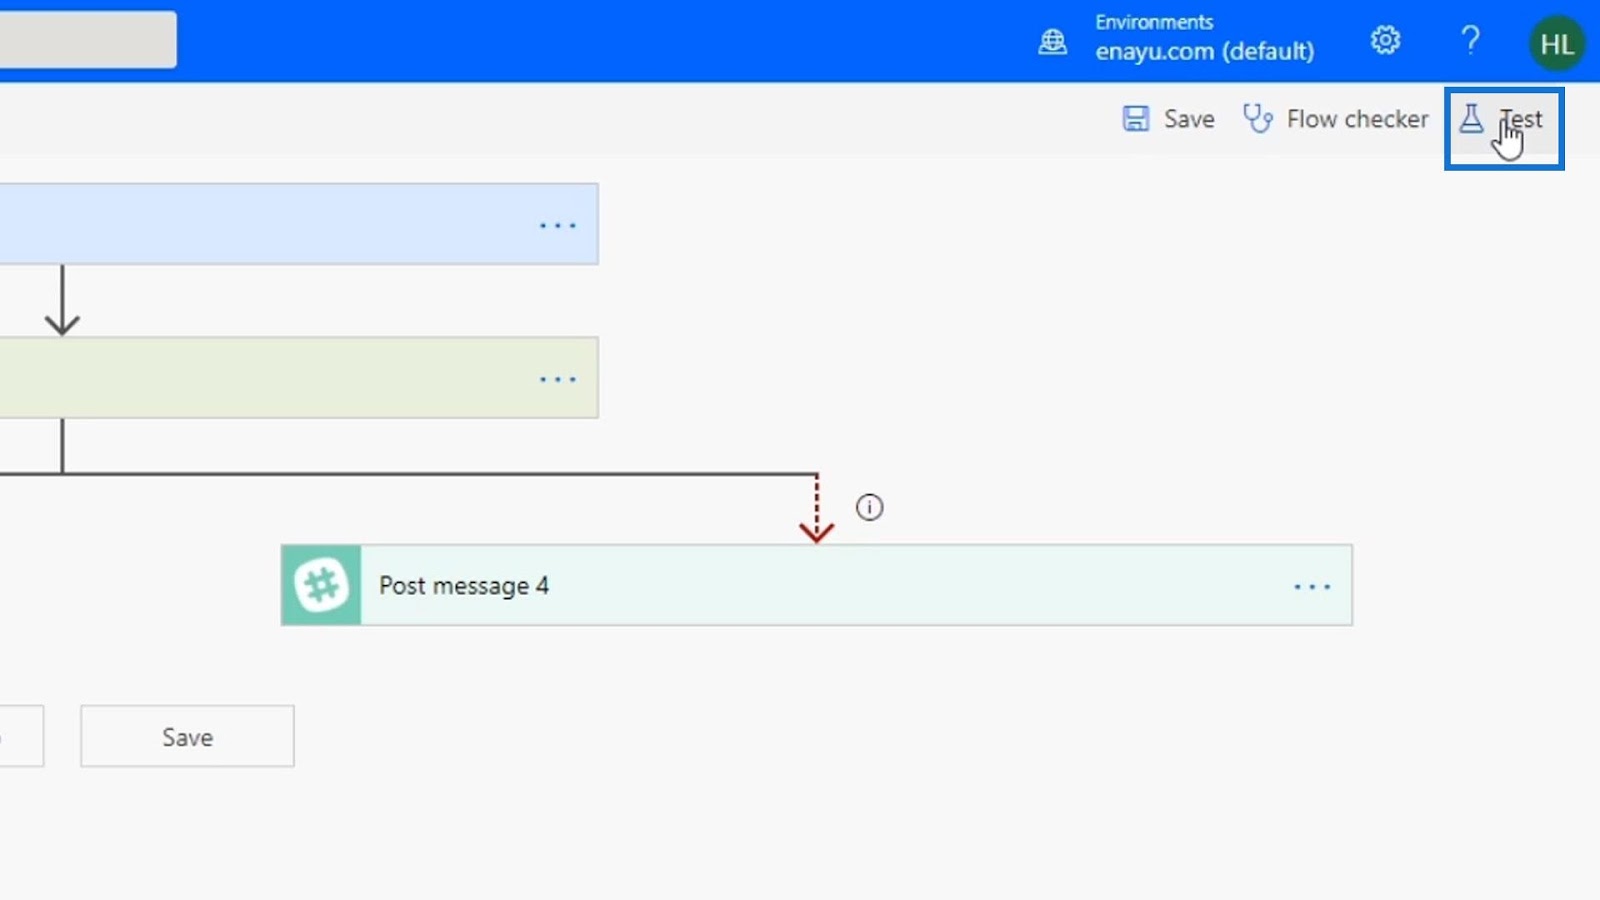
Let’s now save our flow and test it.

Click Test.
Choose the I’ll perform the trigger action then click Test.
Click Run flow.
We’ll now see that the flow run failed.

We can also see that this part of the task still succeeded.

That means the users and our developers were notified that the flow has failed. When we go to our #general channel in Slack, we’ll see the message that indicates our flow has failed.
***** Related Links *****
Power Automate Actions | A Deep Dive Tutorial
Microsoft Flow HTTP Trigger | A Power Automate Tutorial
Power Automate Trigger Conditions – An Introduction
Conclusion
To summarize, the Post message action will only run if the HTTP action has failed, skipped, or timed out. On the other hand, the Condition section will run if the previous action runs successfully. And that’s the essence of error handling. We have a pathway for both successful and failed flow runs.
That’s how we can allow actions to happen subsequent to other actions that fail. There are other ways to do error handling in Power Automate, but this is the easiest way to do it. Hopefully, you were able to get the relevance of error handling and how you can do it in your Microsoft flows.
All the best,
Henry


