
In this tutorial, you’ll learn how to perform data masking for sensitive information in Power BI using Power Query. You may watch the full video of this tutorial at the bottom of this blog.
Data masking allows you to hide or remove confidential or identifiable information in your Power BI data models.
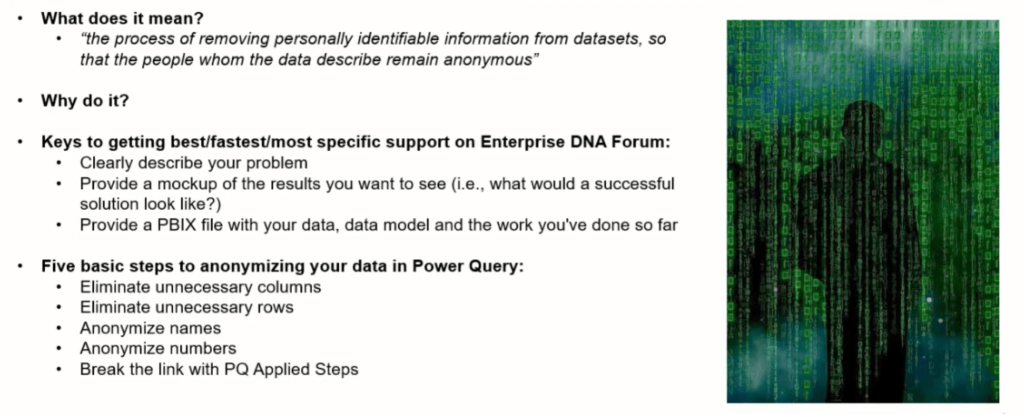
The discussion will focus on these points:
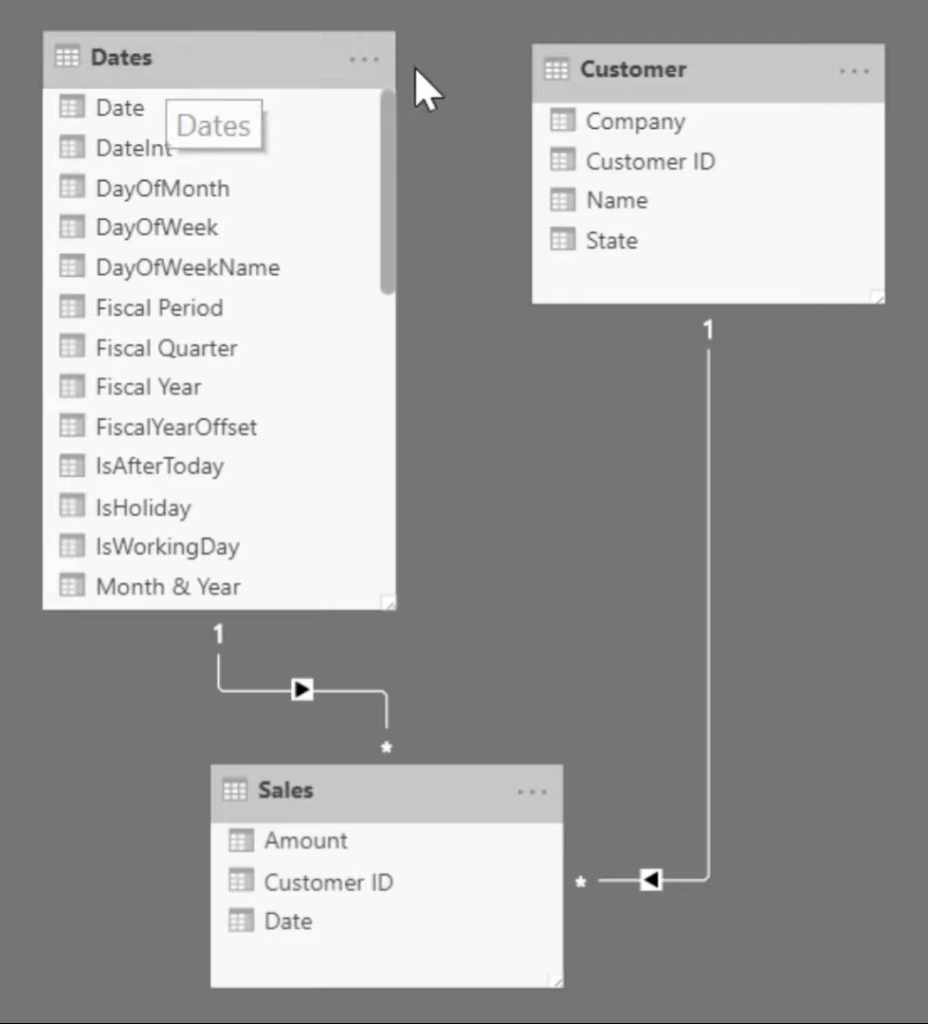
And this basic model will be used as the example:

When anonymizing your data, you first need to identify which information is and is not an essential solution.
Anonymizing A Customer Table
In this customer table, the State and Company columns are not essential solutions.
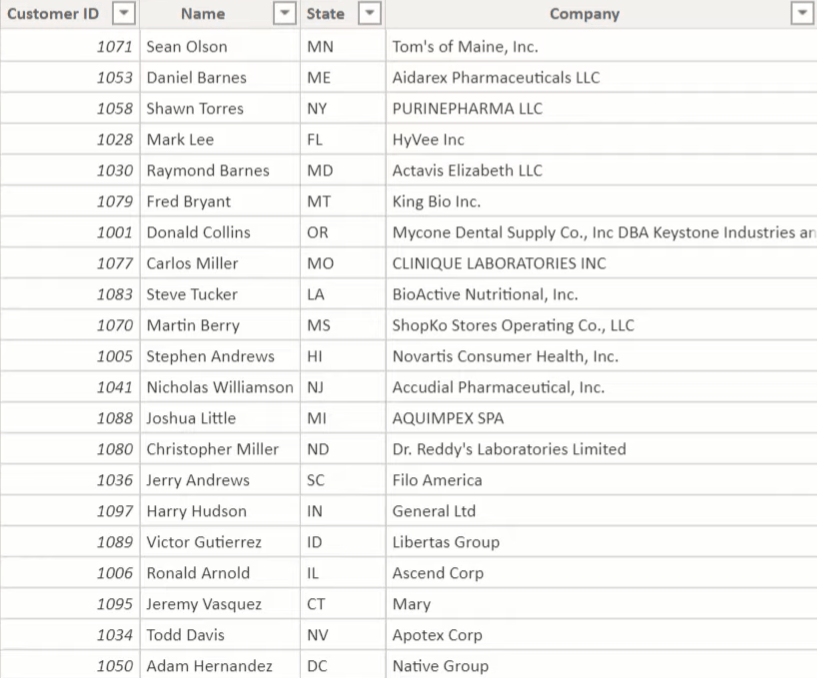
So you need to go to Power Query and remove those two columns, leaving only the Customer ID and Name.
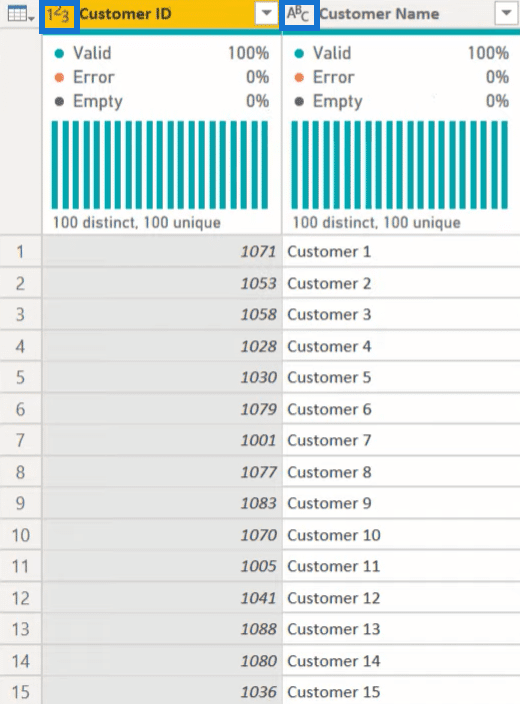
In this example, you need to anonymize the Name column.
To start, go to Add Column, click Index Column, and then select From 1.
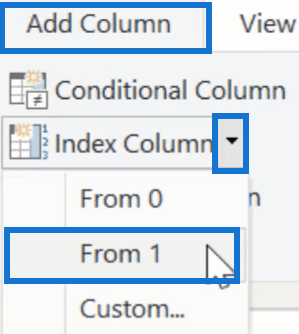
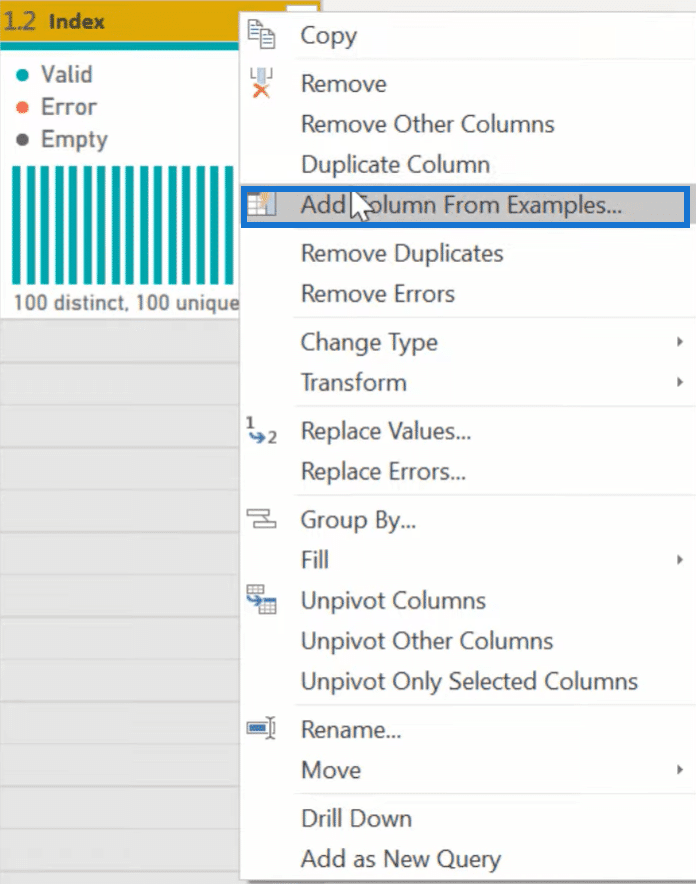
From the Index column that was added, choose Add Column From Examples.

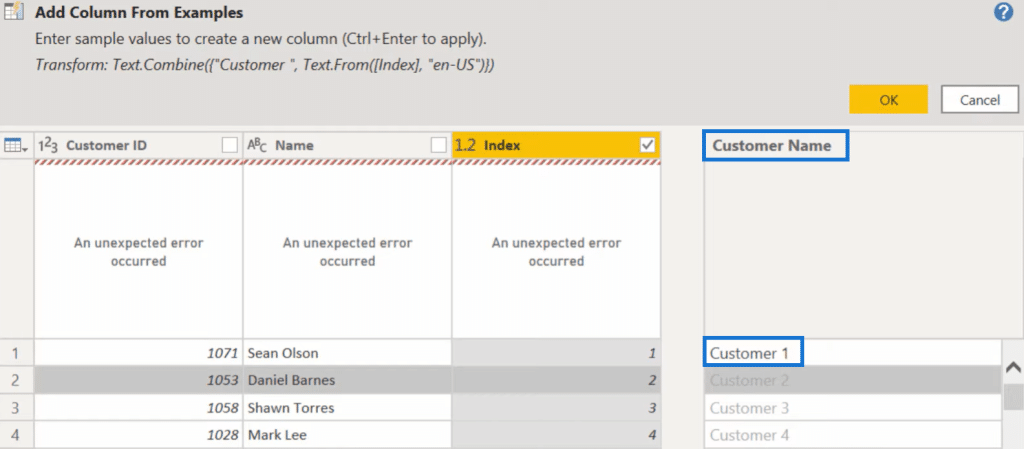
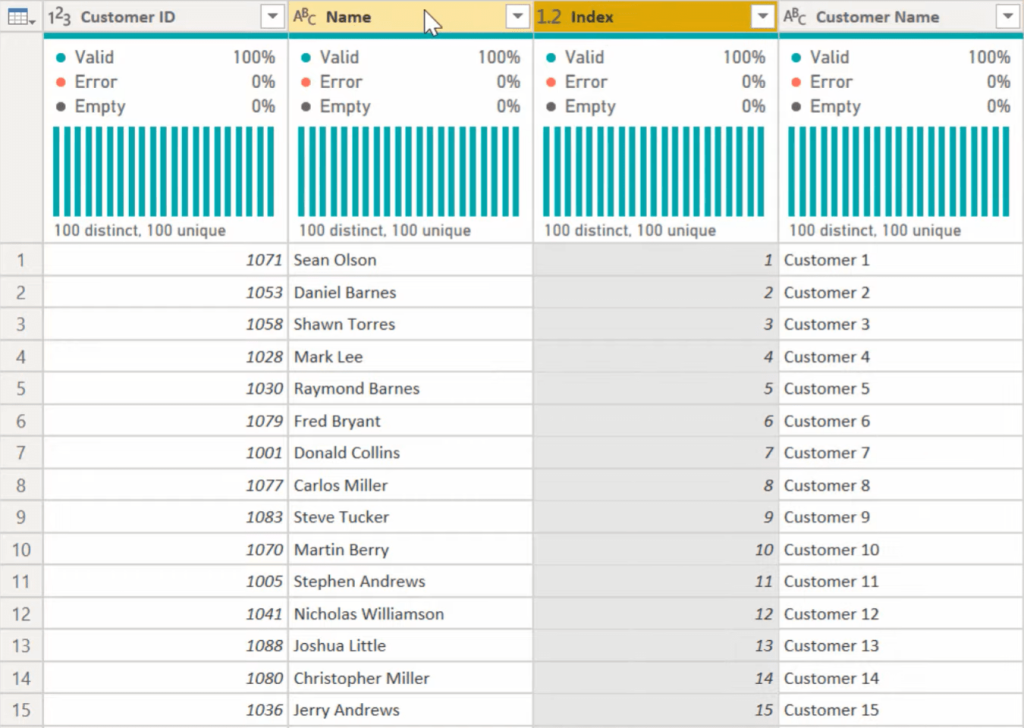
Next, name the column Customer Name, and then input Customer 1 as an information. Power Query will automatically continue the information.
Since you have the Customer Name column as a proxy for the actual customer name, you can now remove the Name and Index columns from the table.
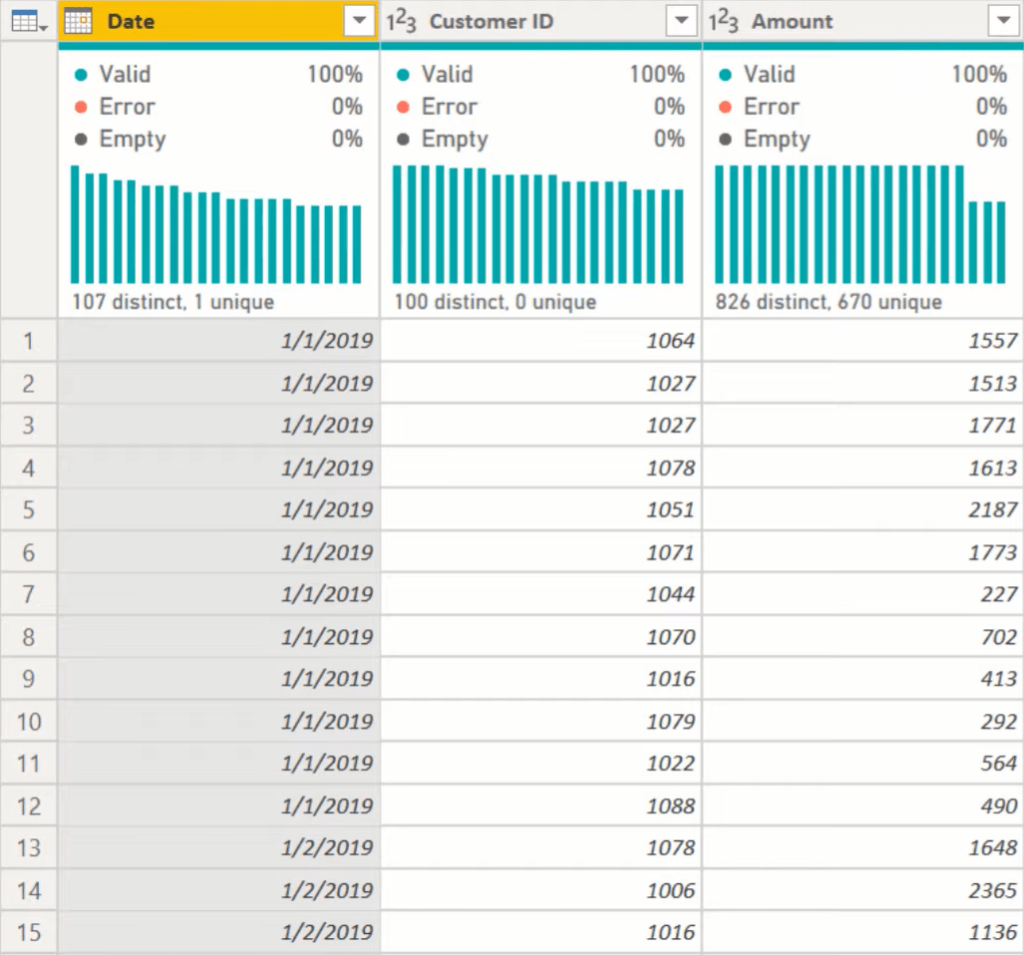
Anonymizing A Sales Table
In this sales table, all 3 columns are essential solutions in your data. However, the Amount column has information that needs to be anonymized.
To do this, add an Index column that starts from 1.
Then, create a custom column, name it Sales Amount, and then follow this formula:
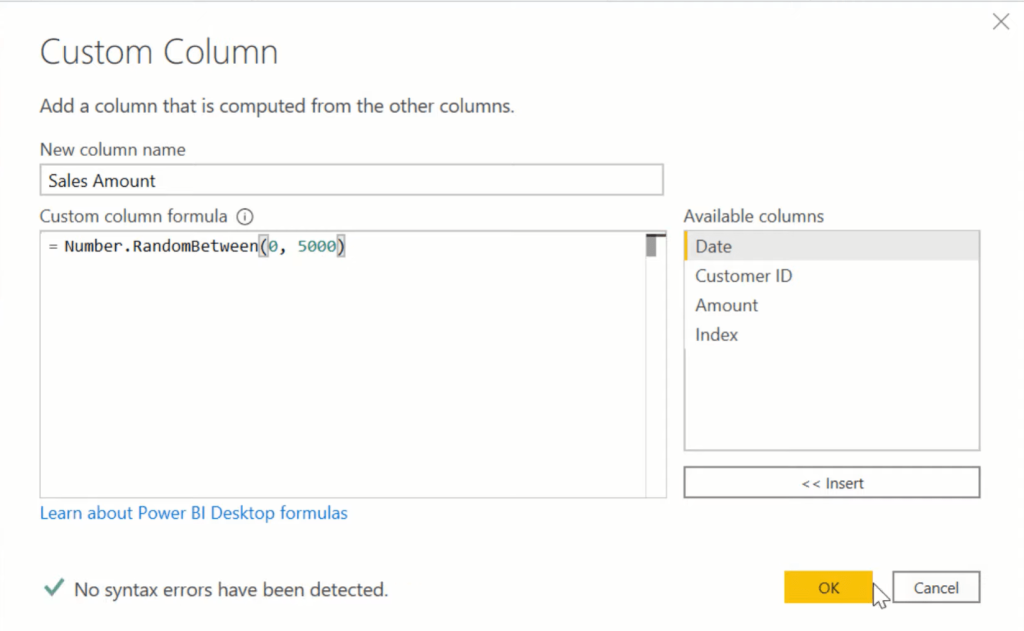
This formula randomizes the range between 0 to 5000.
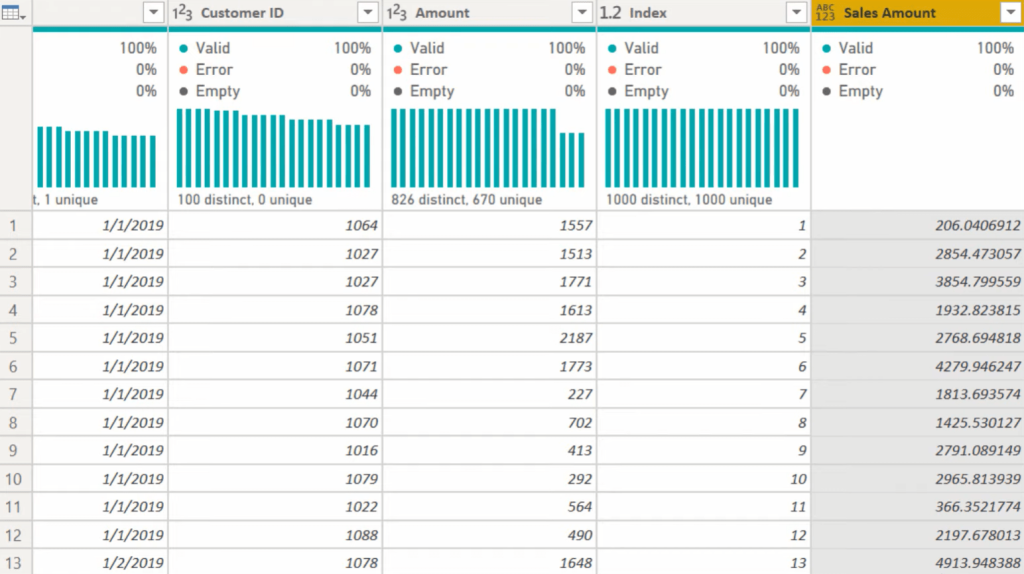
With this, you will then see a Sales Amount column with random numbers in your table.
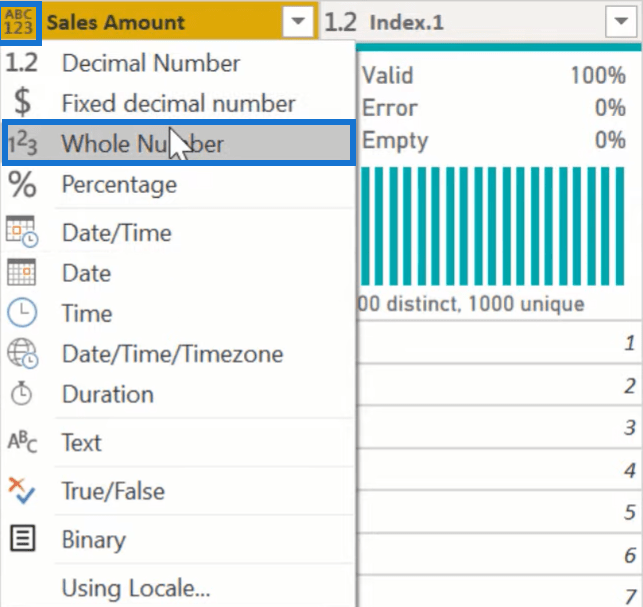
To keep those numbers from resetting to a common number, add another index column and then change the Sales Amount type to Whole Number.
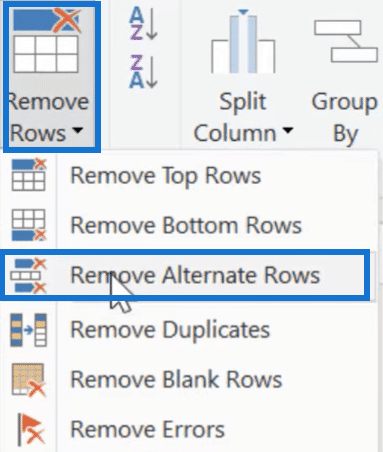
This fact table has 5,000 rows. However, even if it has been randomized and anonymised, you still need to take out 90% of the data.
So go to the Home tab and select Remove Rows. Then, choose Remove Alternate Rows.
Input the following information:
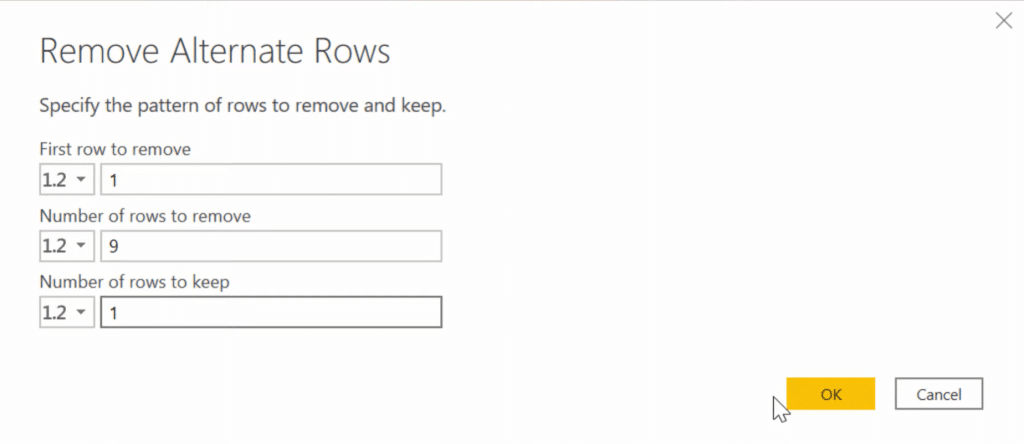
This will remove 9 out of every 10 rows in your table. So from 5,000, you’re left with 500 rows.
Breaking The Link To Prevent Data Unmasking
You can undo the steps you’ve done to your table using Power Query. However, that makes it susceptible to getting tampered with. Someone could undo your work to unanonymize your data.
Here’s how to prevent that from happening:
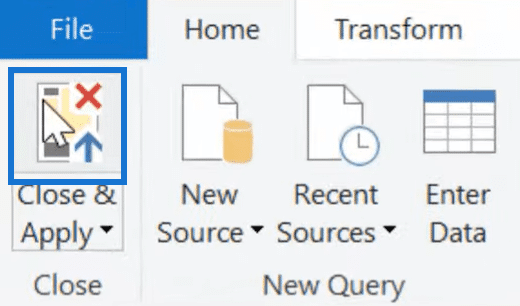
First, choose Close & Apply.

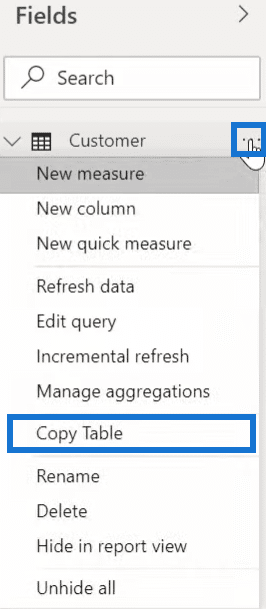
Next, in the data view, click the Customer table and select Copy Table.
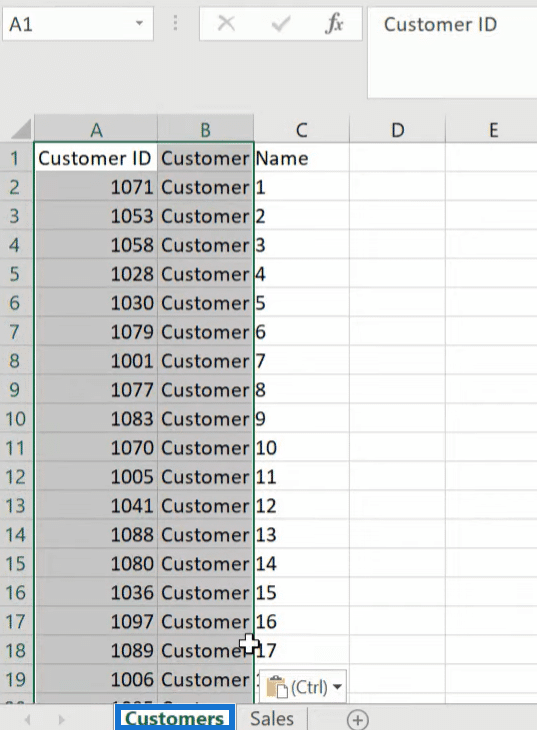
Paste the table in the corresponding sheet and tab in MS Excel. Do the same thing with the Sales table and save the file. For this example, the file name used is “Anonymized Data”.
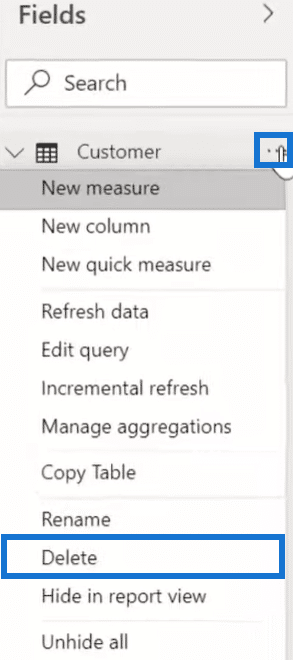
Go back to the data view and delete the Customers and Sales Table.
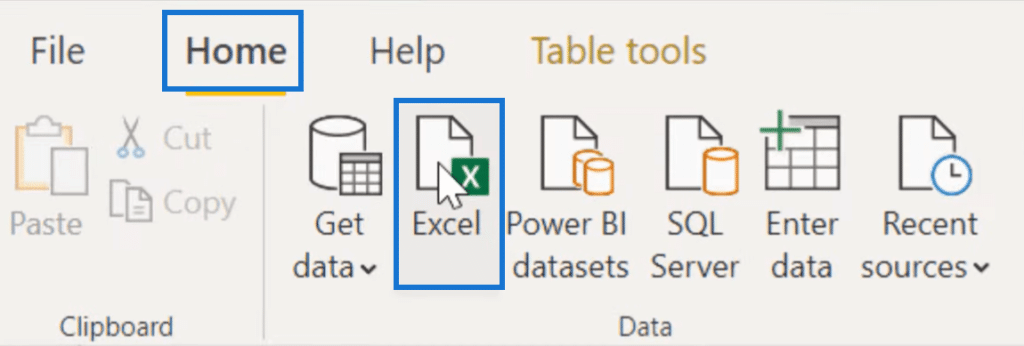
Once you’ve deleted the Customer and Sales table, pull back and open the information from the Excel file.
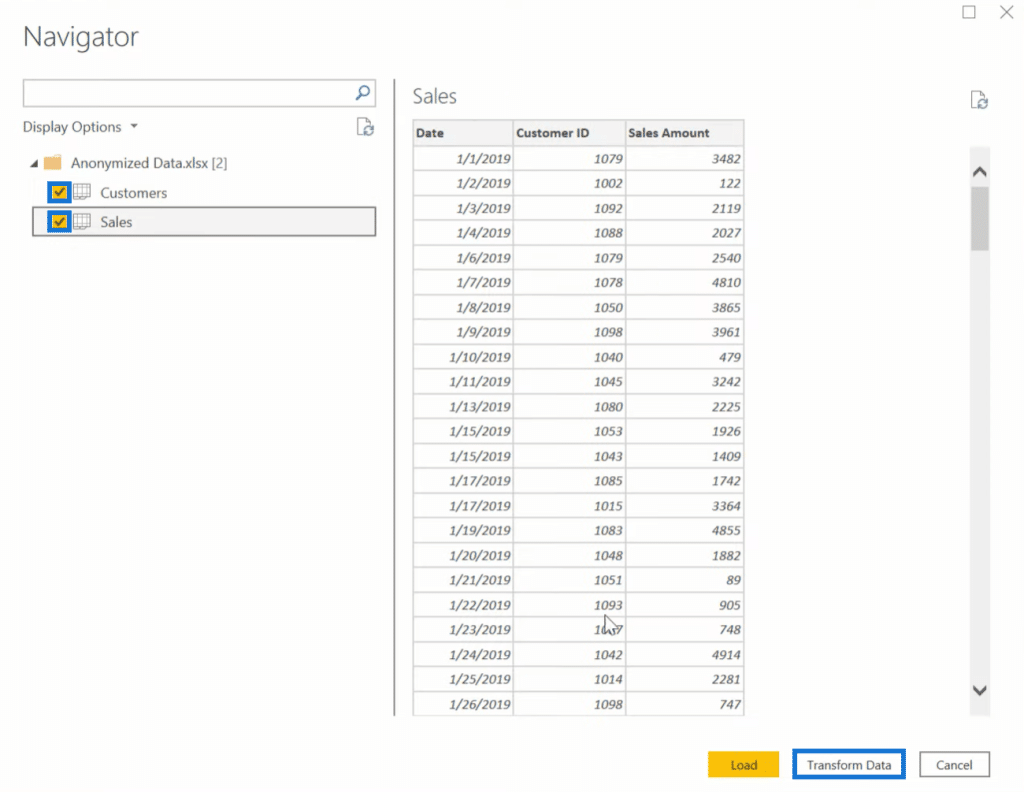
Next, check the Customers and Sales tables, and click Transform Data.
The Sales table now has columns that are in a valid date and numeric field.
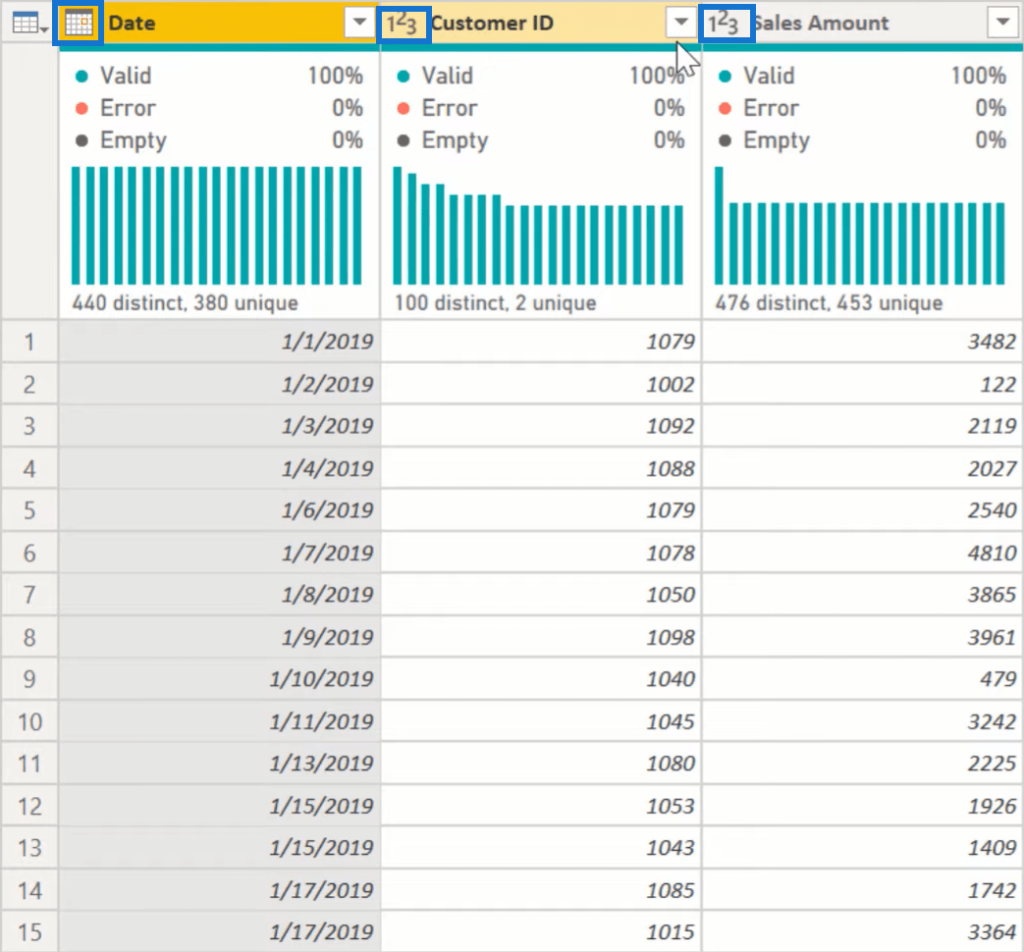
For the Customers table, the columns are in a numeric and text field.
To check if you’ve successfully prevented your data from getting unmasked, go back to Source under the Applied Steps.
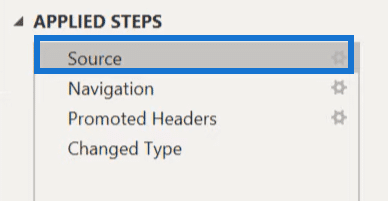
In the formula bar, you’ll see that the table comes from the Excel file.

This means that the data masking can’t be undone anymore.
Once you’re done implementing these steps, click Close & Apply.
Creating The Missing Link In The Date Table
Go back to your model and recreate the missing link to the Date table by dragging the Date in the Date table to the Date in the Sales Table.
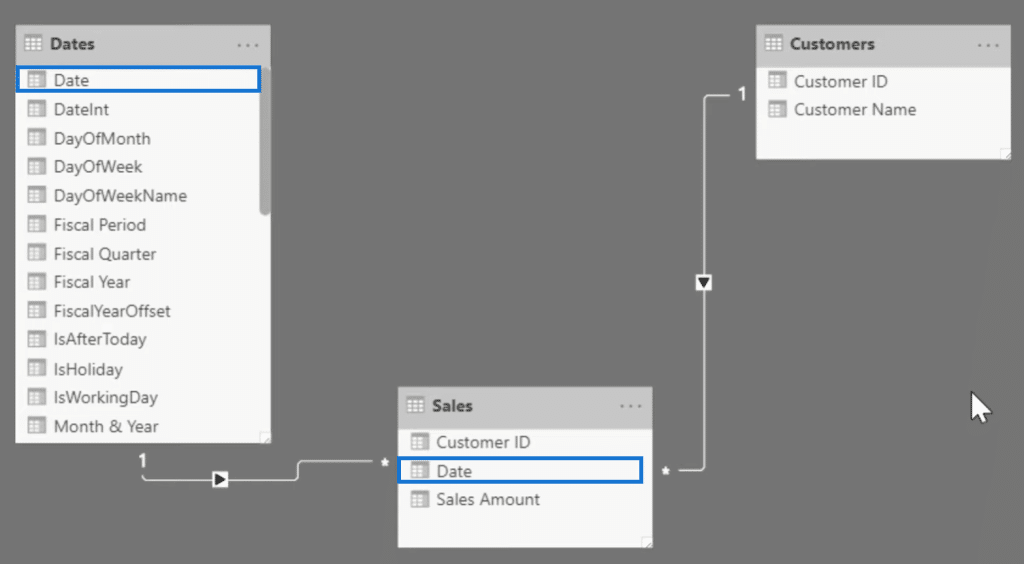
You now have a fully anonymized model with no fear of disclosing any confidential data.
***** Related Links *****
Power BI Query Parameters: Optimizing Tables
Turning Calendar Type Layout Into Tabular Format In Power BI Using Query Editor
Creating A Dynamic Date Query Table In Power BI: A Query Editor Tutorial
Conclusion
This general approach anonymizes confidential data by removing numbers and names, and by breaking the link using the Power Query Applied Steps through Microsoft Excel transformation.
However, this approach doesn’t simply mask your data, it also makes it unobtainable to other people.
Remember to use this method to protect and secure confidential information in your data model.
All the best,
Brian


