Before setting up a business process flow in Power Automate, we need to create a CDS (Common Data Service) first. In this tutorial, we’ll mainly discuss how to create a CDS prior to creating a business process flow.
A Common Data Service is Microsoft’s way of consolidating all the data we have that are coming from all the different directions in an organization.
Understanding The Benefits Of Common Data Service
For example, if we are a retail store, we have data coming in from our POS or Point of Sale system, cashier system, HR software, payroll software, and from our vendors such as invoices. All of those get captured into different software.
CDS allows us to ingest all of those and put them all in one place. Once we have all our data in a Common Data Service, then we have one place to access all the information. Moreover, all the apps that we need to build can be built off of CDS. With this, we can build a flow, or applications using these data.
Additionally, we can apply certain business rules around Common Data Service. One example of a business rule is when every time we get POS data, we need to make sure that it’s complete. So, we need to make sure that it captures transactions from every single cash register.
The third and final benefit of having a Common Data Service with Microsoft is that it’s secure and creates lots of backups. Hence, if for some reason our data crashes, all our data is now in the CDS which is backed up and can be recovered.
Those are the benefits of CDS. Again, we need to set up a CDS in order to use business process flows.
Entities In Common Data Service
We can think of Common Data Service as a data layer between all our different sources of data in an organization and the apps that use the data. Within that data layer are what we called Entities.
Entities are different tables that we have in our CDS layer.
Let’s check that out. Click on the Data dropdown and click Entities.
This will open up our Power Apps page that contains the Entities.
Each one of these Entities is a table. Microsoft already preloaded common entities that it finds in businesses into our common data service layer. Therefore, no matter what type of company we are, we’re going to have a table with contact information, email information, and so on.
In another tutorial, we’re going to create an Entity, then we’re going to make a business process flow around it. Again, the whole reason we’re doing this is to set up all of the infrastructures that we need in order to create a business process flow.
Creating A New CDS Environment
Another thing to know about CDS is the environment. Right now, we’re in our default environment. We can see it by looking at the top right side of our page.
Unfortunately, we can’t create entities in our default environment without permission from the organization. So, let’s first construct a new environment to have the necessary permissions for creating an entity.
First, click the settings icon on the top right side of our page.
Then, click the Admin center.
It will redirect us to the Environments page where we can create a new environment and see the list of the created environments.
Let’s now create a new environment by clicking + New.
Let’s name it Env1.
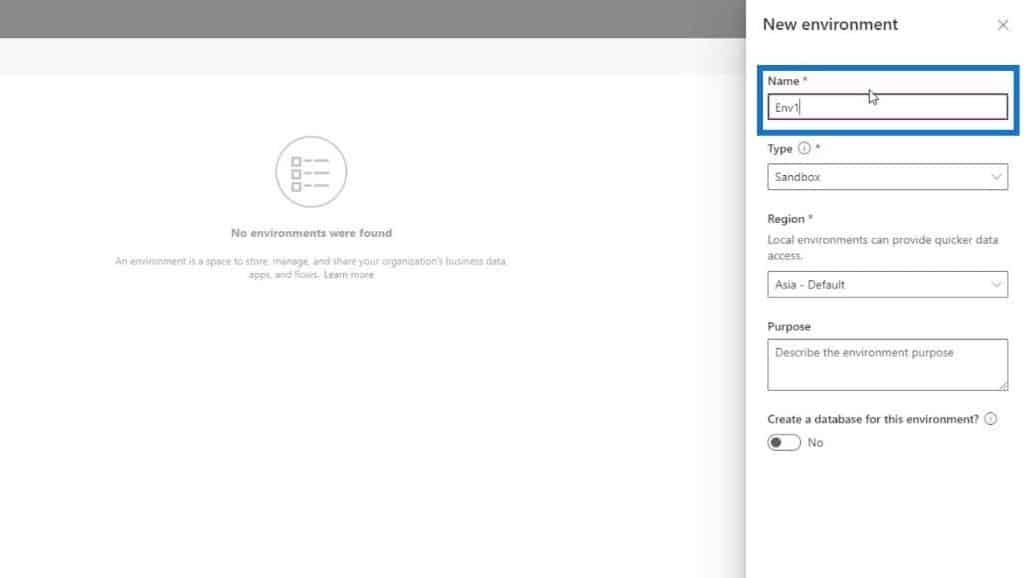
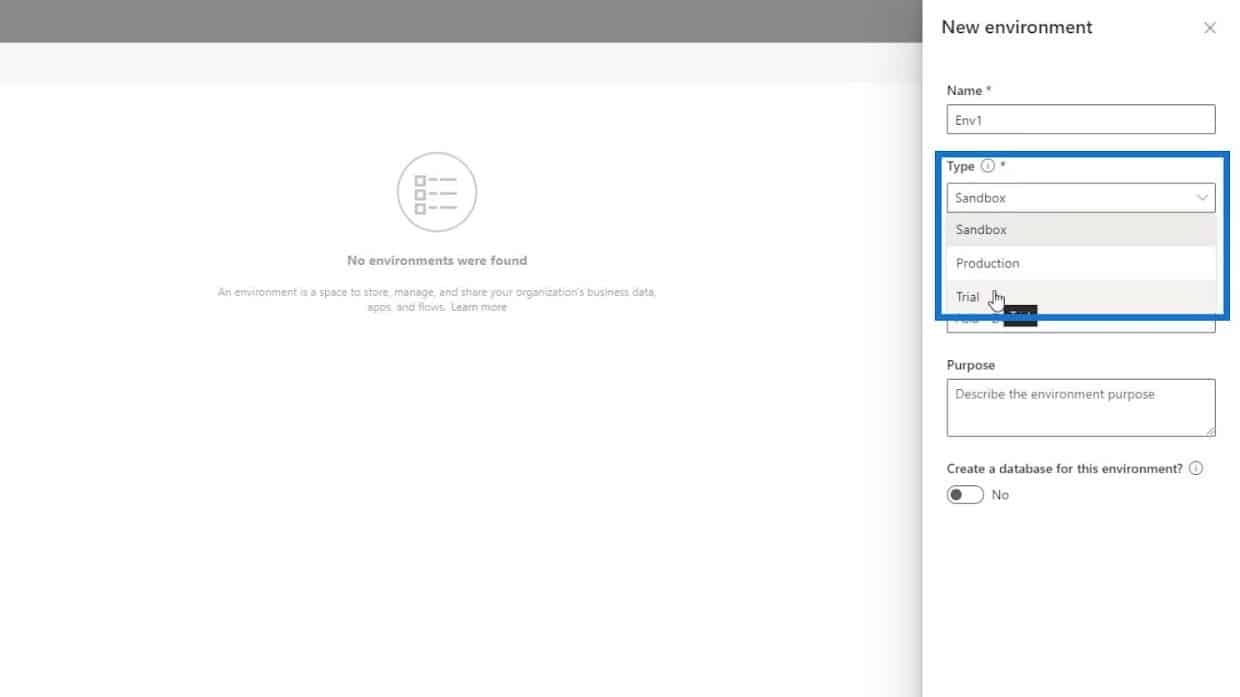
For the Type, let’s use Trial. We don’t want to make it a sandbox environment because we need a database that we can only get by using the Trial type.
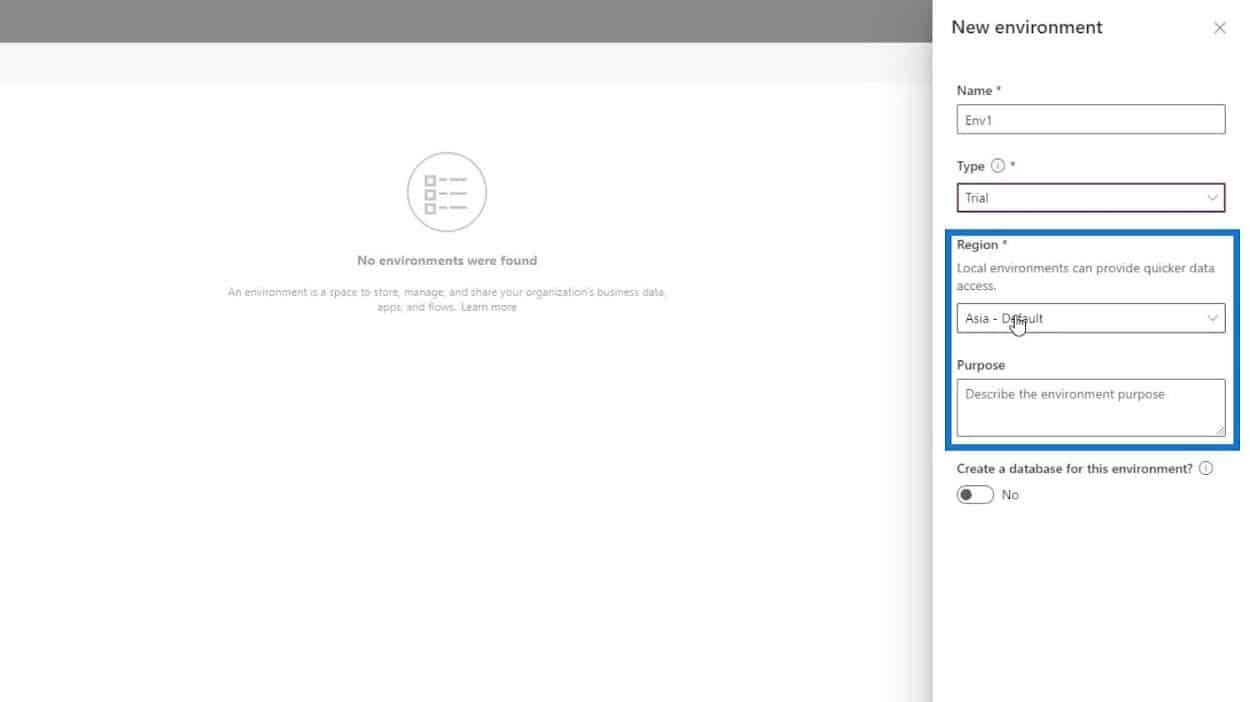
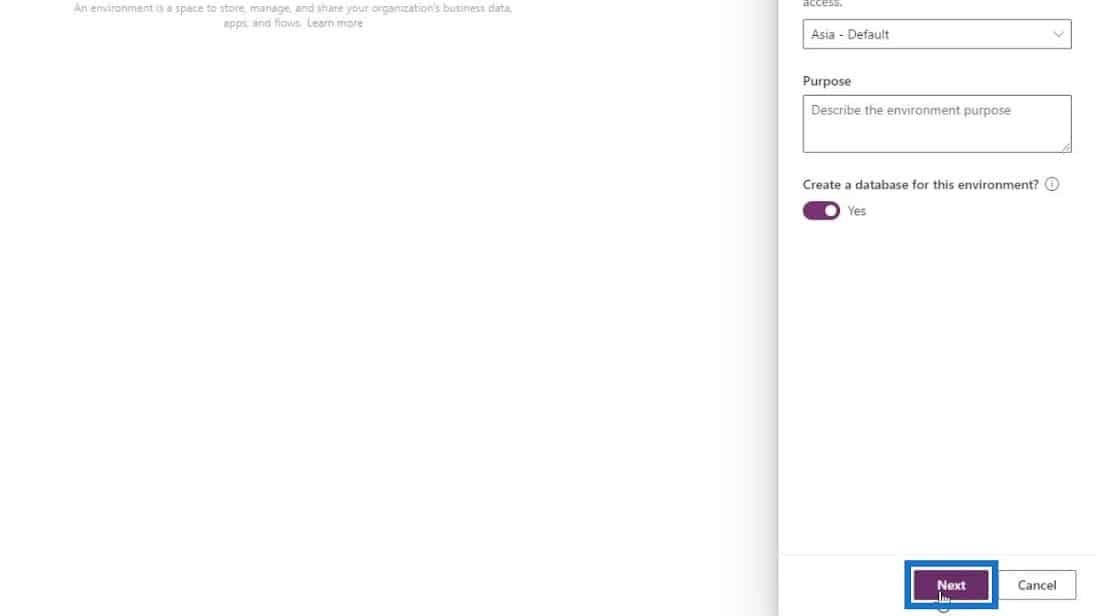
We can choose any region that we want. For this example, let’s leave it to default which is Asia. The Purpose textbox is optional so let’s just leave it blank.
Again, we need a database so let’s toggle this to Yes.
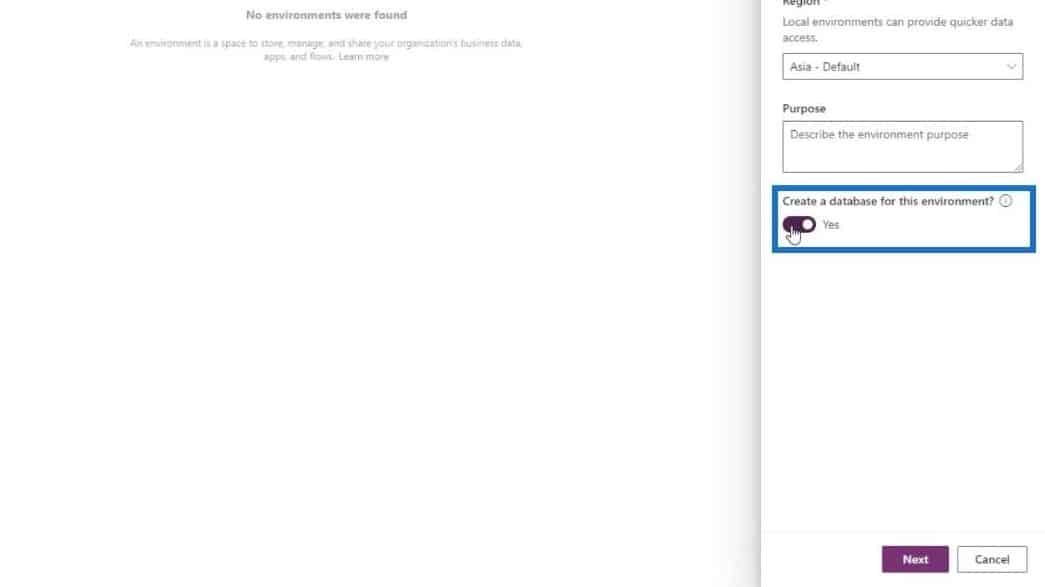
Then, let’s click the Next button.
We don’t need to change anything on this next part except toggling the Deploy sample apps and data option to Yes. This is for us to have a sample PowerApps data to go through.
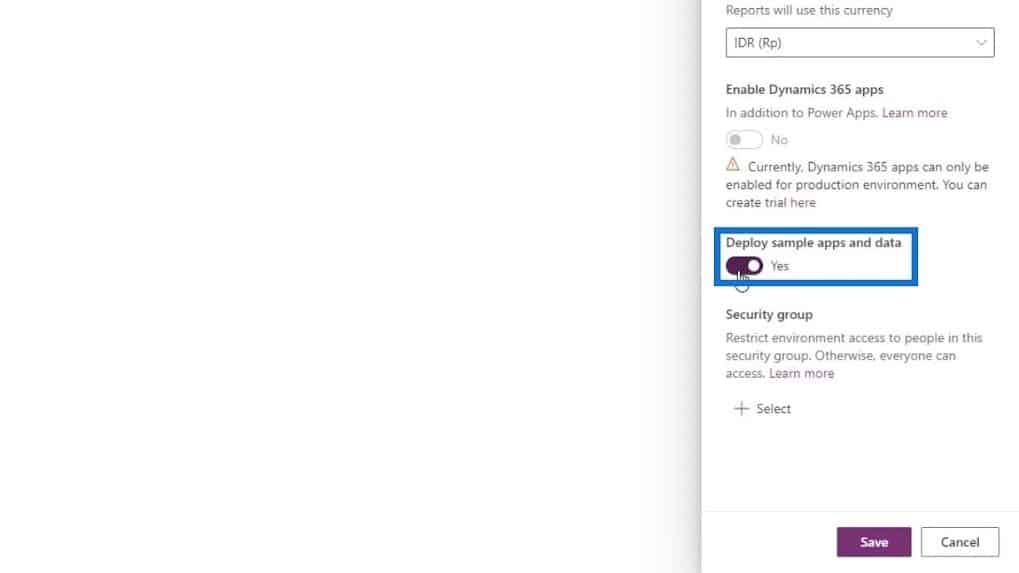
Let’s click Save.
It’ll take a few minutes again to load up. Once done, the new environment we’ve created will be listed on this Environments page and we’ll see that it’s currently in a preparation stage.
After waiting around 5 to 10 minutes from saving our environment, we can click the Refresh button.
Then, we can see that the State of our environment is ready.
Setting Up Permissions And Security Roles
Let’s now add permissions. First, click Settings.
Then go to the Security roles.
Click the Environment Maker.
After that, let’s add people.
Let’s add ourselves by adding the email that we’ve used for signing up.
Then click the Add button.
We’ve given Henry Legge (the account that we’re currently using) permission to create or delete entities, and add or remove data.
Now, if we put this into production, it’s good to have security roles like this. This is for us to know exactly who can do what and which permissions they have after setting the infrastructure up.
After creating an environment, we can now go back to our Power Apps Entities page and refresh this page so we can switch to our new environment.
Let’s click the Environment on the top right part of the page and select the environment we’ve created earlier (Env1).
We’re now redirected to our new environment. As we can see, there’s a notice that this will expire in 29 days. That’s fine because this is just for a tutorial. However, if you have actual data that you want to keep, make sure to export it within 29 days.
***** Related Links *****
Business Process Flow Integration In Power Automate
Power Automate Flows Creation From Scratch
Microsoft Power Automate: Workflow Automation
Conclusion
In brief, we’re able to create a Common Data Service which is essential when creating business process flows. Again, CDS allows us to have one place for all of the information that we need when building applications. In simplest terms, it’s a data storage and retrieval system, like a database.
It also makes our information safe because of the backups that are automatically created. Keep in mind that before having a CDS, we need to set up an environment where we can create entities. As mentioned, we’ll discuss how to create entities in a separate tutorial.
All the best,
Henry


