In this tutorial, we’re going to talk about how to create and customize PowerApps views and forms.
Views and forms are both important in any model-driven app. The views control what the end user sees, which is helpful in narrowing down item lists especially if you have a lot of data loaded into the app. Forms, on the other hand, allow users to add information, making the database more complete and updated.
Creating Custom PowerApps Views
PowerApps views gives us different ways to see the underlying data.
Below, you can see all the items included in our table under the Data tab. As you can see, it has every single column and record from our data source.
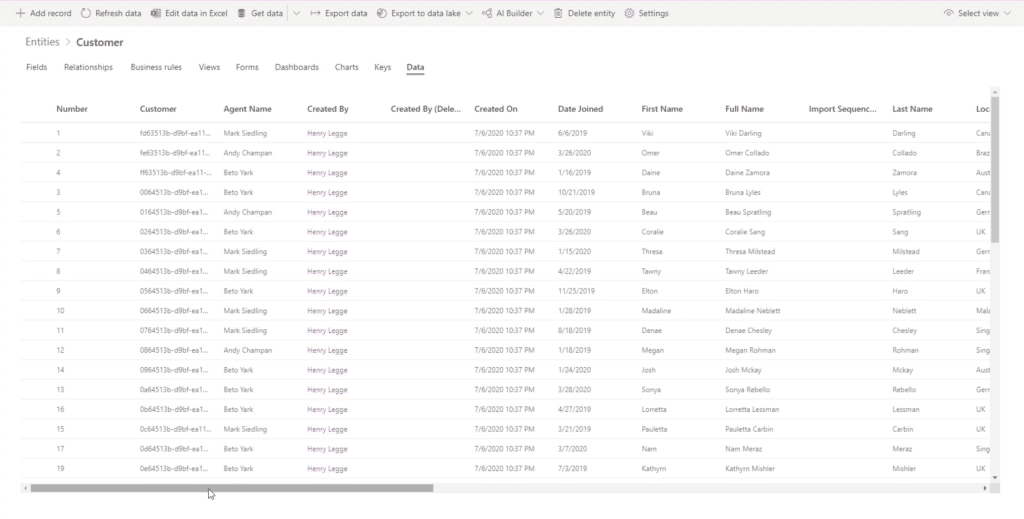
This could be overwhelming, especially if the user only needs to access a few columns. This is where views come in. We can create and customize views to show only the fields that we need.
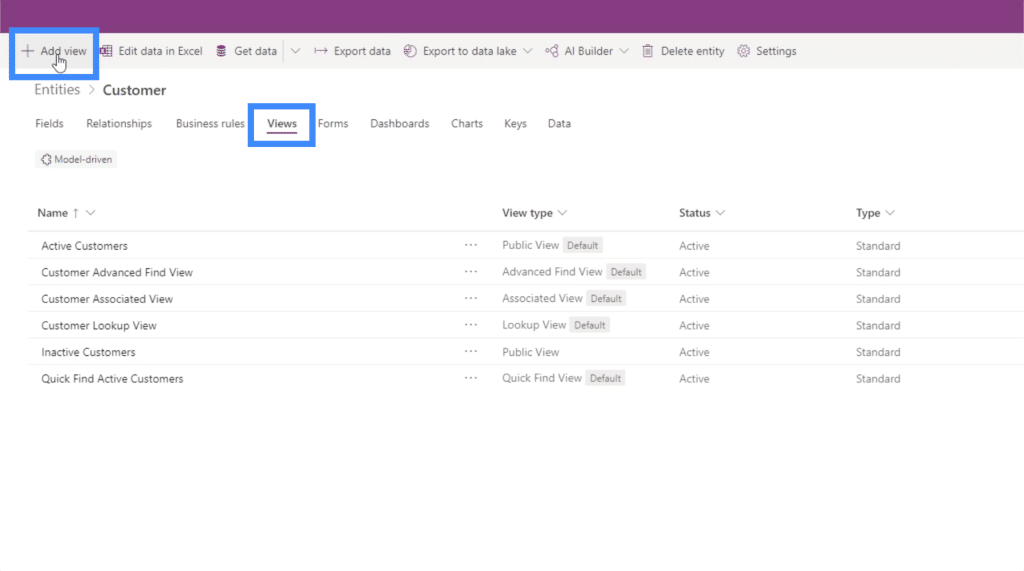
Let’s go to the Views tab and click “Add view”.
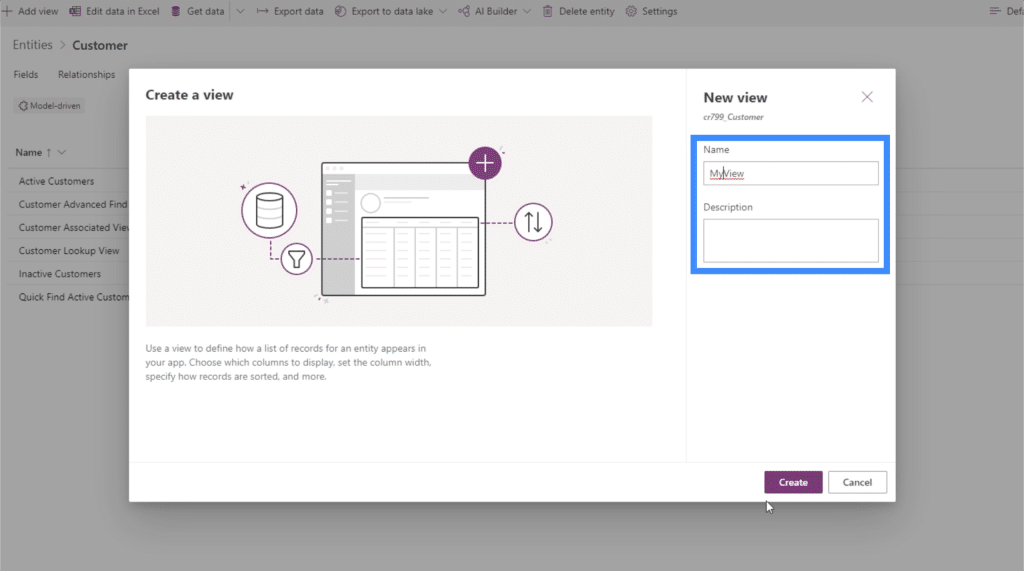
We’ll call this MyView. It also allows us to add a description if we want, but it’s also okay to leave it blank.
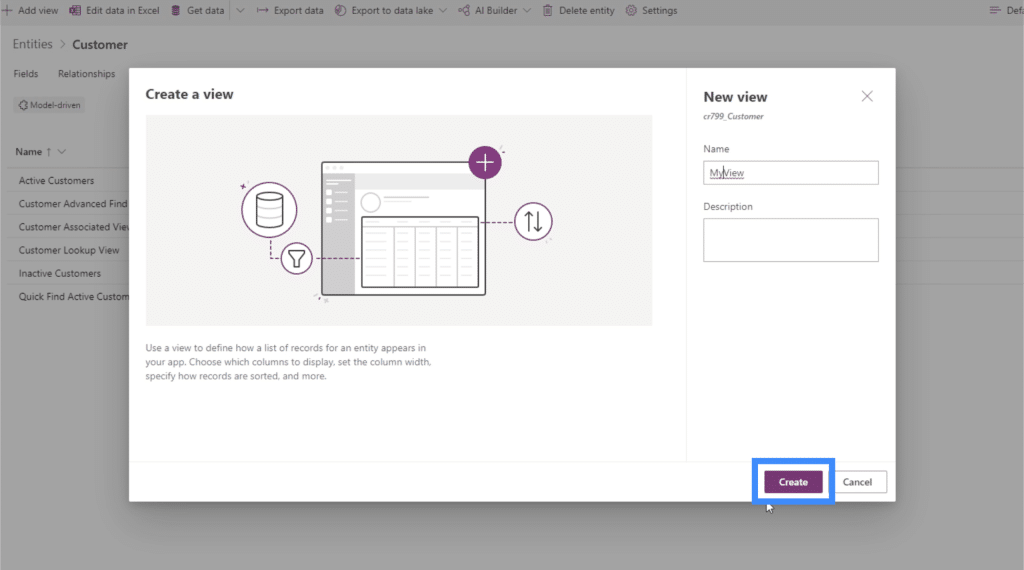
After naming and describing this view, we can click on the Create button.
A view builder then opens up, allowing us to customize the view.
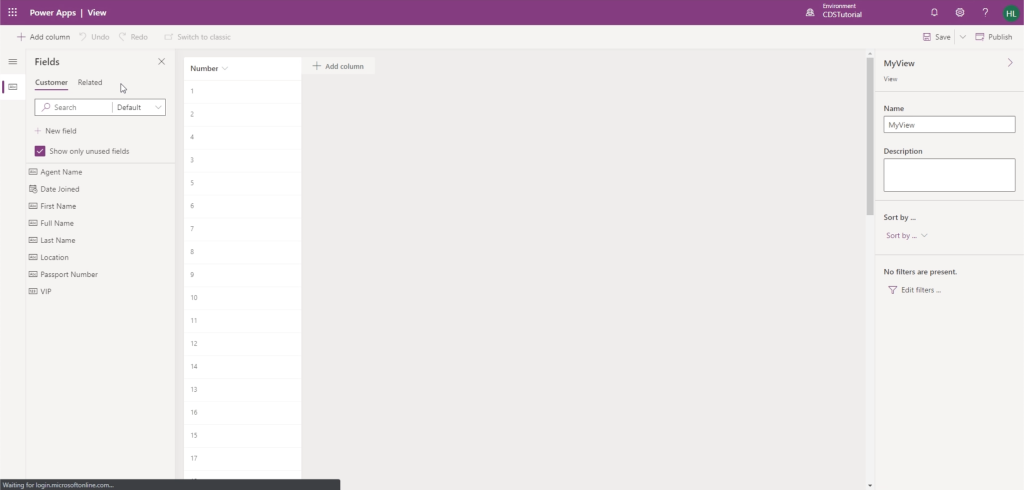
Now, one thing we love about PowerApps is that you don’t need to learn how to code to create your app. It’s mostly just drag and drop. That’s exactly what we see here inside the view builder.
The view builder allows us to add columns as needed, with a list of fields that we can choose depending on what we want to see in this view. For now, let’s add Full Name, Location and VIP Level.
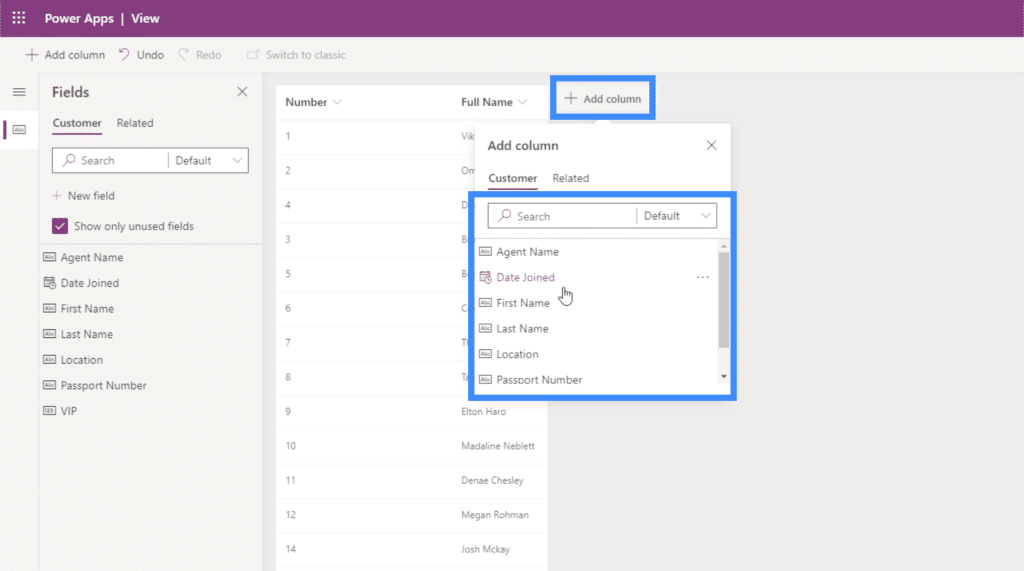
Note that Full Name is a calculated field that combines the First Name and Last Name. This is why there’s no need for us to include those two columns.
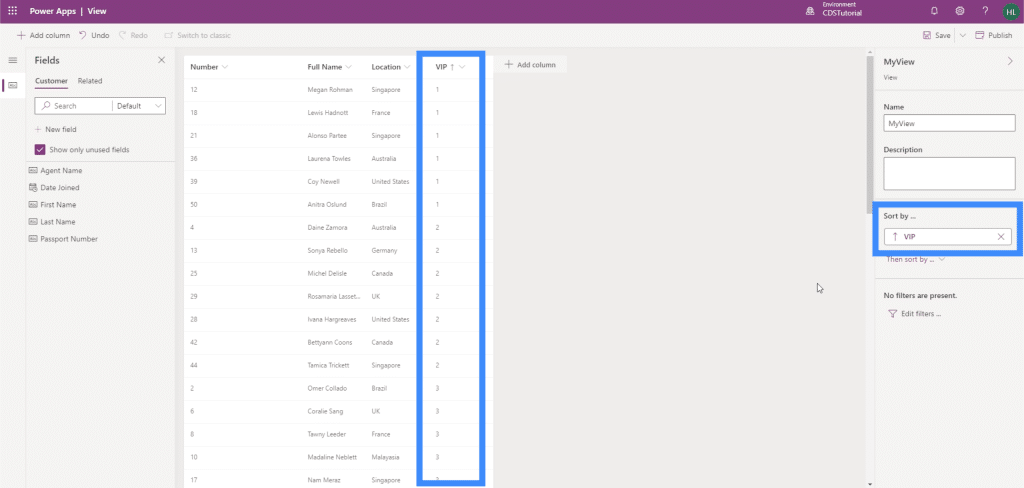
Once we’ve added the columns we need, we can easily sort the data using the dropdown on the right pane.
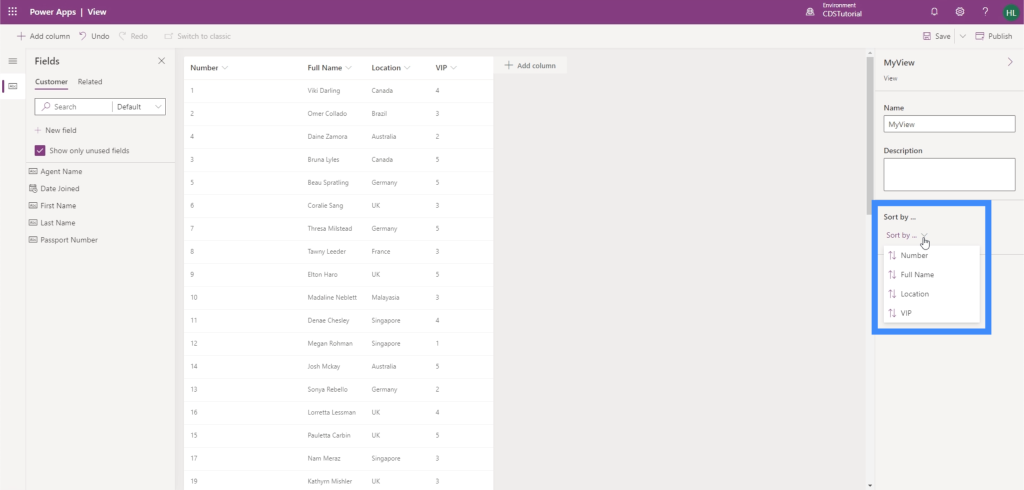
We can sort this view based on the VIP Level, for example. So we’ll see the items in order from VIP level 1 to 5.
We can also add filters to our view.
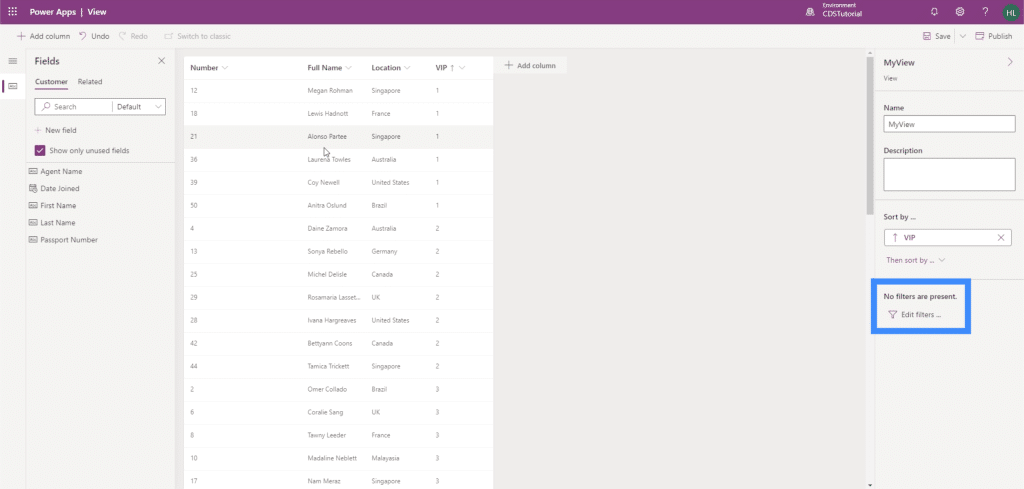
For example, we can filter the information to only show high priority customers.
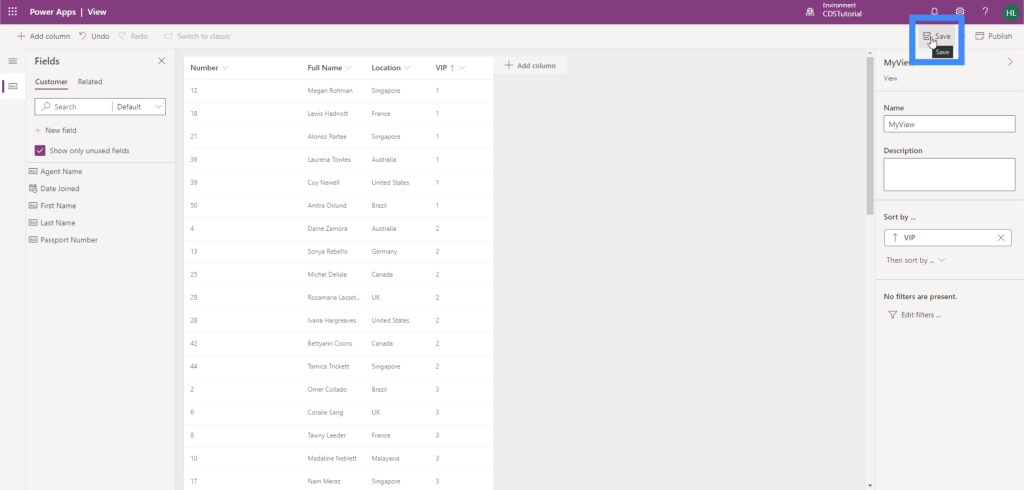
For now, we want to show all the items from the columns we selected, so we’ll leave this as is. Let’s click Save on the upper right corner.
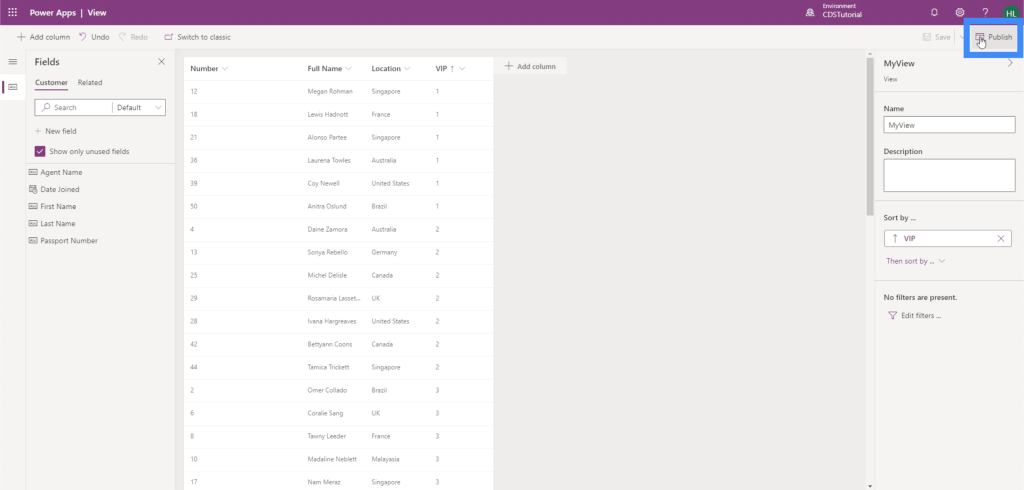
Now, we can click publish to push any changes we’ve made into the published app.
We will now see MyView once we go back to the Views tab.
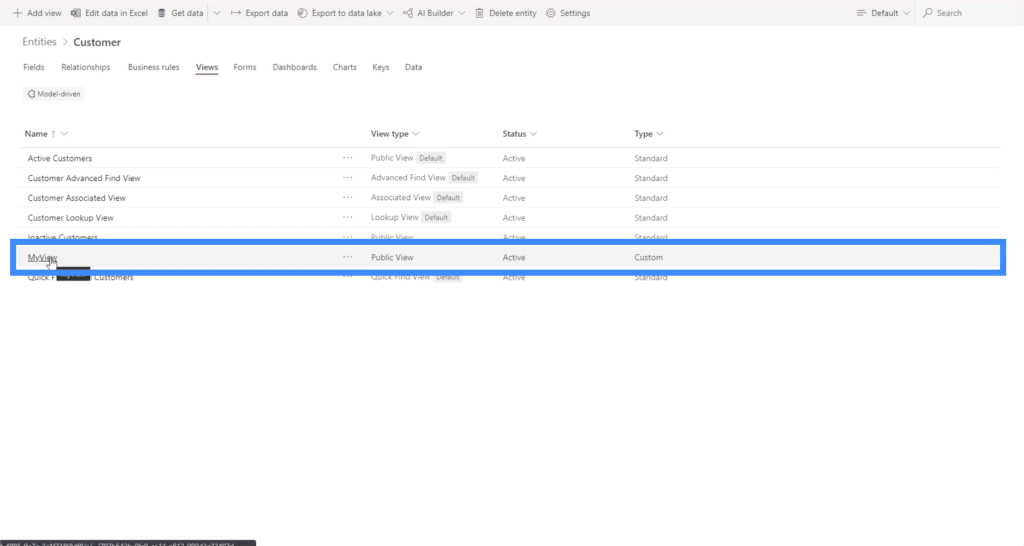
It’s that easy to create your own views based on what you specifically need to see at any given moment. The good news is, you can create an unlimited number of views. We can even have hundreds of different views at a single time, especially if we want to see different combinations of the information we have in our dataset.
Creating Custom PowerApps Forms
We use forms to add new records or update the data we currently have.
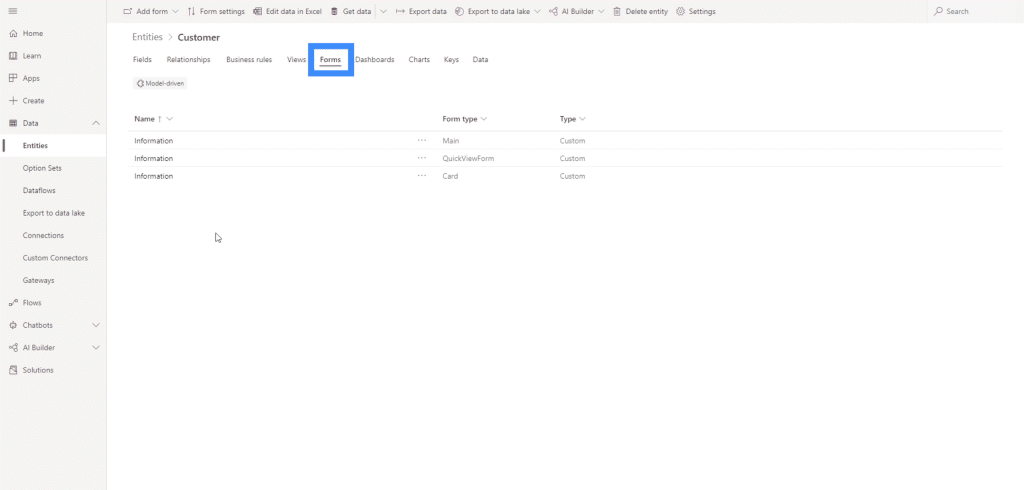
Let’s add a new form by clicking on the “Add form” button here on the upper left corner.
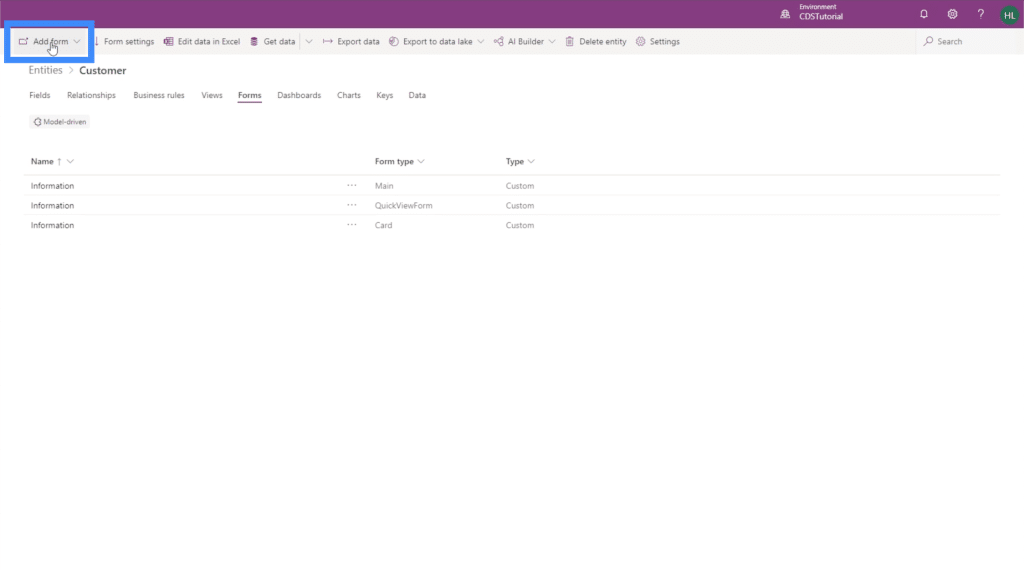
There are different types of forms to choose from like a main form, a quick view form, or a card form. The only difference among them is the size.
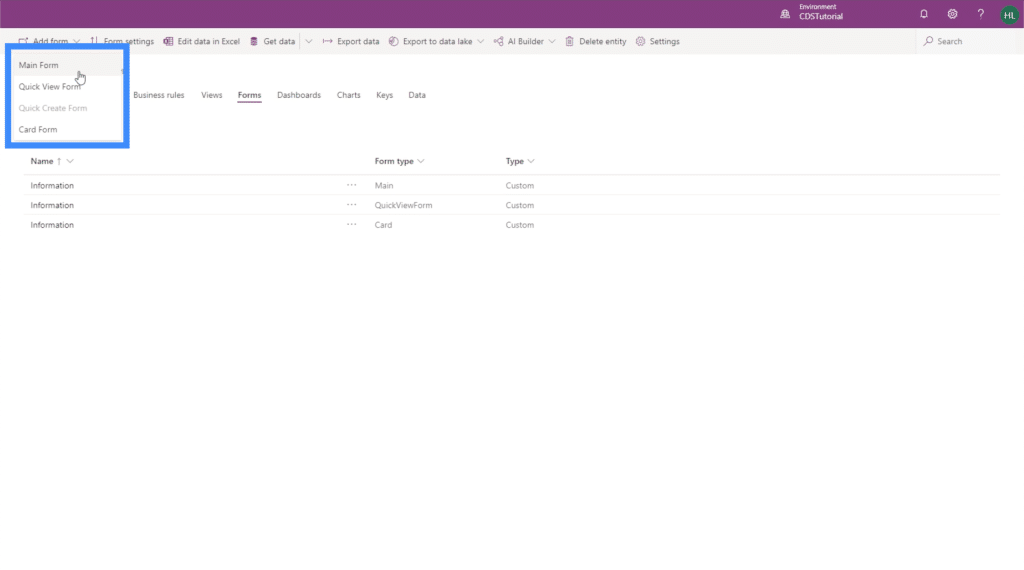
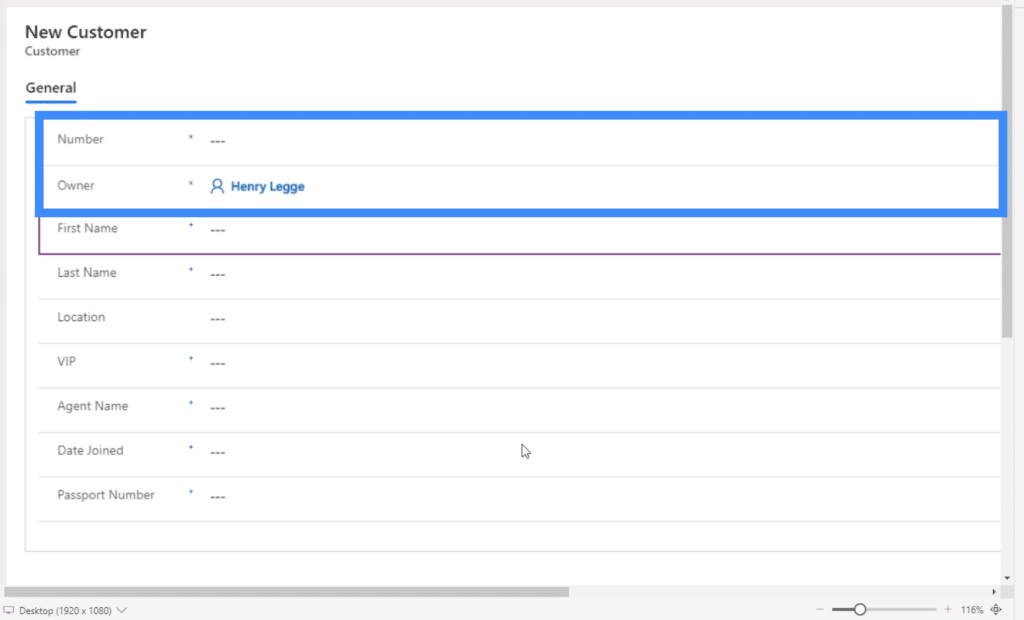
For this example, let’s create a main form. By default, it has the Number field and the Owner.
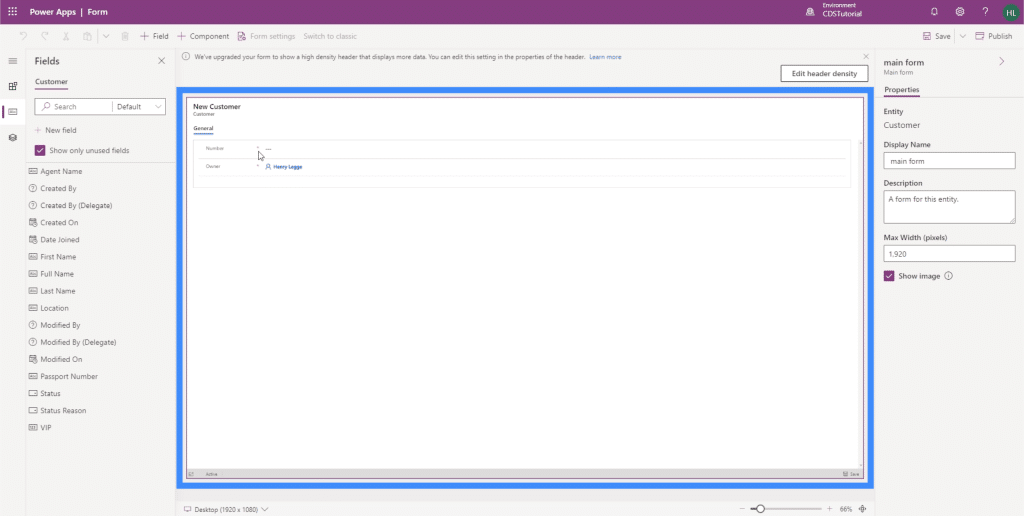
The other fields we can add are listed on the left pane. The great thing about PowerApps is that it’s easy to use and allows us to build forms without the need to do heavy coding. In this case, you can do a simple drag and drop from the list into the form.
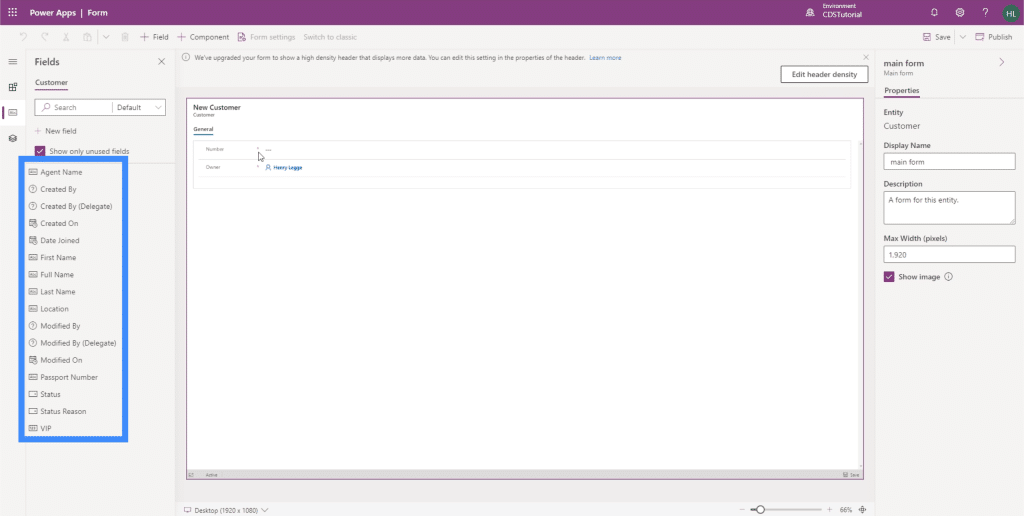
So let’s add the First Name, Last Name, Location, VIP level, Agent Name, Date Joined and Passport Number.
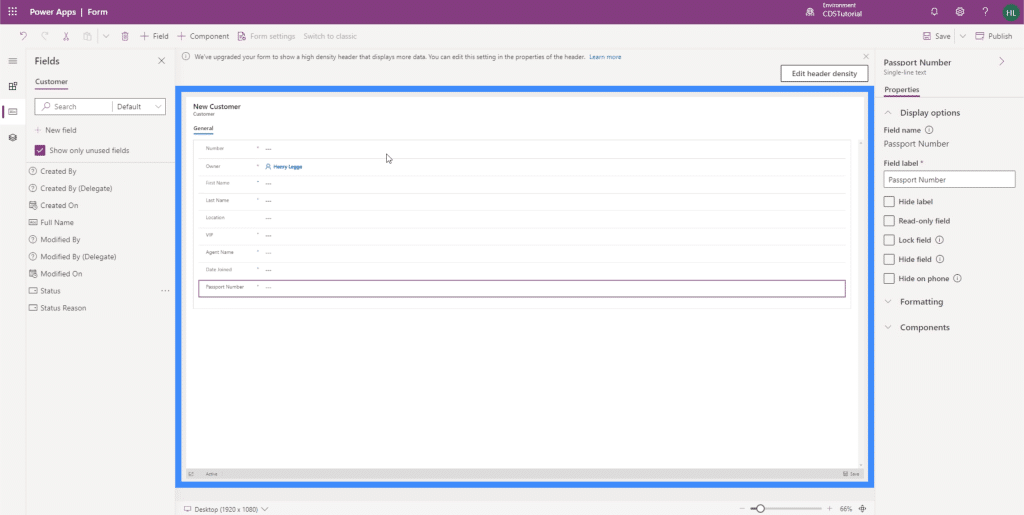
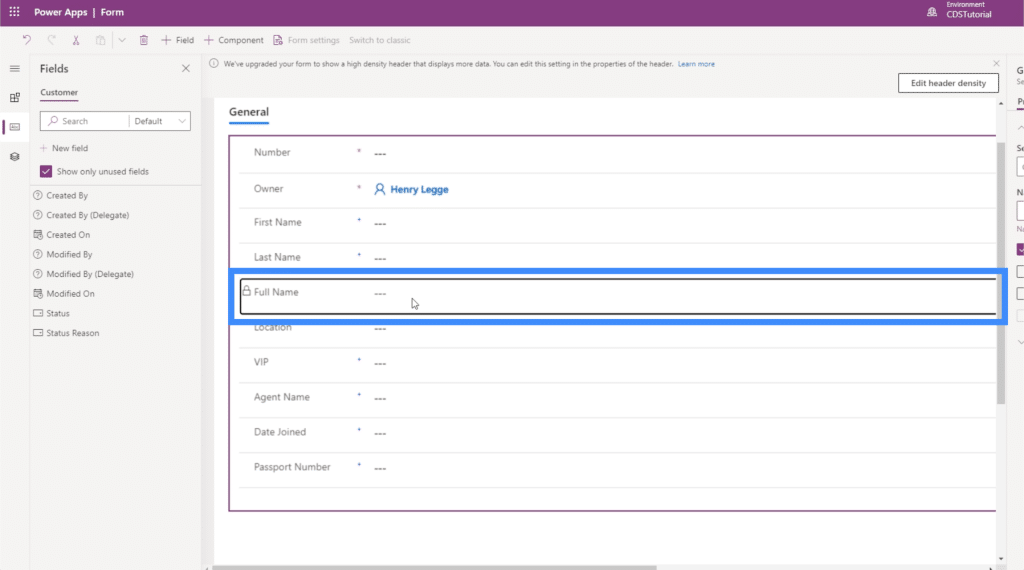
Earlier, when we were working on Views, we used the Full Name. But remember that Full Name is a calculated field and is based on the First Name and Last Name. This means that we can’t use that here. Users should input the first and last name manually, then PowerApps will combine the two so that the full name shows up when we go to the Views tab.
This is why if we try to add Full Name as a field, it shows that it is locked. That’s because we can’t manually edit it.
If you zoom in, you’ll notice that some fields here have a red asterisk. This means that these fields are required by the common data service.
Then, the fields with the blue plus signs are recommended, but not required.
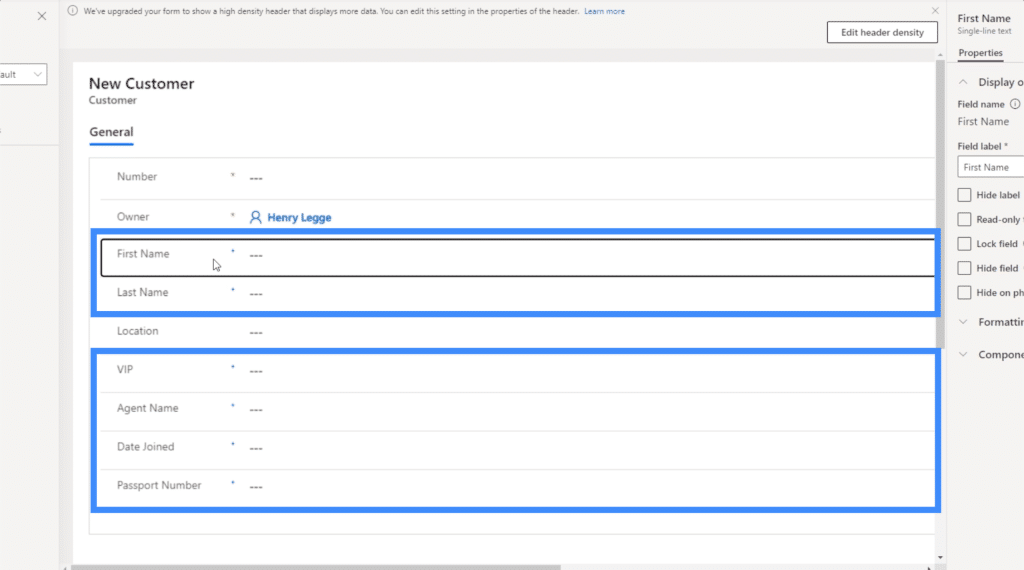
On the right pane, there are a few properties that we can customize.
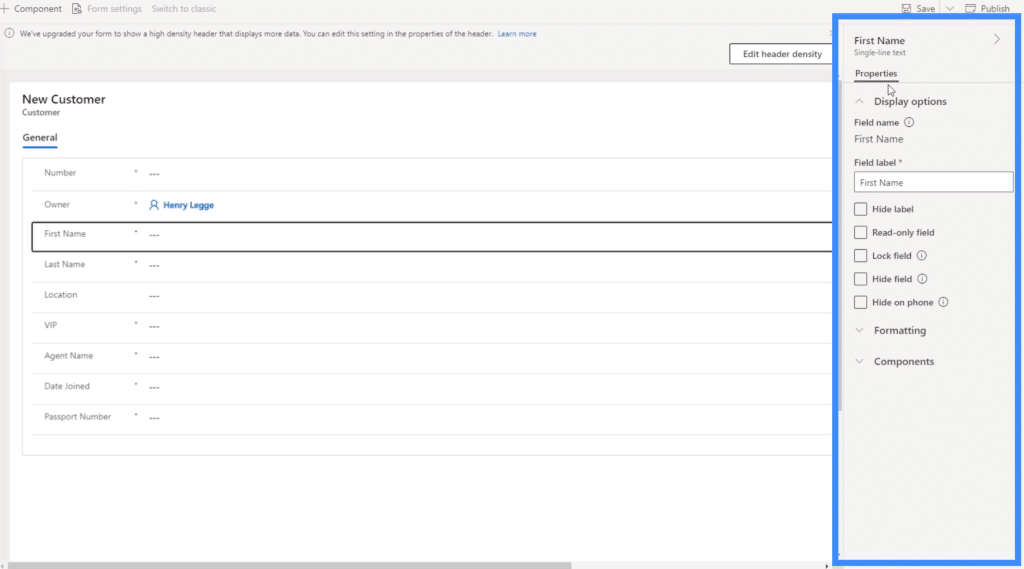
Right now, the First Name field is highlighted. So PowerApps knows right away that this is a single-line text, as indicated on top of the right pane. This means that only the properties relevant to this type of field are listed. Some of the things we’re allowed to do here would be to lock the field, make it a read-only field, hide the field if the user is on the phone, etc.
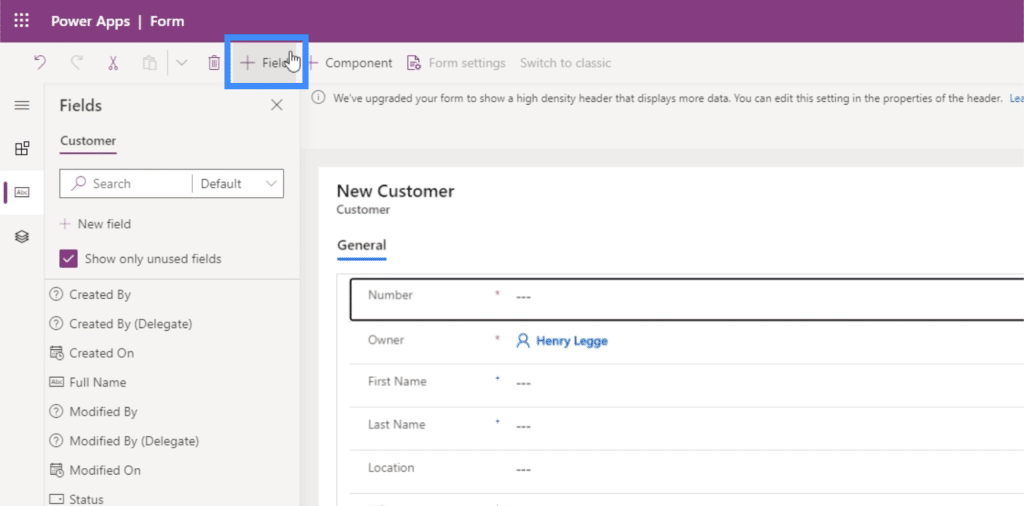
If you want to add fields that do not appear on the list, you may do so by clicking the +Field button on top.
You can also add different components by clicking on +Component.
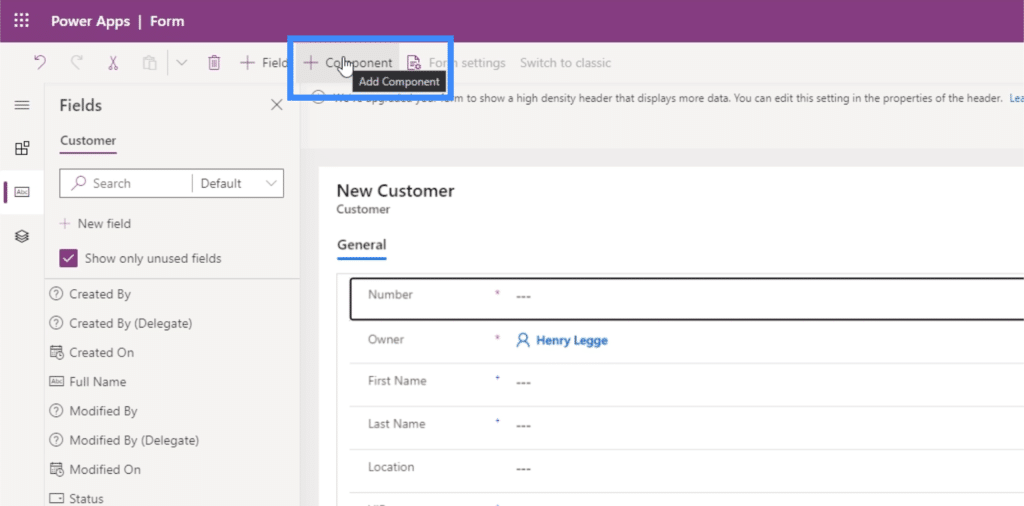
Components are sections in our form. In our example, we only have one component called General.
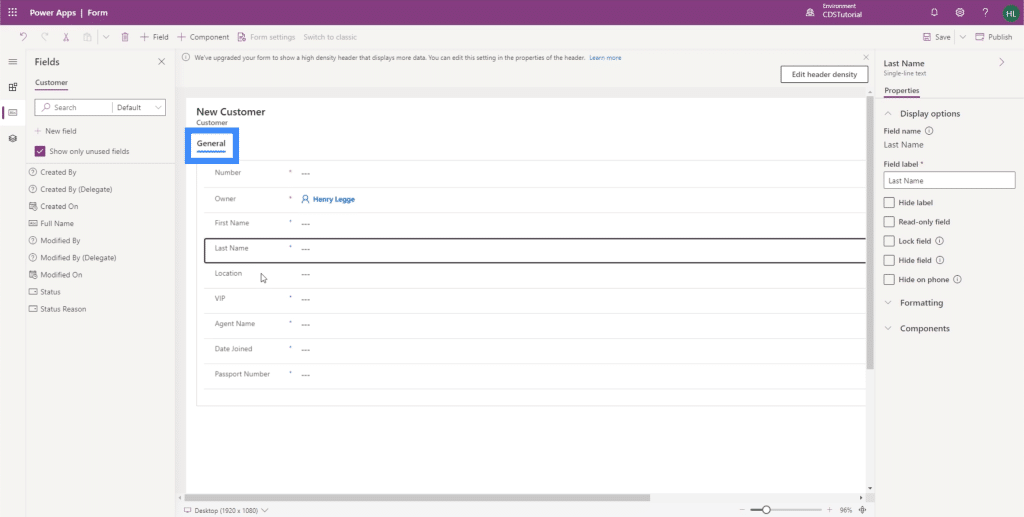
If we try to add a component, it’s going to give us different options on how the form will be laid out.
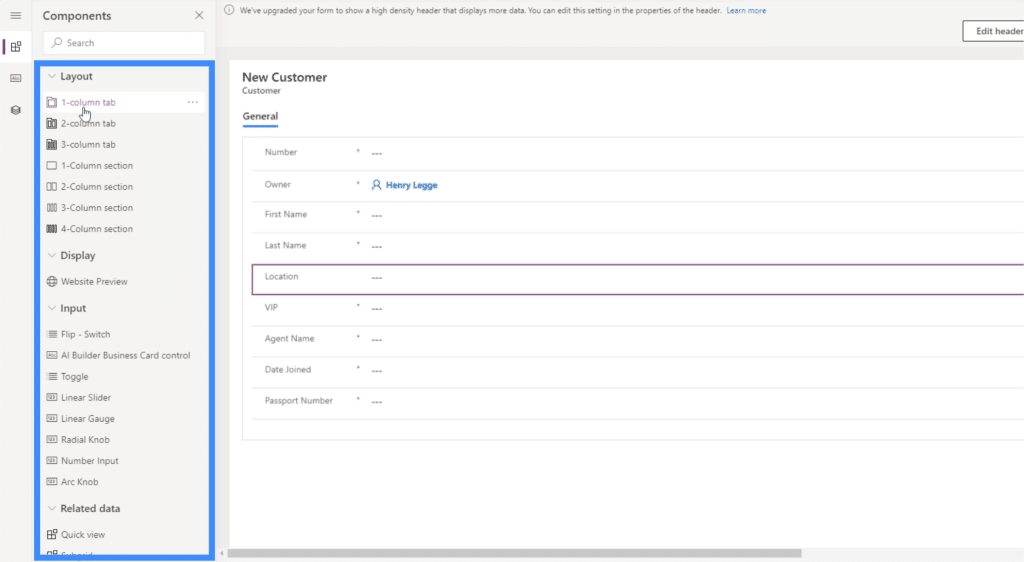
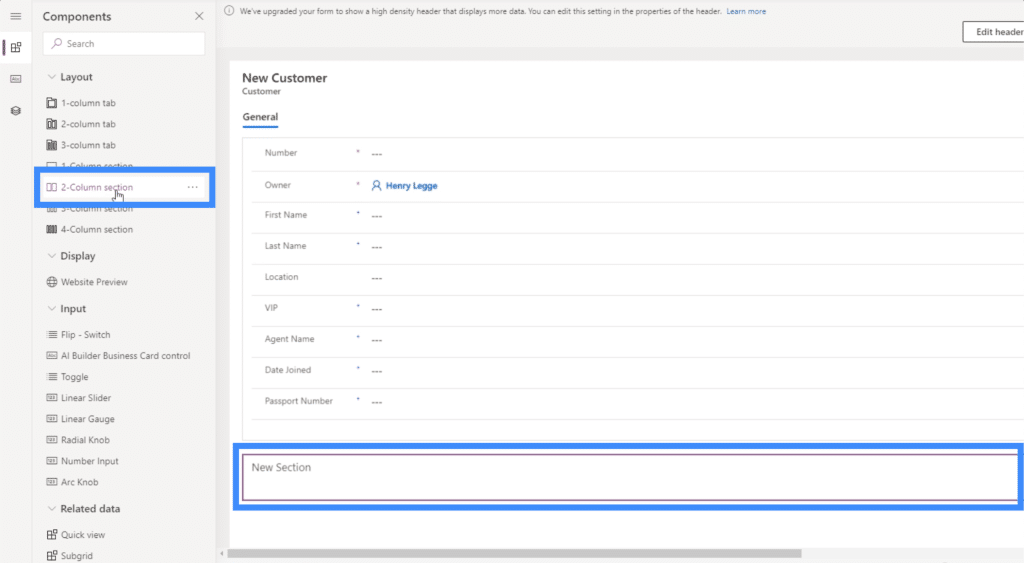
Let’s make a 2-column section. So the first section will be General, then we can customize the second section at the bottom.
Let’s call this section “Other Information”.
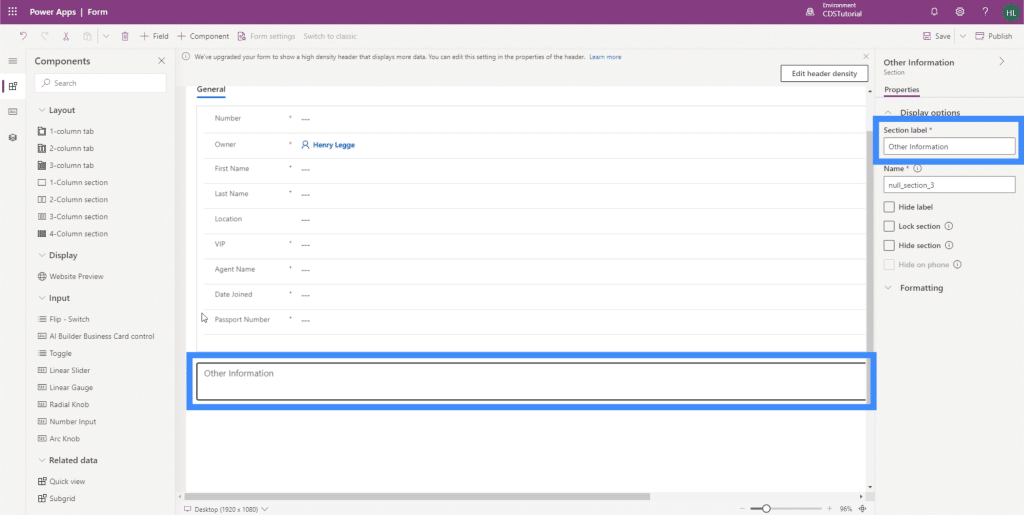
Now, let’s move some of the fields to the new section. Again, it’s as easy as dragging fields from General and dropping them to Other Information.
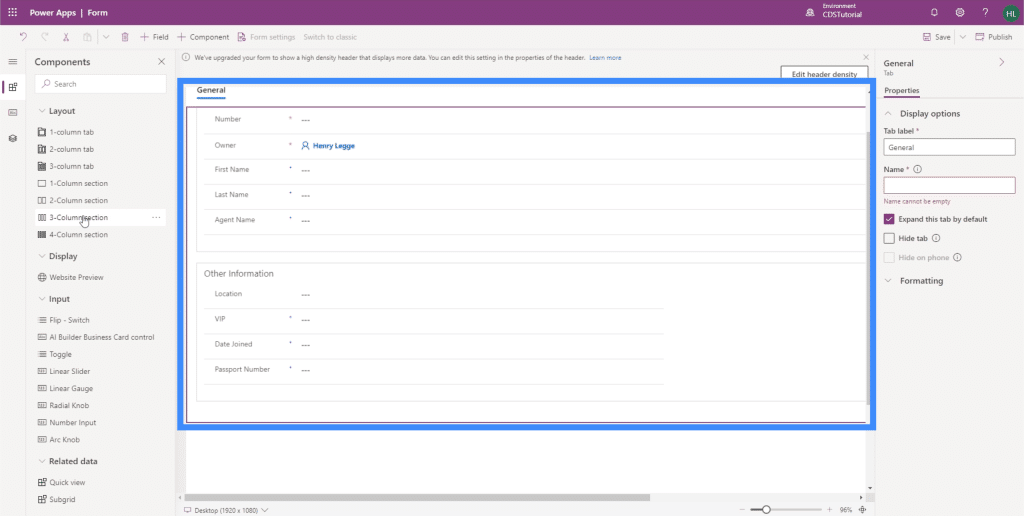
We can also have another section for Agent Information. We can add the Agent Name here.
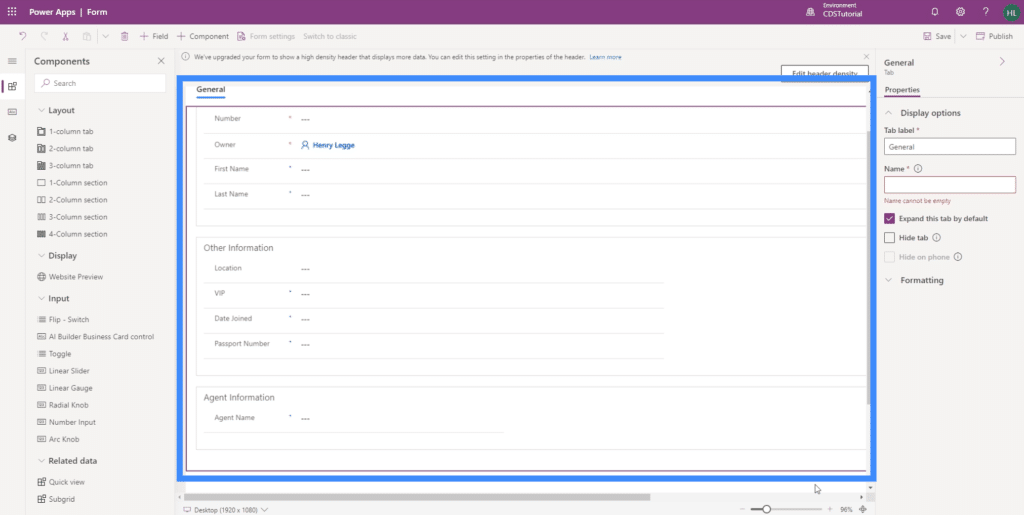
Just like our Views, it’s so easy to create forms for model-driven apps like this one. The easy customization also allows us to design our forms in a way that makes it easier for people to use.
***** Related Links *****
Power Apps Introduction: Definition, Features, Functions And Importance
Power Apps Environments: Setting Up The App Elements Properly
PowerApps Functions and Formulas | An Introduction
Conclusion
When you think about it, model-driven apps can be seen as a collection of different PowerApps views and forms. They are, after all, the main elements that make our app useful for the target end user.
It’s critical that we plan our views and forms properly though, because they are key to making the information easy to access, understand and update. This makes PowerApps the perfect tool in this case, knowing that it’s easy to modify every element to end up with the setup that matches your needs.
All the best,
Henry


