
A good admin or expert in Power Automate is someone who can solve problems simply by looking into the platform’s documentation, which is packed with relevant content.
In this tutorial, we’ll familiarize ourselves with the Microsoft Power Automate documentation. We’ll look through its content and understand its importance.

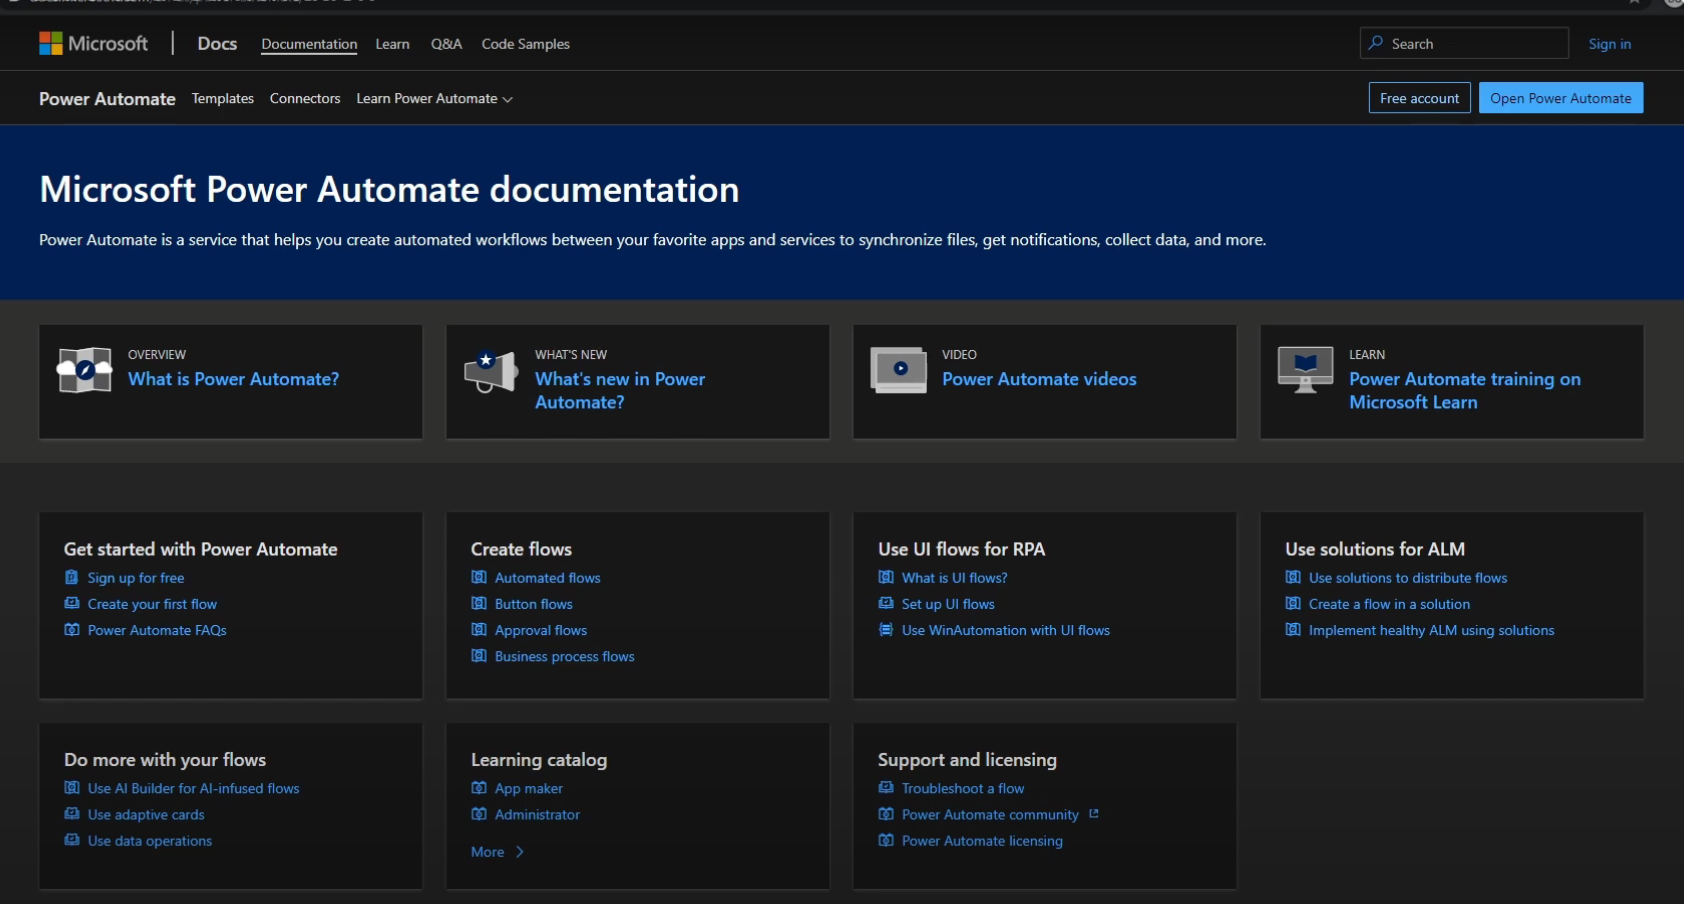
The Power Automate documentation contains all the information related to the platform. It makes information easily accessible and helps new users learn quickly.
Power Automate Documentation Content
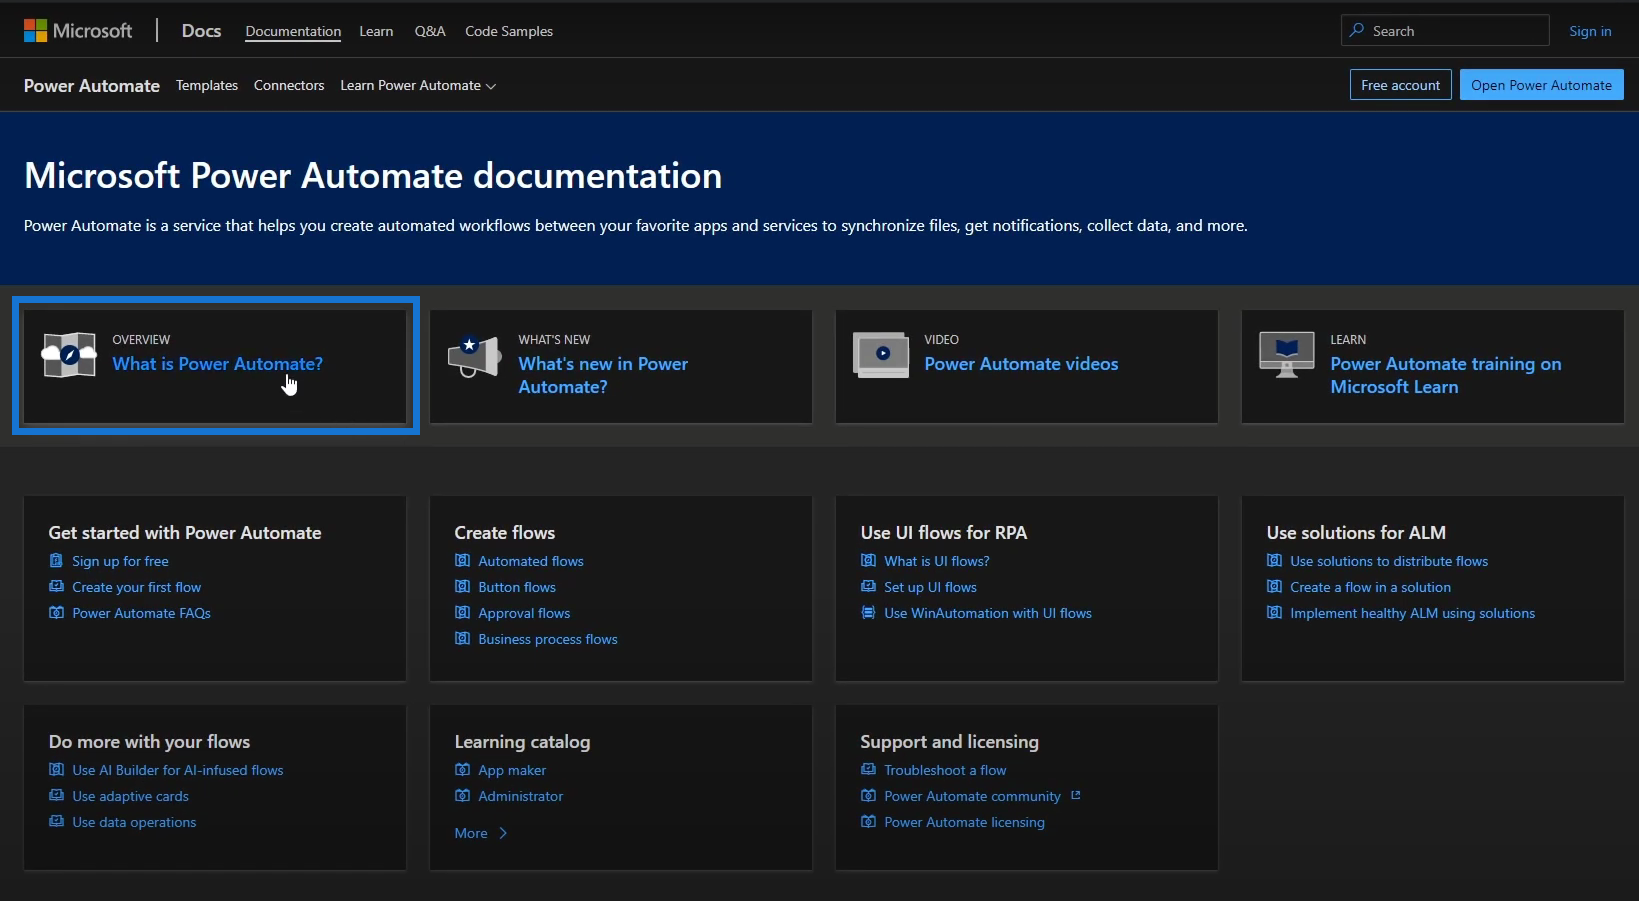
Let’s now go through the content of the documentation. First, we can click any of the following sections.
Then, we’ll see the listed content of the documentation on the side bar.
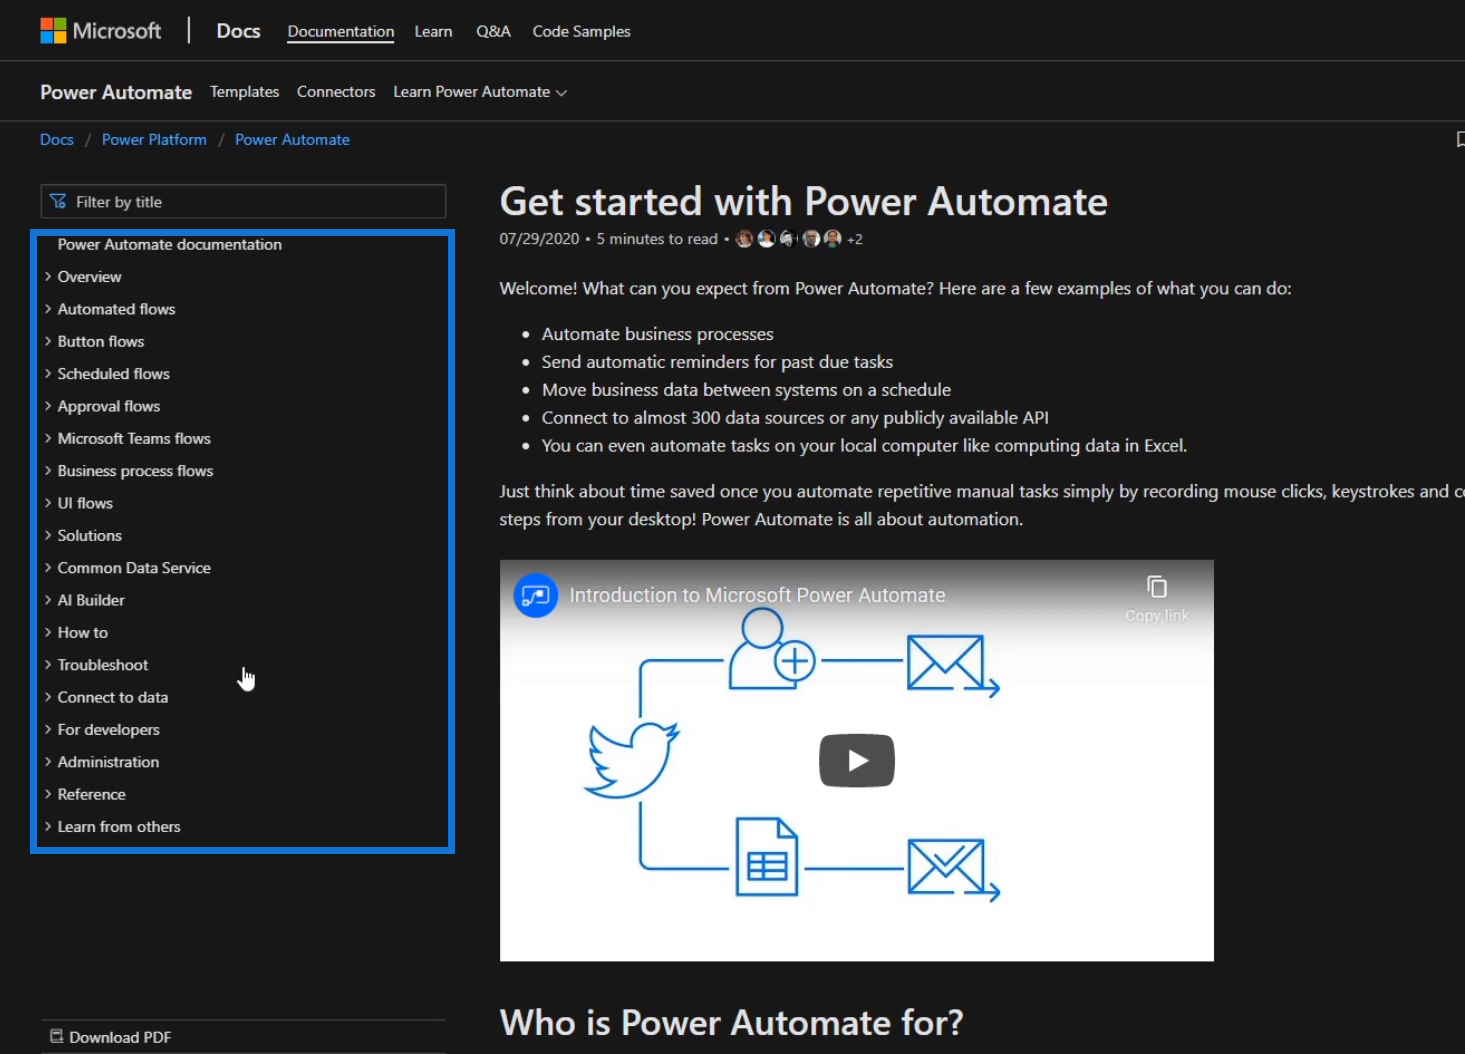
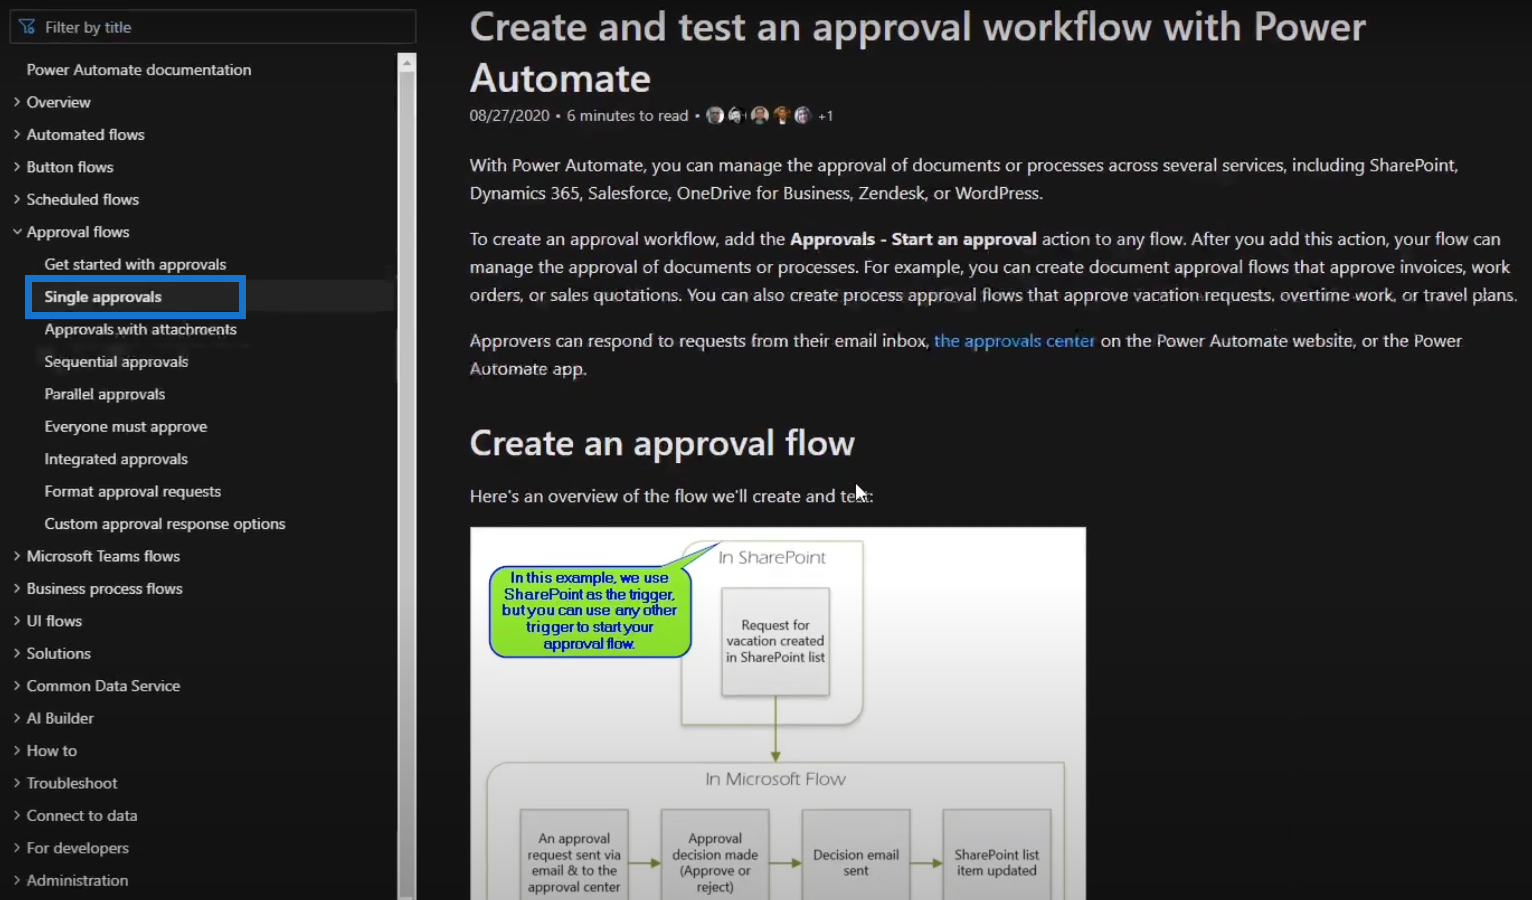
Each option contains relevant information regarding the corresponding topics. For example, we can just click the Approval flows if we want to know more about it. Then the other contents of this topic will appear.
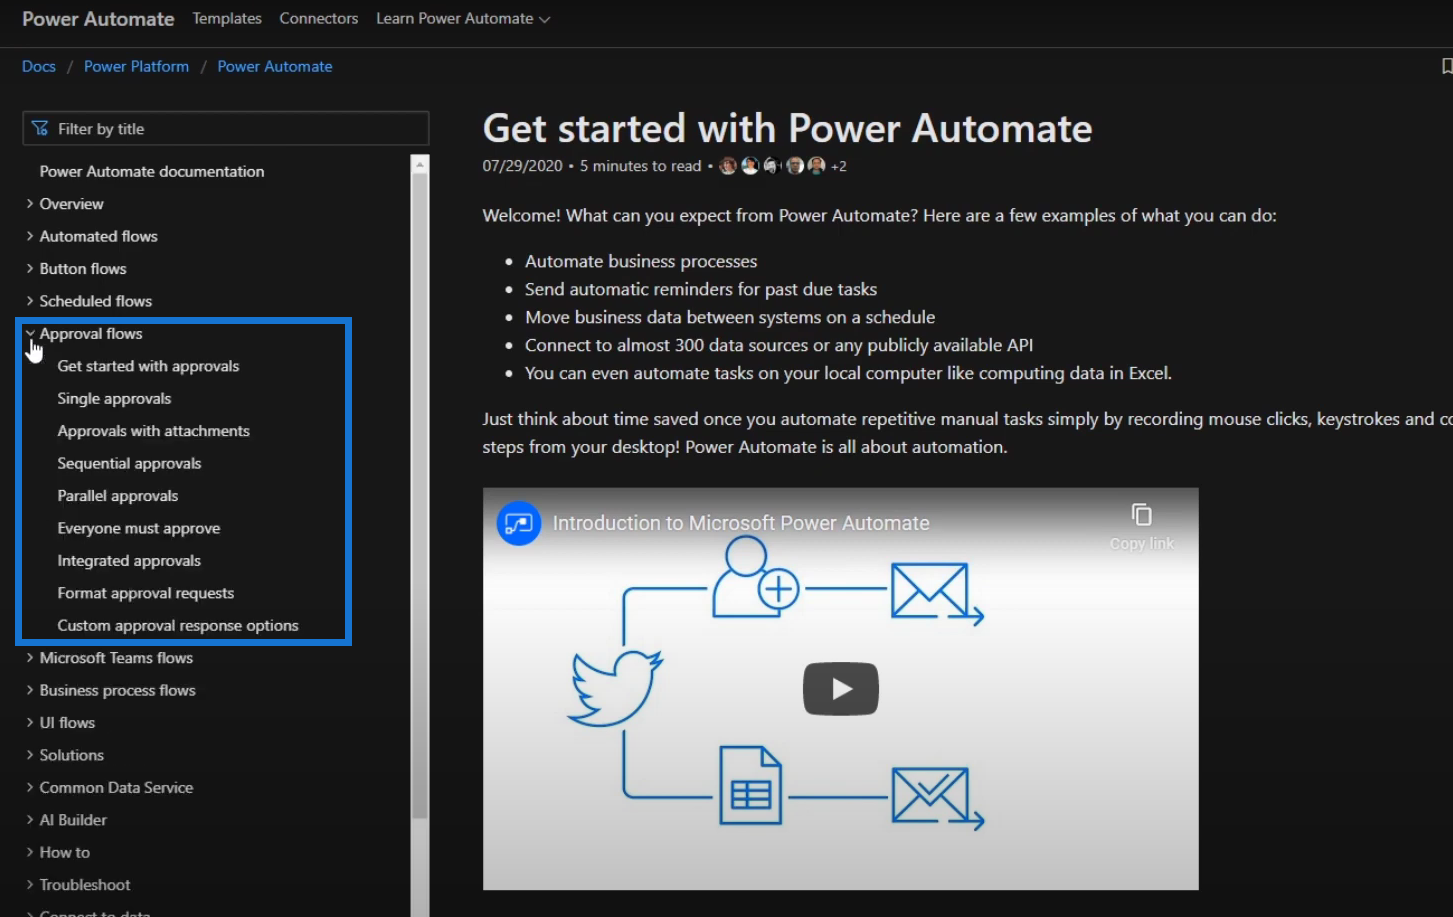
We can click on the Get started with approvals option under the Approval flows button to see information regarding the prerequisites of creating approvals.

When we click the Single approvals option, we’ll see instructions on how approval flows work, how to add an approval action, and more.
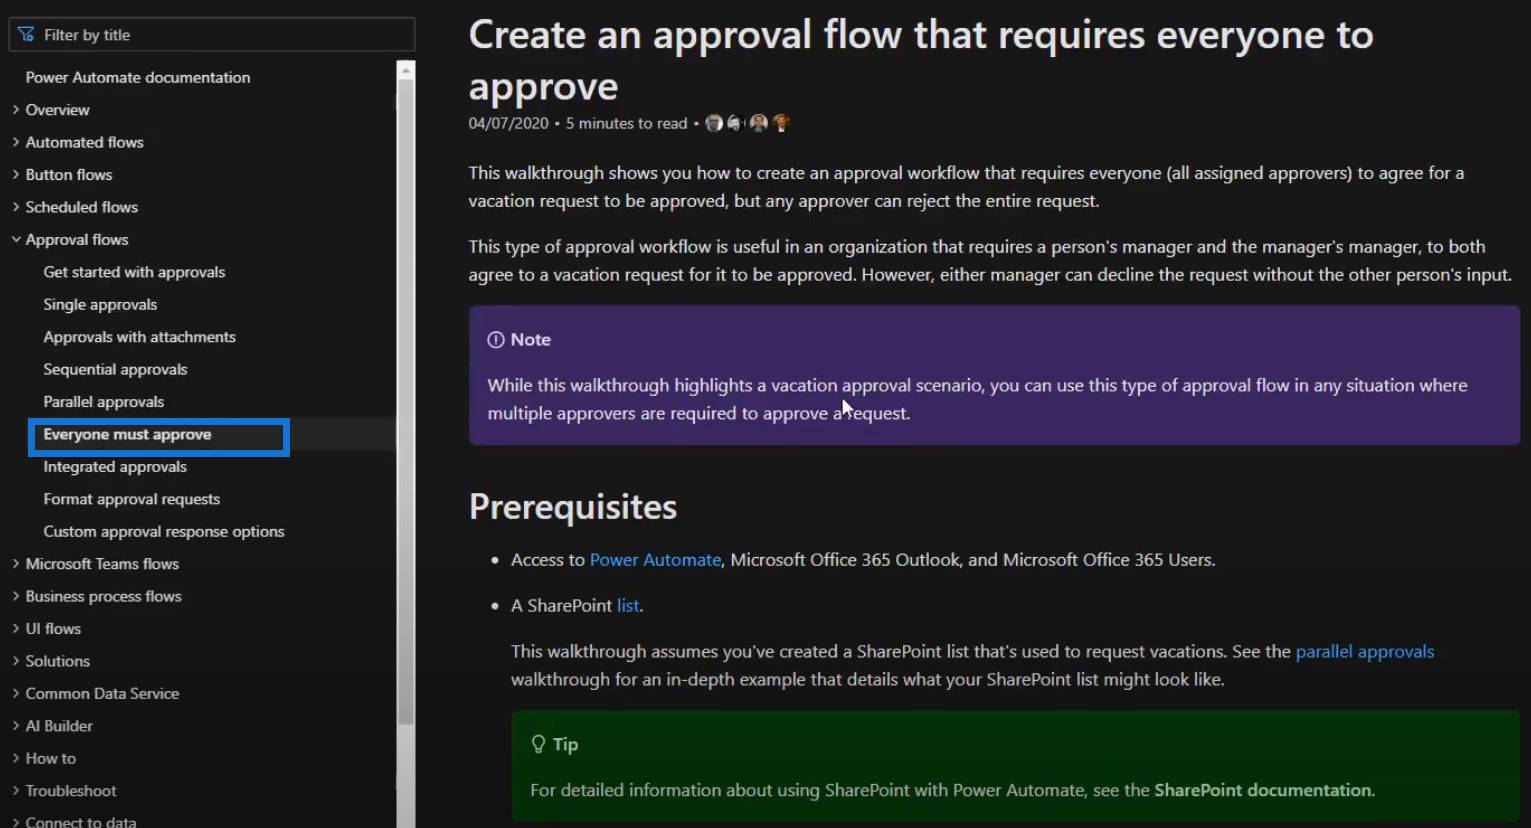
For the Everyone must approve option, we’ll see some guidelines on creating an approval flow that requires everyone to approve.
Within the Integrated approvals option, we’ll see the guidelines on how to build an approval loop using Power Automate and Common Data Service.


There are other essential subtopics within the Approval flows such as the Parallel approvals option. When clicked, it will display the guidelines on creating parallel approval workflows with Power Automate and other related information.

Just like the Approval flows option, the UI flows option contains a list of subtopics with informative content.

Another useful option that we may check is the Troubleshoot. It also has its own list of relevant subtopics.
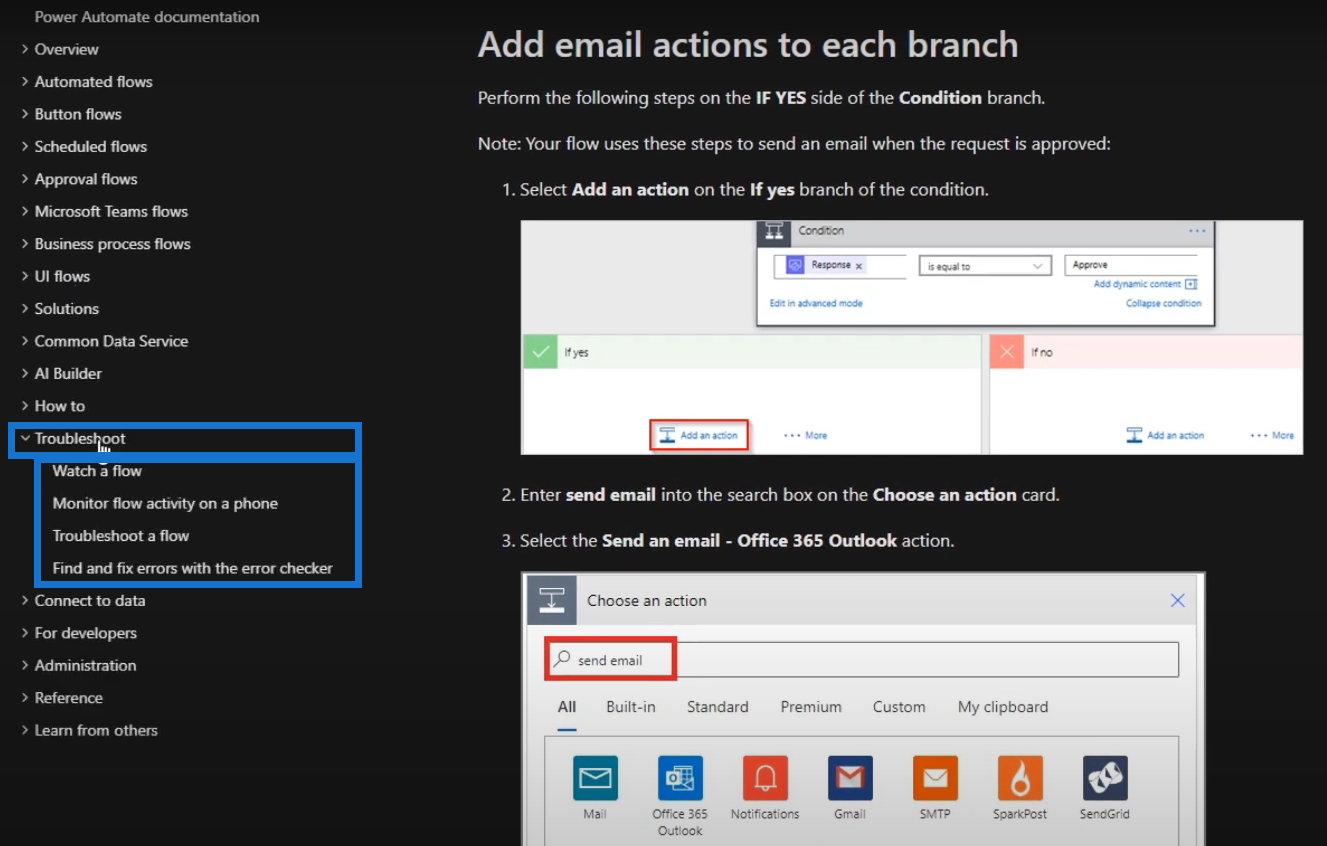
Of all the available options from the list, the Troubleshoot a flow option is one of the most important. That’s because it shows how Microsoft can fix our flow. It also suggests some repair tips such as identifying the error of the flow.

The Functions Reference In Power Automate Documentation
Another helpful part of the documentation is the Reference: Use functions in expressions topic under the How to option.

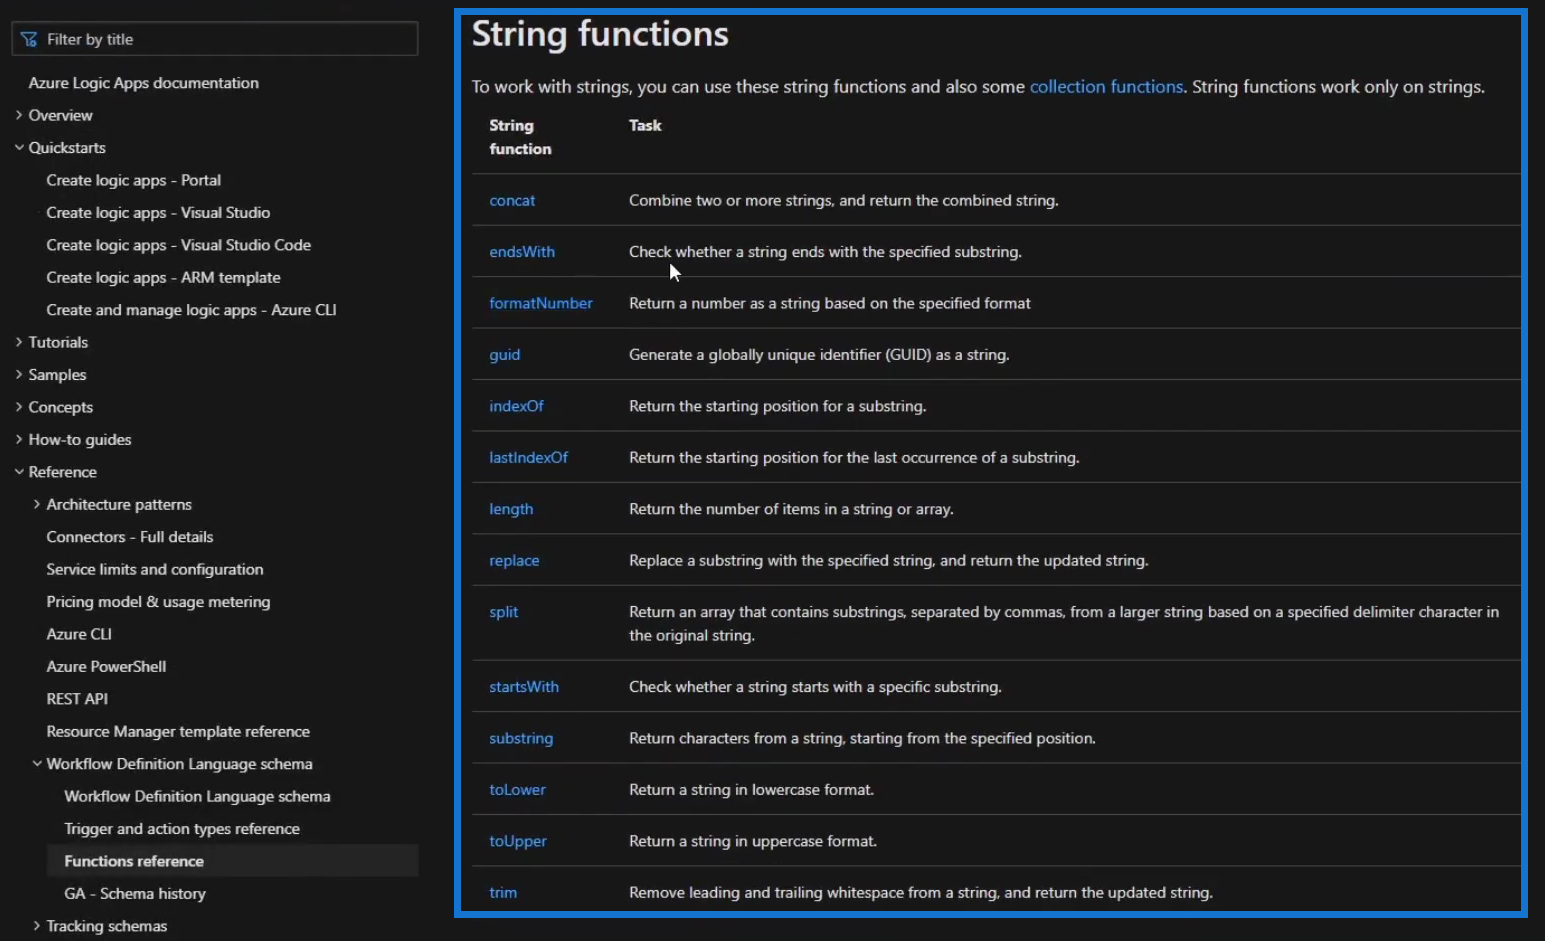
Let’s click the Reference: Use functions in expressions option. We’ll then be redirected to a documentation of the Logic Apps within another app called Azure.

This displays all the available functions that we can use, including the String Functions. Alongside the functions are their corresponding usage.
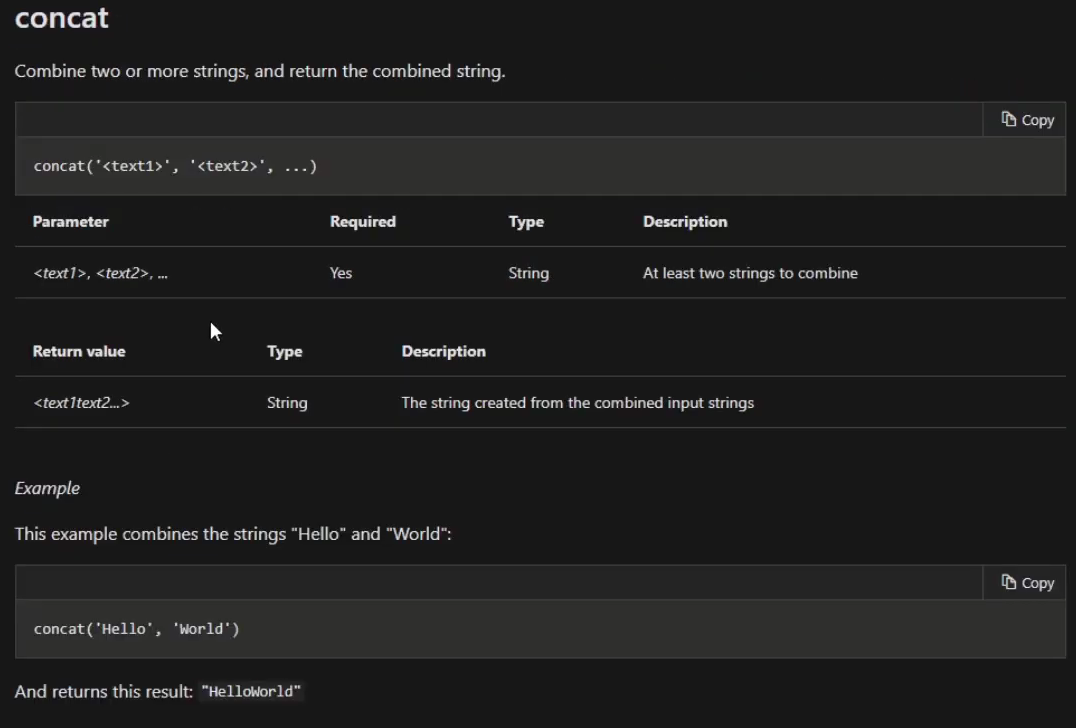
Let’s try clicking the concat function.

Once clicked, we’ll see the needed arguments and how to use it.
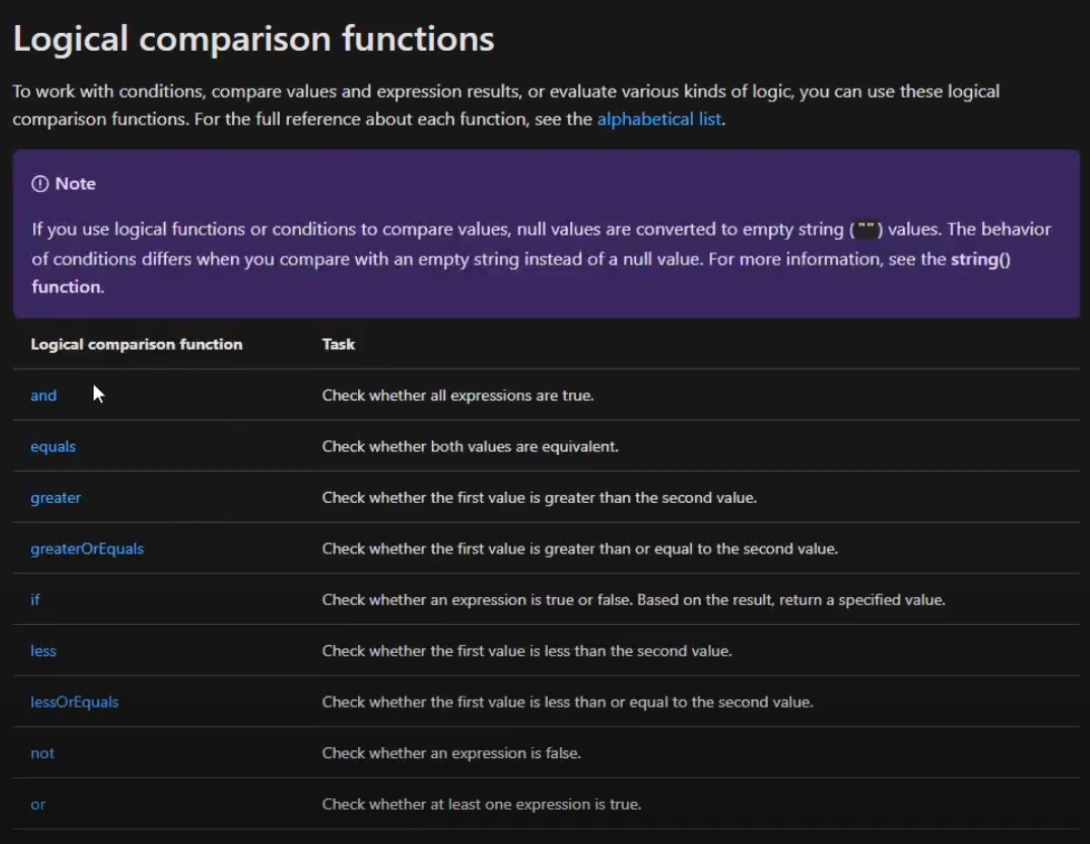
Aside from the String functions, we could also look into Logical comparison functions that we can use for our conditions.
The Collection functions are used when working on arrays, strings, and dictionaries.

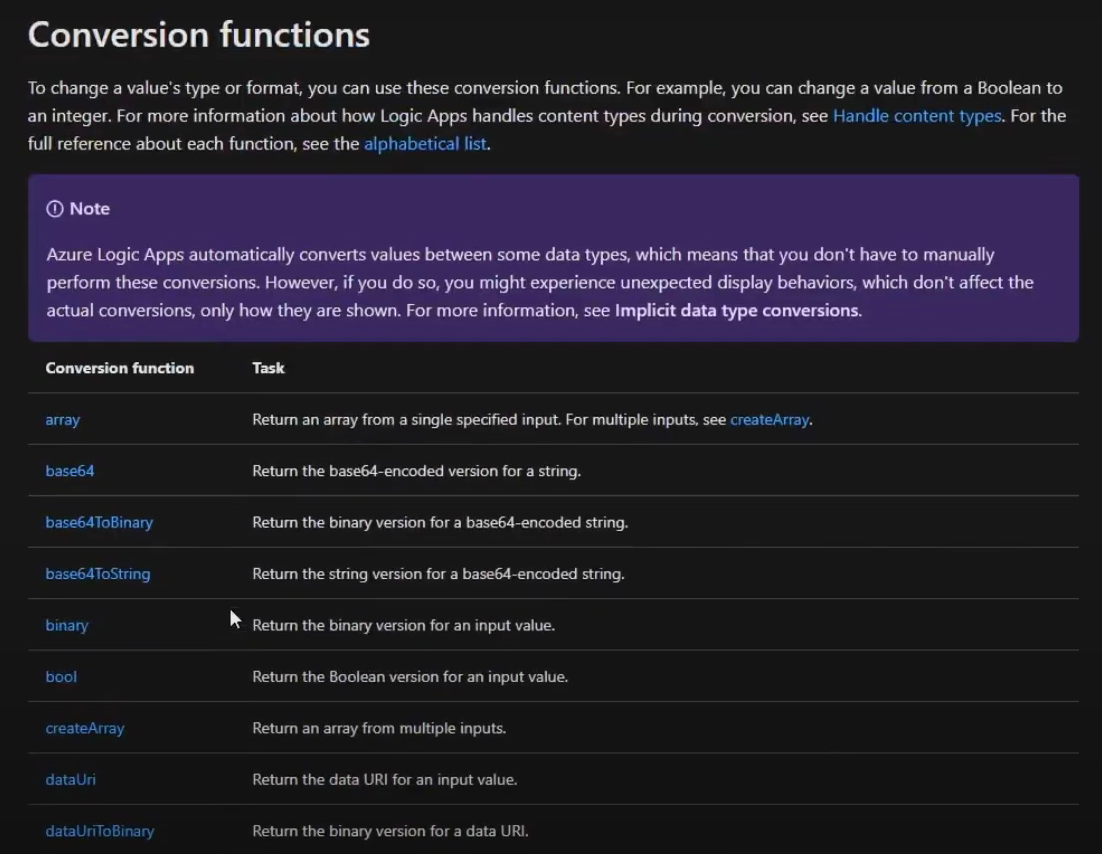
The Conversion functions are also available when you want to convert a value’s format.
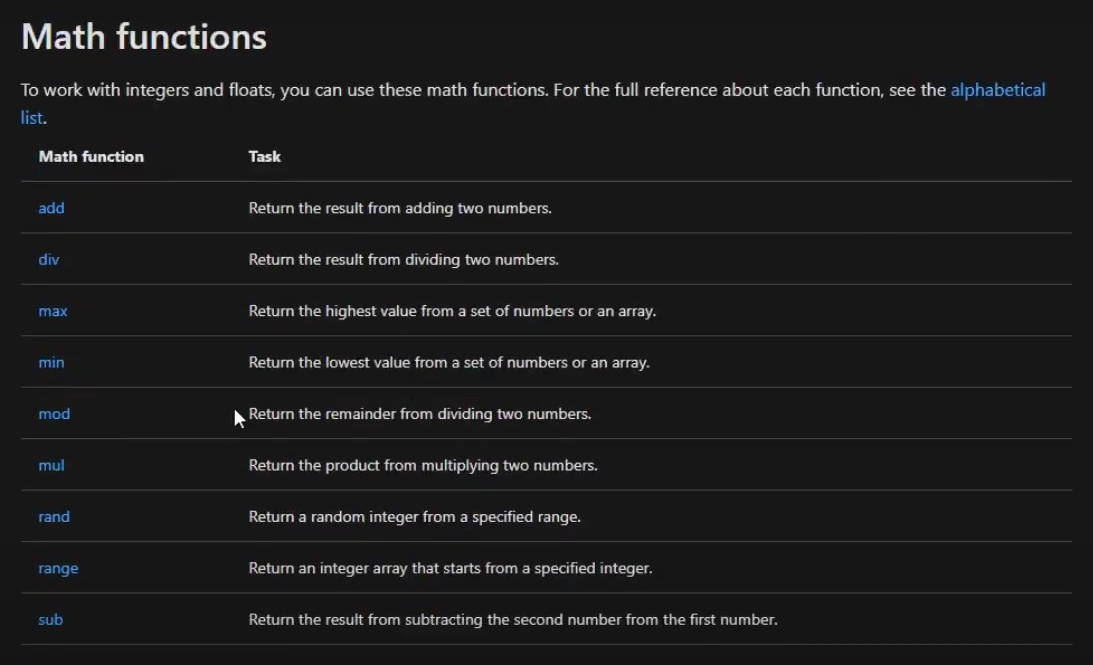
We could also use the Math functions as reference if we’re working on integers and floats.
If we are working on dates and times, the reference for Date and time functions comes in handy.
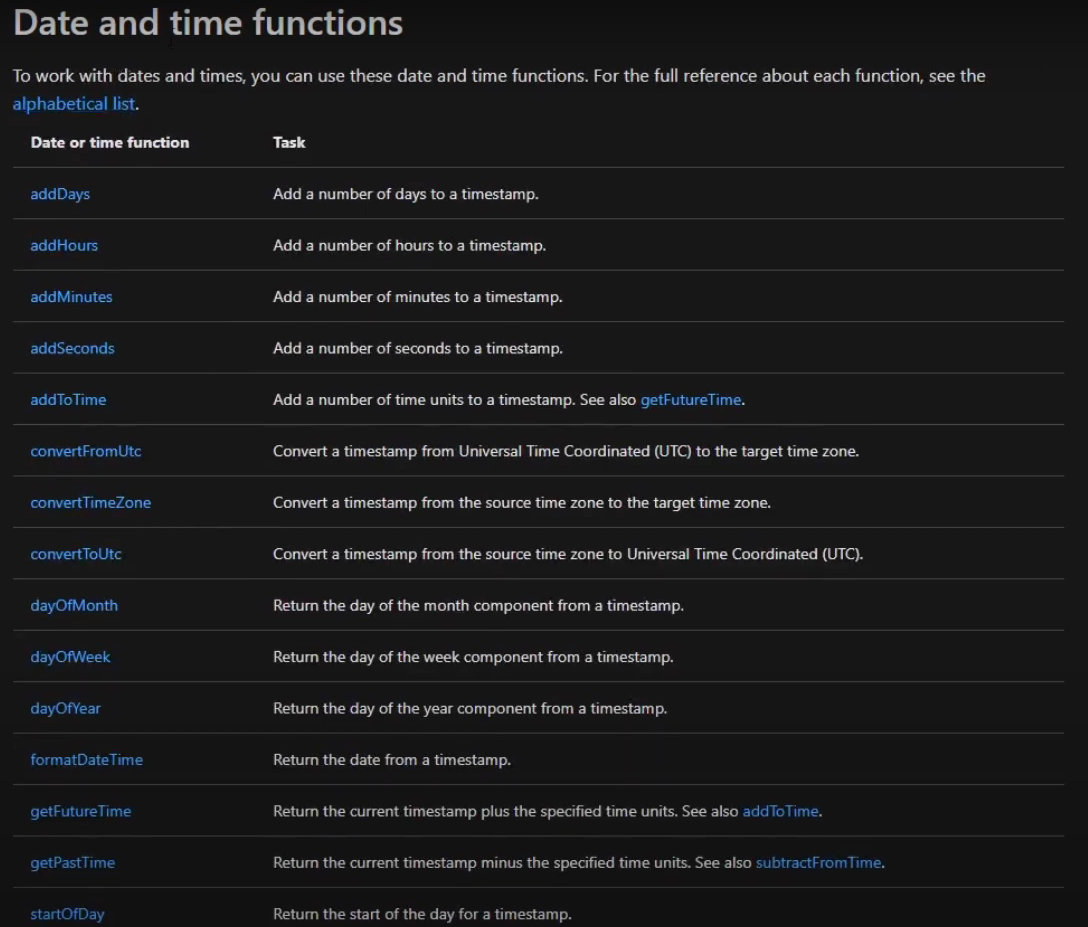
This page includes all the available functions that we can use for Power Automate expressions.

Expressions And Functions On A Workflow
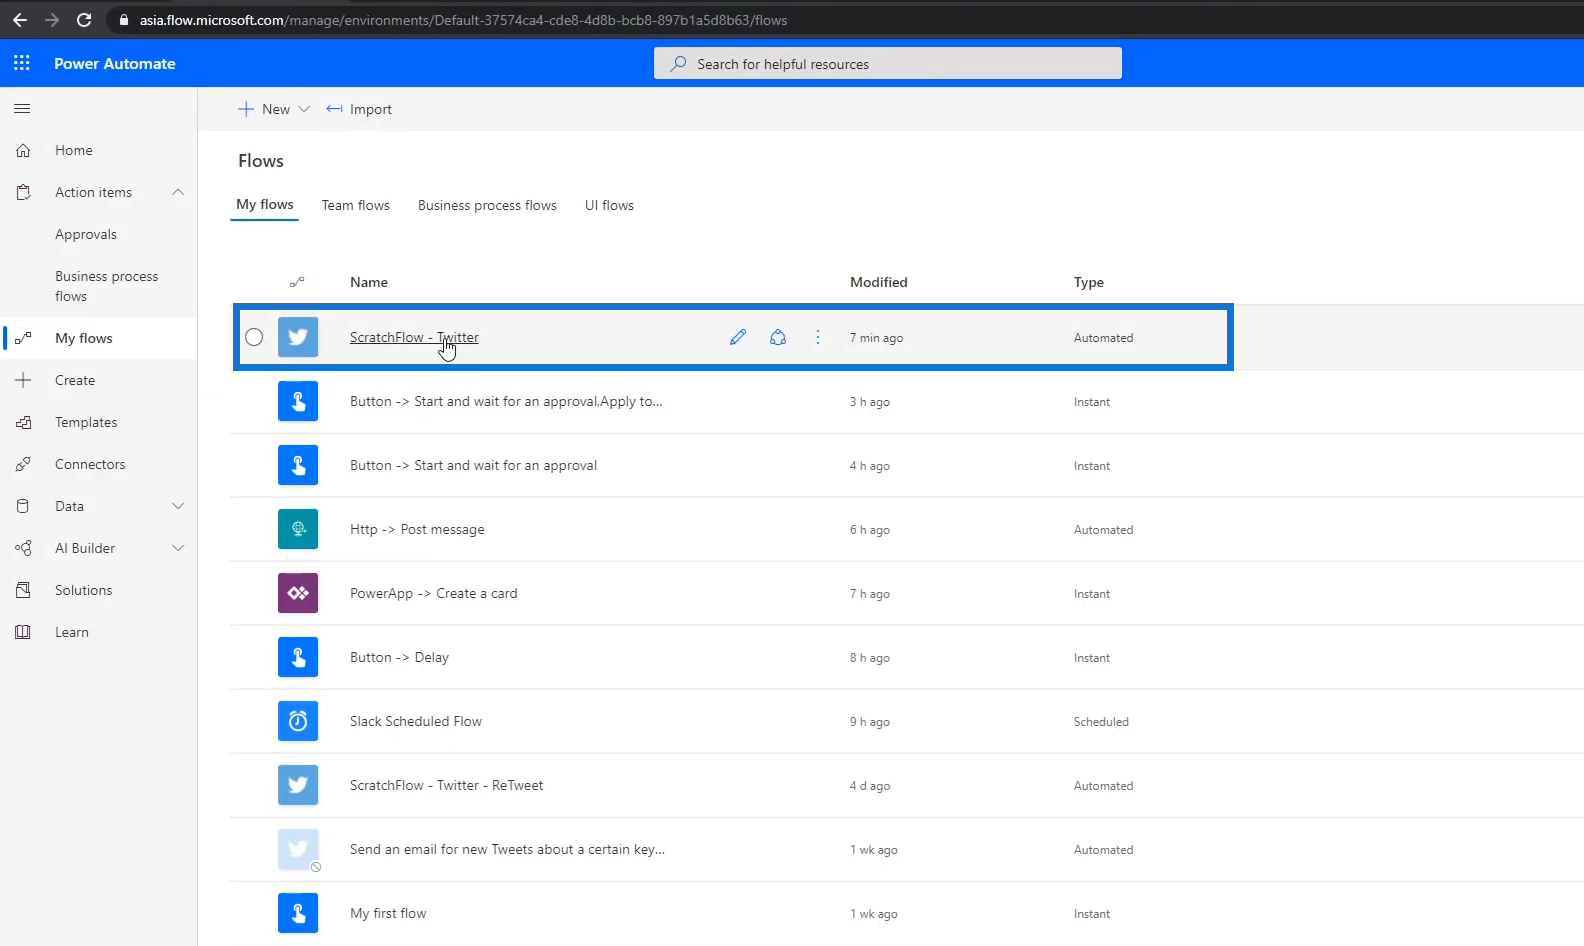
The functions can be used in expressions that we include in our flows. For example, let’s click the Scratchflow-Twitter flow.
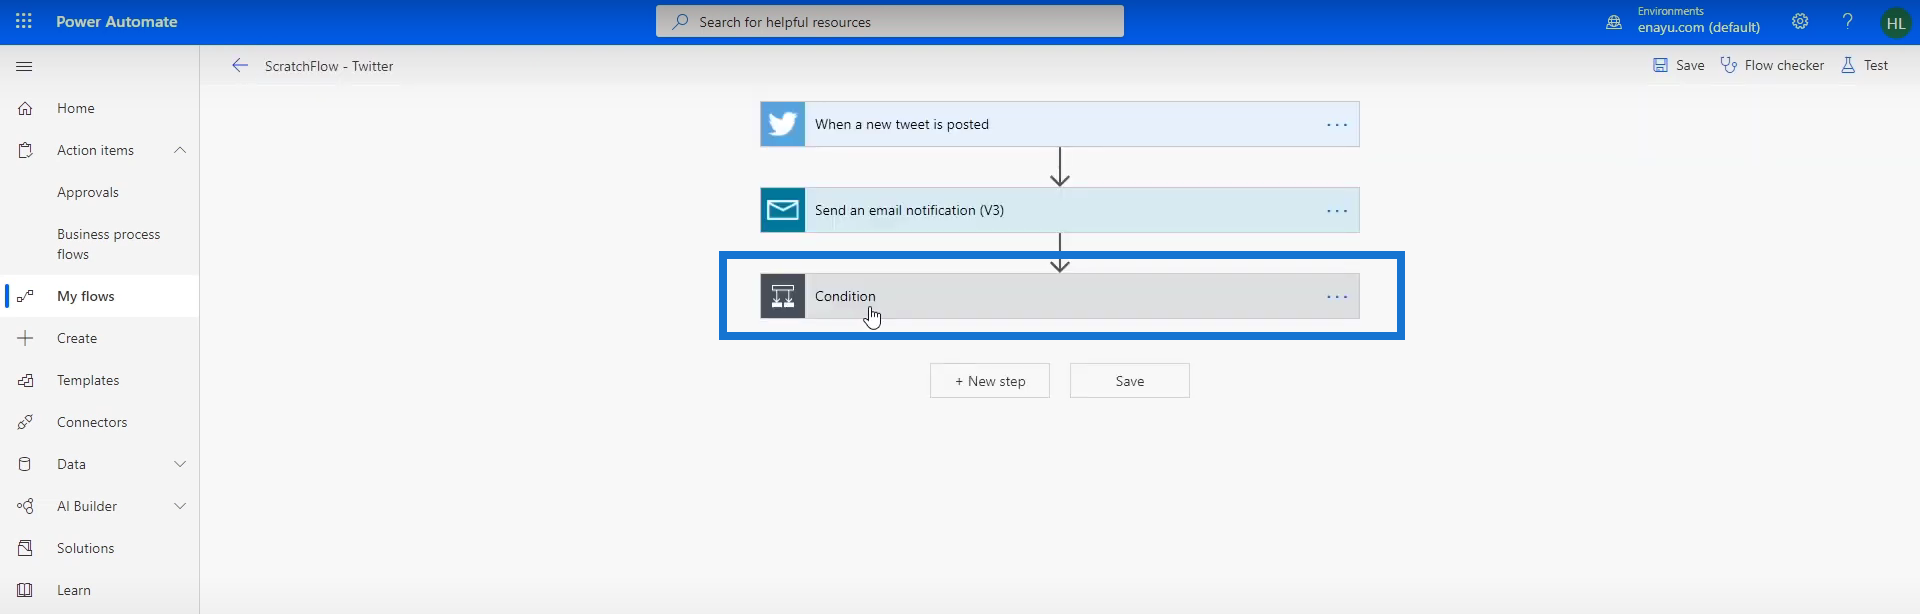
Then click the Edit button.

After that, click Condition.
Click on the Create a card action.

Then click the concat function that we used for the Card Name field.

Once clicked, we’ll see the other available functions under the Expression tab.

Using these functions is quite easy. For example, to add the date in our flow, we just type in a part of the function’s keyword. In this case, we’ll use addDays.

***** Related Links *****
Microsoft Flow Approval With Multiple Options
Workflow Inputs In Microsoft Power Automate
Power Automate Expressions – An Introduction
Conclusion
The key point here is to navigate the available references within the Power Automate Documentation page. It’s highly recommended to be familiar with the documentation if your goal is to become an expert or advanced Power Automate user.
Again, we can just type in any function that we’d like to integrate in the flow we’re working on. However, it’s still important to be familiar with the functions. This would definitely make it easier for us to identify the proper function to use as part of the expression.
All the best,
Henry


")