
At Enterprise DNA, we have posted a lot of tutorials to create reports using the latest features and visualization techniques in Power BI. However, one foundational topic hasn’t really been covered yet—how to add and play Power BI videos in your reports. You can watch the full video of this tutorial at the bottom of this blog.
There are a couple of solutions to this problem. In today’s blog, you will learn the way I approach this problem, and some other methods that simply don’t work due to a couple of restrictions that we have to deal with.

Sample Report
Let’s start with a sample report with a video added in it.

As we can see, this report has a Play button that actually plays a video hosted on an external website—the Azure Blob Storage.
To understand how it works, look at the measure by clicking Videos in the Fields Pane. The measure uses the HTML video tag and the Blob Storage link leading us to the MP4 video file.

This is possible with the HTML CSS Viewer custom visual which allows us to play videos within the report.
But how exactly was it done? Here are the three common methods used by data analysts to embed and play Power BI videos in their reports.
Method 1: Creating Buttons for Power BI Videos
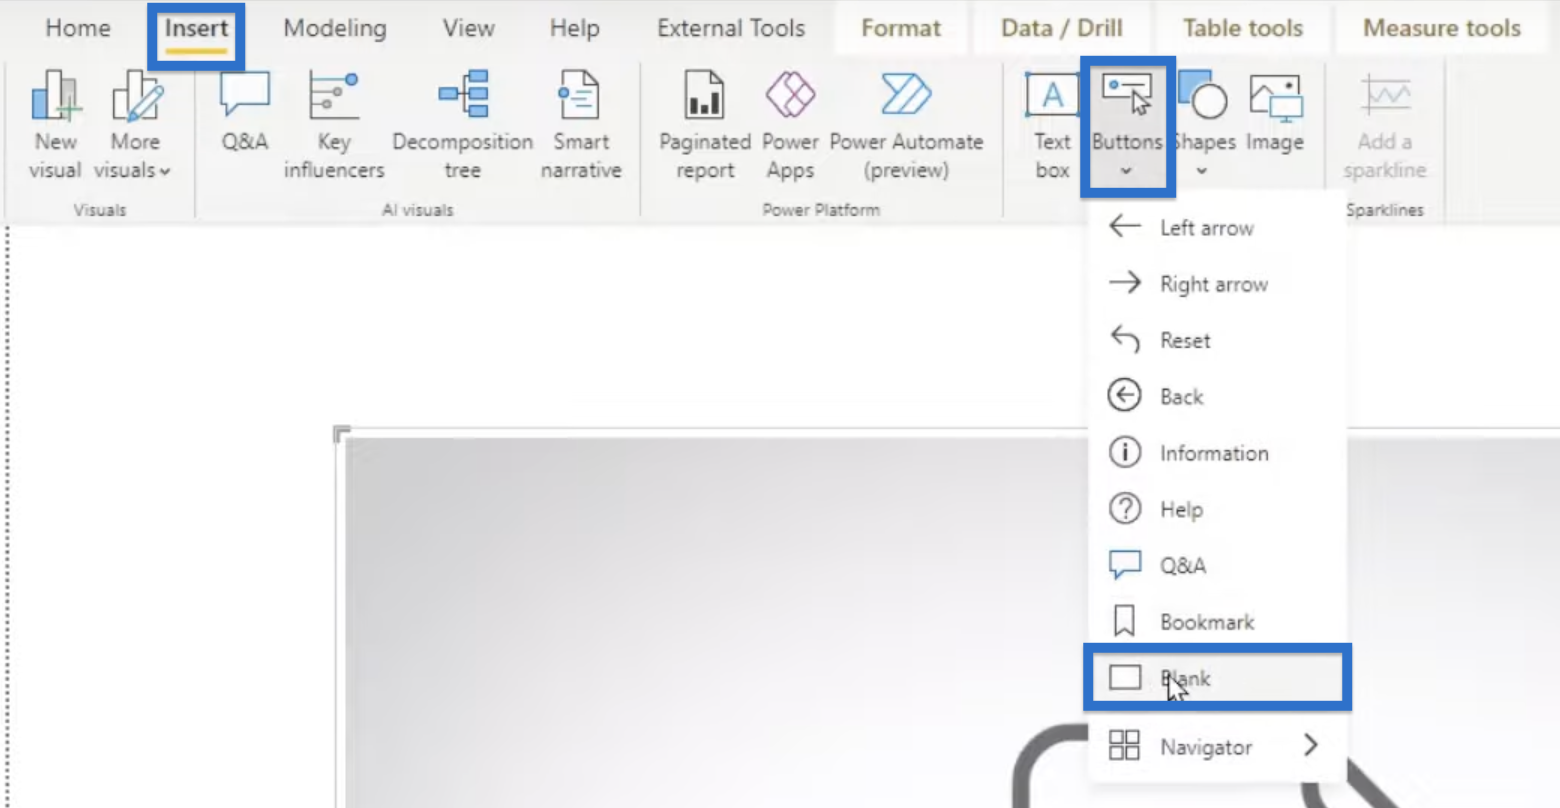
One of the simplest ways to achieve our goal is to insert a button in our report. We can do this by going to Insert, Button, then choose Blank in the dropdown.
Once the button is created, go to the Formatting Pane and open Actions. Choose Web URL under the Type field then copy the link of your intended video into the Web URL field.

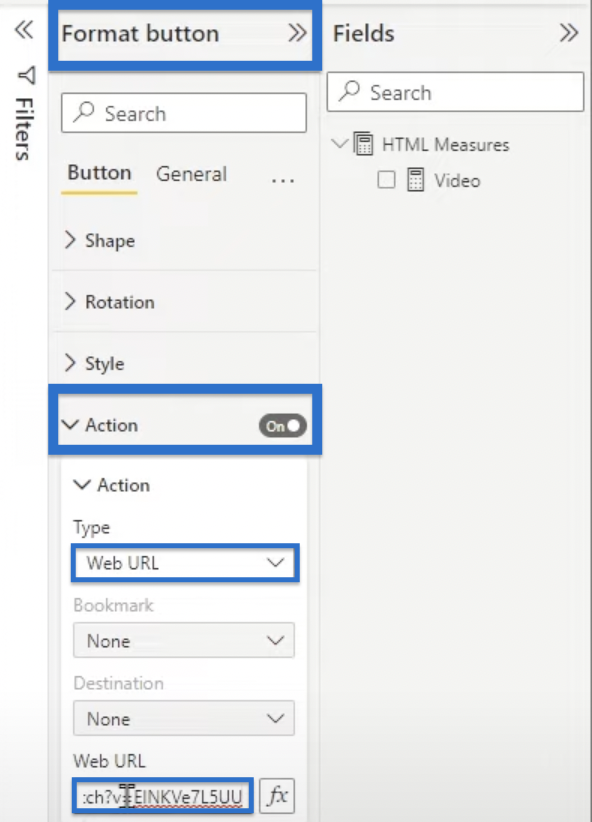
The web URL can be a video hosted on YouTube, for example. This is where the user should go once they click on the button.
For instance, when we click on the button we created, we will be taken straight to our video link.
Method 2: Embedding a YouTube Video
Our first method is a very simple way of doing it, but sometimes, we want to have the video inside of the report itself.
Some people wonder why we need to add the button if we could just use a YouTube link instead. Unfortunately, though common, that method simply doesn’t work. Let’s try and see how it appears.
Start by going to YouTube, click Share, and choose Embed from the options.

We will be given an embed code, typically used to add videos on websites.
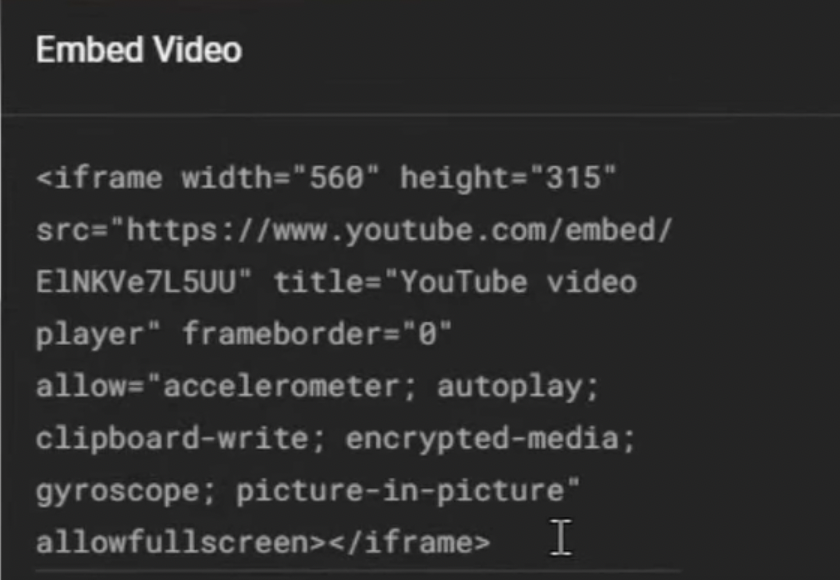
We can assume that the same code would also work on our Power BI report, so let’s copy the code and create a new measure in Power BI.
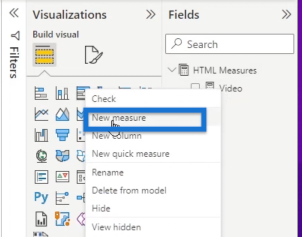
Right-click Video in the Fields Pane and choose New Measure.
Call it youtube then paste our YouTube code in the next line as shown below. Remember that whenever we add HTML code to DAX, we have to replace the double quotes with single quotes.
To simplify this process, simply highlight one of the double quotes, then press CTRL + SHIFT + L. This will highlight every double quote in the code.
Then, type in a single quote to replace every double quote that has been deleted.
Next, we will add double quotes at the beginning and the end, leaving us with a code that looks like this.

Our new measure gives us this blank black visual. We do not get any error message but we can already see that it won’t play on the Power BI desktop and this method ultimately does not work.

But what would happen if we publish this report to the Power BI service?
Unlike on the desktop, we can actually see the error message when using a browser. It will be quite a technical error message, but let’s look at it anyway.

Let’s open Power BI and locate our saved Power BI report.
It should open the same visual as we got in Power BI desktop. The video still does not play, but in the browser, we can go to the Settings from the three dots in the upper-right corner of the screen, scroll down to More Tools, then choose Developer Tools.
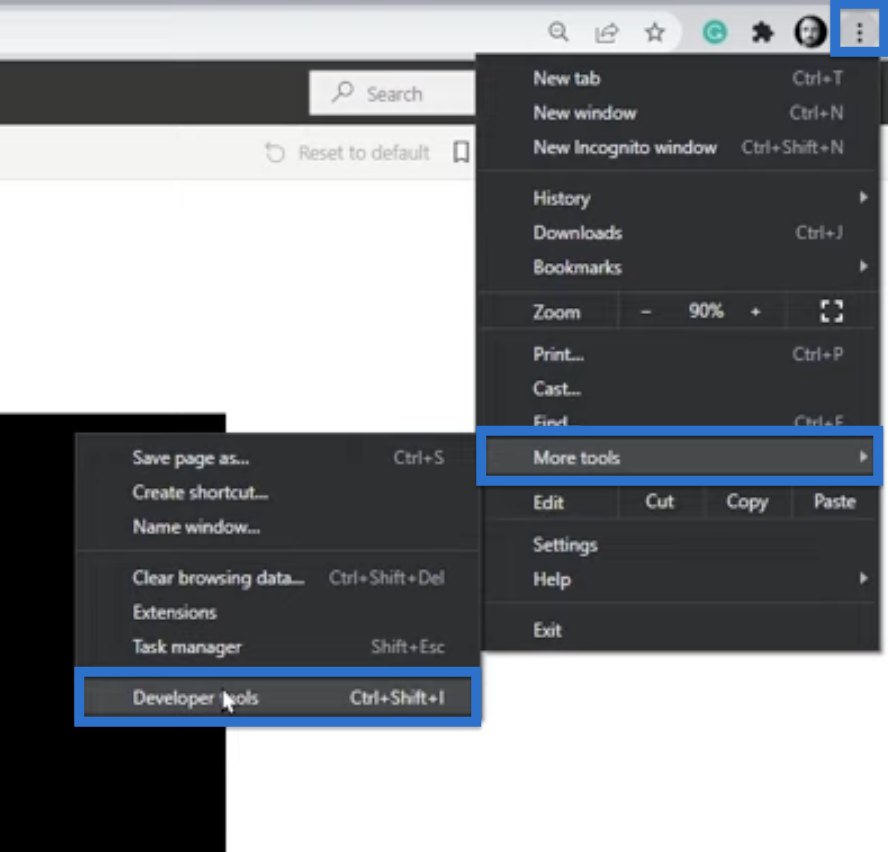
Every modern browser has the Developer Tools, though it might look a little bit different or be located on a different part of your browser.
Once the Developer Tools open, we can see a couple of errors, some of which are coming from YouTube.

YouTube is giving an error because every custom visual is restricted in functionality. Our visual is technically inside of a restricted sandboxed iframe element in the browser with limited functionality.
That is the reason why some functionality simply is not possible for us to do as we are seeing in our sample. We are in a sandbox iframe that does not “allow same origin,” a combination of restrictions from YouTube and from Microsoft.
Unfortunately, there is no work around for that, thus, it is recommended to use an Azure Blob Storage instead. It works perfectly in your Power BI report and makes you in full control of who and how the files can be accessed.
Azure Blob Storage Account to Store Power BI Videos
In case you don’t have an Azure Blob Storage account yet, we will walk through the process of creating a brand new storage account in the Azure portal, and show you how to upload videos too.
This also includes generating secure links that are not public to the world in case you want to restrict access to your videos.
Method 3: Using a File Storage
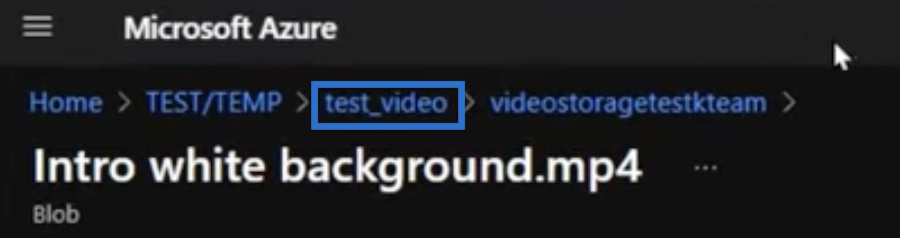
To start, visit the Azure Portal and open your subscription. In our example, our subscription is called TEST/TEMP.

When we select this TEST subscription, it will take us to another page where we can click Resource Groups.

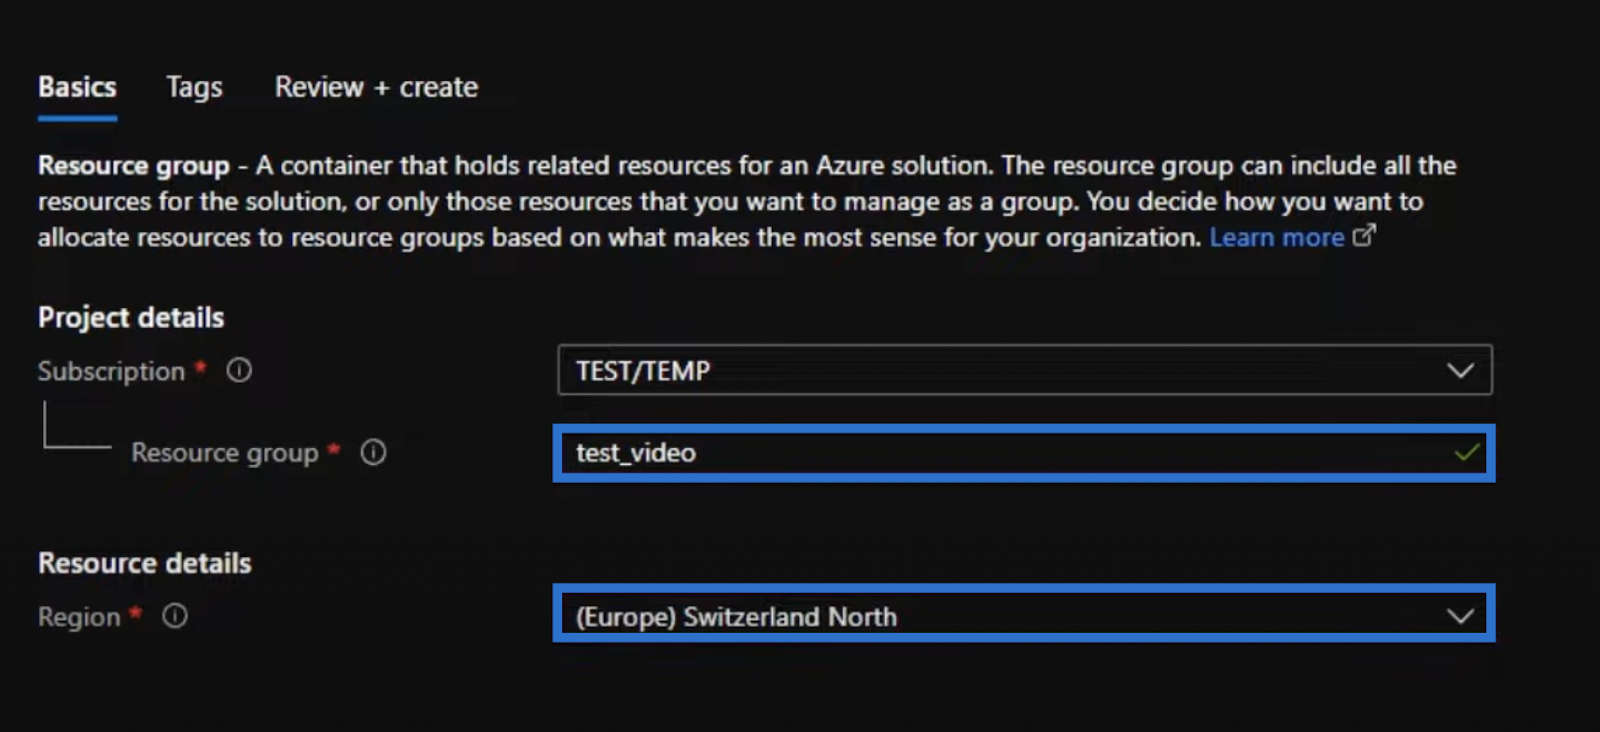
We will then Create a new empty resource group which we will call test_video. Then, let’s define which location we want this to be created. Click Create or Enter.
We have just created a new resource group. And within this resource group, add a storage account.

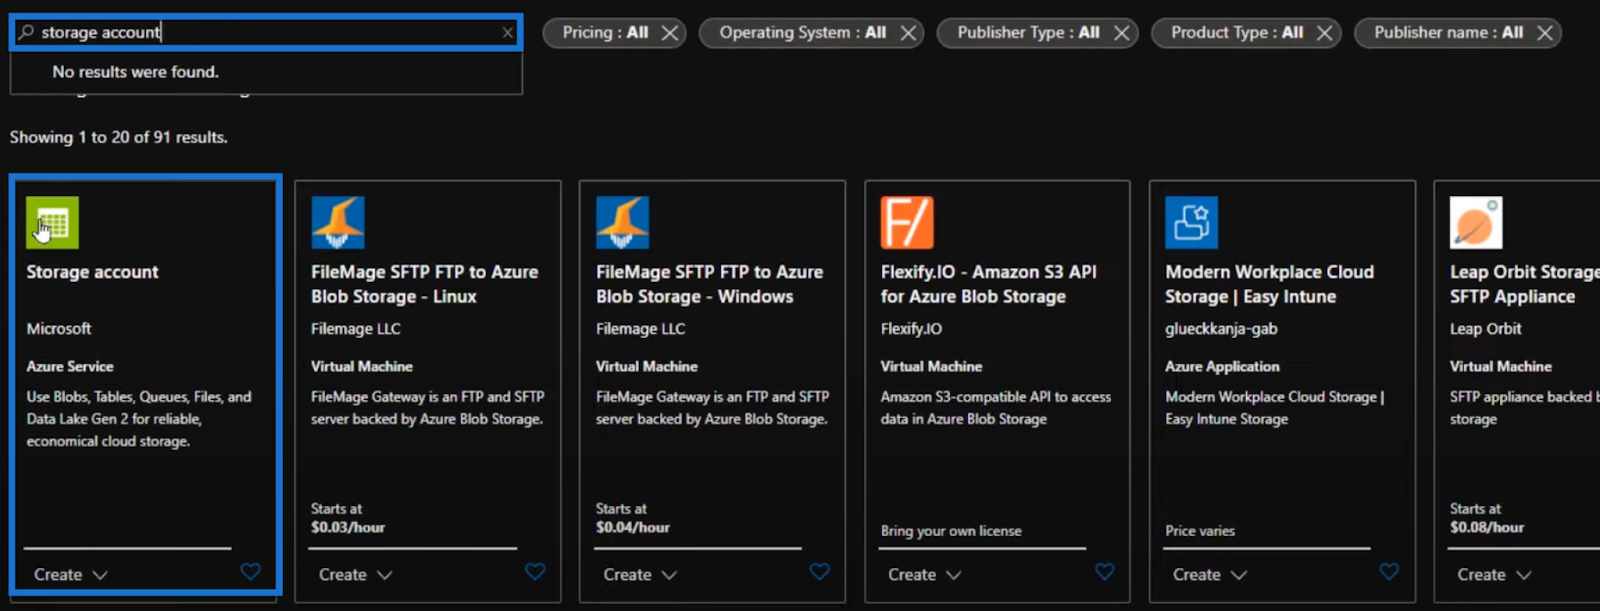
To do that, click Create then search “storage” in the resulting search bar.

Choose the first result, the Storage Account from Microsoft, and click Create.
Then, we need to define which subscription and resource group the account should be in. We should also give it a name and select the region we are in.
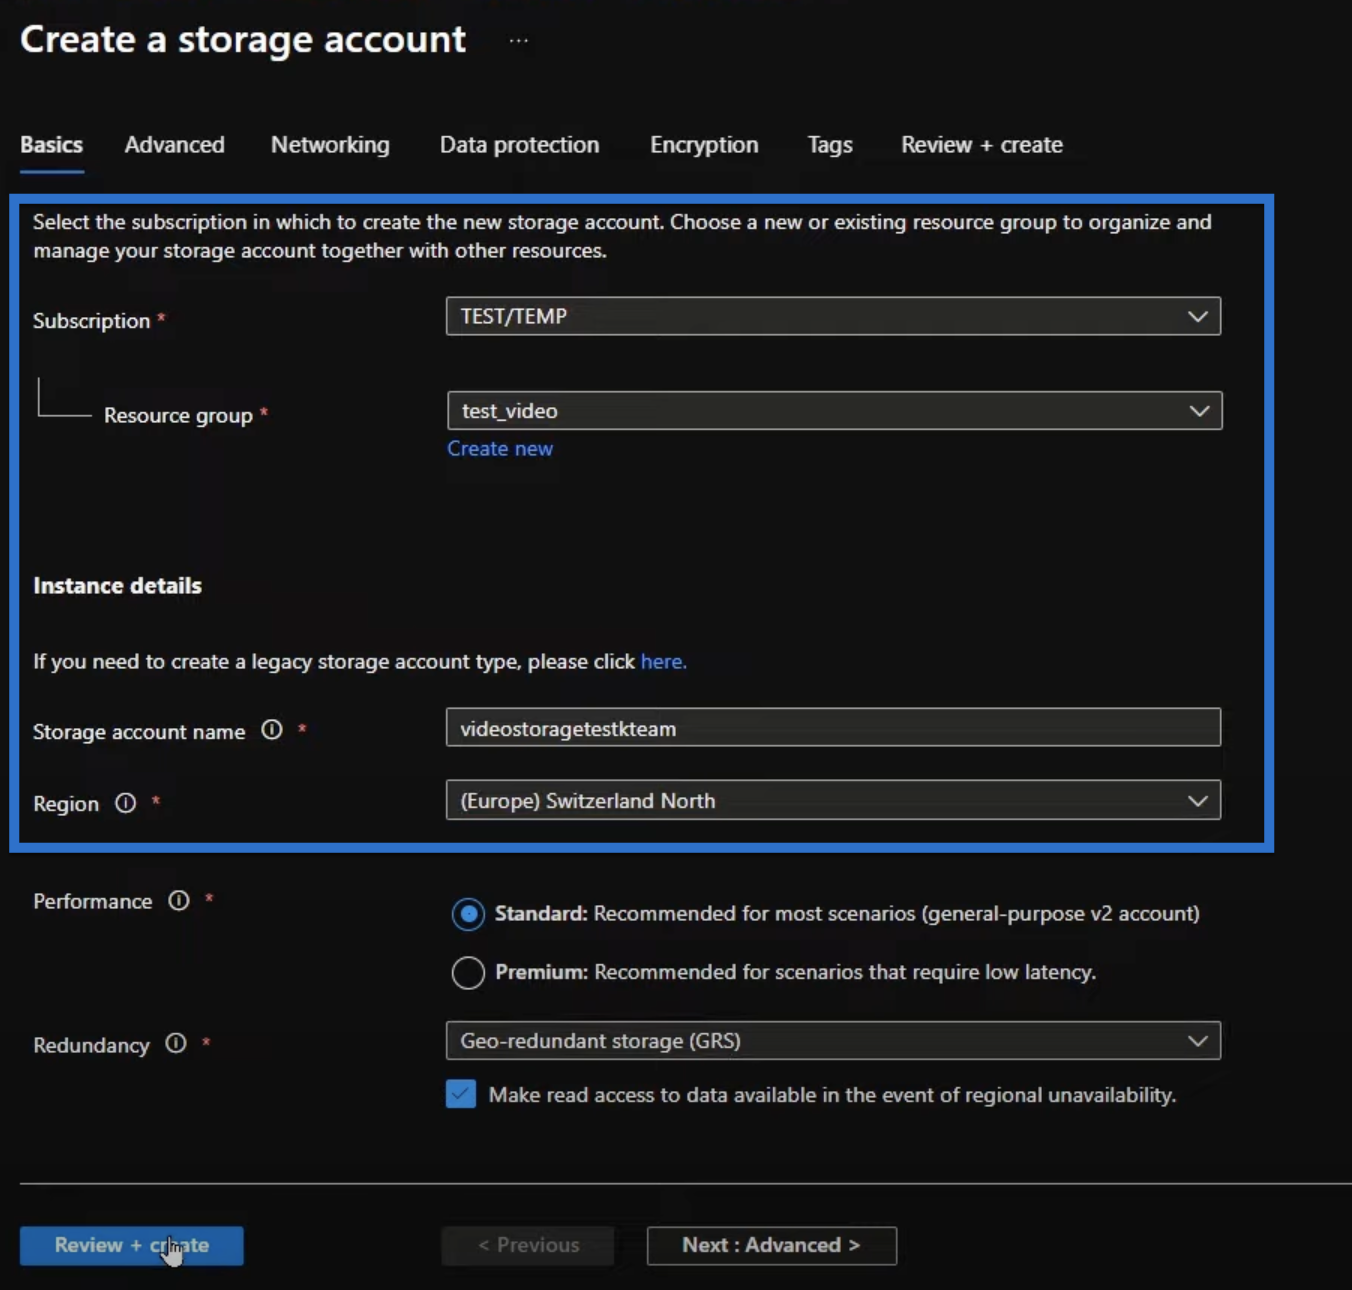
With every Azure resource, there’s a lot of settings that we can go through such as the ones below.
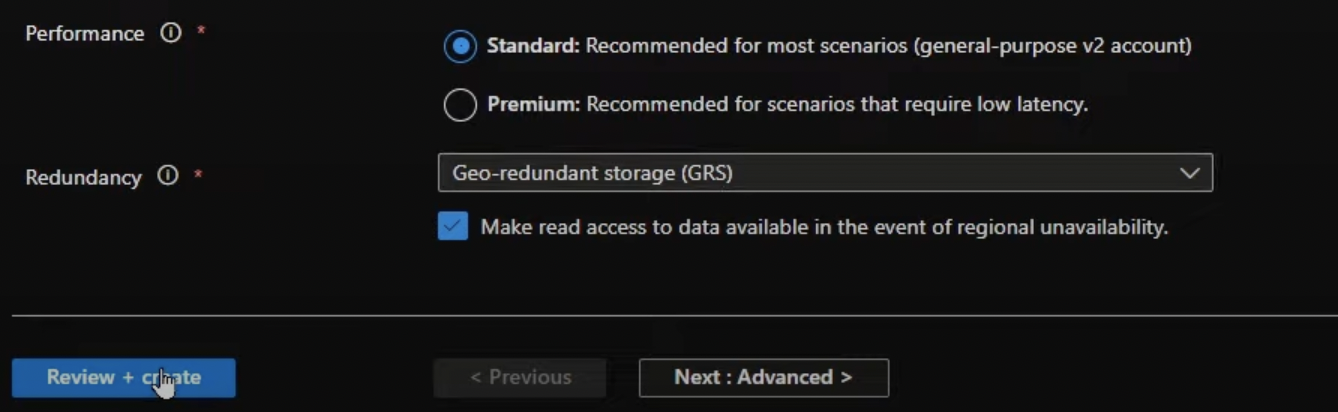
But for this tutorial, we will use the default settings because they work just fine for our specific case.
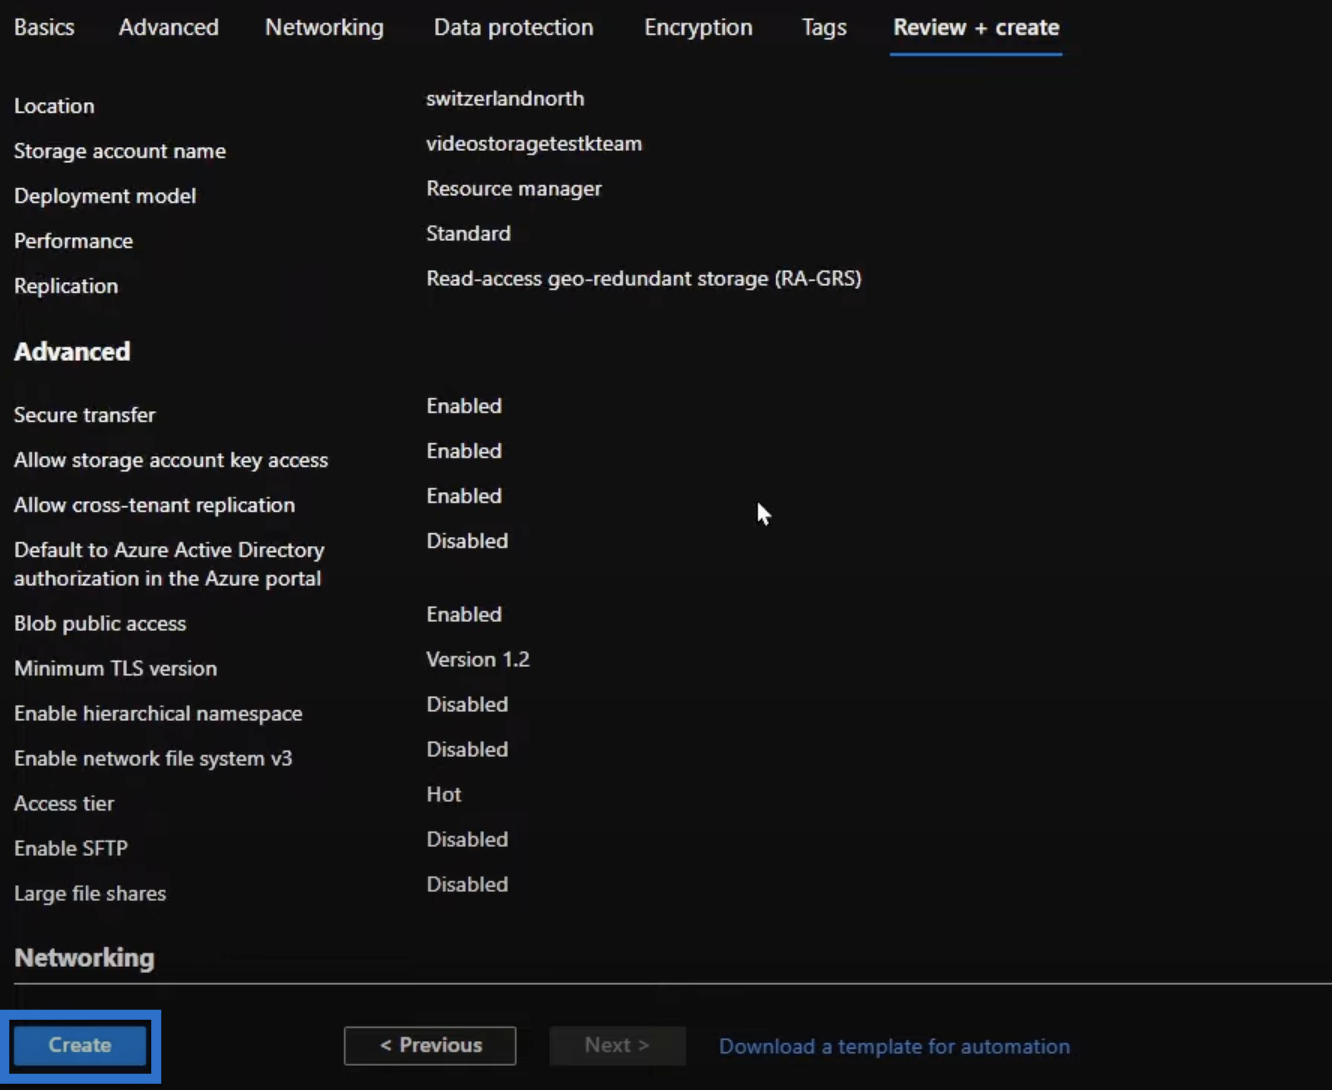
So click Review + create then Create in the next page.
The deployment of a new resource might take one or two minutes. We can check the notifications and see when it’s currently still deploying.

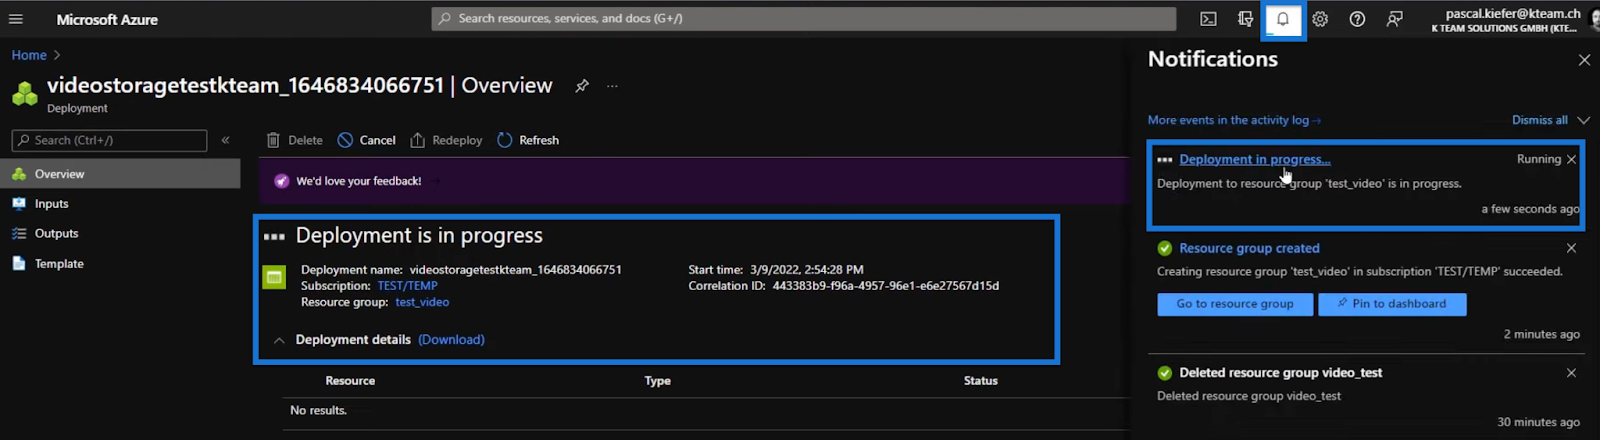
Once it is deployed, we can go to our storage account and upload the video.
We will go to Home and open the appropriate subscription and resource group. We can then start adding videos to it.

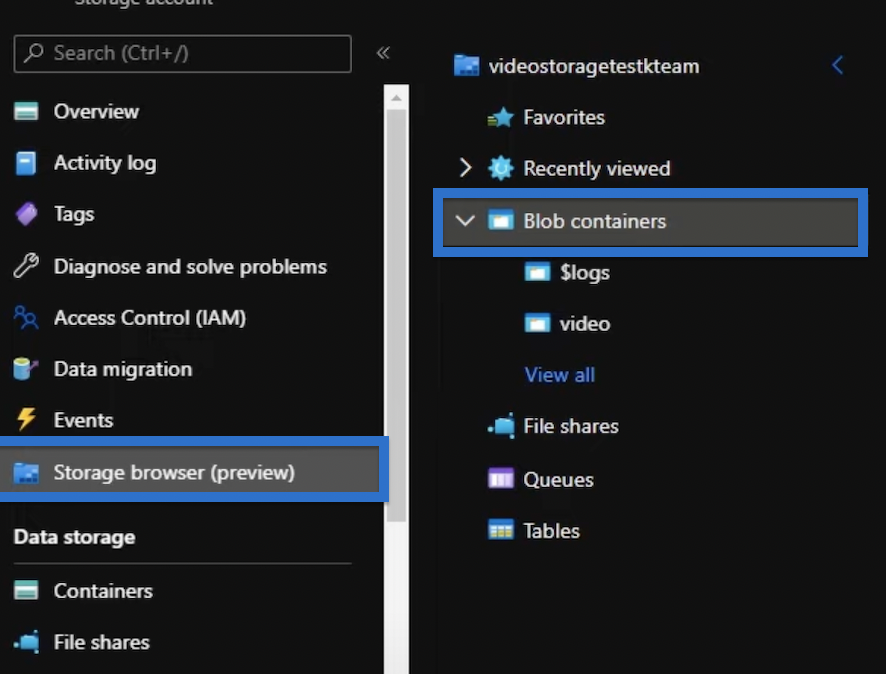
To do that, open the storage account.

Then, click Storage browser (preview), Blob containers, and Add container.
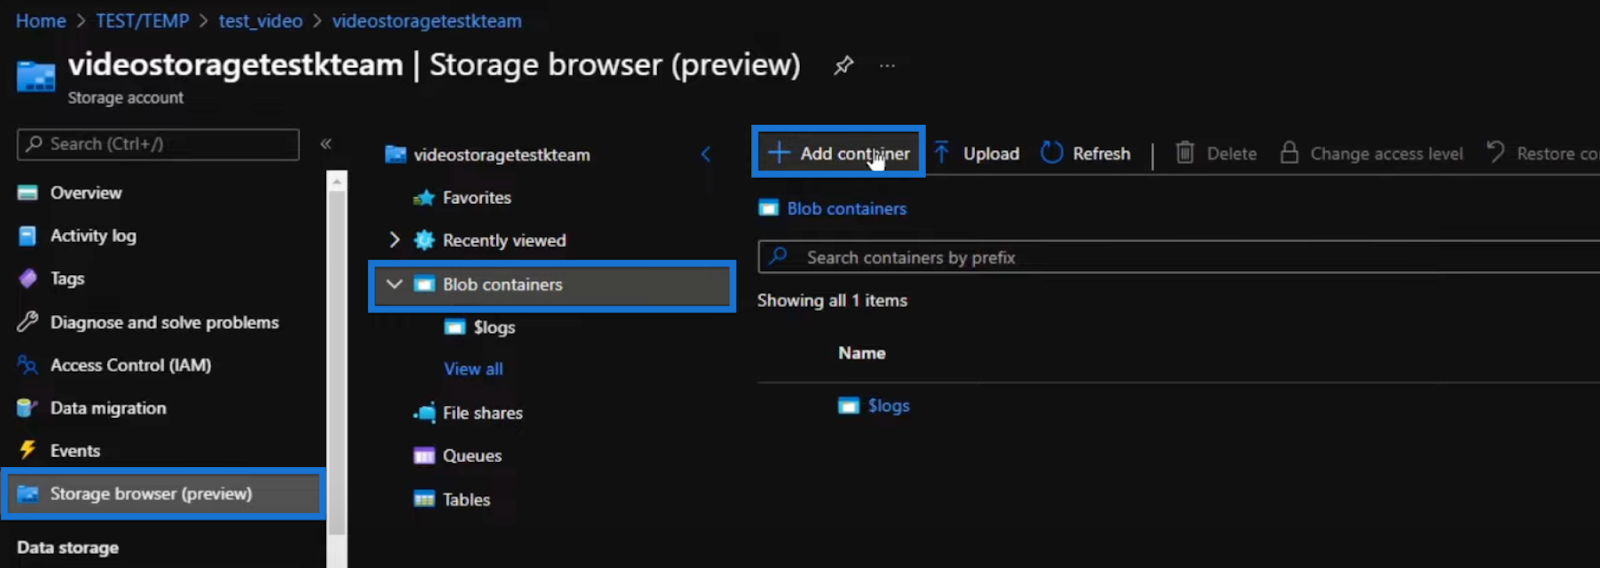
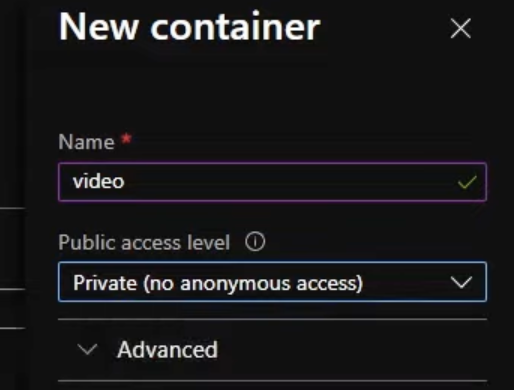
We will simply call it video. We also need to decide whether to make the container private or anonymous.

For our container, let’s opt for Private (no anonymous access) first.
The Blob (anonymous read access for blobs only) means that everybody with the URL to the video or the file within the container can access it, while for Private (no anonymous access), one needs a bit more to set up.
Here are the details of our new container.
The next step is to try adding a video to it.
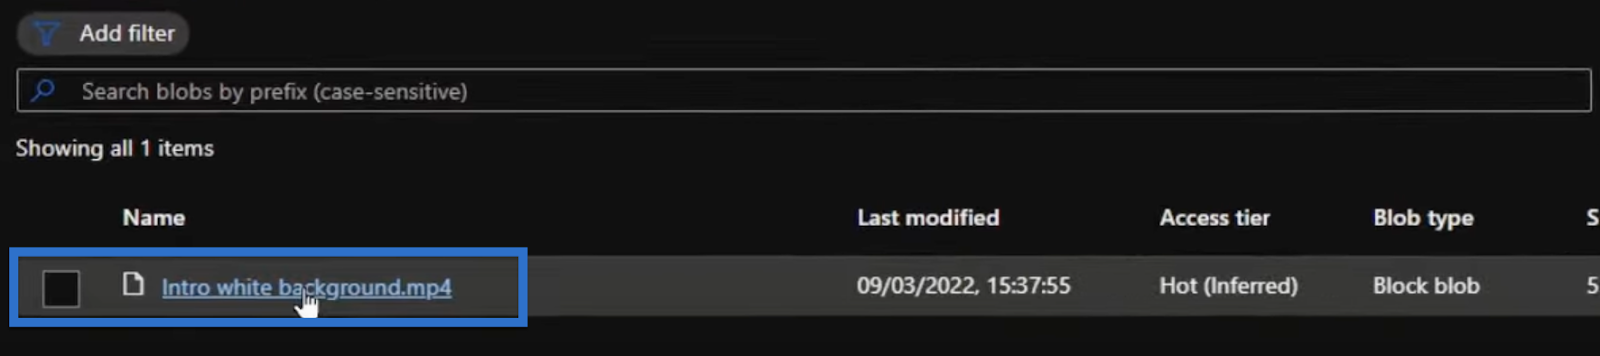
So, let’s open our video container found in the Storage browser (preview). Then, click the Upload button and Drag or Drop our video file.

The video file should appear.
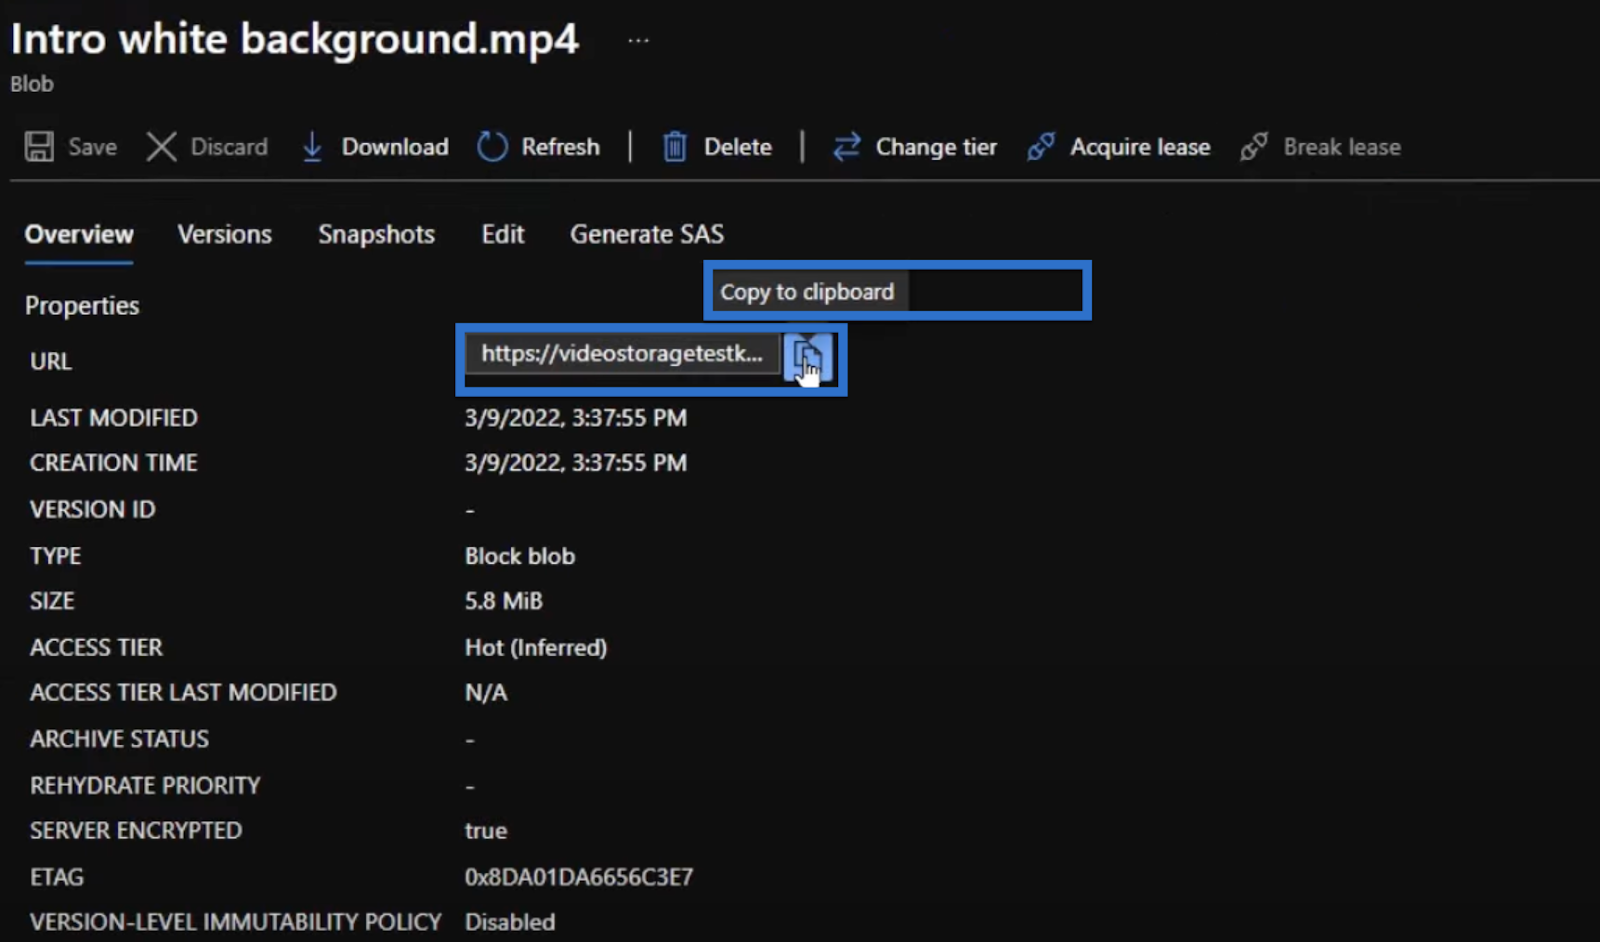
And when we select the video file, we will get the URL that we can copy to the clipboard. Let us paste it to a private window (Incognito) to see how it would look like for an external user.
We should get an error message as a result. This is because the Blob container is set to private, and we do not have access to it.

So how do we solve this problem? How can we access the video?
We need to open Microsoft Azure and go back to test_video.
Then, open the Storage browser (preview) and Blob containers.
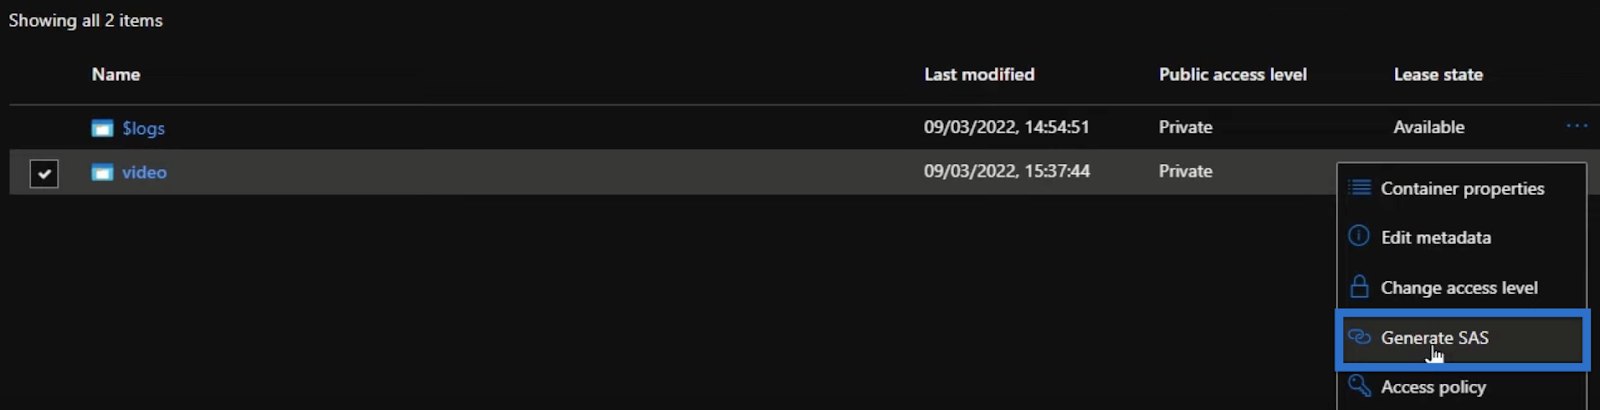
What we want to do is add an SAS token to the entire container. We will do that by clicking the three dots on the right and choosing Generate SAS.
We also want to set our token validity date from today until next year. Then, we can Generate SAS token and URL.

This will create a token in the form of a string under the Generate SAS token and URL button. That is the token that we need to remember and copy.
Now, let’s go back to our private window with the previous URL. It still shouldn’t work as shown below.

But when we add a question mark at the end of the URL and then paste the token, it will authenticate the URL so we can access the blobs within our container.

With the token added, we can now play the video. This means that the URL with the token is what we can also use for our report.
Using the Token in Power BI
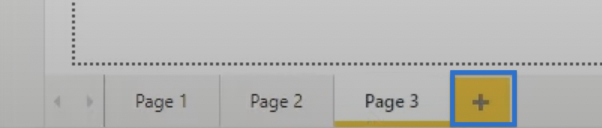
Let’s go back to our Power BI report and create a new page
We have the previous measure we called youtube that looks like this.

We will reuse and update this measure to get working this time.
Retain the video tag and define that we want the video to fill a hundred percent of the space of the visual(width=100%). Also add the controls, which include the dedicated buttons for play, pause and so on.
Most importantly, add the new source or the URL with the SAS token added to it.

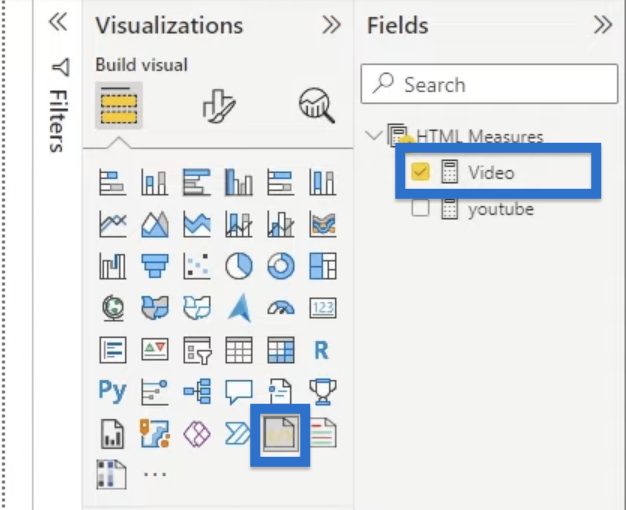
Next, we add the HTML CSS Viewer from the Visualizations Pane and click Video under the Fields Pane.
Ultimately, the video should now show up on our page, allowing us to play the video we uploaded to the Blob Storage.

Note that this works in private, so we need to have the SAS token. Otherwise we won’t still have access to the video.
Without the SAS Token
Let us quickly go through the process on how you would do this without the SAS token.
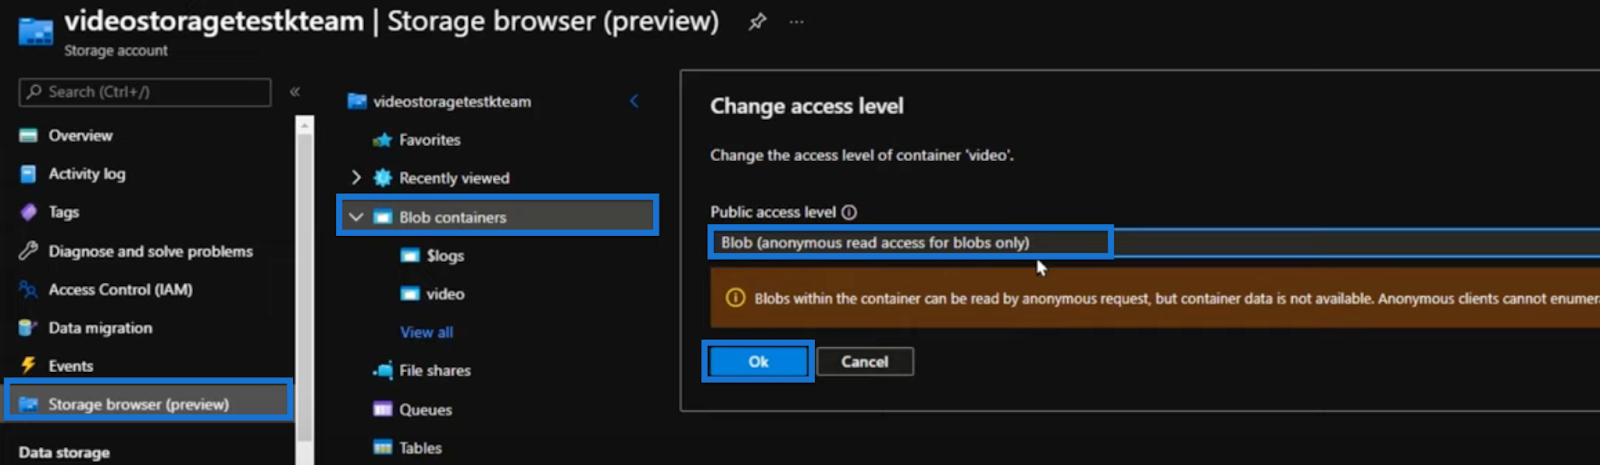
Go back to our Storage account to update the privacy of our video container. Instead of Private, let’s change it to Blobs (anonymous read access for blobs only). Then, click OK.
Going back to our report, we can remove the token and expect that we can still view and play the video.

Changing the privacy of our video container also means that everybody with the link can access the video. For example, if we place the URL in our browser, the video should still play even without the token.
***** Related Links *****
Custom Visual In Power BI: Learn How To Control Font Properties In DAX
Create A Blank Report Using Power BI Report Builder
Report Builder In Power BI: Formatting Objects & Visualizations
Conclusion
Directly embedding YouTube videos into Power BI reports is not possible due to the restrictions from both Microsoft and YouTube.
One easy way to address this issue is to add buttons with hyperlinks to the videos. This works without any custom visuals and is compatible for YouTube videos or videos from Blob Storage.
But if you want to have your video embedded within the report, the most user-friendly approach is to use an Azure Blob Storage. It is easy to set up, convenient, and also relatively cheap.
You can apply what you learned today in making your next Power BI report. For example, you will find it helpful to add an end-user help video from the developer to explain how the report is to be used. There are a lot more applications for videos on Power BI, and you can now take advantage of them.
All the best,
Pascal Kiefer
[youtube https://www.youtube.com/watch?v=H8PsruURpCg&t=150s&w=784&h=441]


")