

In this tutorial, you’ll learn how to create a free trial account in MS SharePoint. You’ll also discover how to add users in Microsoft SharePoint and assign licenses.
SharePoint is a Microsoft tool that makes collaboration and document management more efficient.
Getting A Free SharePoint Online Trial Version
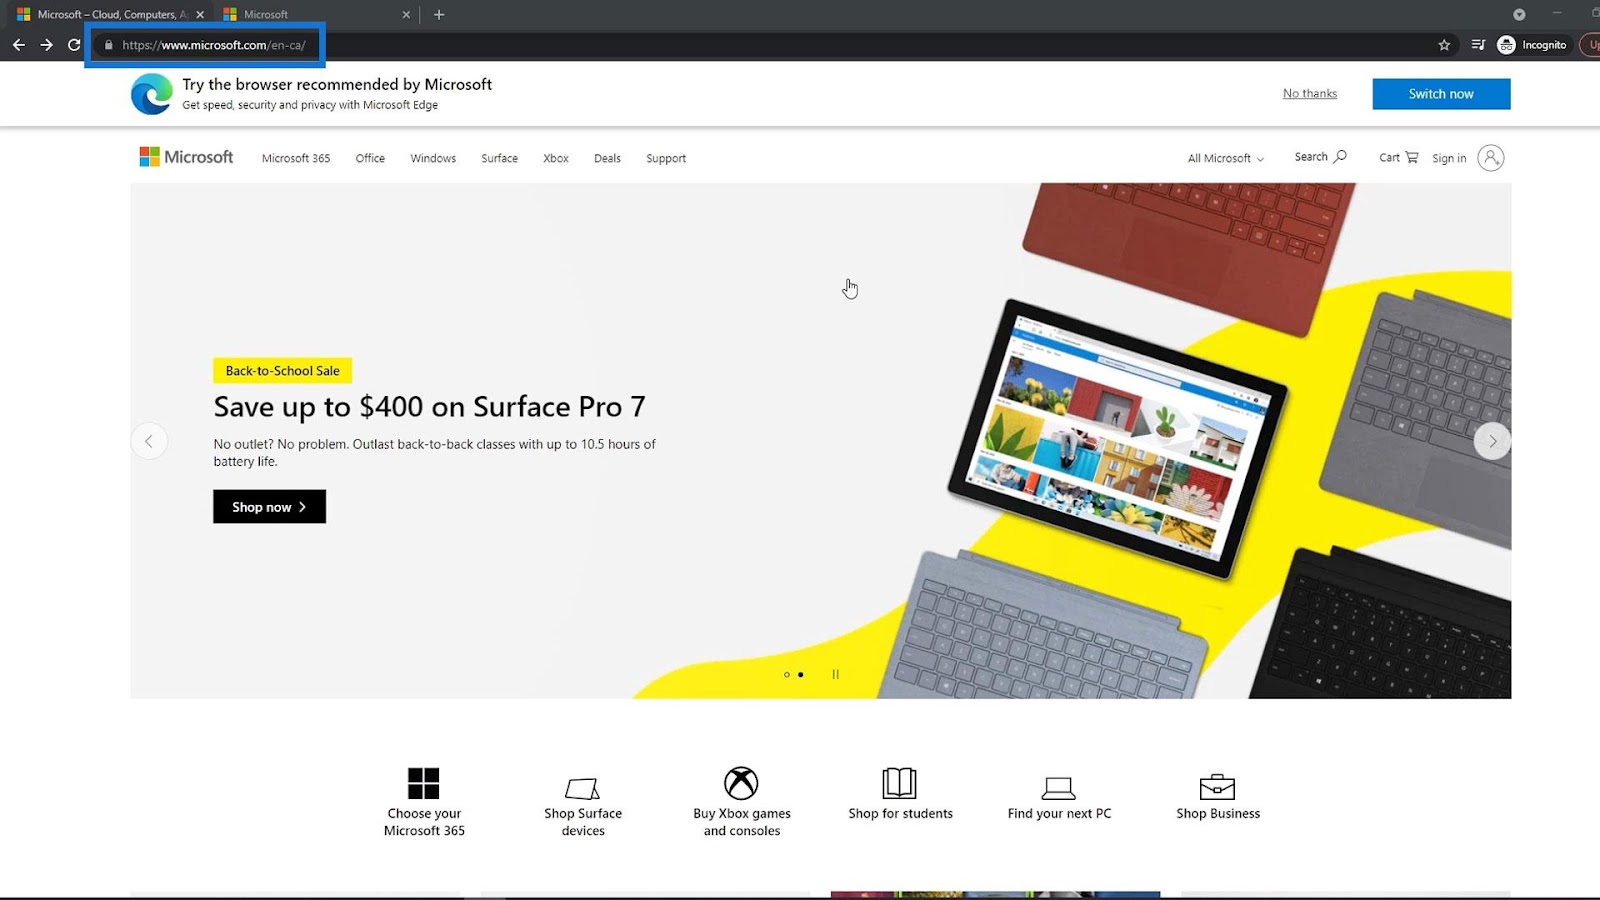
First, we’ll learn how to get a free trial of SharePoint online. SharePoint Online is not the actual SharePoint application but you can use them both. To get the free trial of SharePoint online, go to Microsoft’s website.
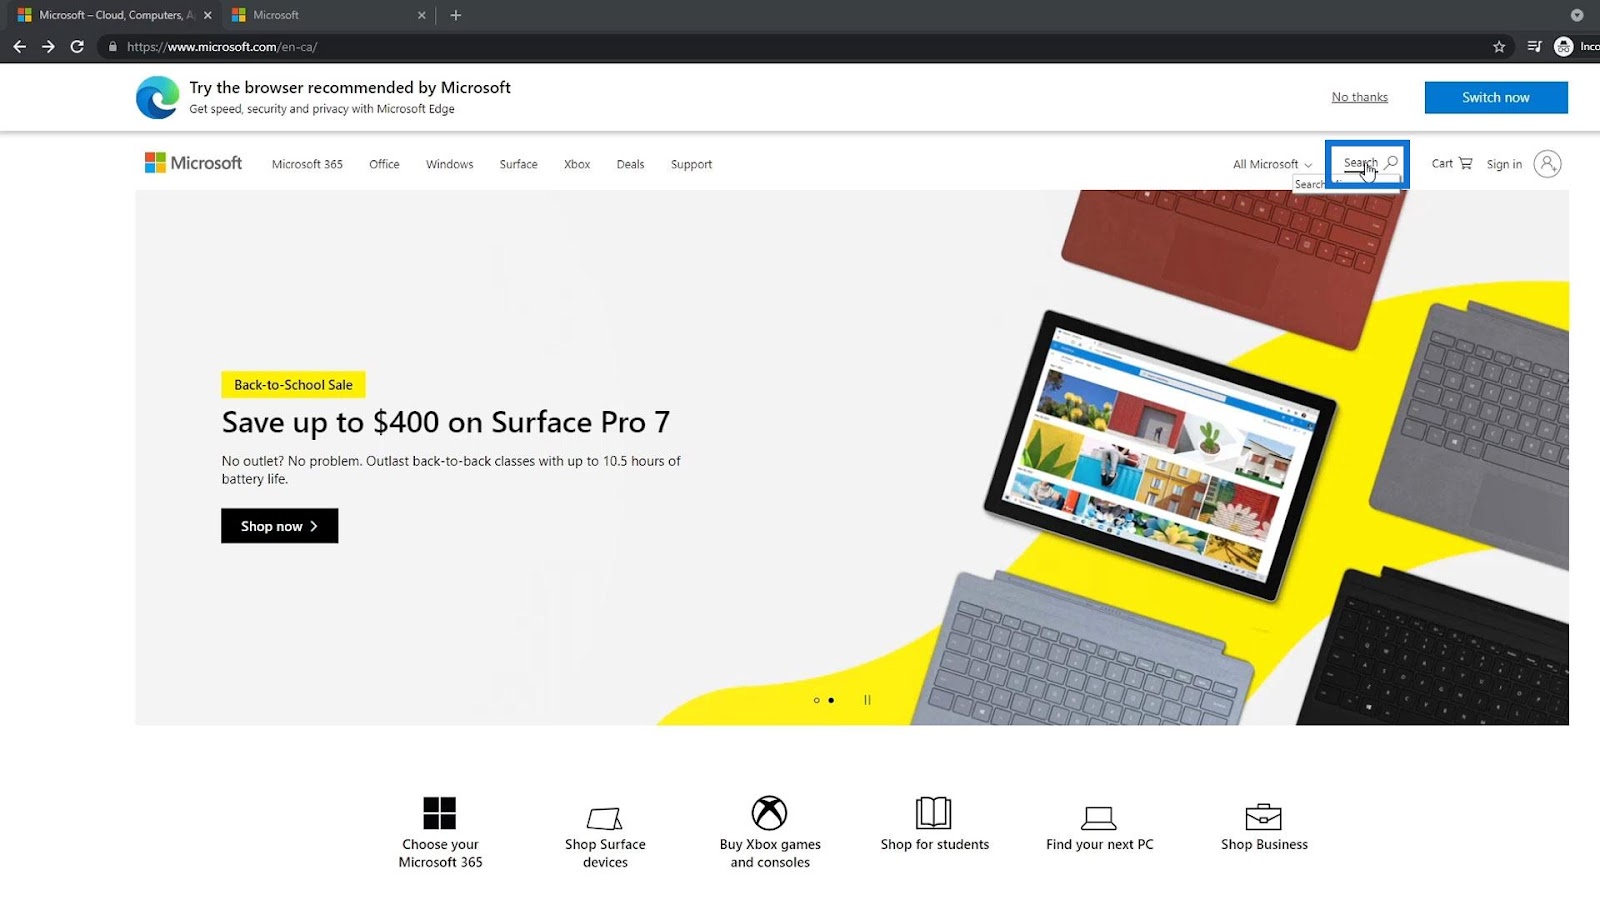
Then click Search.
Search for Office 365 e3.

Then click Office 365 e3 | Microsoft.
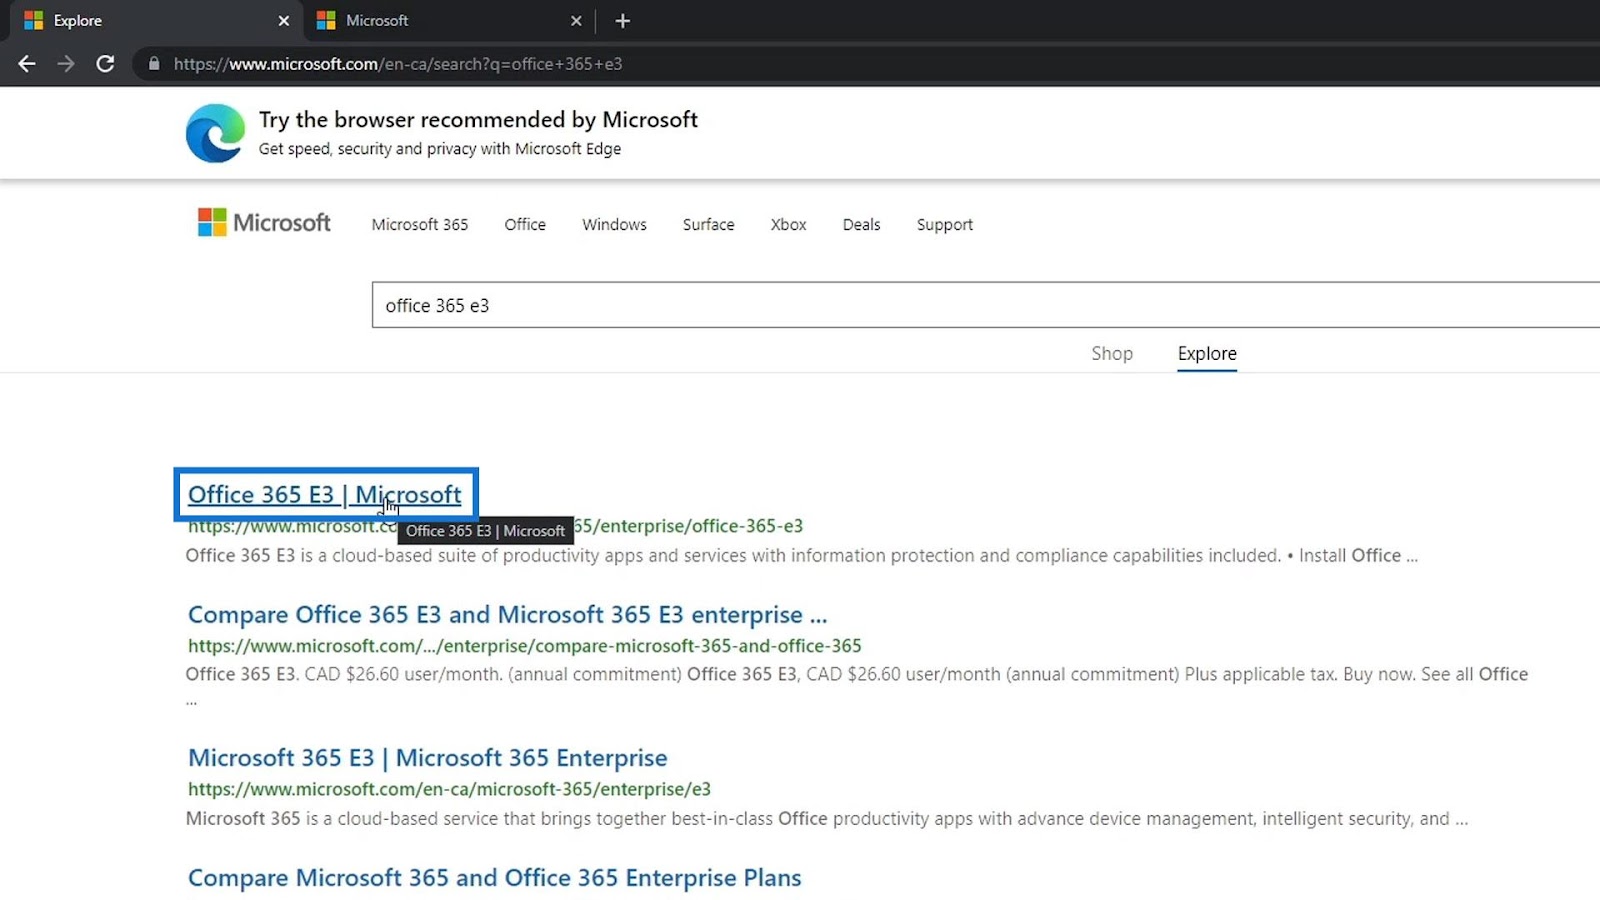
This license gives you access to a lot of online applications like Word, Excel, PowerPoint, Outlook, SharePoint online, and so on.

We’re going to use the free trial version of SharePoint so click on the Free trial.
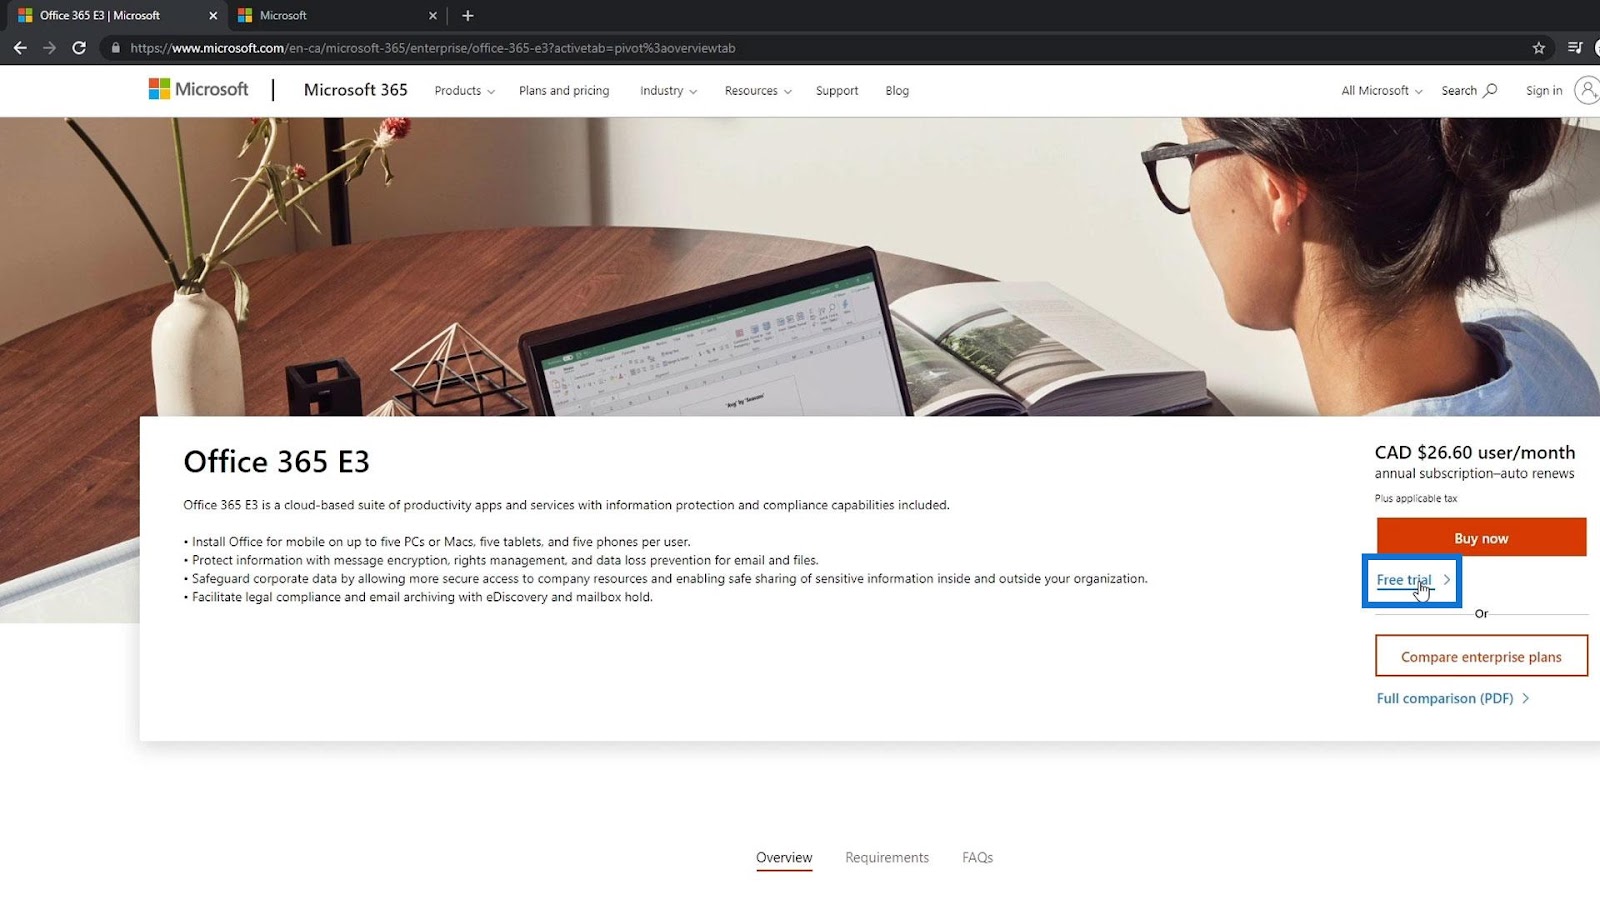
It will take us to this page where we need to register our details. This will give 25 licenses which means you can get 25 different accounts that can use SharePoint and Office 365 for 30 days. After 30 days, you’ll either need to make a new trial account or pay to continue using the applications.

Creating An MS Sharepoint Account
First, enter your email. In this example, I’m using my personal email address.
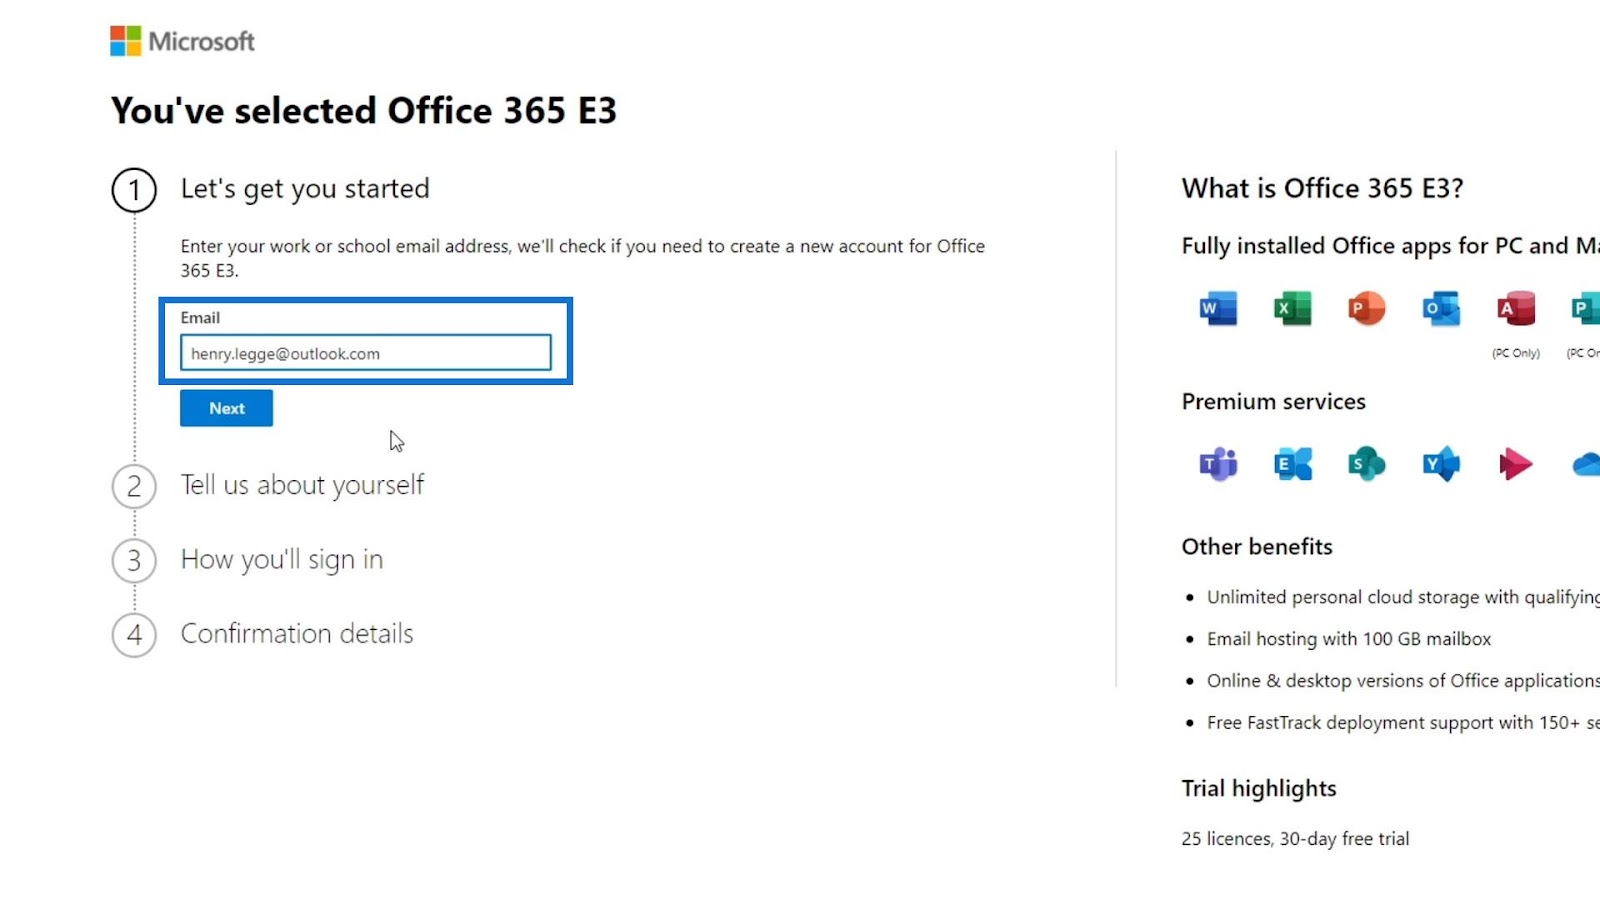
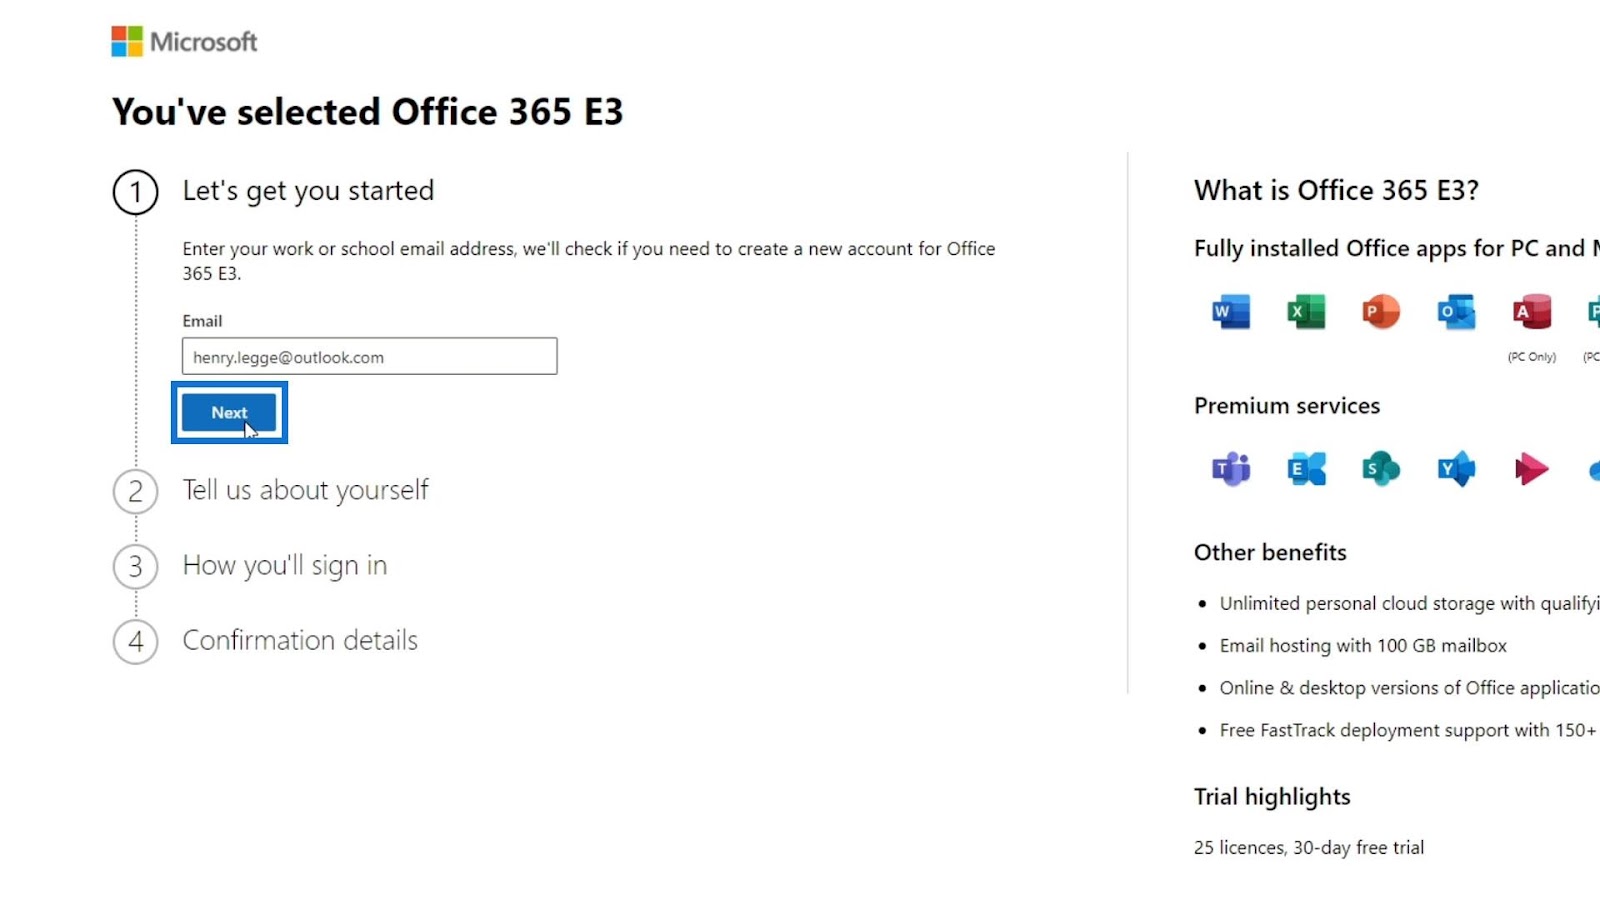
Then, click the Next button.
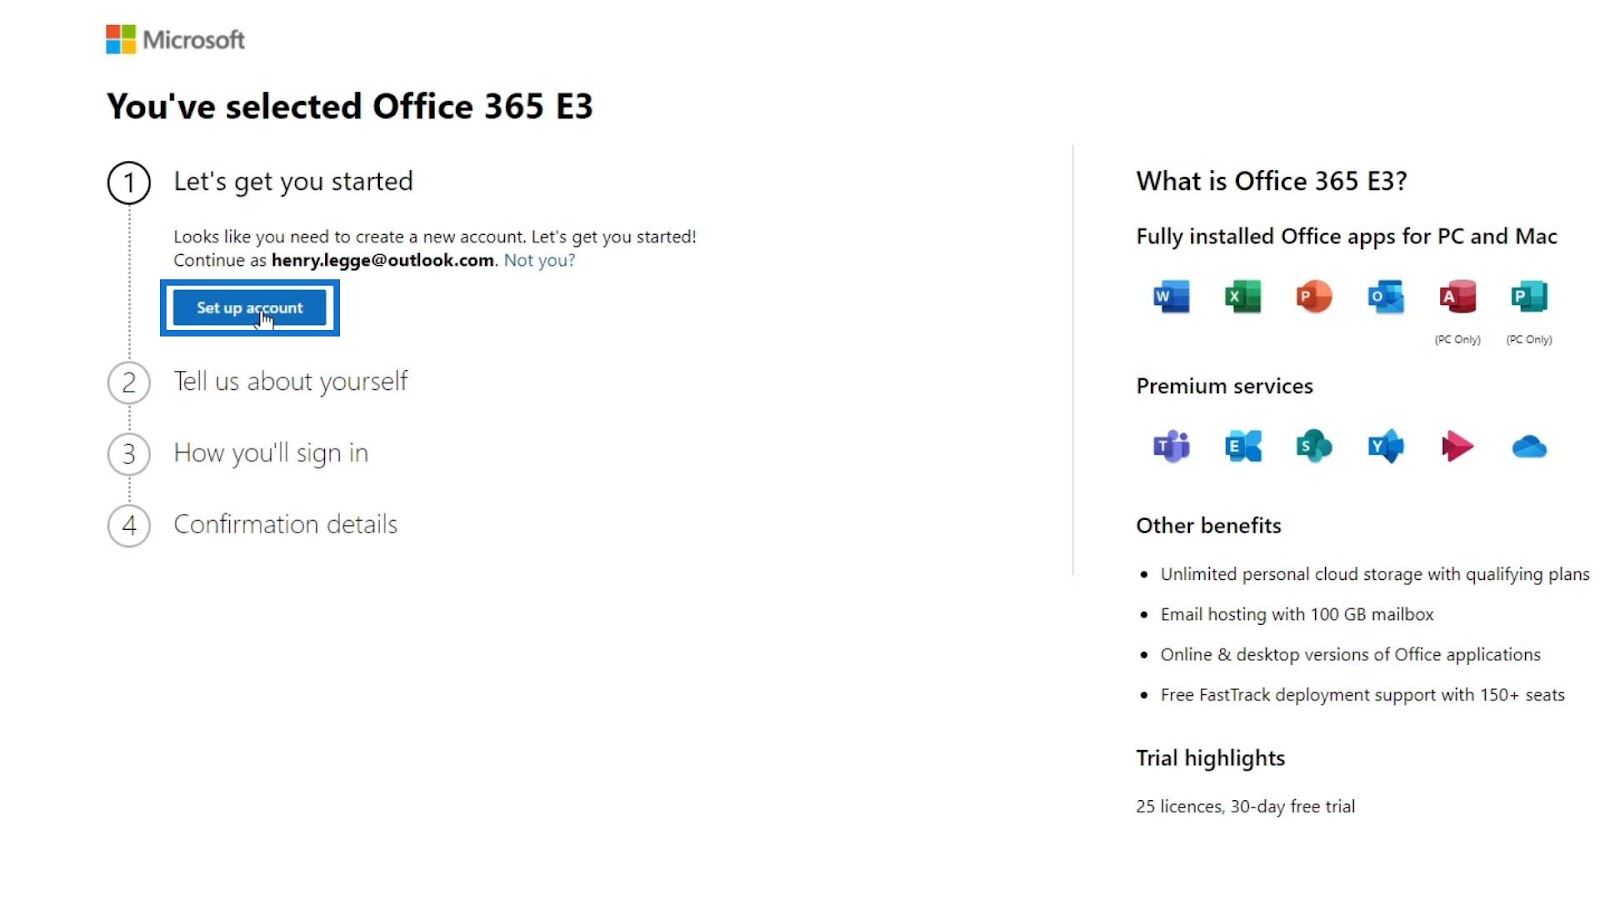
Click Set up Account.
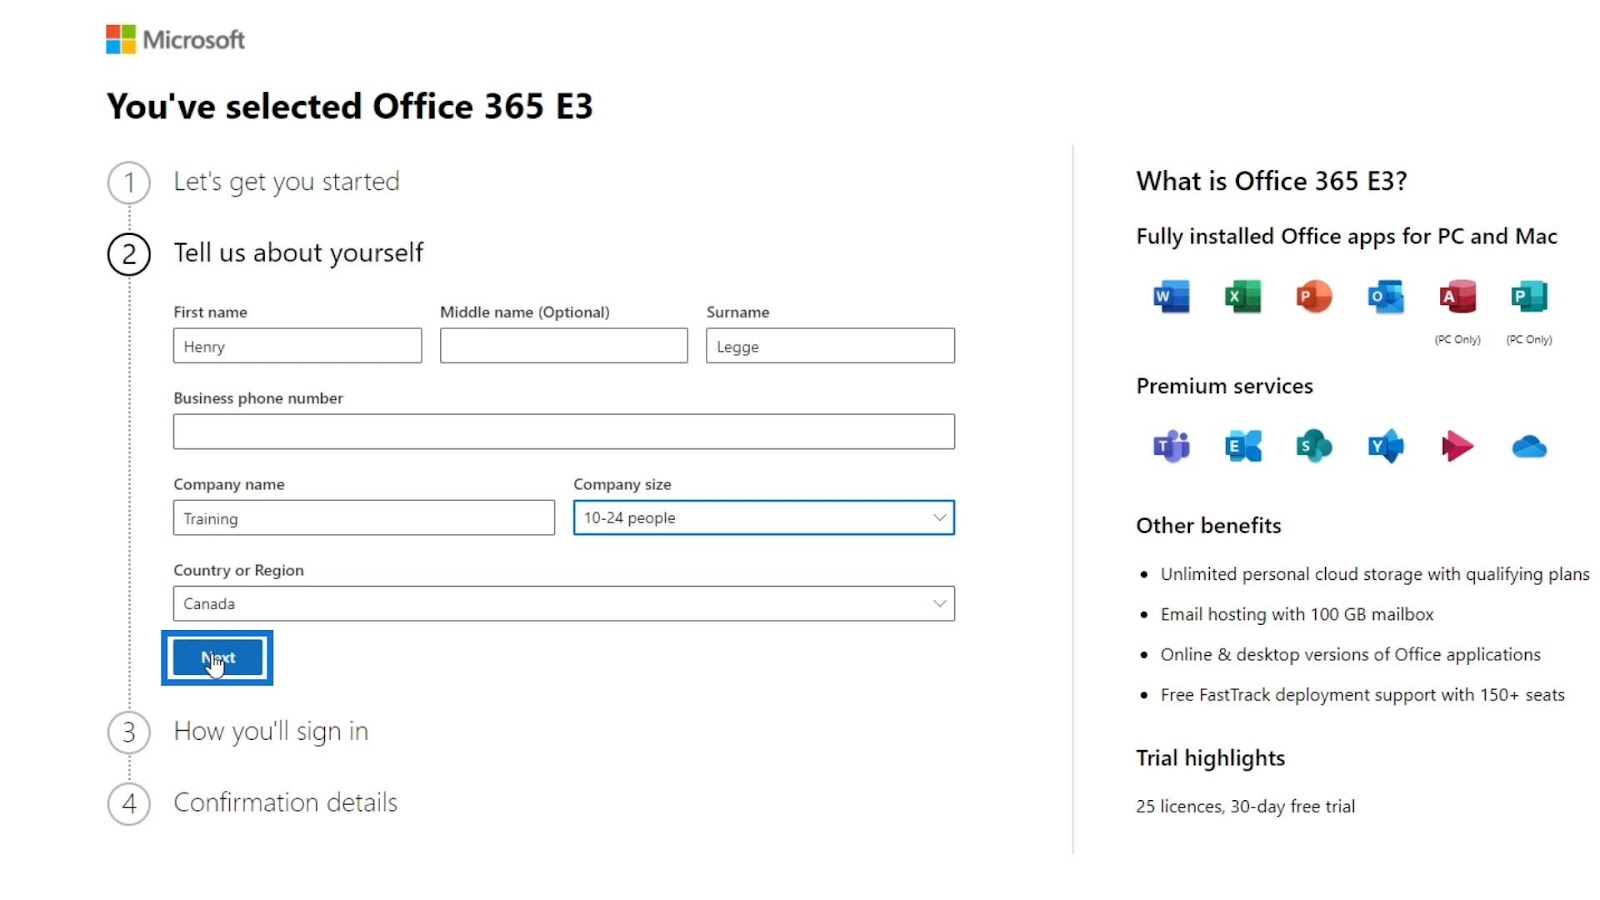
Setting Up Your Basic Information
It will then ask you to input some information about you. It doesn’t matter what you fill in and it doesn’t have any impact on your business at all. For this example, I entered my first name, last name, sample company name, company size, and country or region.

You also need to enter a phone number that you’re actually using because they verify accounts by sending a text message. The only problem is that if you want to create another free trial account, you’ll need a new phone number that you can use.
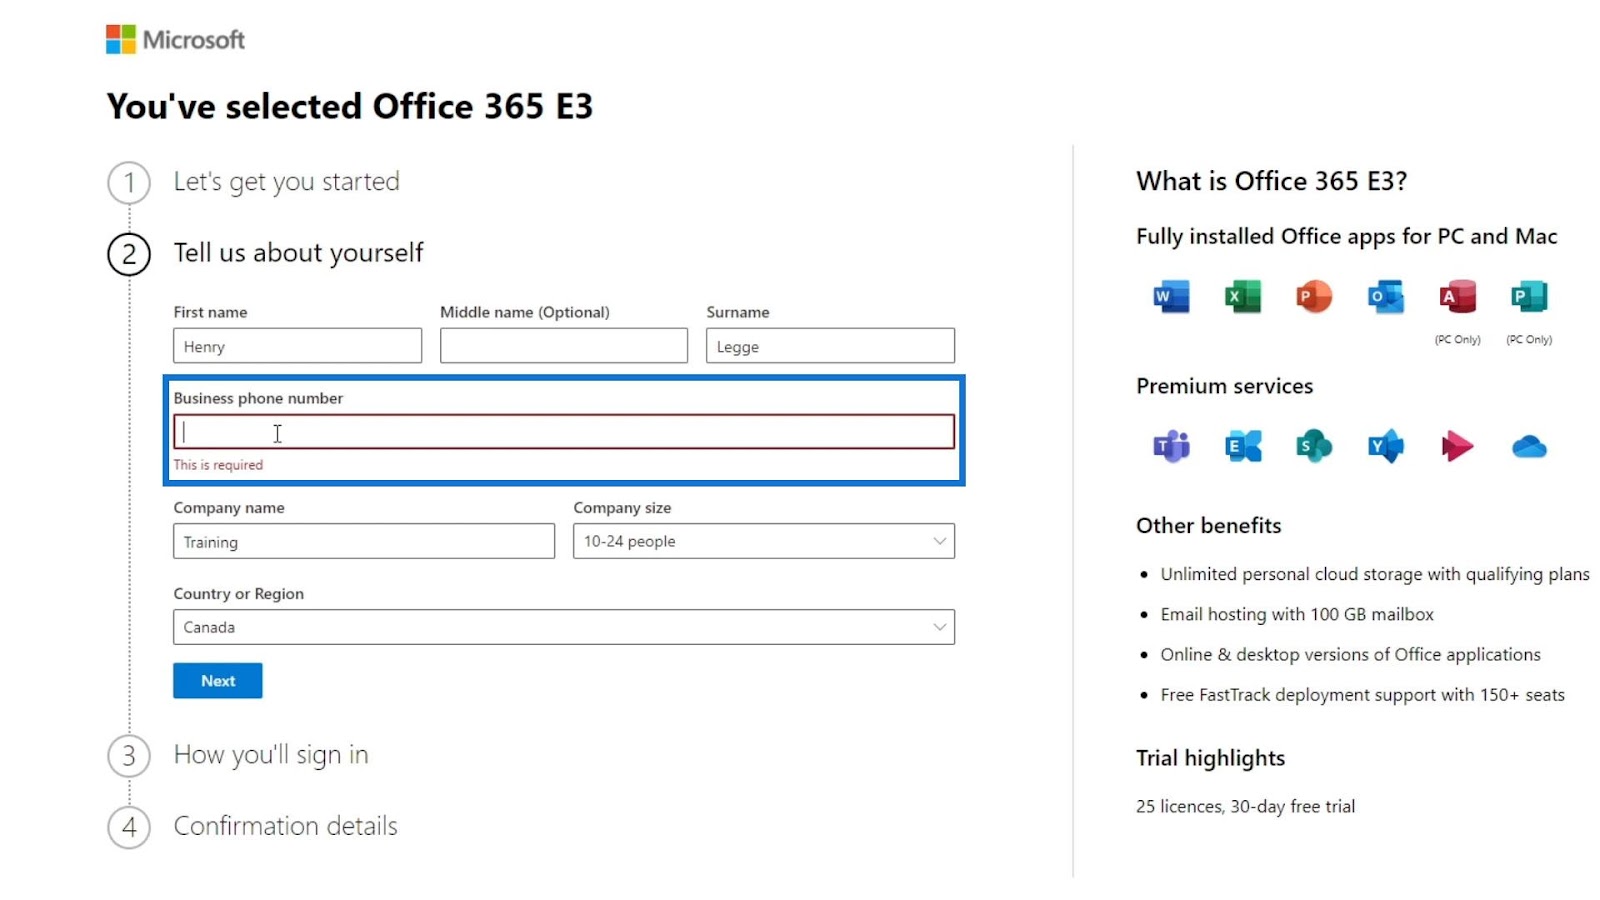
After entering a phone number, click the Next button.
It’ll ask for a verification code on your phone number. Just enter the code and verify it.
Setting Up The Domain
For the next step, you’ll need a domain name. For example, if your business is called remote, you might use remote.com as your domain. SharePoint connects directly to that URL. So, if you or your employee wants to go to your SharePoint, you’ll go to SharePoint.remote.com.
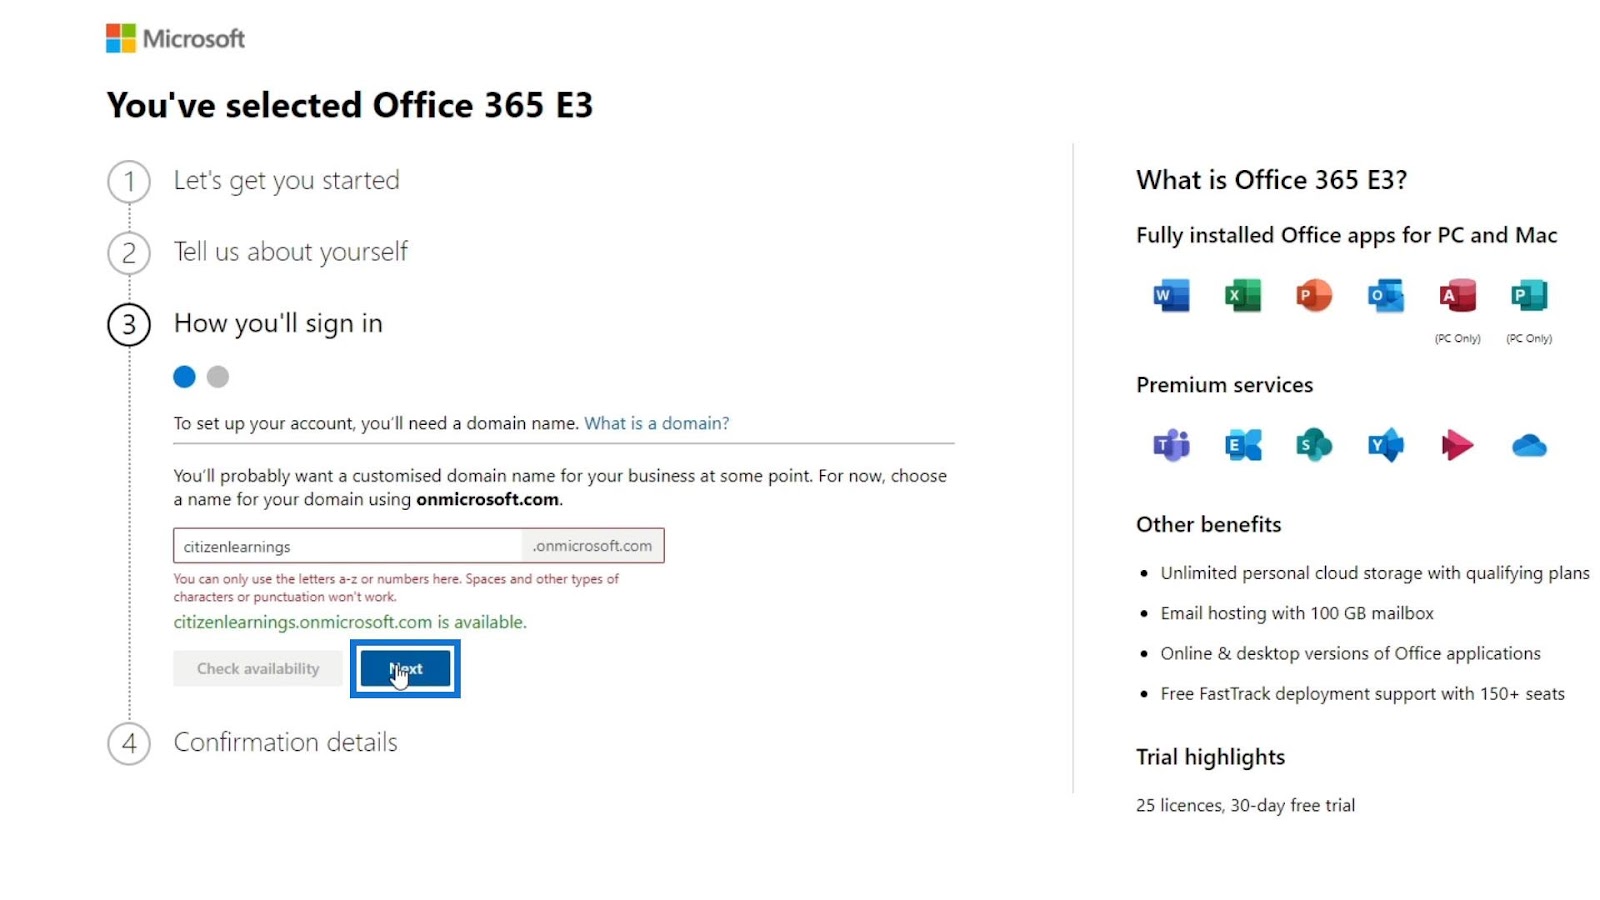
We will not discuss the process of making your own domain. Fortunately, Microsoft lets users use their domain, .onmicrosoft.com. It’ll then simulate your SharePoint URL. Hence, you only need to input the name of your business. In this example, I’ll use citizen learnings as my business name.
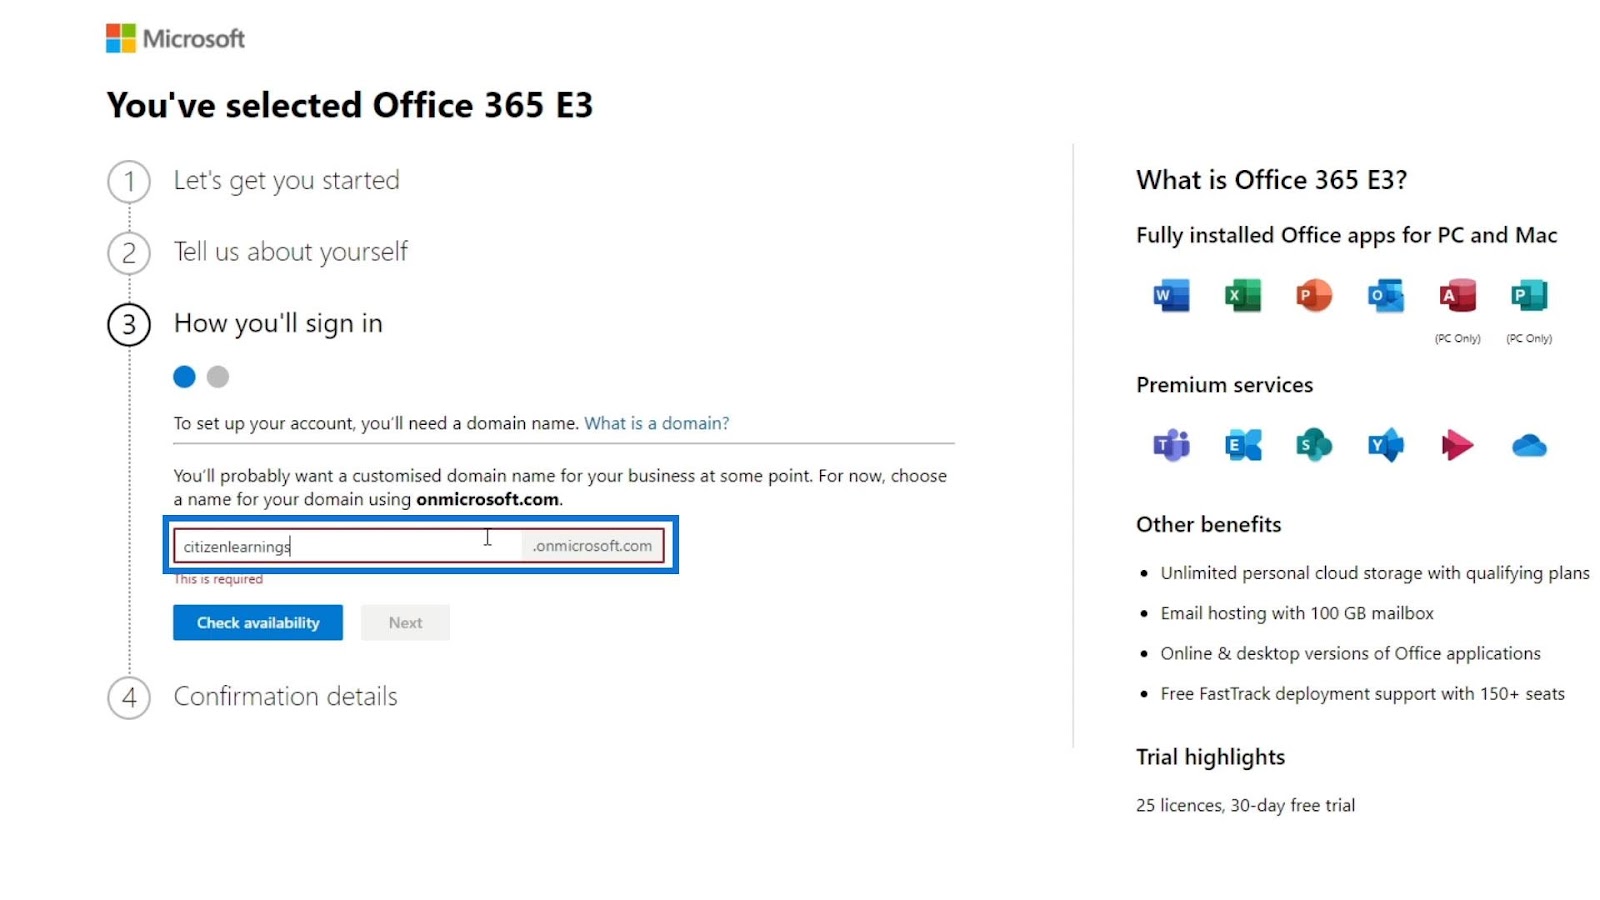
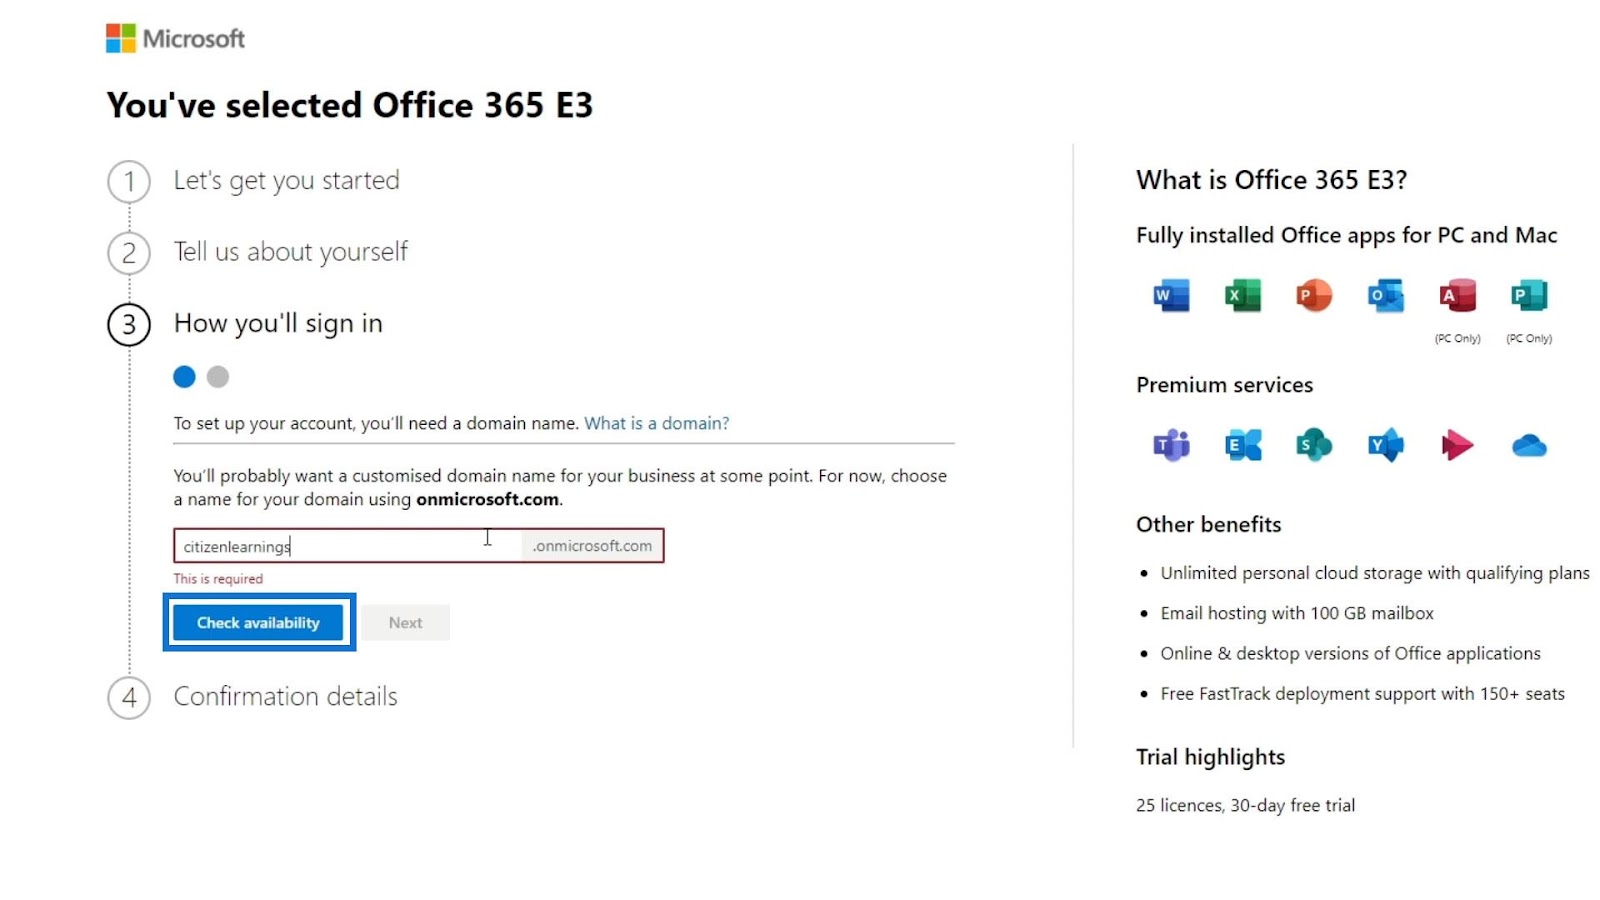
You can also check if your business name together with Microsoft’s domain is available by clicking the Check Availability button.
For this example, the citizenlearnings.onmicrosoft.com is available.
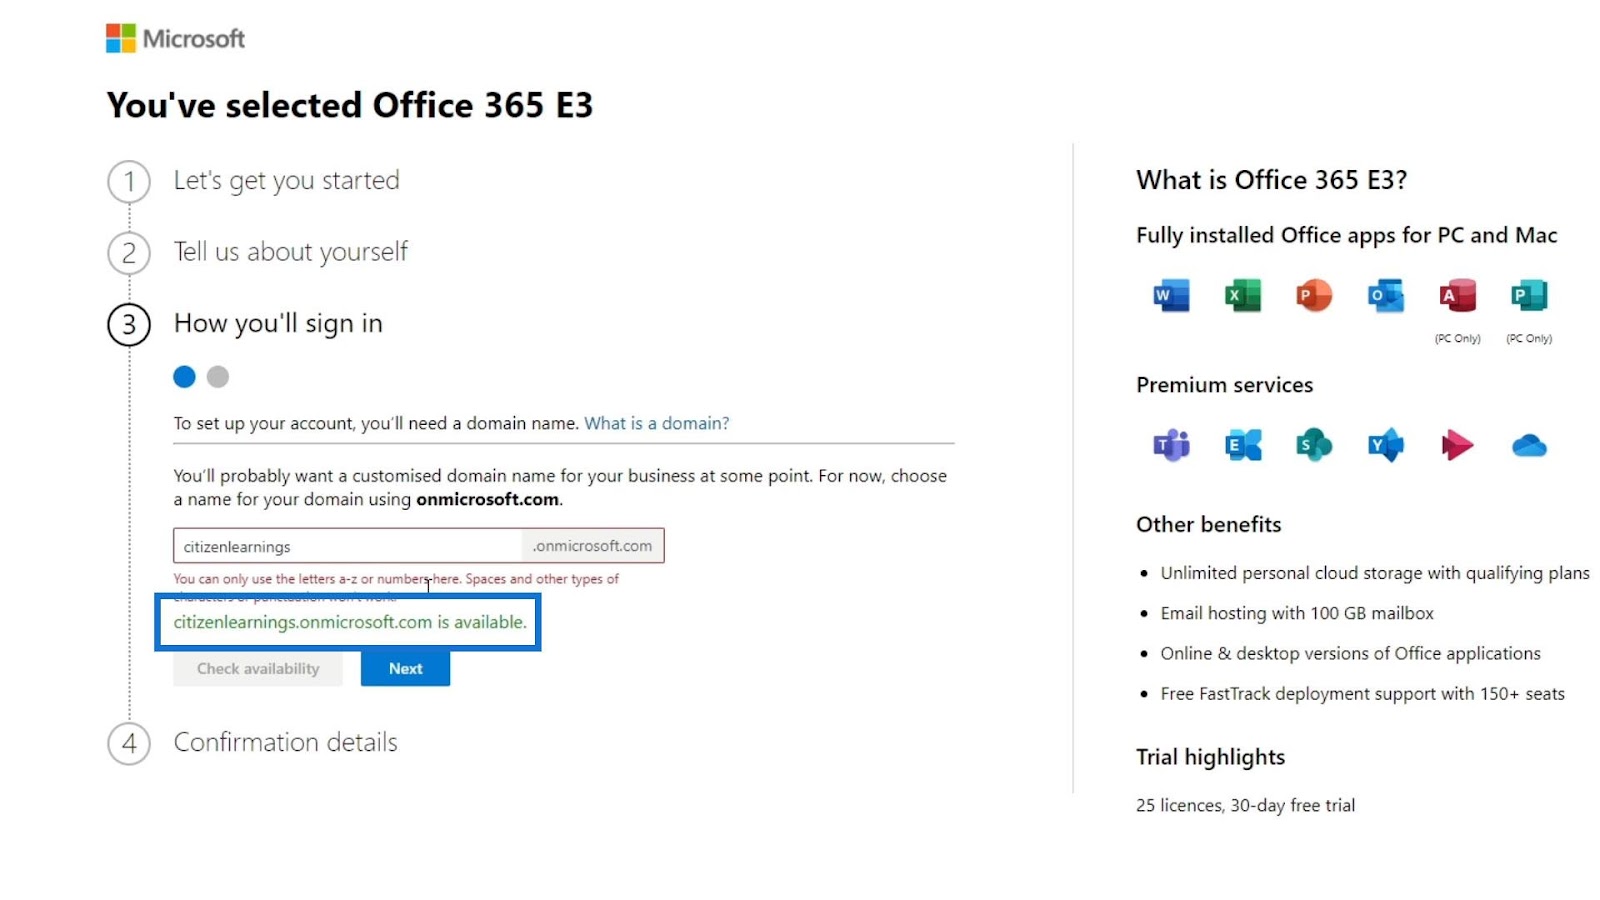
Click Next.
Creating Username And Password
Then, you need to create a username and password. Just enter your username and password. After that, click the Sign up button. Then, it’ll create an account for us.

This will be the account that has access to everything in the domain that you’ve set earlier. For this tutorial, I used citizen learnings.onmicrosoft.com. Again, it depends on what domain name you used.
After creating an account, note that your username is different from the email that you’ve set. You need to use the username when logging in on SharePoint, not the email. In this example, my username is [email protected].
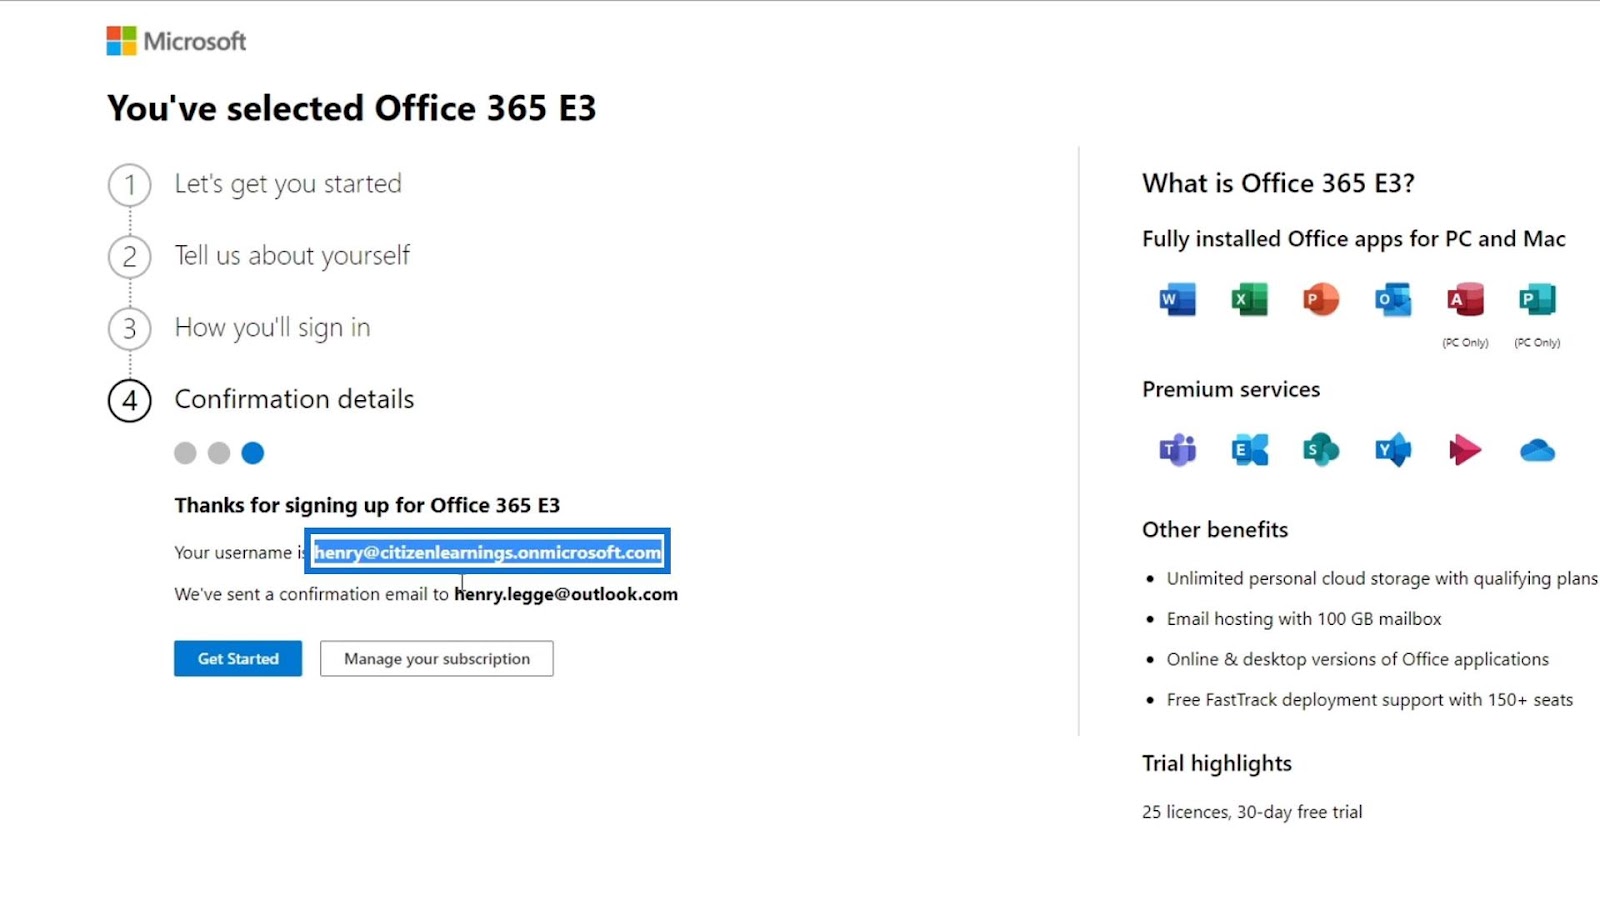
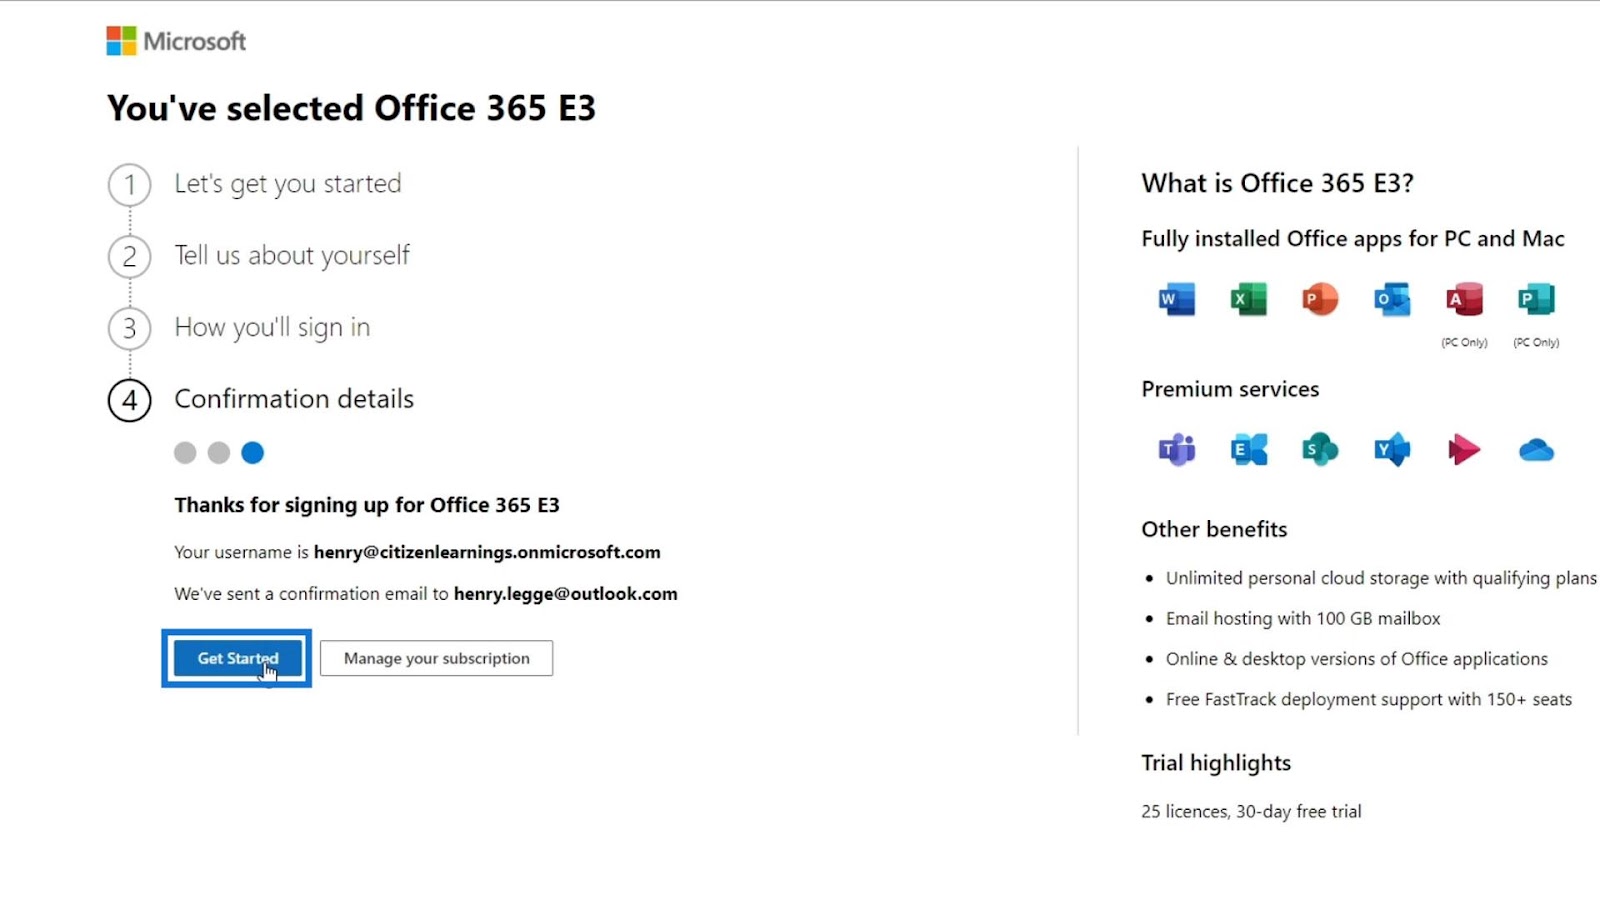
To continue, click the Get Started button.
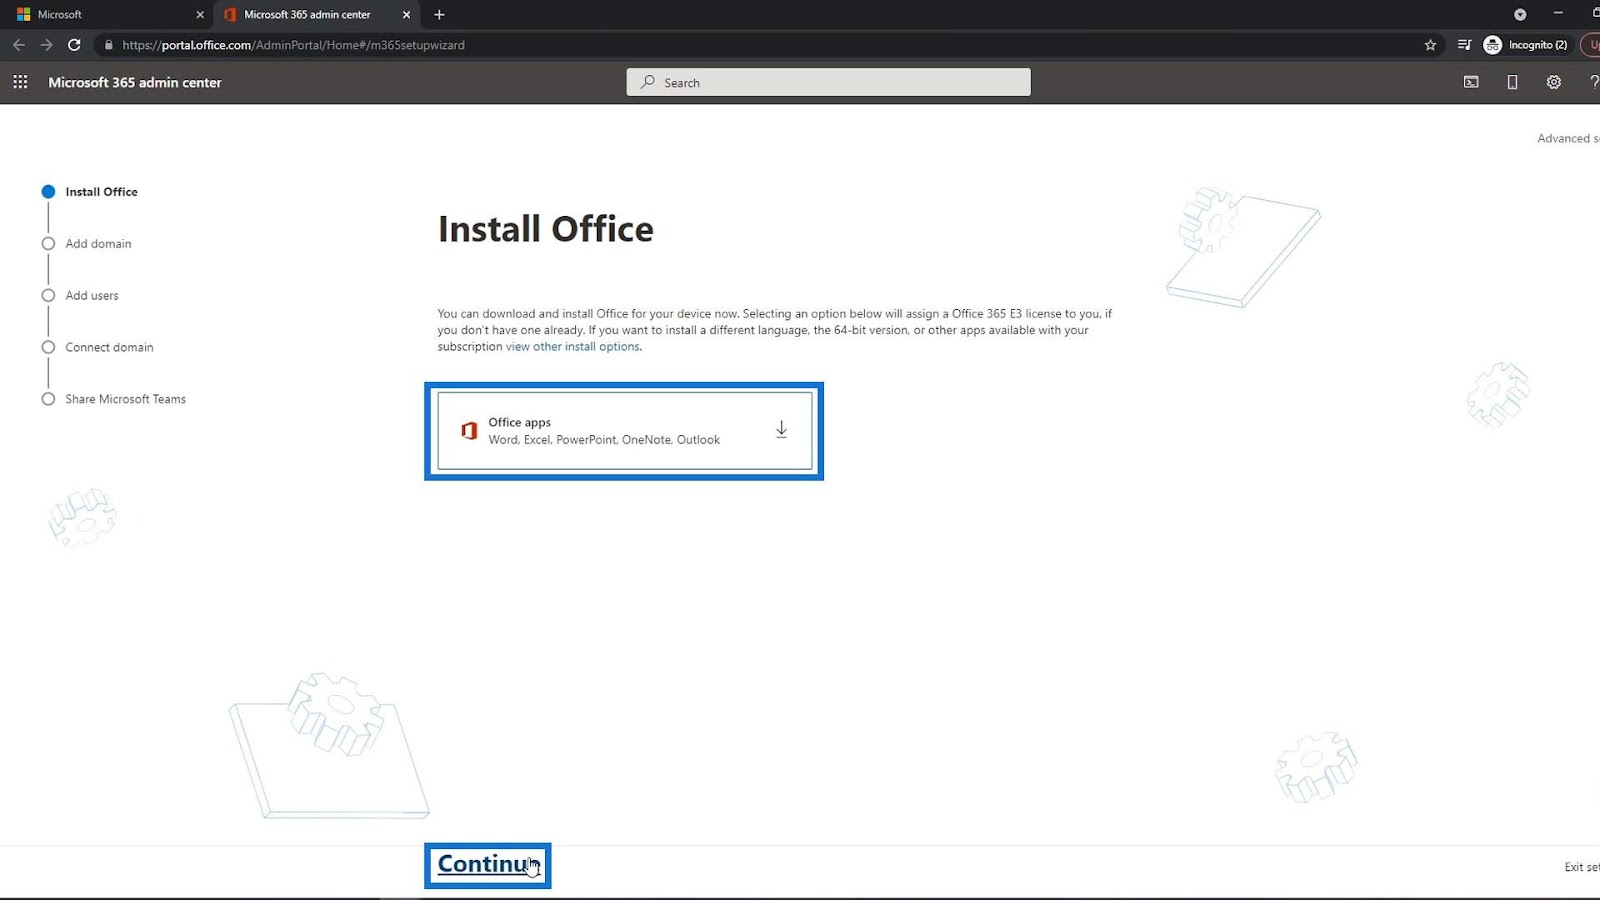
It’ll take you to the admin center page where you can add users and issue new licenses. In this first part, it’ll give you an option to install Office apps if you don’t have it yet. If you already have Office apps, just click the Continue button. For this tutorial, I’ll skip it because I already have this on my computer.
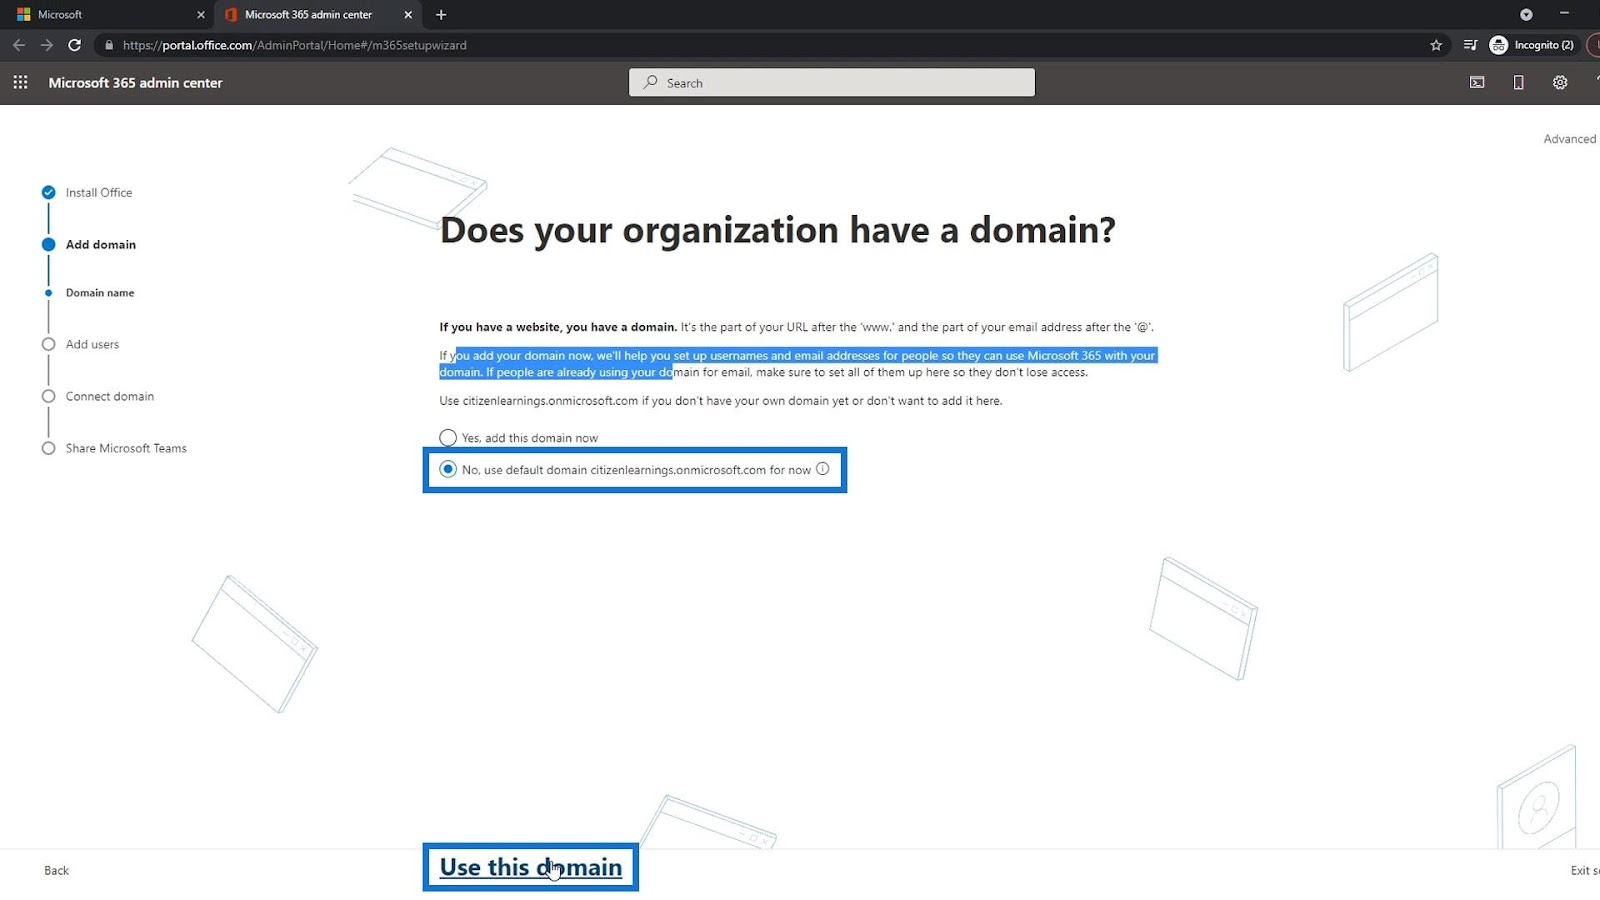
Next part is for adding another domain in case you have another one. For instance, if I added another domain here, It’ll use that domain instead of the citizenlearnings.onmicrosoft.com domain. Having your own domain is essential for your organization. Just for this tutorial, I’ll still use the domain from Microsoft. Then, click the Use this domain link.
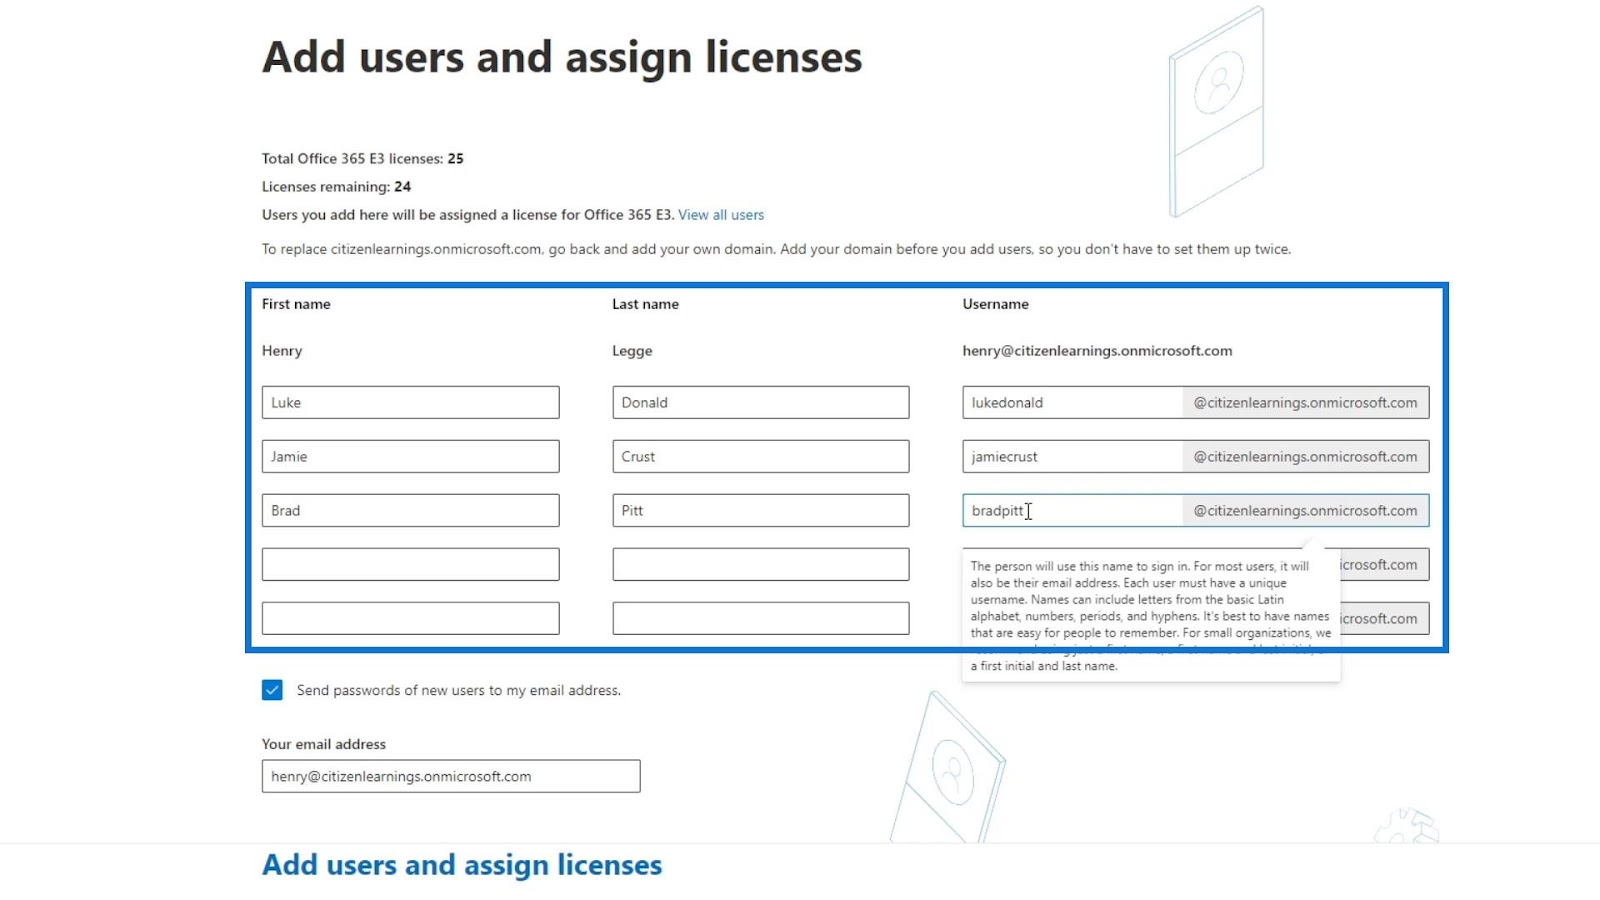
Adding Users In MS SharePoint
We are now on the page where we can add new users and assign licenses. Just type here the first name, last name, and the username of the employees that you want to add.
You can then click on this checkbox so that when all of these accounts are created, an email that contains these accounts and their temporary password will be sent to your email. If you don’t check that option, you can still get their password separately.
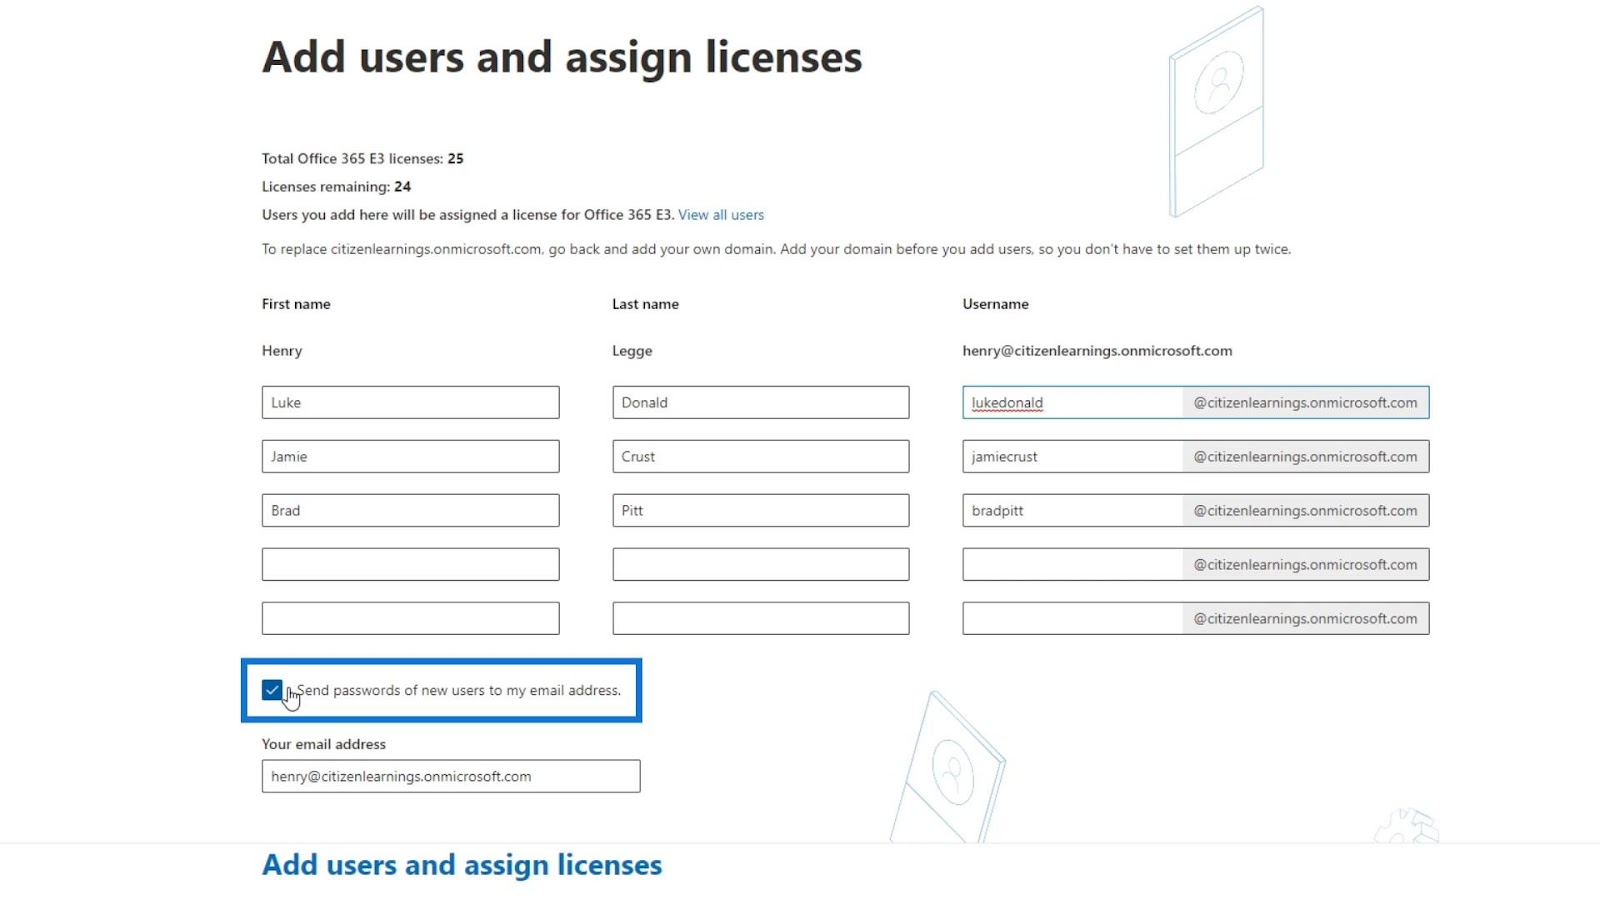
After creating their accounts, you can then give them their temporary password to log in. When they log in, they can also reset their password.
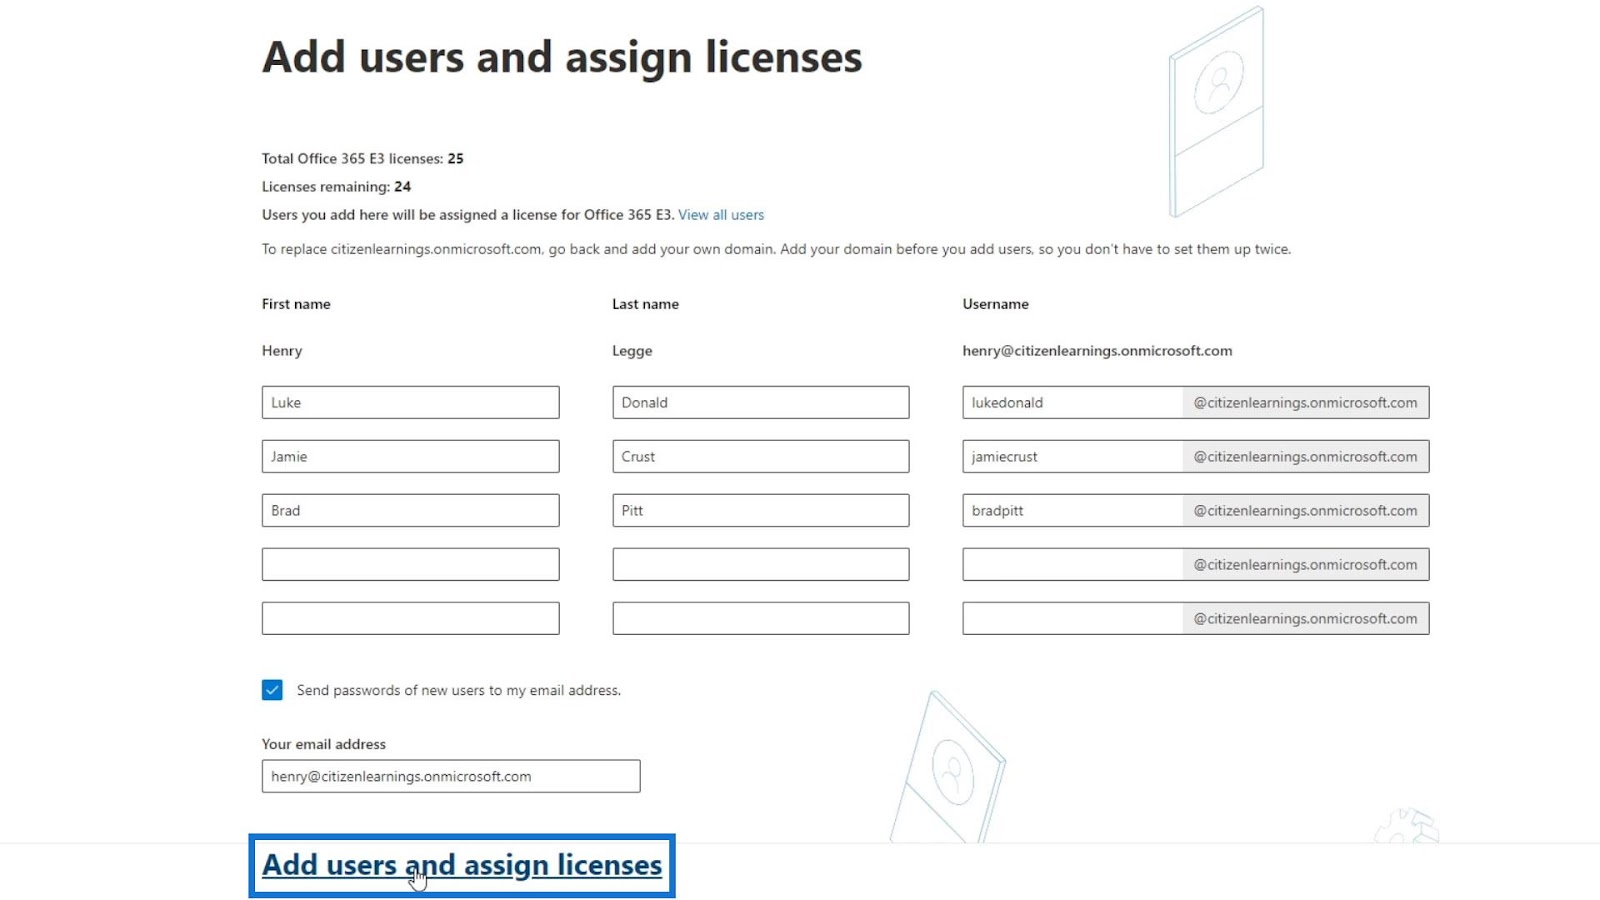
Let’s now click the Add users and assign licenses.
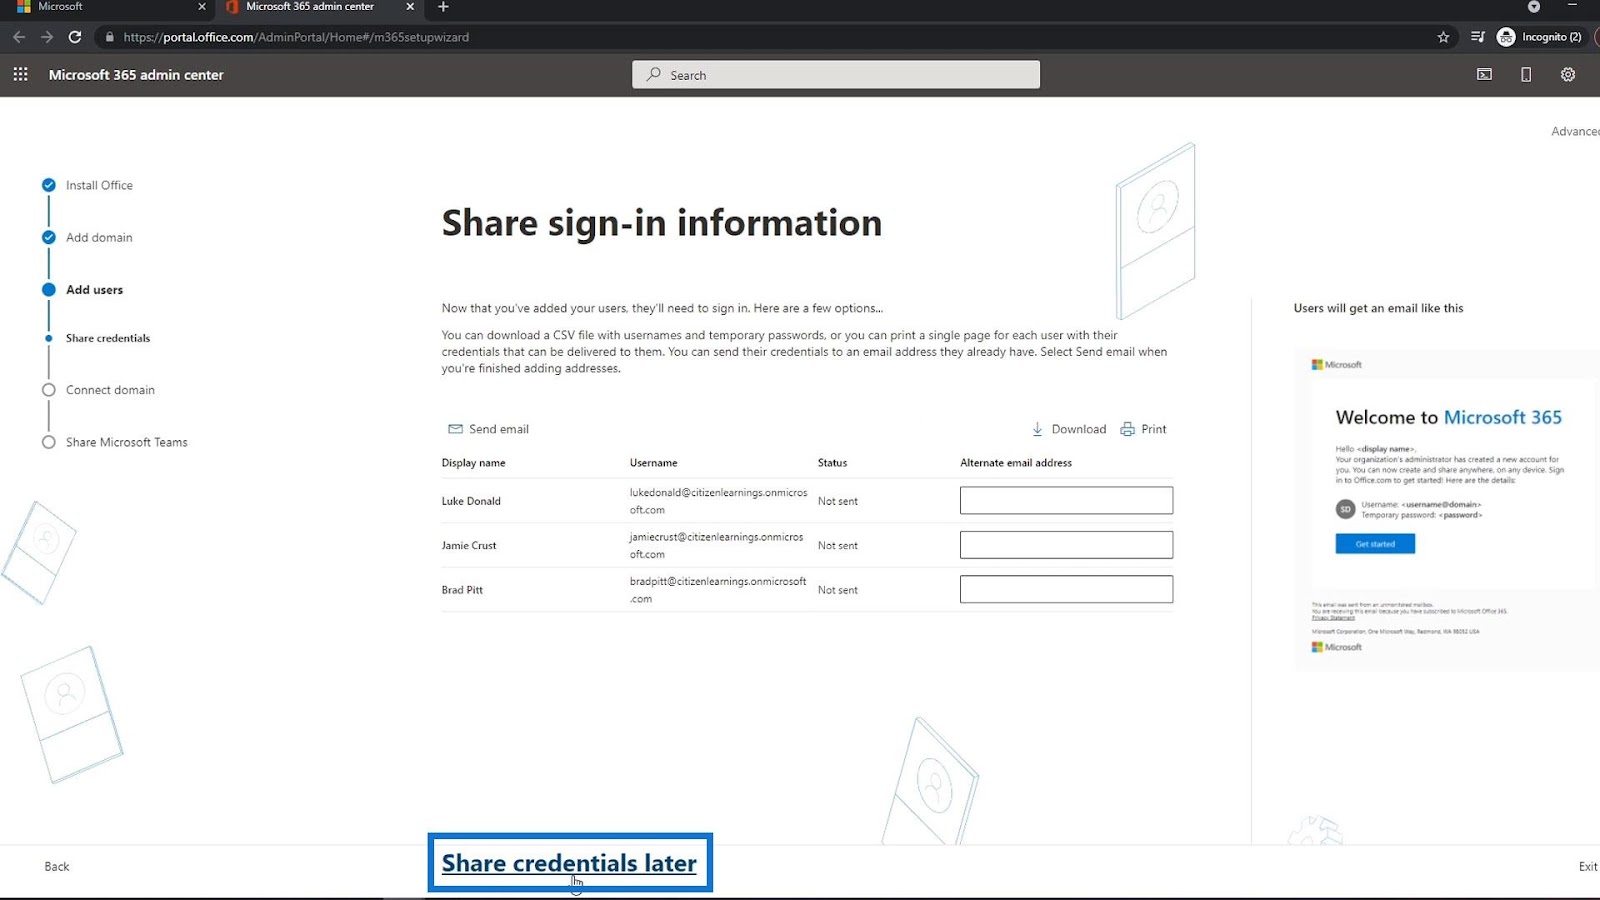
For this page, you also have an option to add your employee’s personal email address. By adding their email here, they can also receive their temporary password for their account.
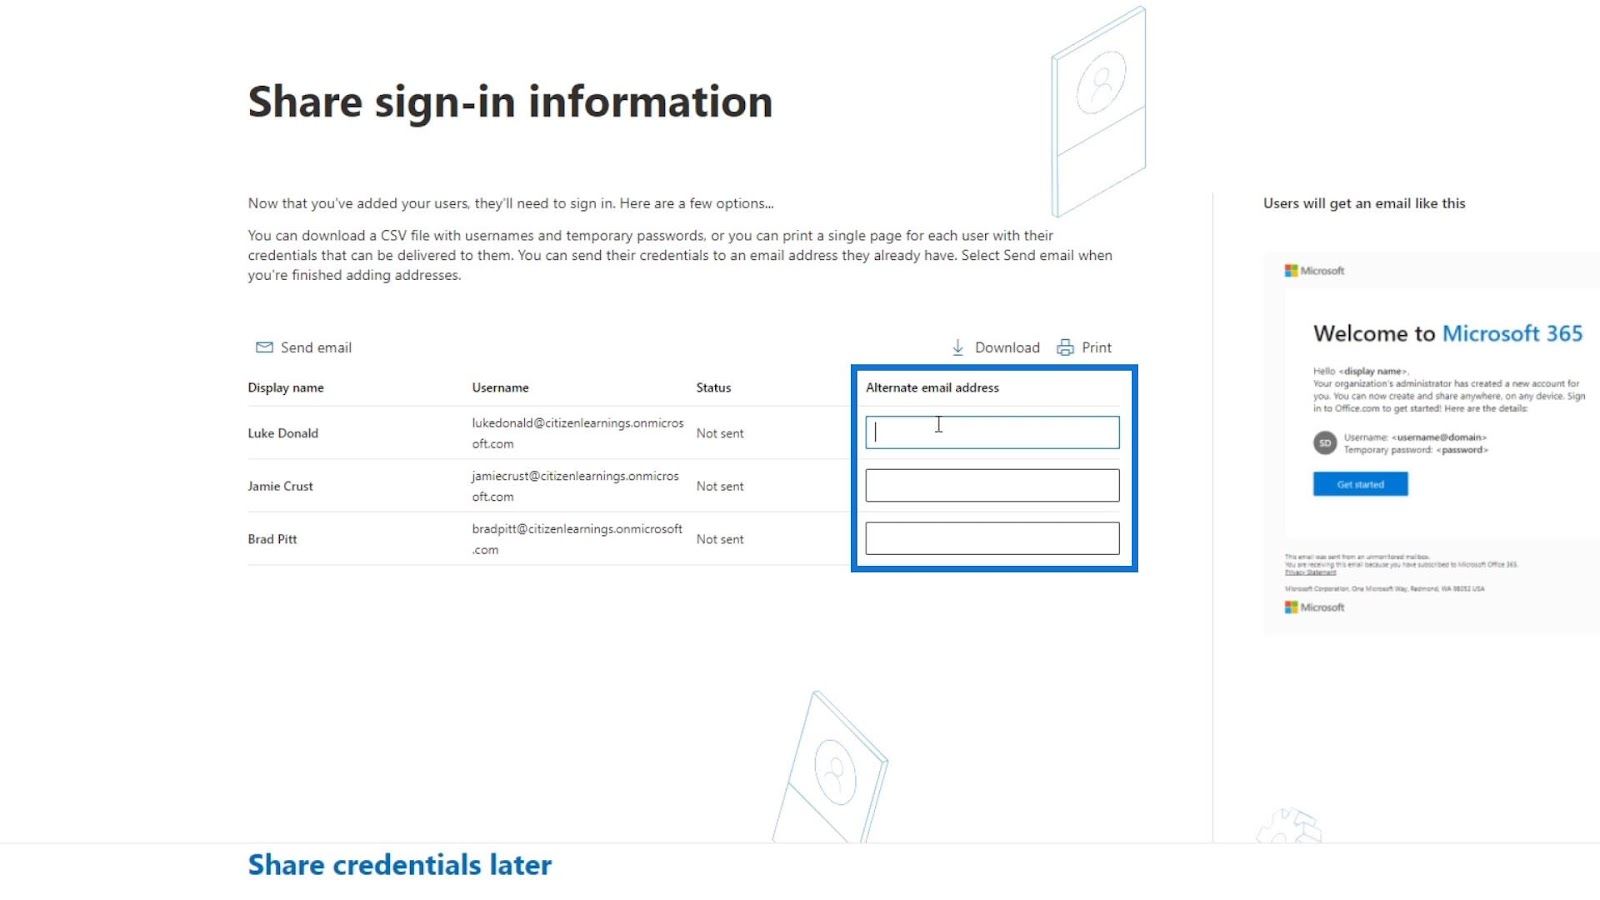
For this example, I’ll click the Share credentials later.
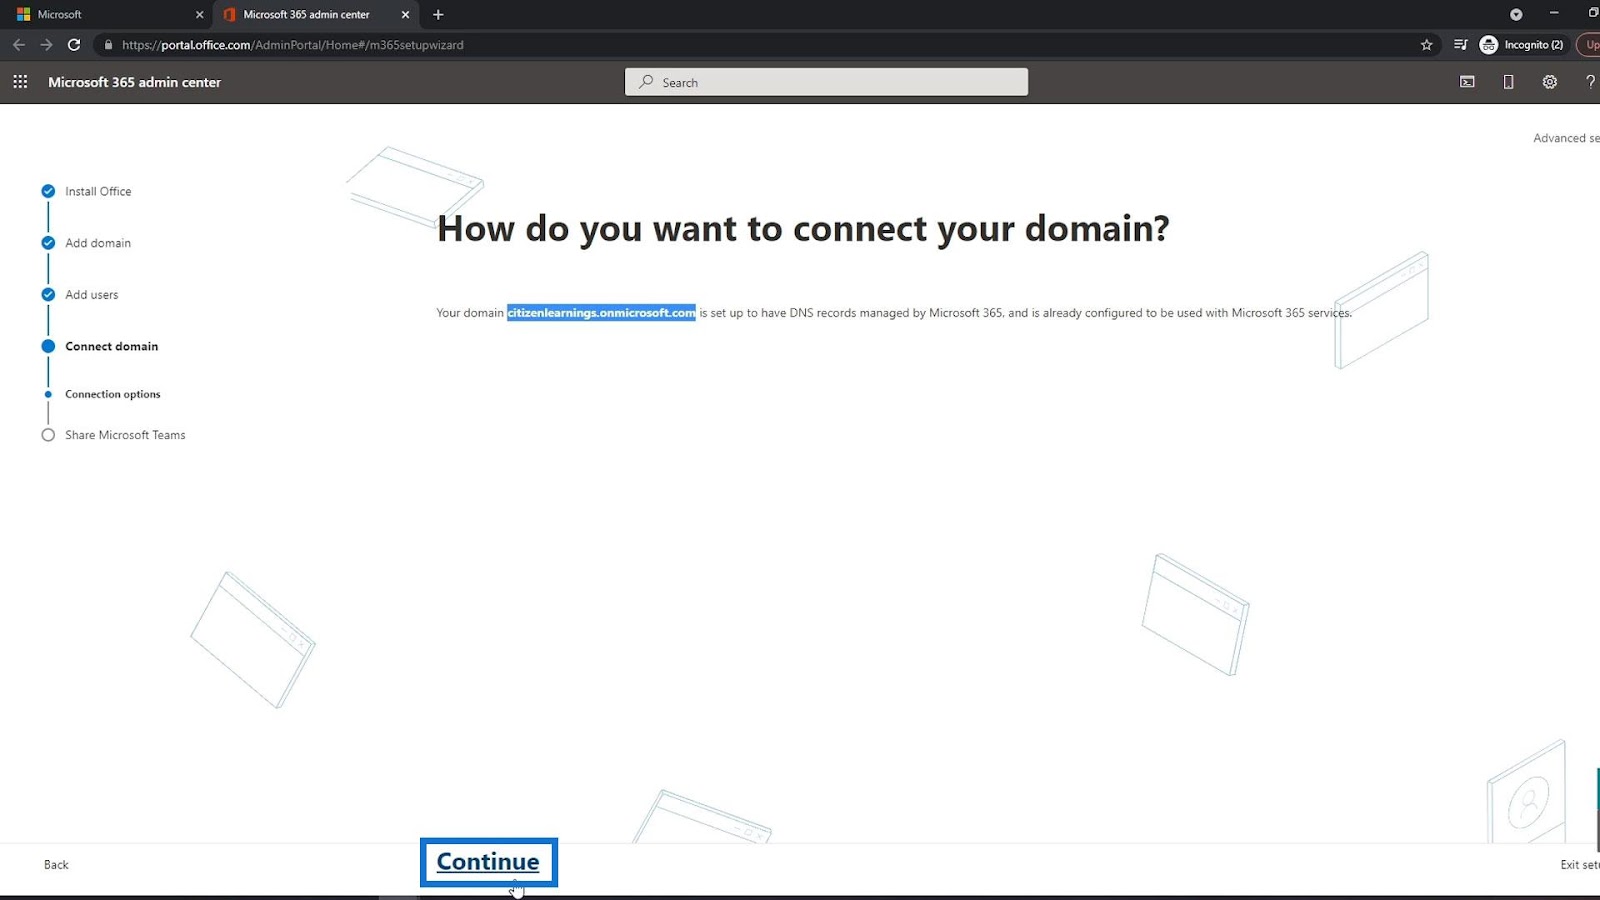
Next step is to connect your domain. Again, I don’t have another domain aside from citizenlearnings.onmicrosoft.com. So, I’ll just click Continue.
You’ll usually add or use Microsoft Teams in an organization. You can check this option so your employees would know and receive an email that contains Microsoft teams download link so they can download it. Then, click Continue.

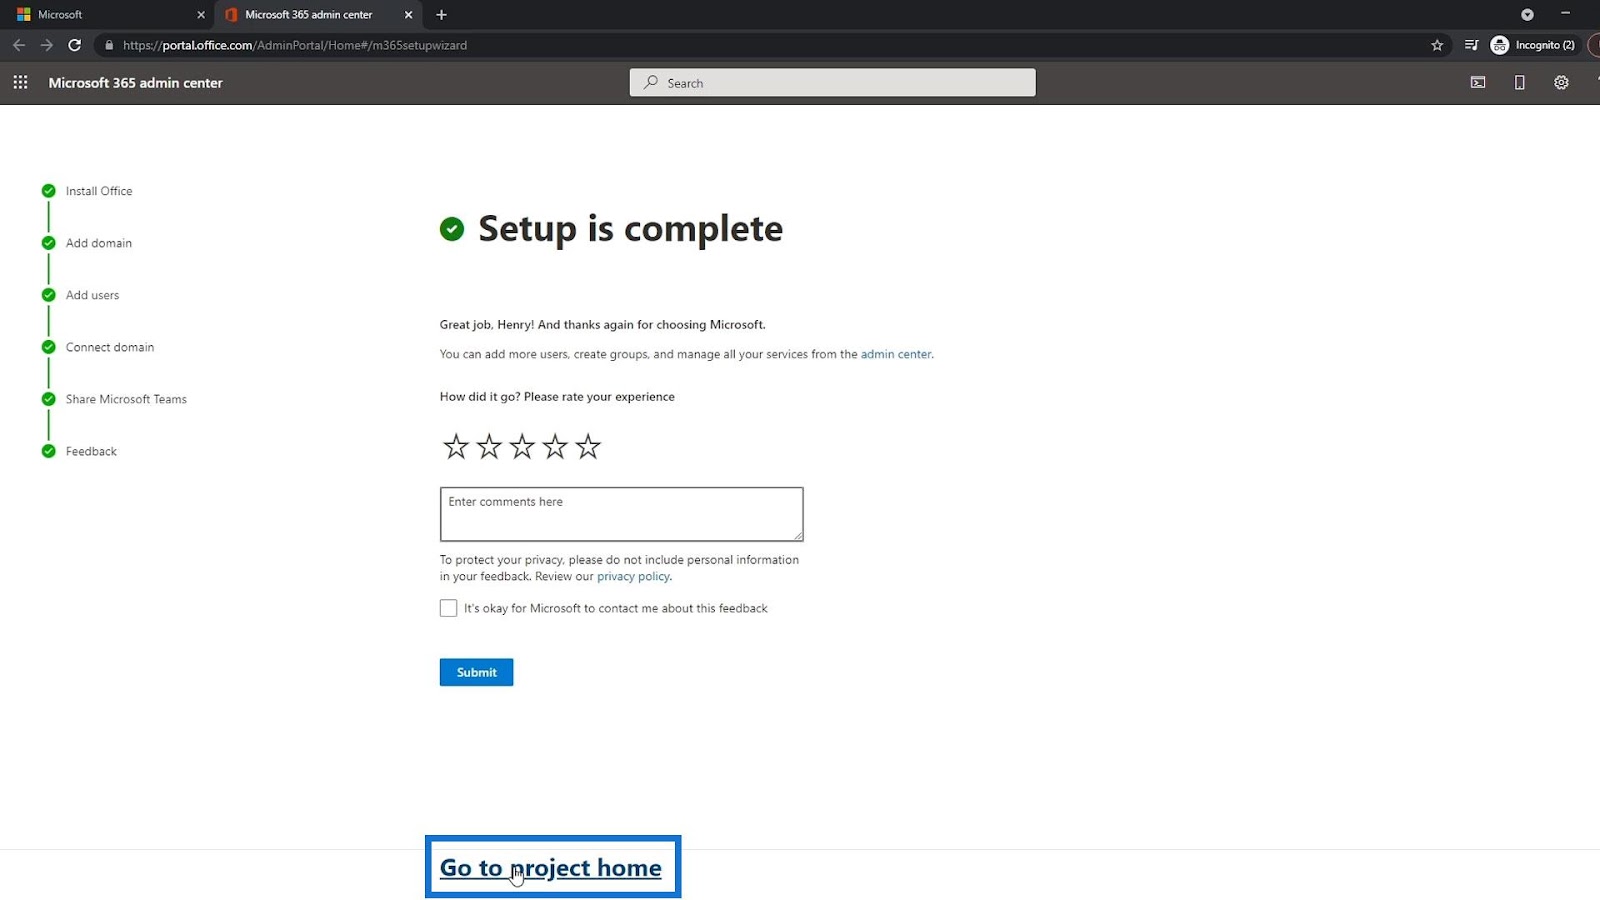
Now your setup is completed. You can now go to the project page by clicking the Go to project home link.
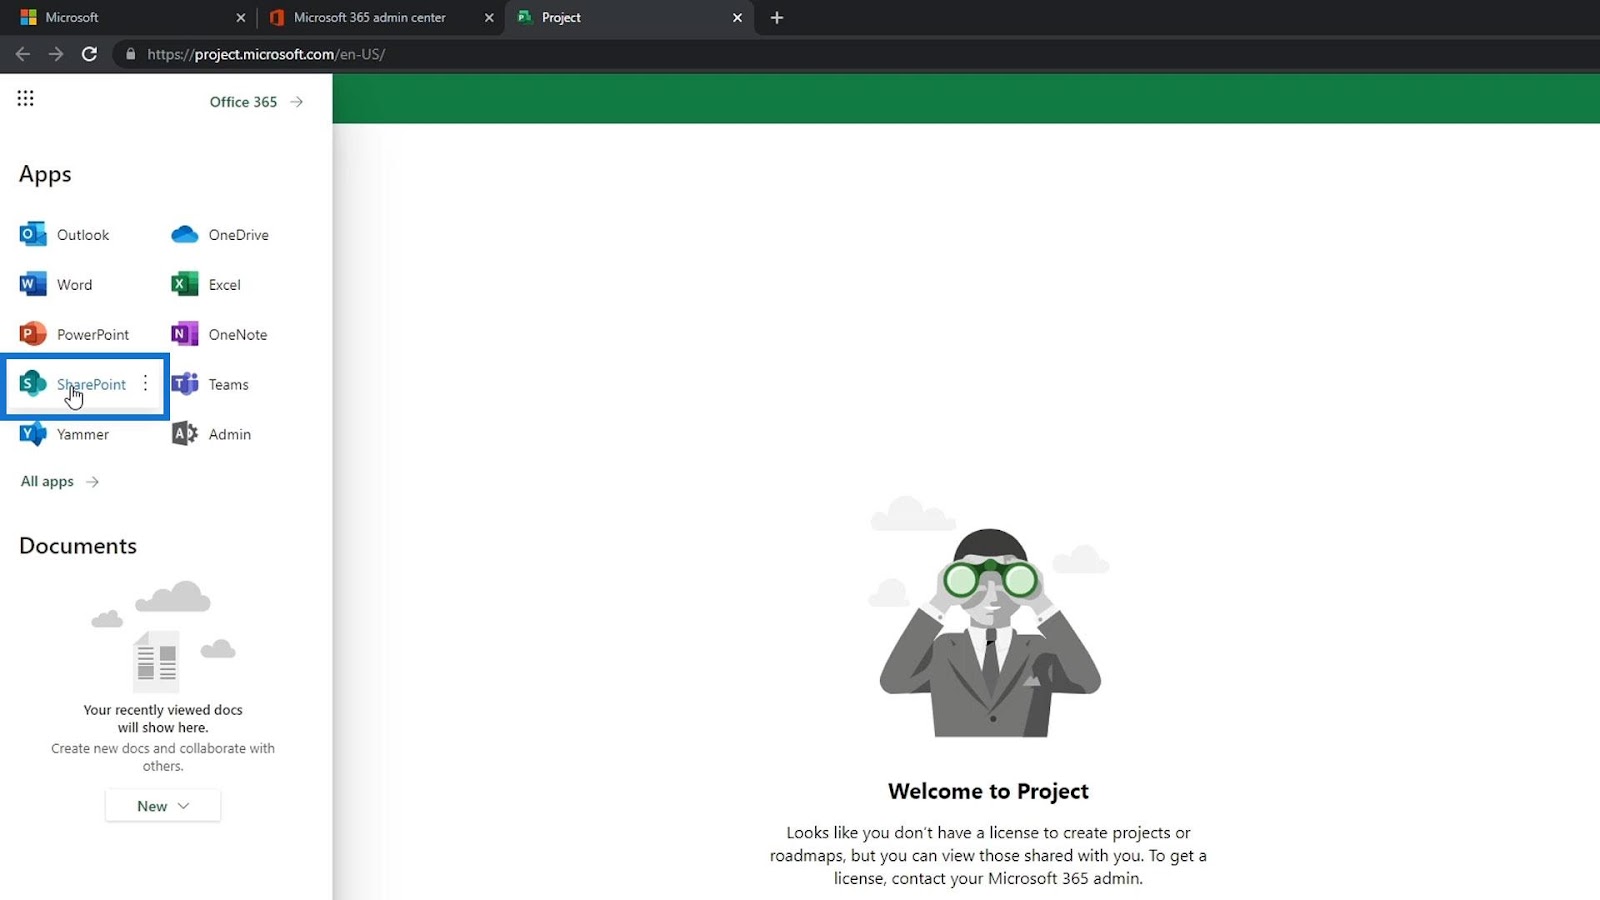
You’ll be redirected to the Microsoft Project page. However, you need to go to the SharePoint page instead. To do that, you can click the app launcher.

Then, click SharePoint.
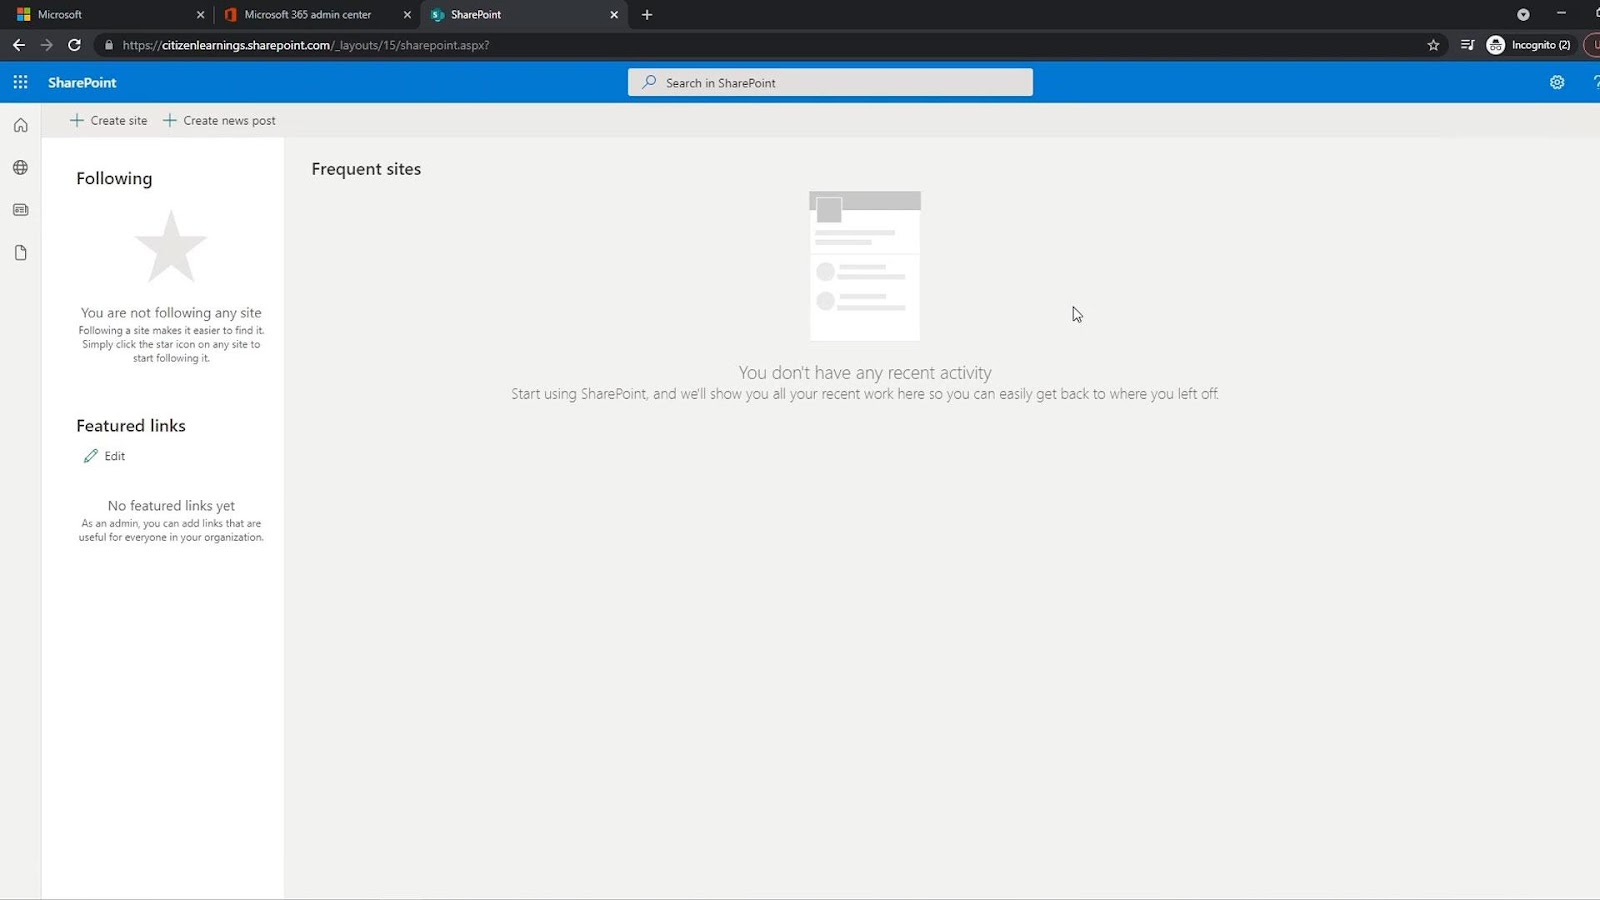
This is how a SharePoint page looks like.
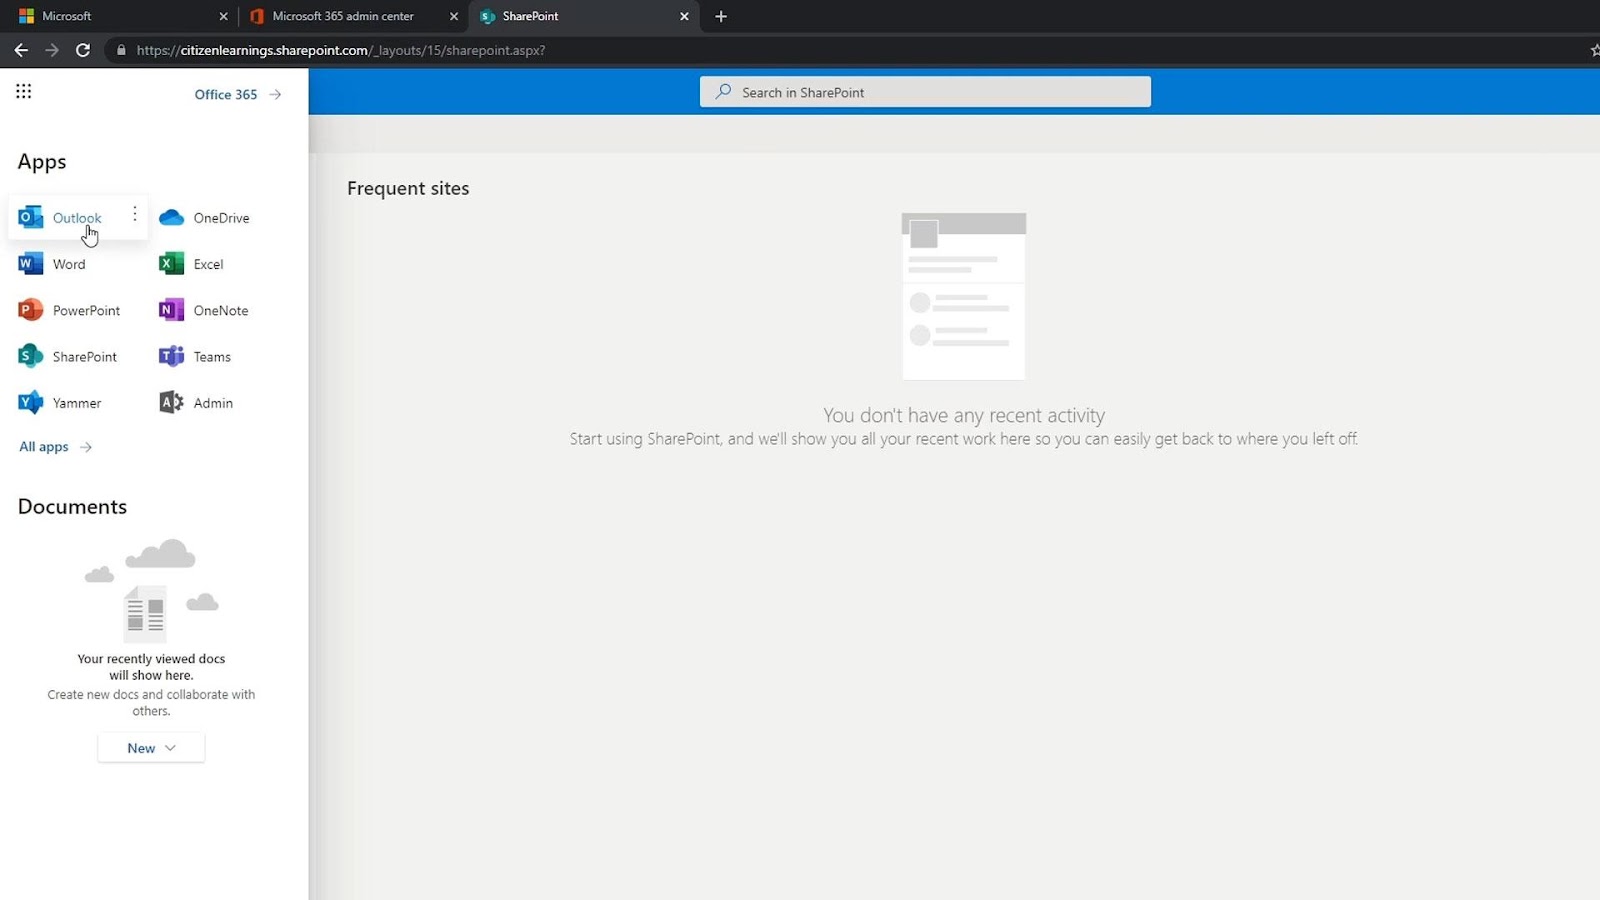
Using the app launcher, you can launch other Office apps easily and anytime.
Managing Users
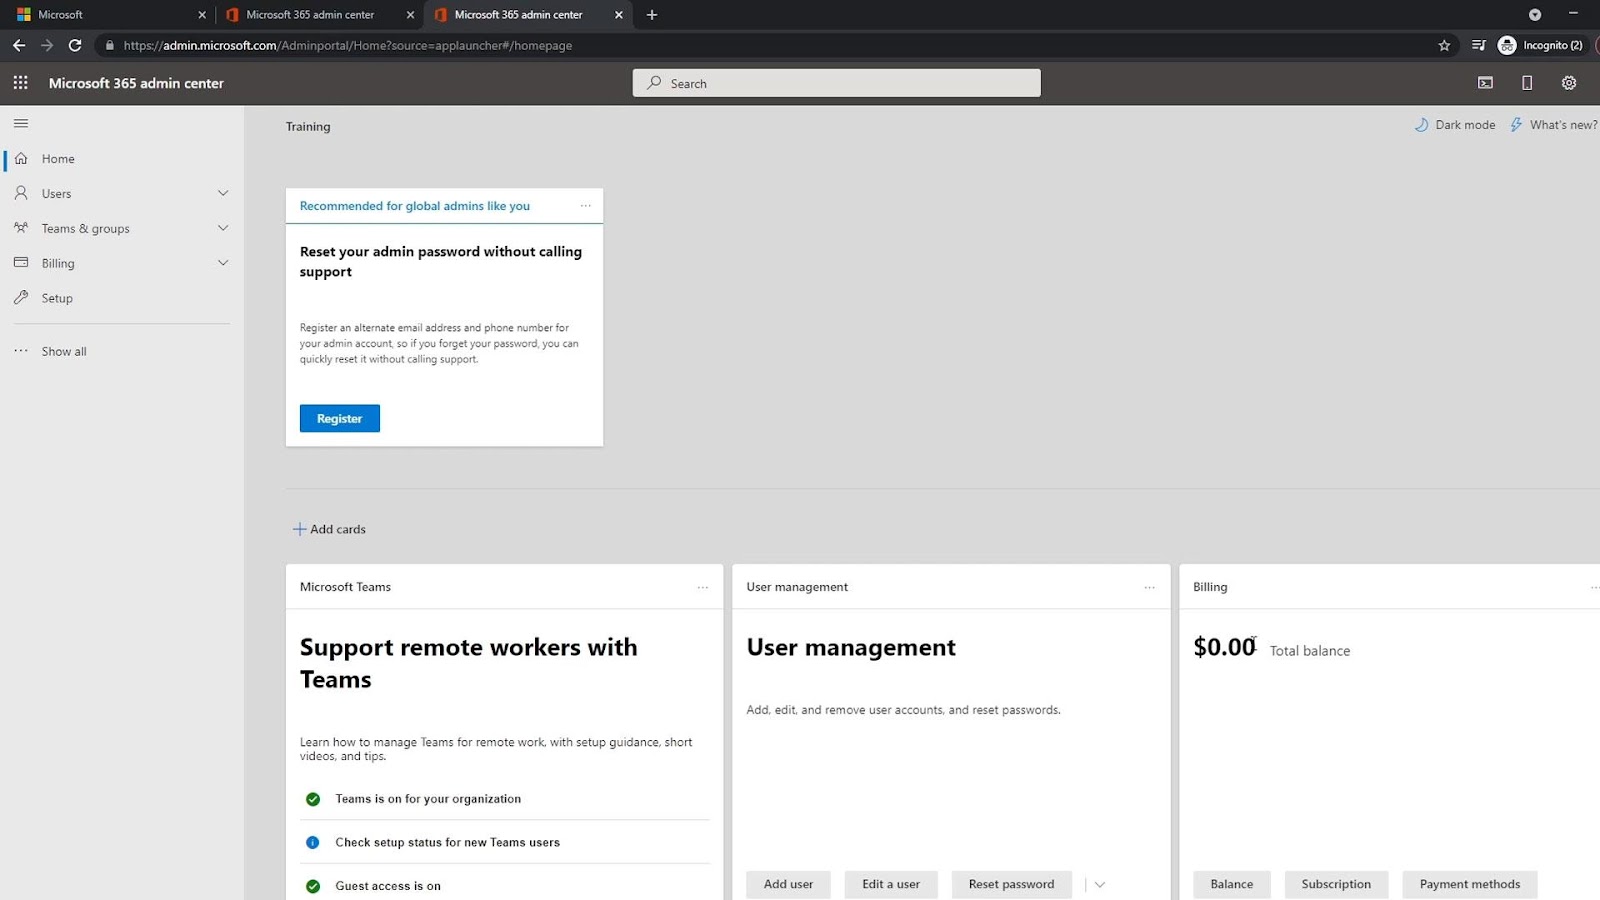
If you’re the owner of this account, you can also access the admin page. Just click on Admin here. As the owner of the account, you are the only one who has access to this page.
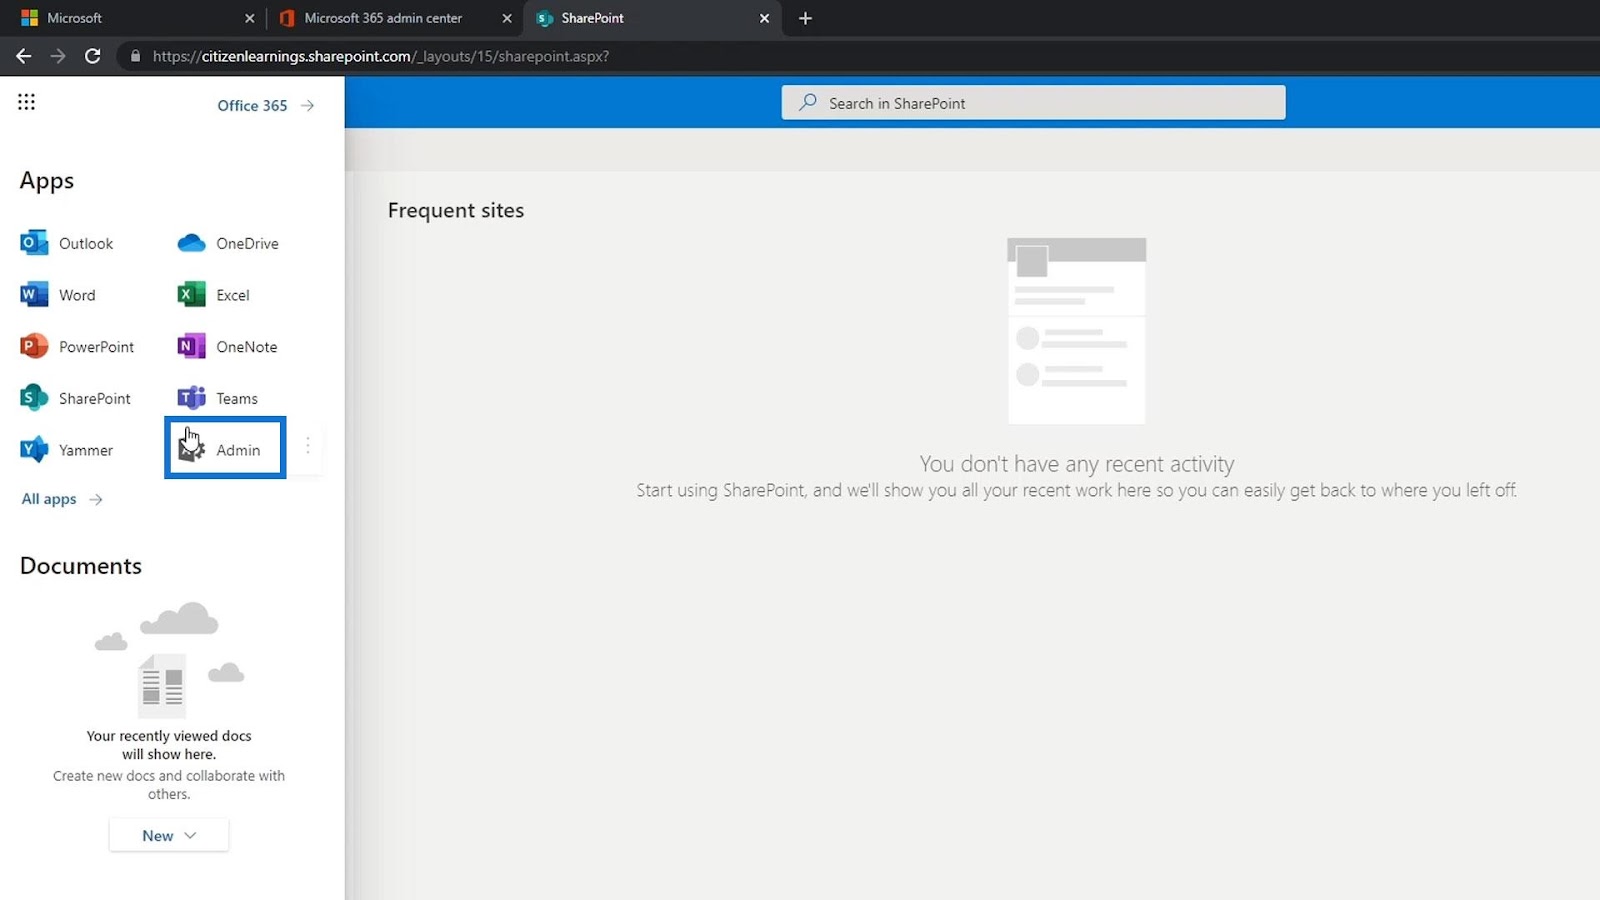
The admin page is where you can add more users, reset their password, manage the billing, and so on.
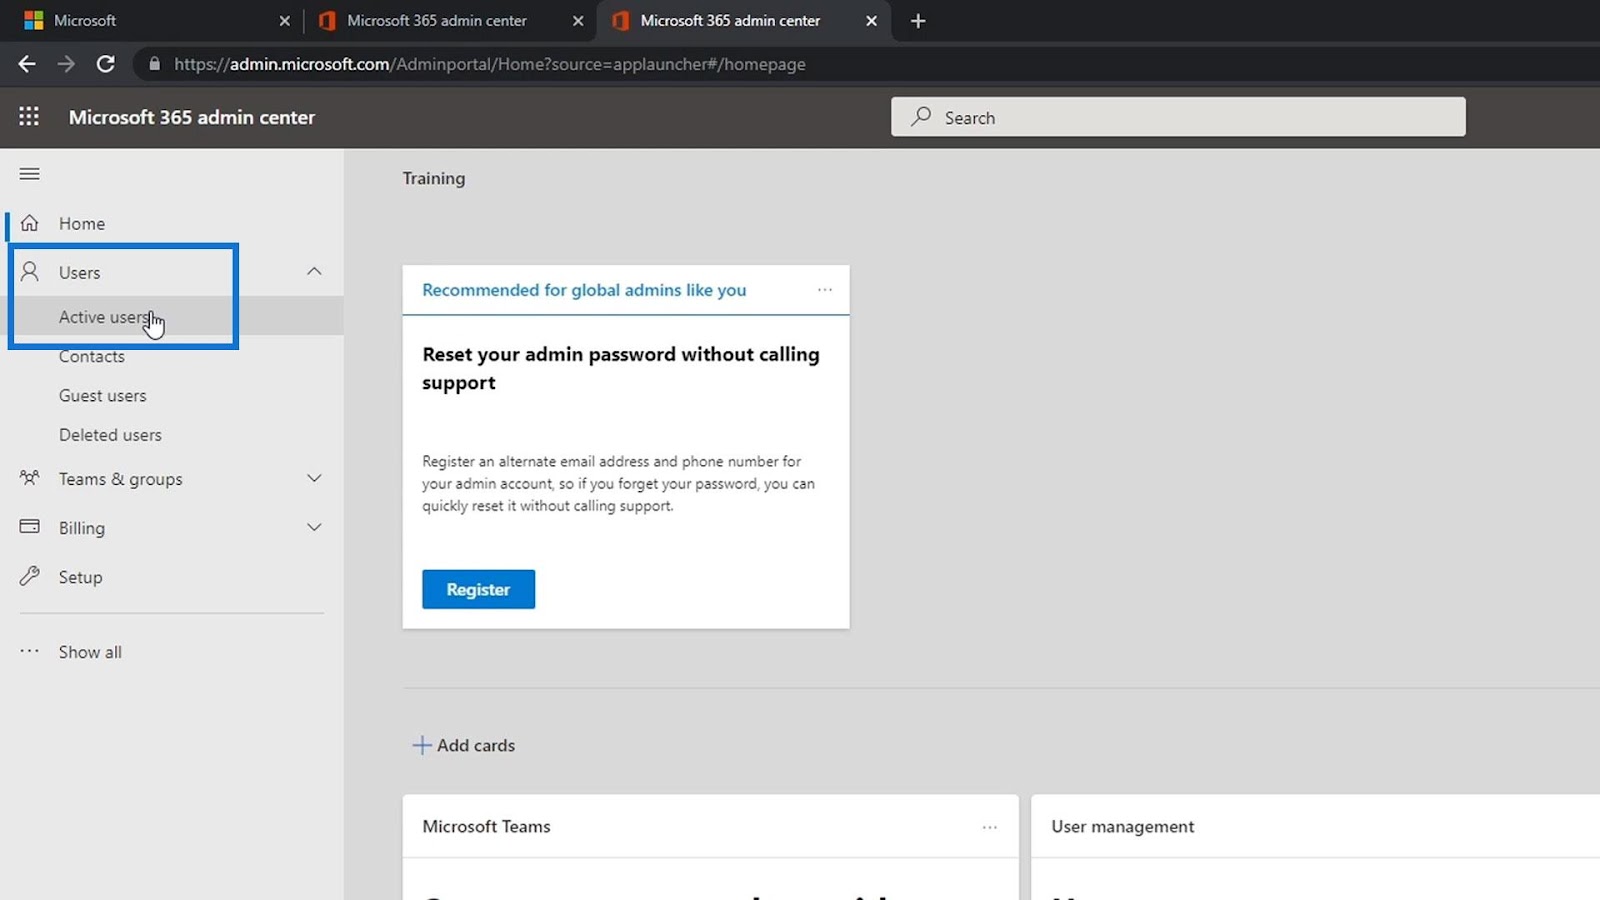
To manage the users, just click on the Users, and click Active users.
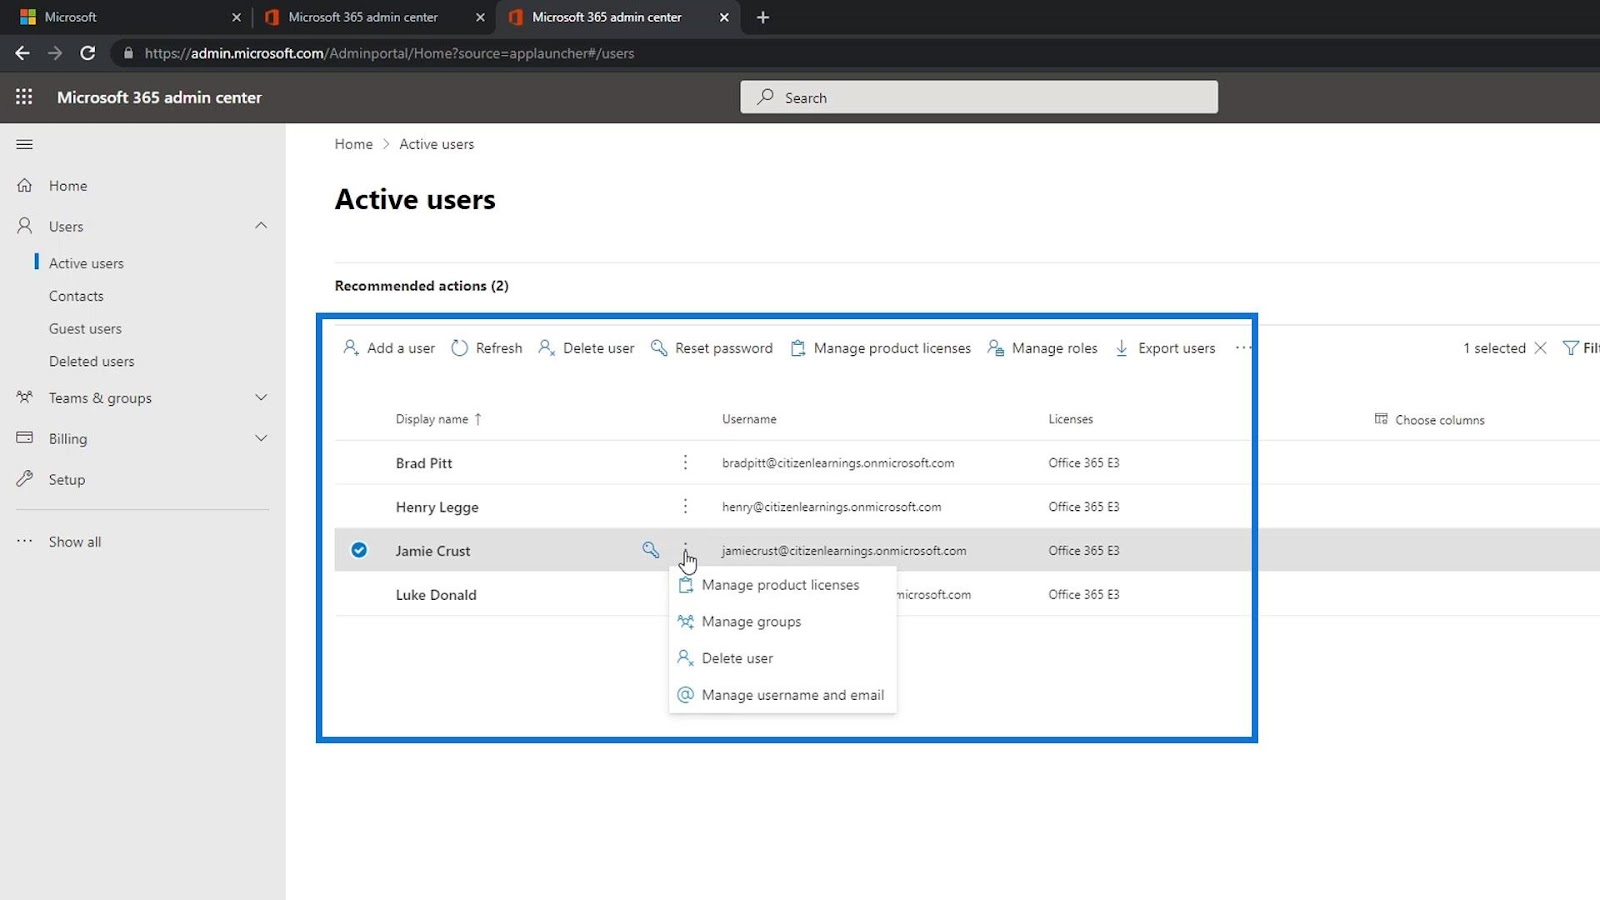
This is where you can manage your users. You can add or delete users, reset their password, change their username, and so on.
***** Related Links *****
Upcoming Courses: SharePoint Introduction and Advanced Concepts
Power Apps Environment Setup: Connect To OneDrive & Google Drive
Microsoft SharePoint | An Overview
Conclusion
To conclude, we were able to create a free trial account to access SharePoint online. You only need to enter some details about yourself. For the business phone number, you need an actual phone number where you can receive the verification code.
You also need a domain name where you can just use the Microsoft domain together with your business name. Once that’s done, you can easily add users, and assign licenses to them. Hopefully, this tutorial was helpful.
All the best,
Henry


")