
In this tutorial, we’ll talk about how to create a Common Data Service Entity. Creating this is essential when building a common data service that’s needed in building a business process flow.
Common Data Service (CDS) is a data storage system, like a database. It stores data in the form of tables, also known as Entities.
Keep in mind that we need to create a new environment first with permission for us to create an entity. We discussed this in a separate tutorial. Again, make sure that we’re working in a new environment. We can see our current environment here.


Creating A Common Data Service Entity
Since we’ve already created an environment beforehand, we can now proceed to creating our Common Data Service entity. First, click the Entities under Data.

Make sure we’re on the Power Apps Entities page.
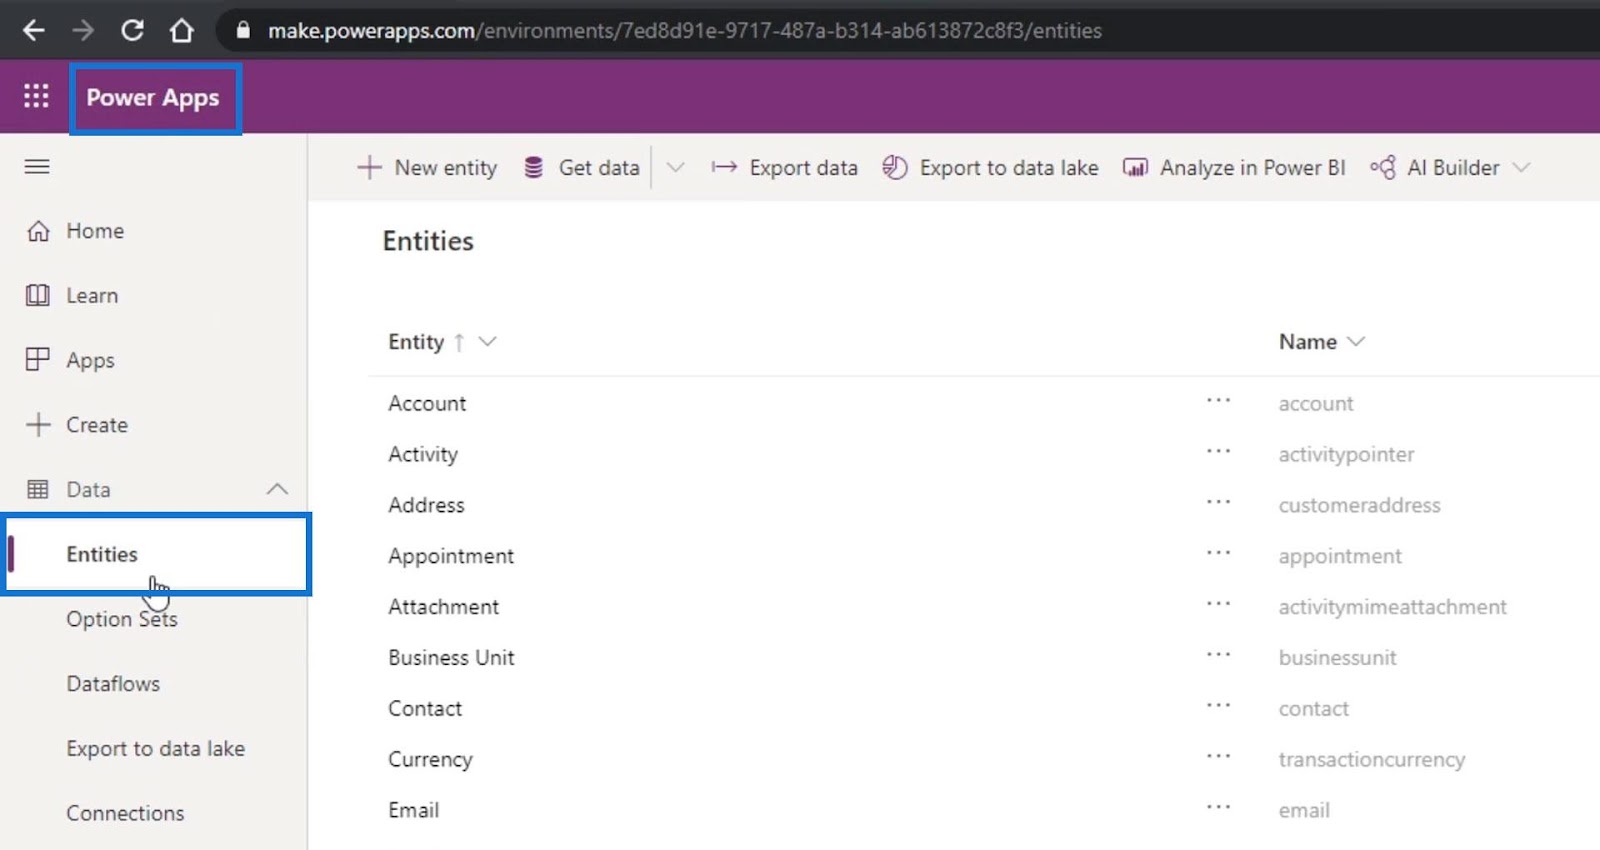
Then, click on the New entity option.

For this example, let’s set the Display name to NewEmployee. After typing the NewEmployee as our Display name, the Plural display name and Name textboxes values are generated automatically.
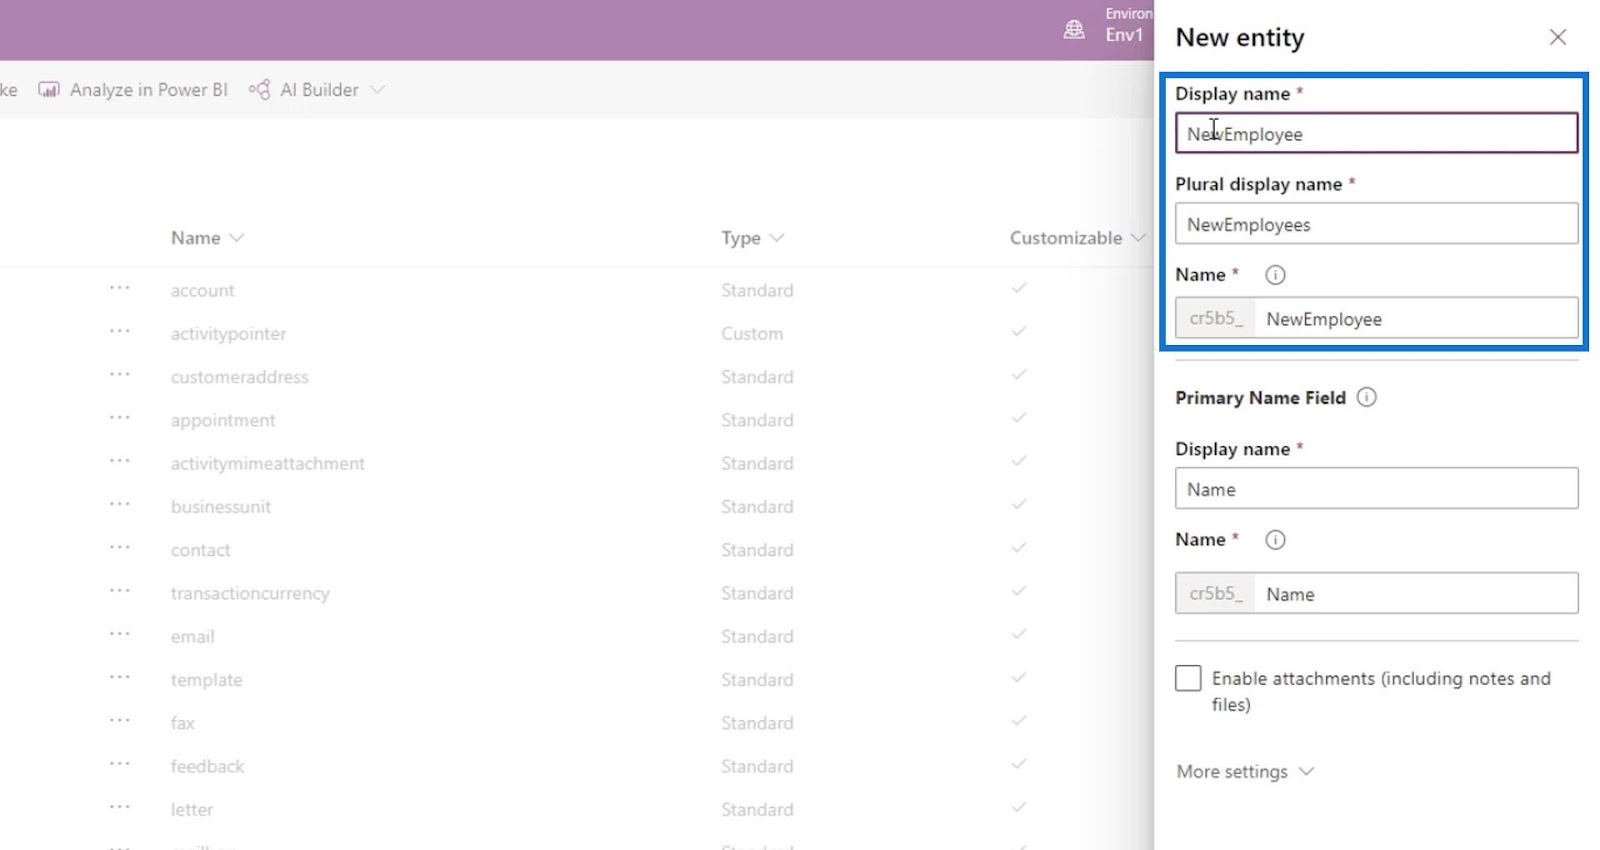
For the Display name under the Primary Name Field, let’s set it to EmployeeID. Again, the Name textbox value under it is generated automatically as well.
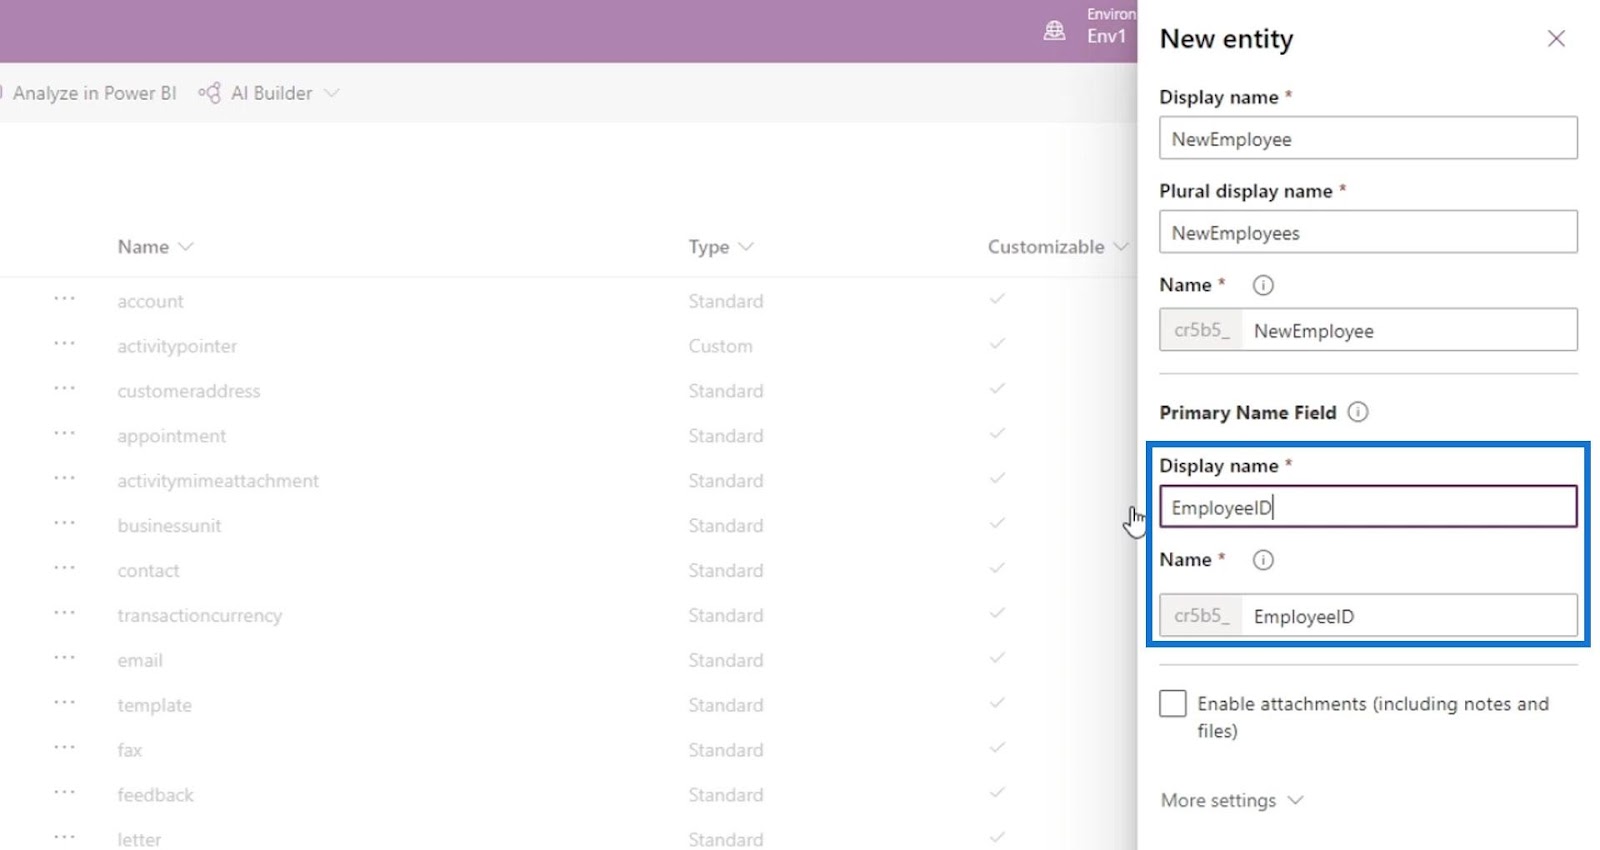
Then, click the Done button.

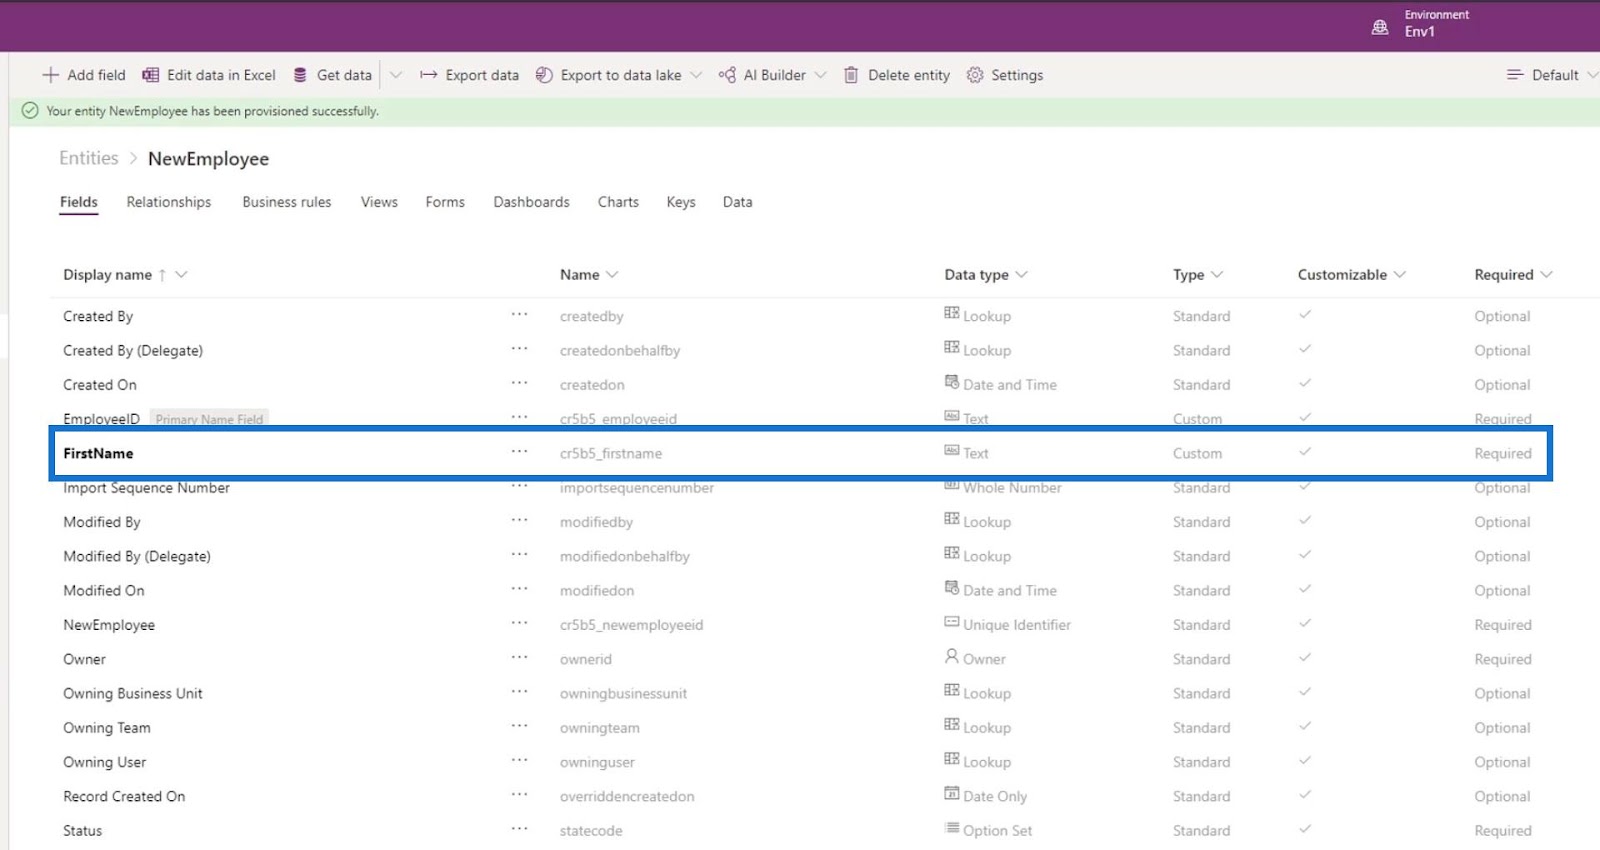
After that, it’s now provisioning our entity on the background as stated. It also listed an EmployeeID field.
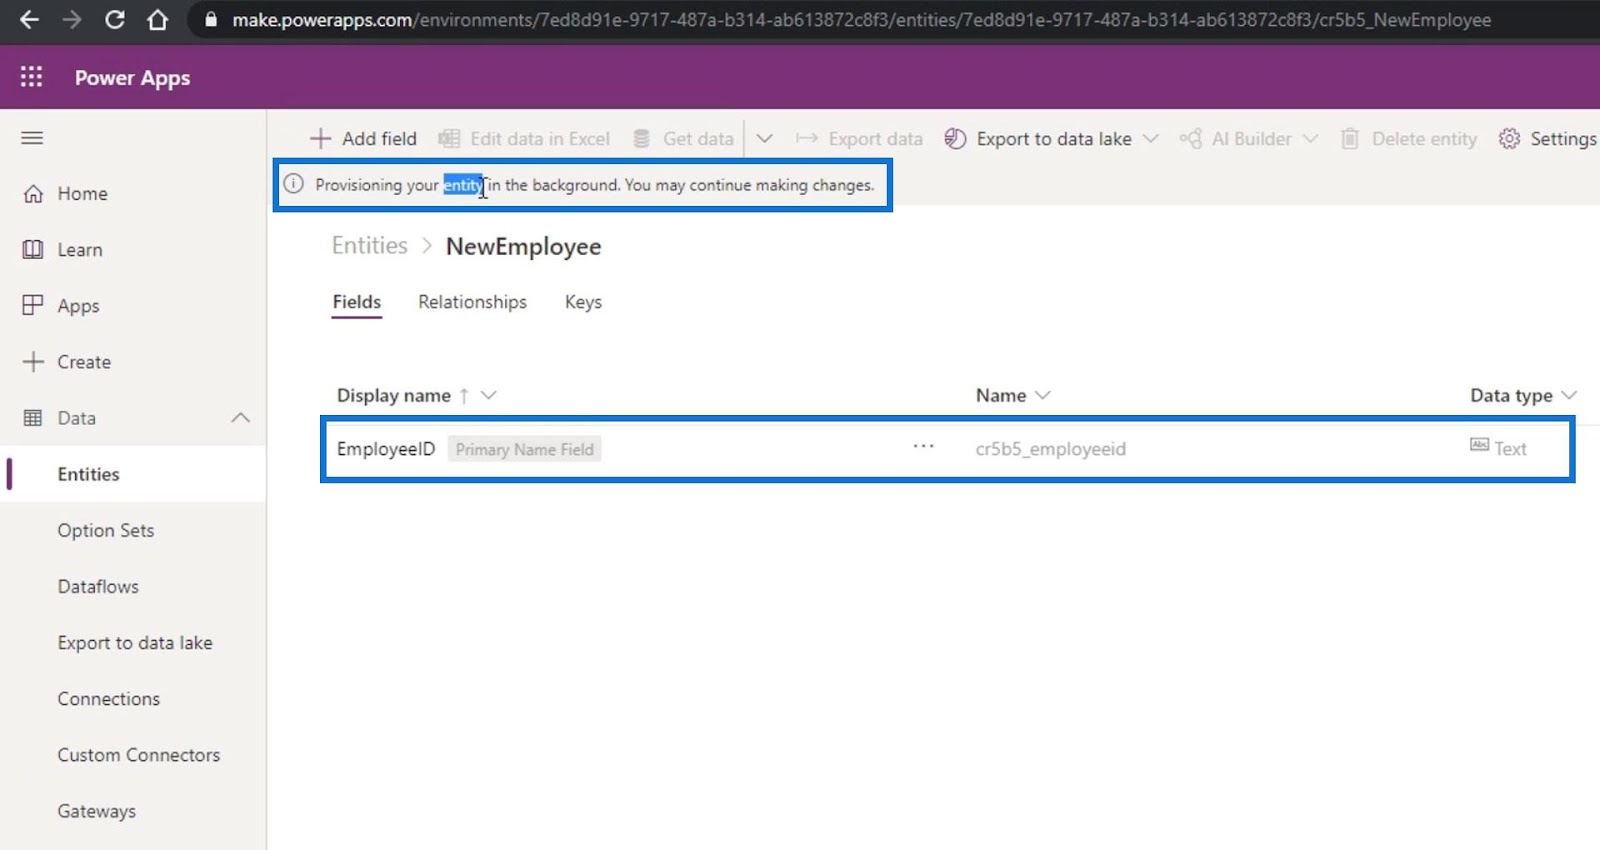
After successfully provisioning our Common Data Service entity, a lot of other fields are also added. When this database was made, all the created tables must have a certain amount of columns. That’s because we’ve set up the database in a way where no matter what table or entity gets created, these additional columns are always added as well.

Adding Basic Fields To Common Data Service Entity
Let’s now add our own columns as well. These are the fields that we’d want to collect when we’re onboarding a new employee in our business process flow.
First, let’s click the Add field.

Then, set the Display name to FirstName. The Name textbox value will also be automatically generated.

After that, set the Data type to Text.

Let’s make this field Required. This means that the users are required to enter their first name.

Then click the Done button.

We can now see the FirstName field in the list.
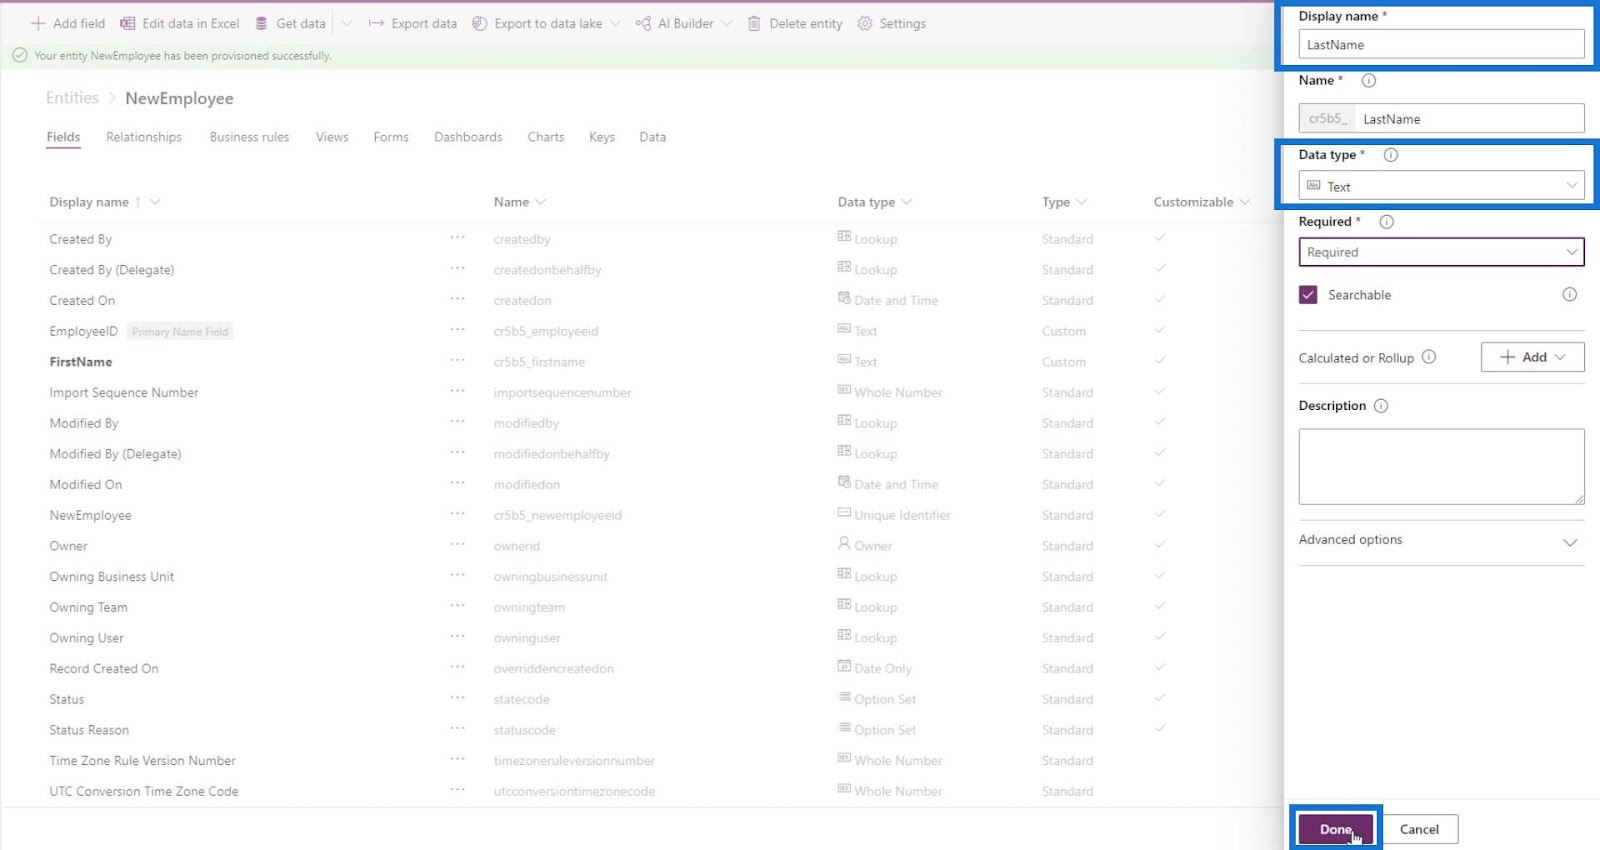
Let’s add another field for the last name. To do that, click the Add field again.

Let’s set the Display name to LastName, set the Data type to Text, make it Required, and click the Done button.
Next is to add a phone number field. Name it as PhoneNumber, set the Data type to Phone, and make it an Optional field, then click the Done button.

Let’s also add a field for the employee’s date of birth. Name it as DOB. The Data type should be Date Only. Make this field Required and click the Done button.

Next is to add an employee position field. Let’s name this as Position.

To make this field more interesting, let’s set the Data type to Multi Select Option Set. This will allow us to choose from multiple options.

Then, click on the Option set and select New option set.


After that, let’s add Developer and Tester as the two options.

Then, click the Save button.

Let’s make this field Required as well because we want to know if the employee is a developer or a tester. Then click the Done button.

Creating Fields For Additional Information
Let’s also add a field about the details of their position. For example, if they’re a developer, we’d want to know the environment they’re working on. So, let’s name this as DeveloperEnvironment. The Data type should be Text. Let’s set this field as Optional because if they’re a Tester, they don’t need this field. Then, click the Done button.

Now, if they’re a Tester, they need to have a product to test. So, let’s add a new field and name it as TesterProduct. The Data type should be Text, and it’s Optional because the Developers don’t need this. Then, click Done.

Let’s also add a field for their reporting manager. Name this as ReportingManager and set the Data type to Text. Make this field Required and click the Done button.

Finally, let’s add a field for their starting pay. Name this field as StartingPay and set the Data type to Whole Number. Make the field Required and click the Done button.

After adding all those fields or columns, we can see that they’re listed here and bolded.

Lastly, click the Save Entity button to finalize these changes.

***** Related Links *****
Business Process Flow Integration In Power Automate
Business Process Flows In Microsoft Power Automate
Automated Flow In Microsoft Power Automate
Conclusion
To sum up, we’re able to understand the usage and importance of a Common Data Service entity. CDS is a free database service in Power Apps that uses entities to store data.
We’re also able to create an entity in our environment and learned how simple it is to add fields for our entity. By finalizing your CDS entity first, you can easily start creating business process flows in Power Automate.
All the best,
Henry


")