
As a document management platform, SharePoint offers indispensable features such as versioning, check out, and check in that help users transform the way they work. In this blog, we’ll understand how the check out and check in feature in SharePoint files work.
Check-in and check-out are common terms related to document management systems, including SharePoint. They’re useful in preventing conflicts when multiple people want to edit the same items or files at the same time.
Anybody on a SharePoint document library can open a file and make edits at the same time. The Check-in and check-out feature in SharePoint is helpful if we don’t want anybody to open or edit a certain file that we’re currently editing.

How To Check Out SharePoint Files
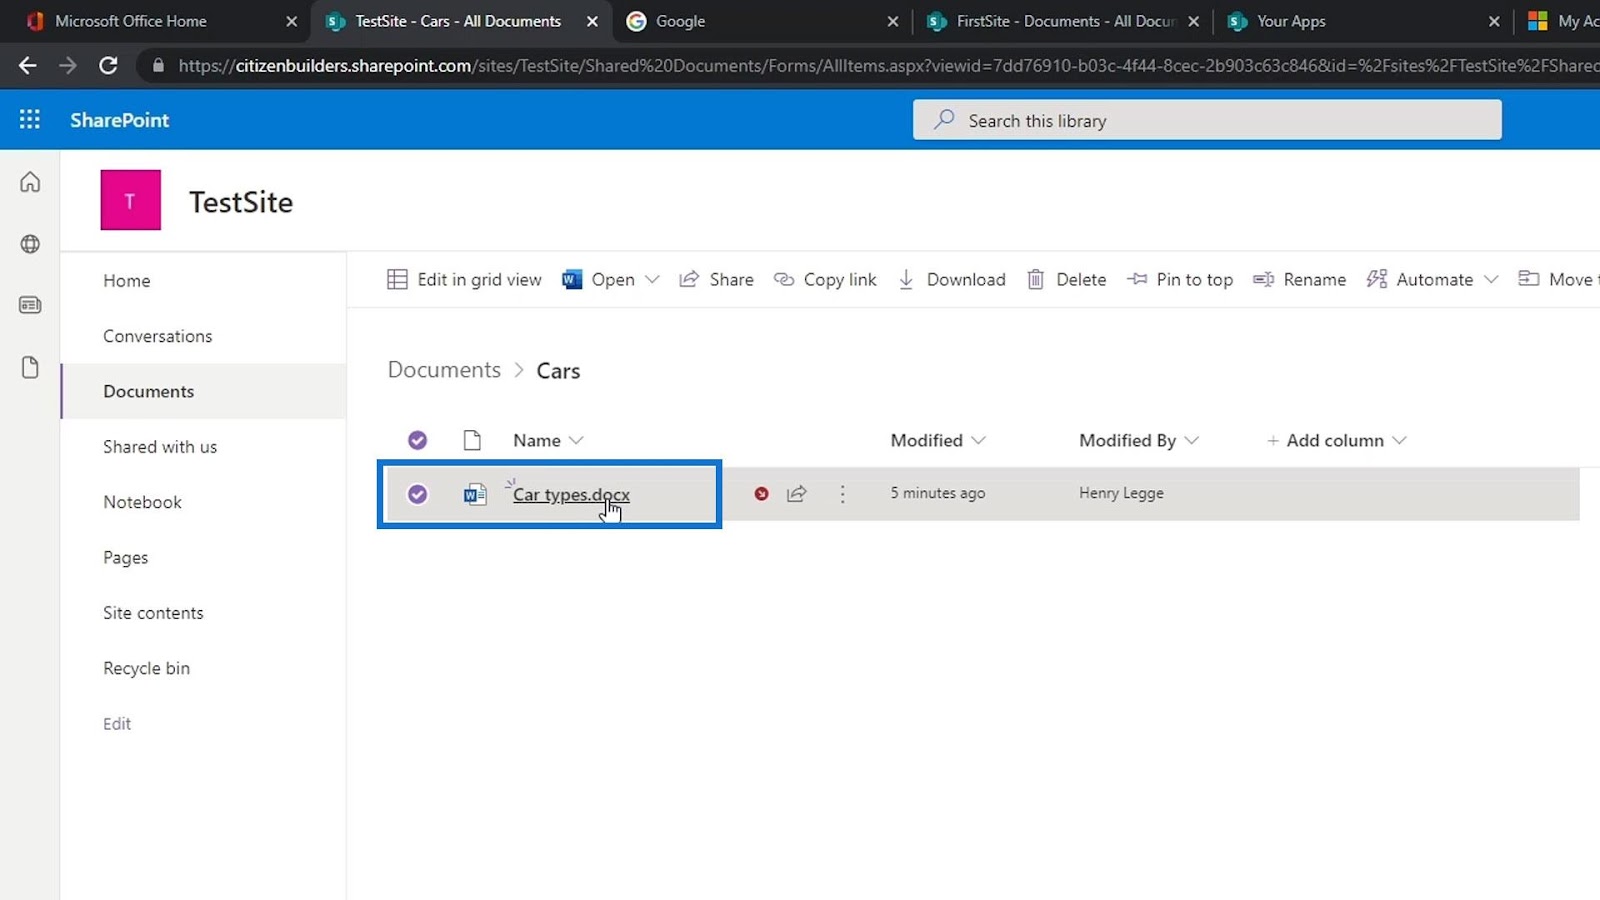
Checking out files makes the most of versioning. The term check-out describes the process of getting a version of a document or list item in a list or library. By checking out an item or a file, a user can prevent others from editing that content. To do that, just click on the ellipsis beside the file. Click More then click Check out.

This tells SharePoint to not let anyone else open up or edit this file because we’re currently editing it. As we can see, it also added a red arrow mark for the file.

If we hover over the red arrow mark, we can see a prompt indicating that we checked out this file so other members can’t edit, check in, or check it out.

Since we’re the one who checked out this file, we can still edit it. Let’s open up this file.
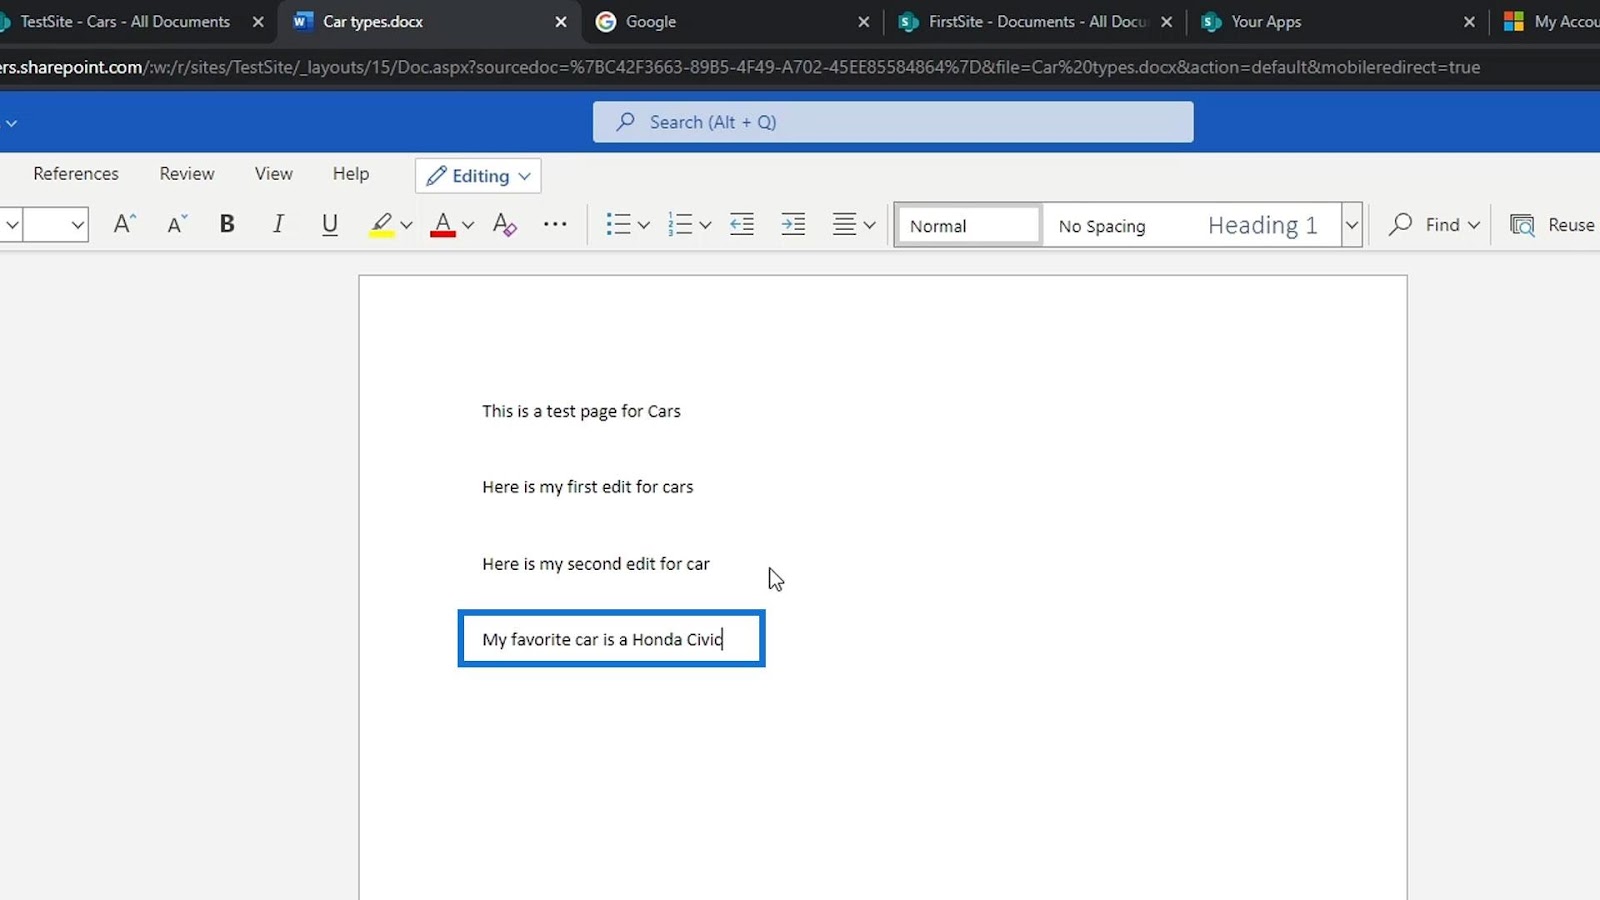
Then, let’s make some edits. For example, let’s type “My favorite car is Honda Civic”.
After that, let’s close it.
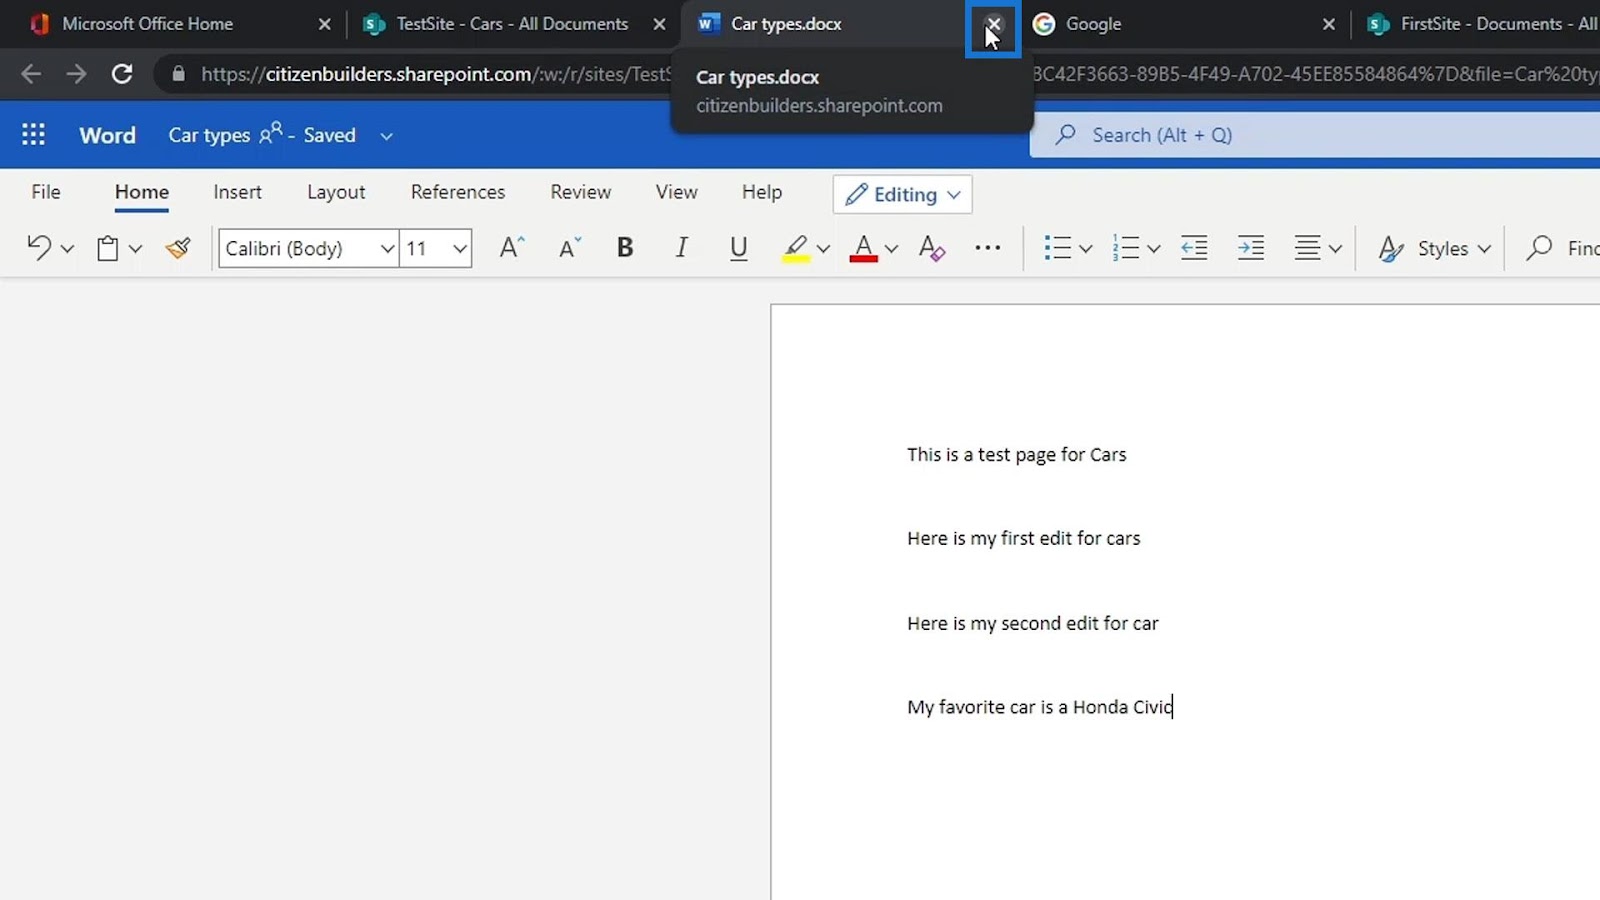
Let’s open it again and we’ll see that our edits are saved. Again, only those who checked out this file can edit it. Other members can’t do anything on this file right now.
If we’re done editing this file and we want other members to be able to edit it, we just need to check in the file.
How To Check In SharePoint Files
The term check-in describes the process of adding a new or modified item or file to a document library to replace the previous version. By checking in a SharePoint file, the user can allow others to edit the content without worrying about overriding changes that others have made. To do that, just click the ellipsis again, click More, then click Check in.

We can also check in the file by just hovering over the red mark, and by clicking Check in.

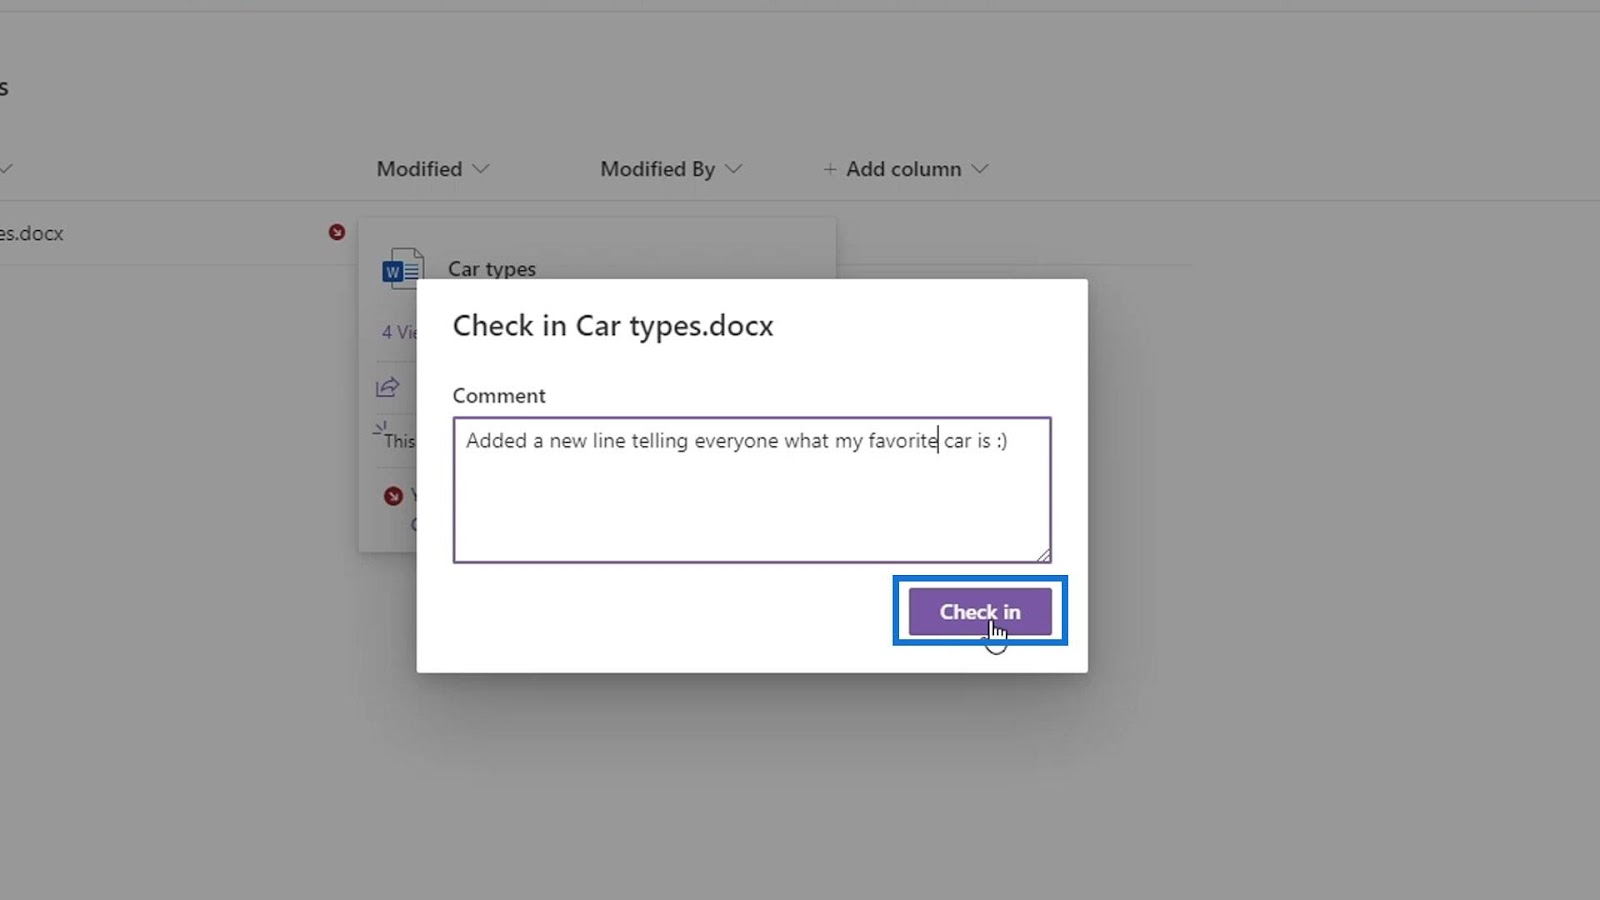
We can then add some comments about what changes we did on this file. For this example, let’s type “Added a new line telling everyone what my favorite car is”.
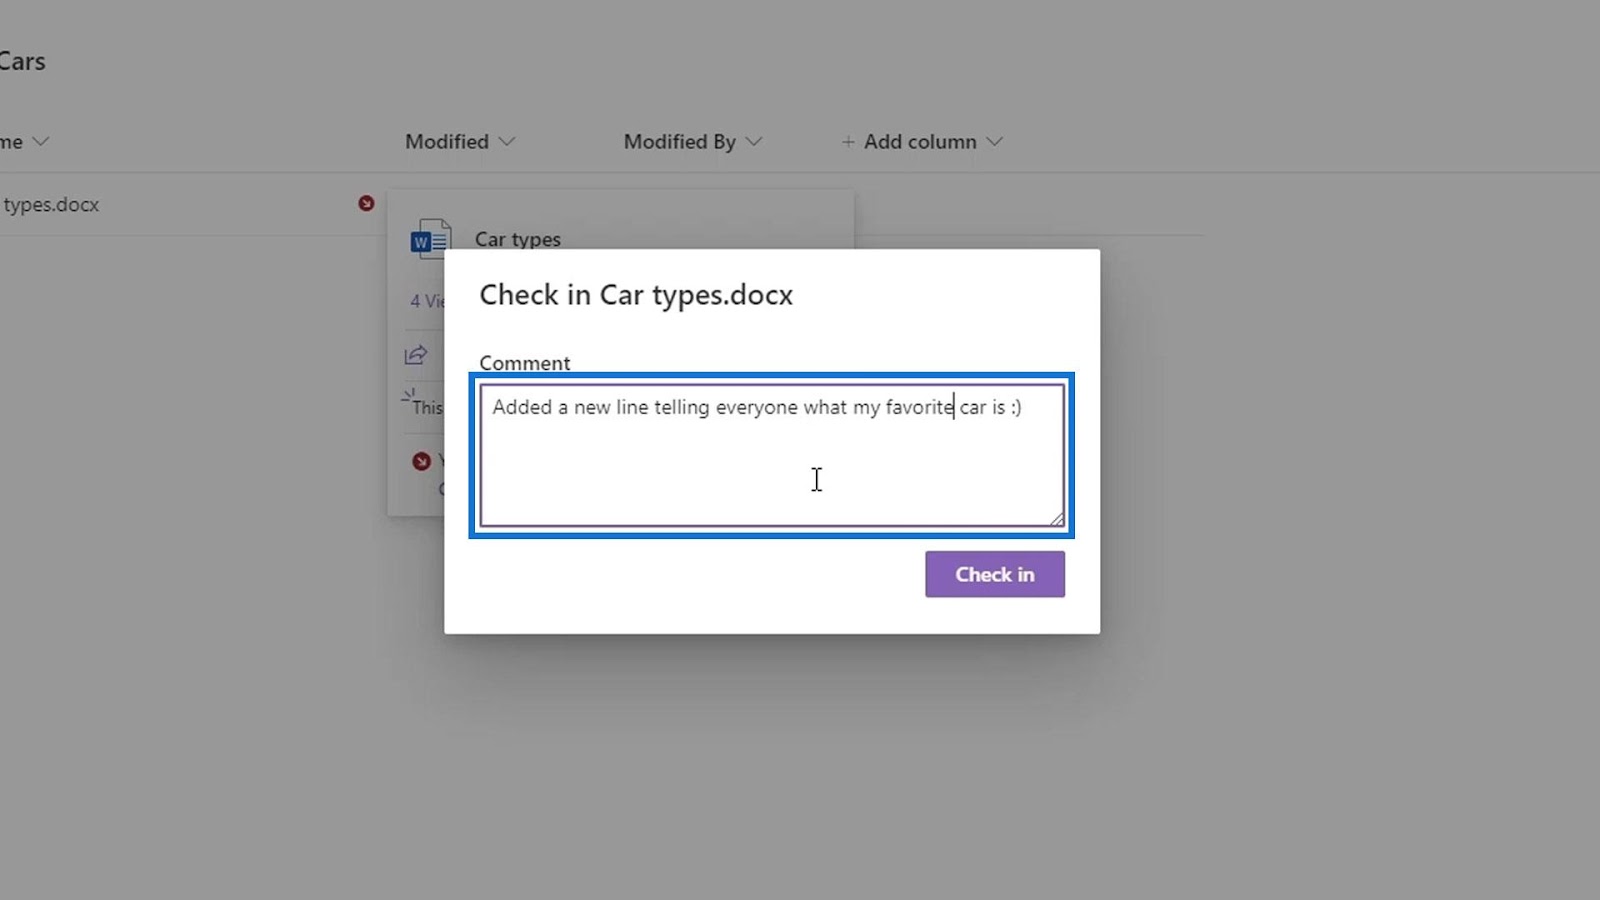
Then click the Check in button.
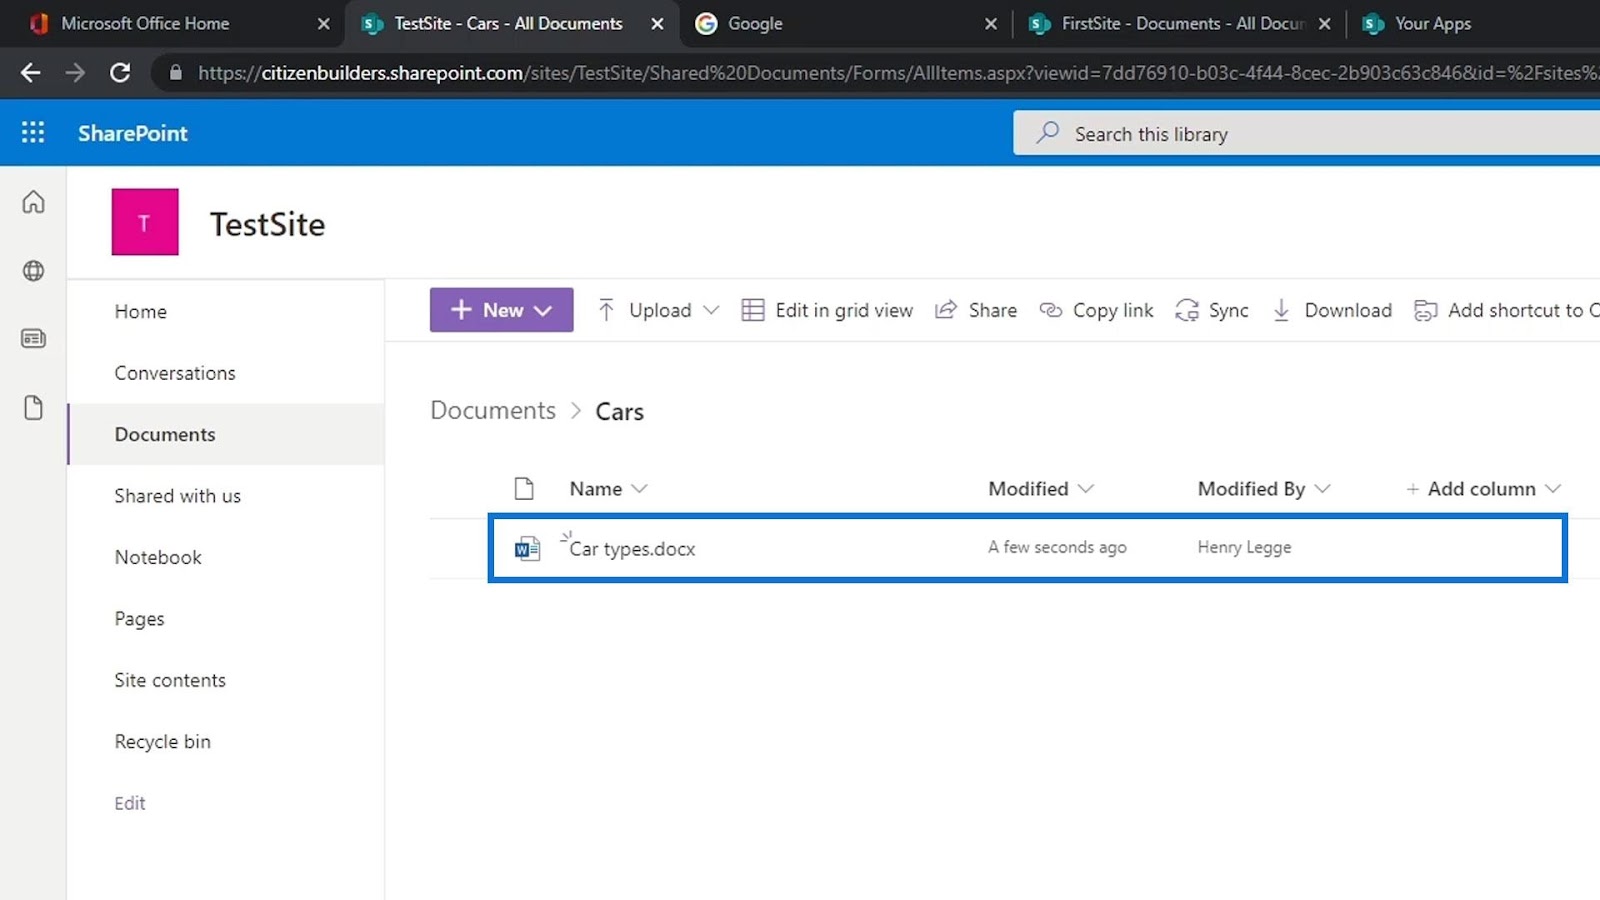
Now, everything’s back to normal and there’s no more red mark. This means that anyone can open and edit the file again at the same time.
Checking The Changes In The Version History
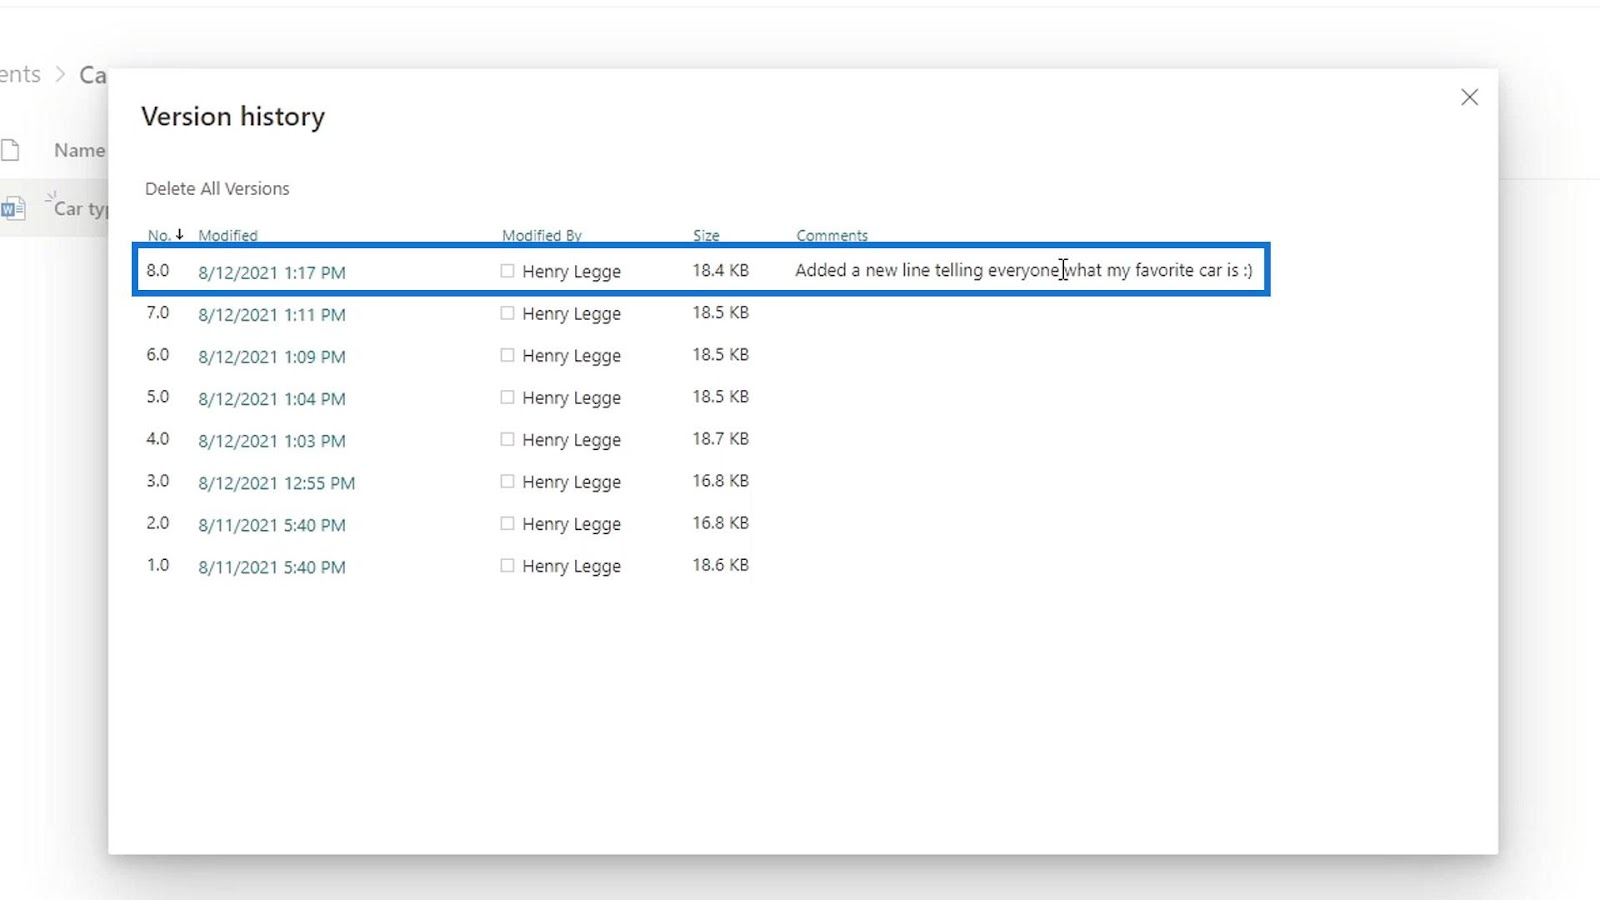
The changes we’ve made can also be seen in the Version history. Let’s open it by clicking the ellipsis then choose Version history.

We can see here that the latest version has a comment. It’s the comment that we added earlier when we checked in the file.
***** Related Links *****
Microsoft SharePoint | An Overview
SharePoint Document Library | Beginners Tutorial
SharePoint Site | Layout And Menu Walkthrough
Conclusion
To sum up, if we want to make an edit in SharePoint files and make sure no one else can make edits at the same time, we can check out a file, make the changes, and check it back in.
While the item or file is checked out, other users can only see the last version that was checked in. They won’t be able to see the changes that the current user has made on the file while it’s been checked out.
This feature is used for audit-related business jobs like contracts. The two major benefits of this feature is that when checked out, no one else can edit the files while we’re editing it and when checking in the file, we can provide a comment detailing what we changed in that file.
All the best,
Henry


")