

In this blog, we’ll learn how to add a choice field or column to our SharePoint List. This will let us have the ability to choose between different tags from a list. For example, if you want to add certain information about your customer, you can easily choose the proper tag for them by being able to select multiple options.
In a SharePoint list, you can filter the items depending on the tags you’ve assigned them to.
We’ll also learn how we can select not just one tag or option using our choice column, but also multiple ones.
Adding A Column In A SharePoint List
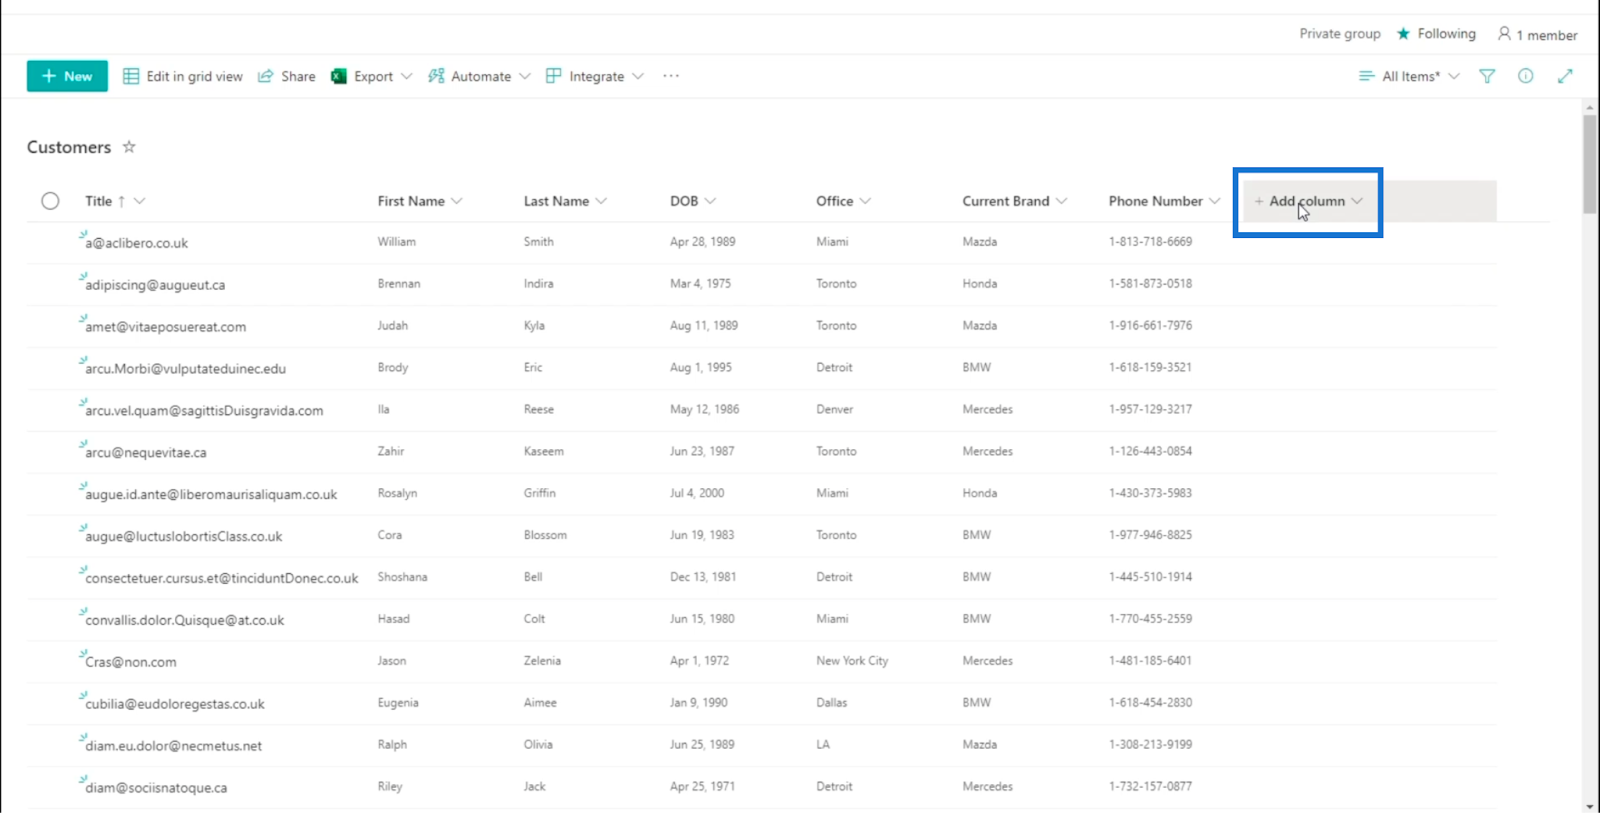
First, click Add Column.
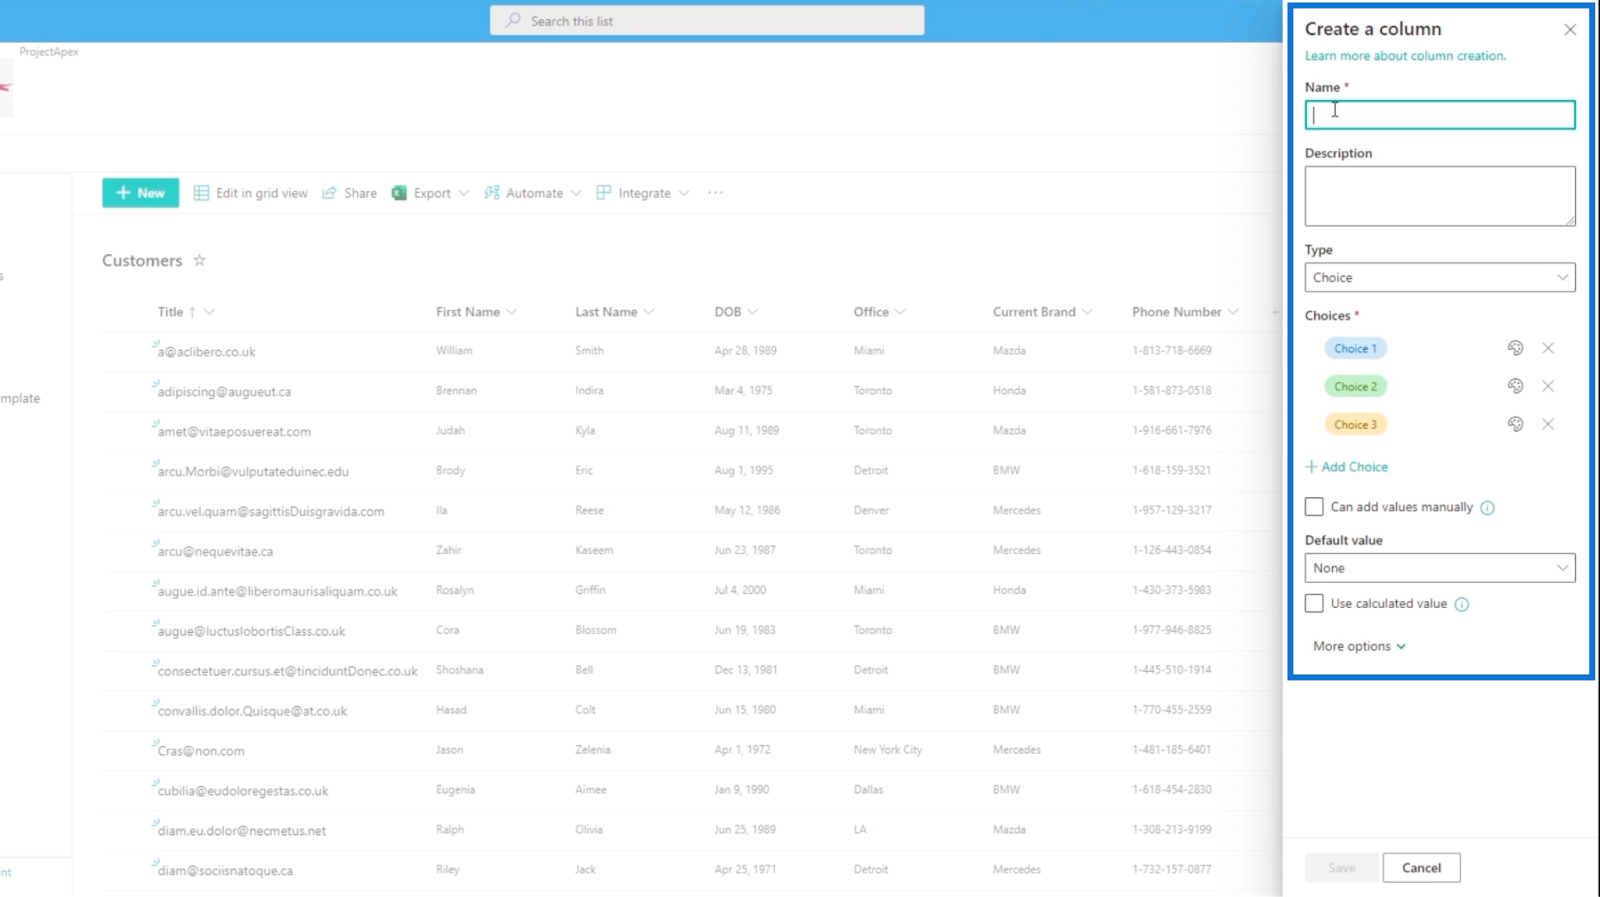
From the dropdown menu, select Choice.

Then, it’ll show a new panel on the right side where you can set the column up.
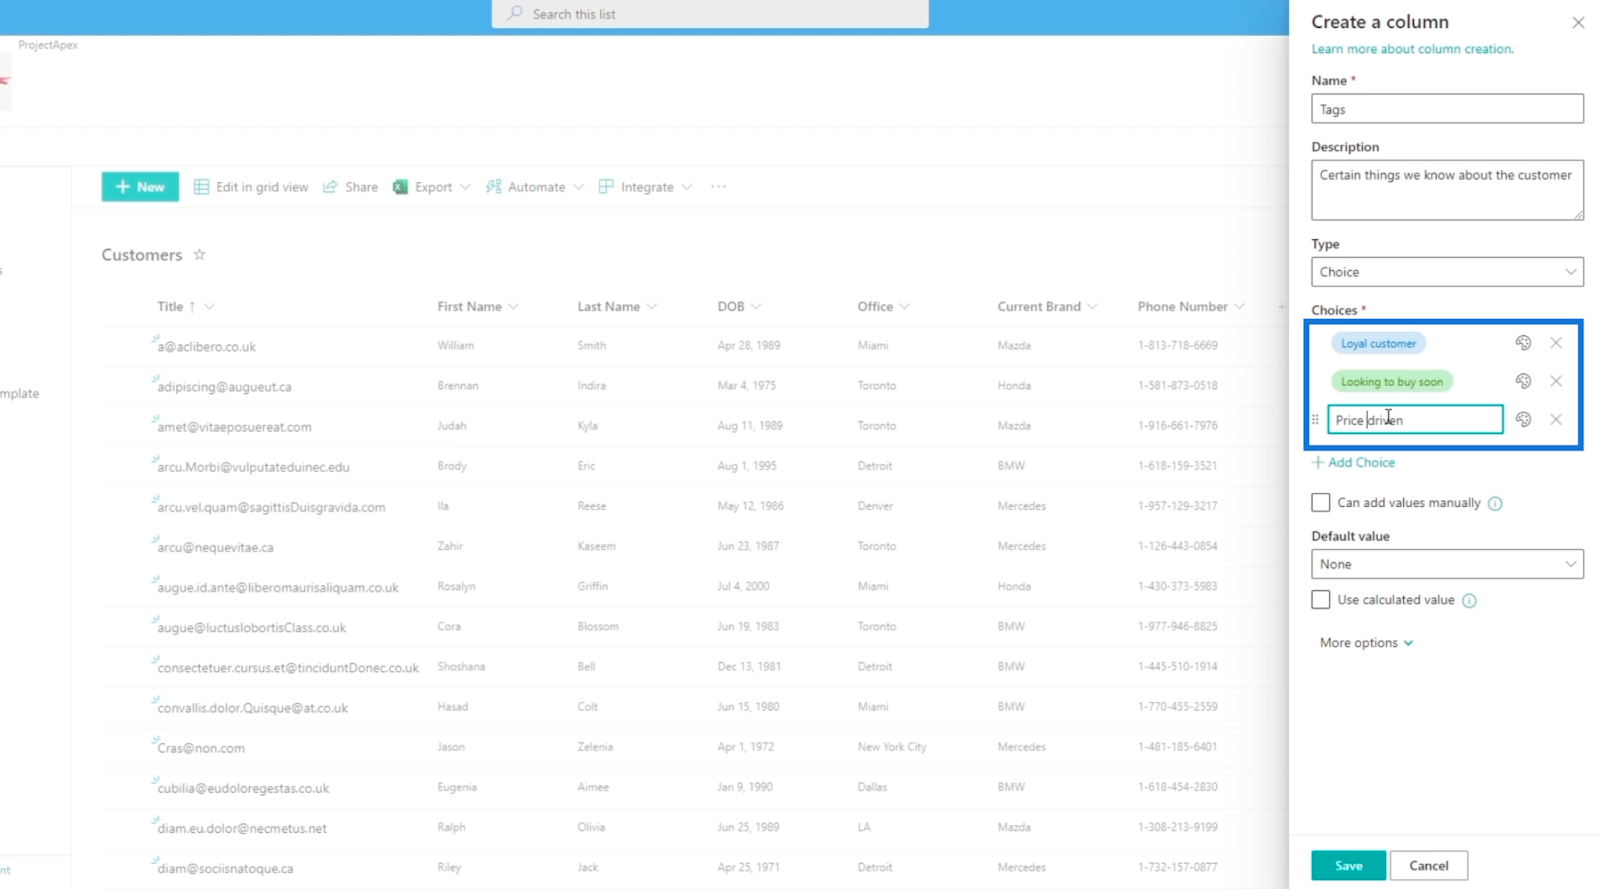
For the Name field, we’ll type “Tags” since we’ll use it for tagging.

And for the Description text box, we’ll type ”certain things we know about the customer”.
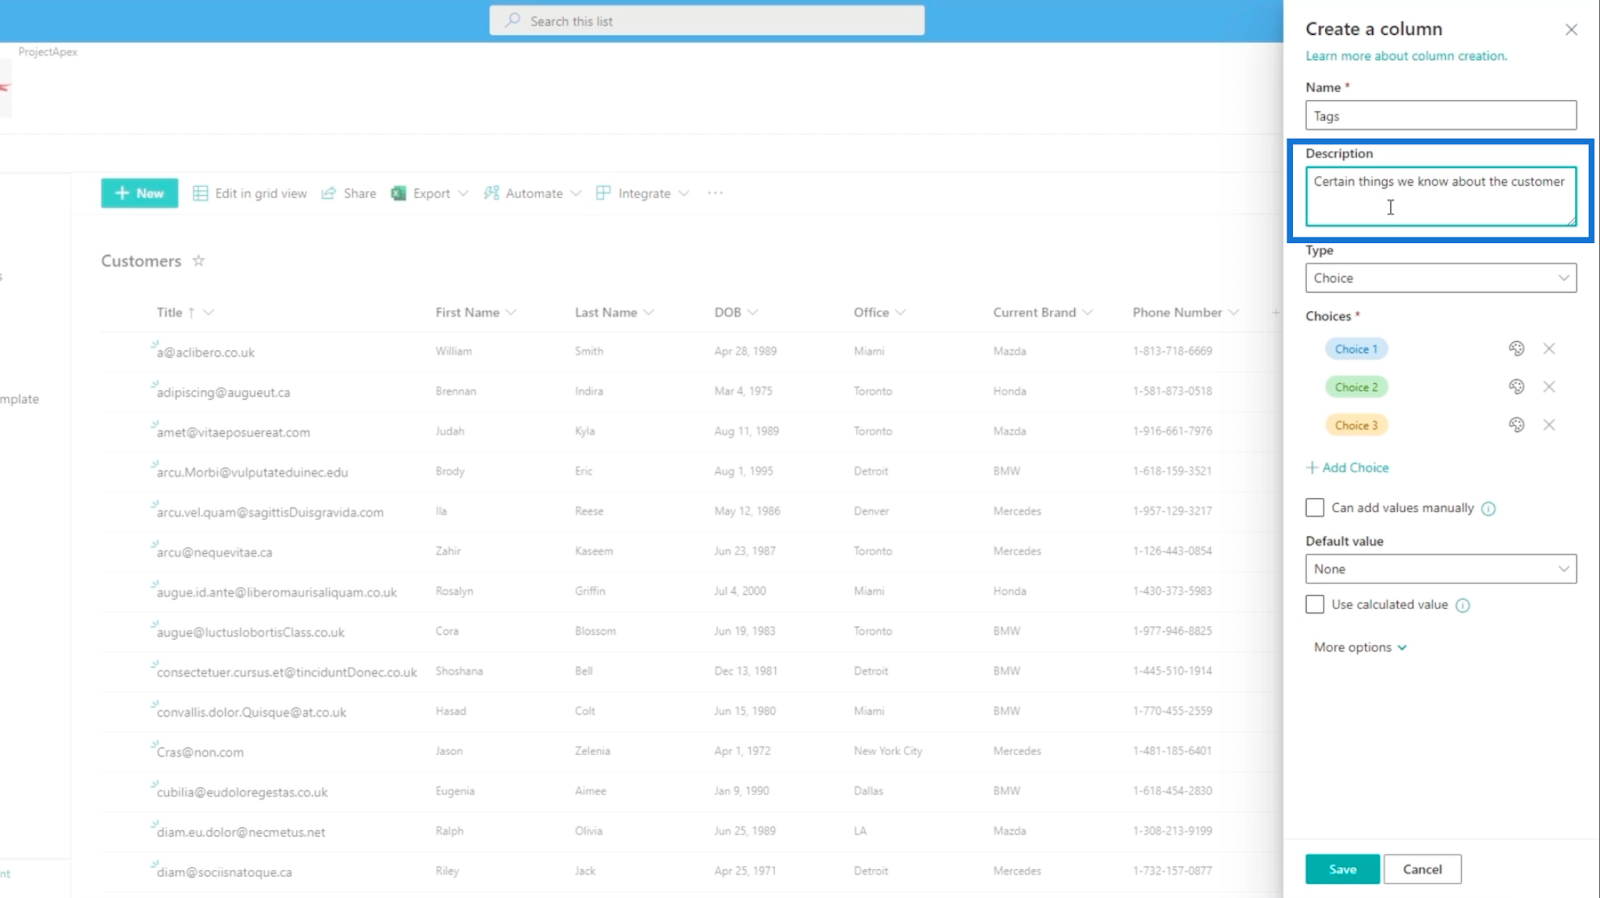
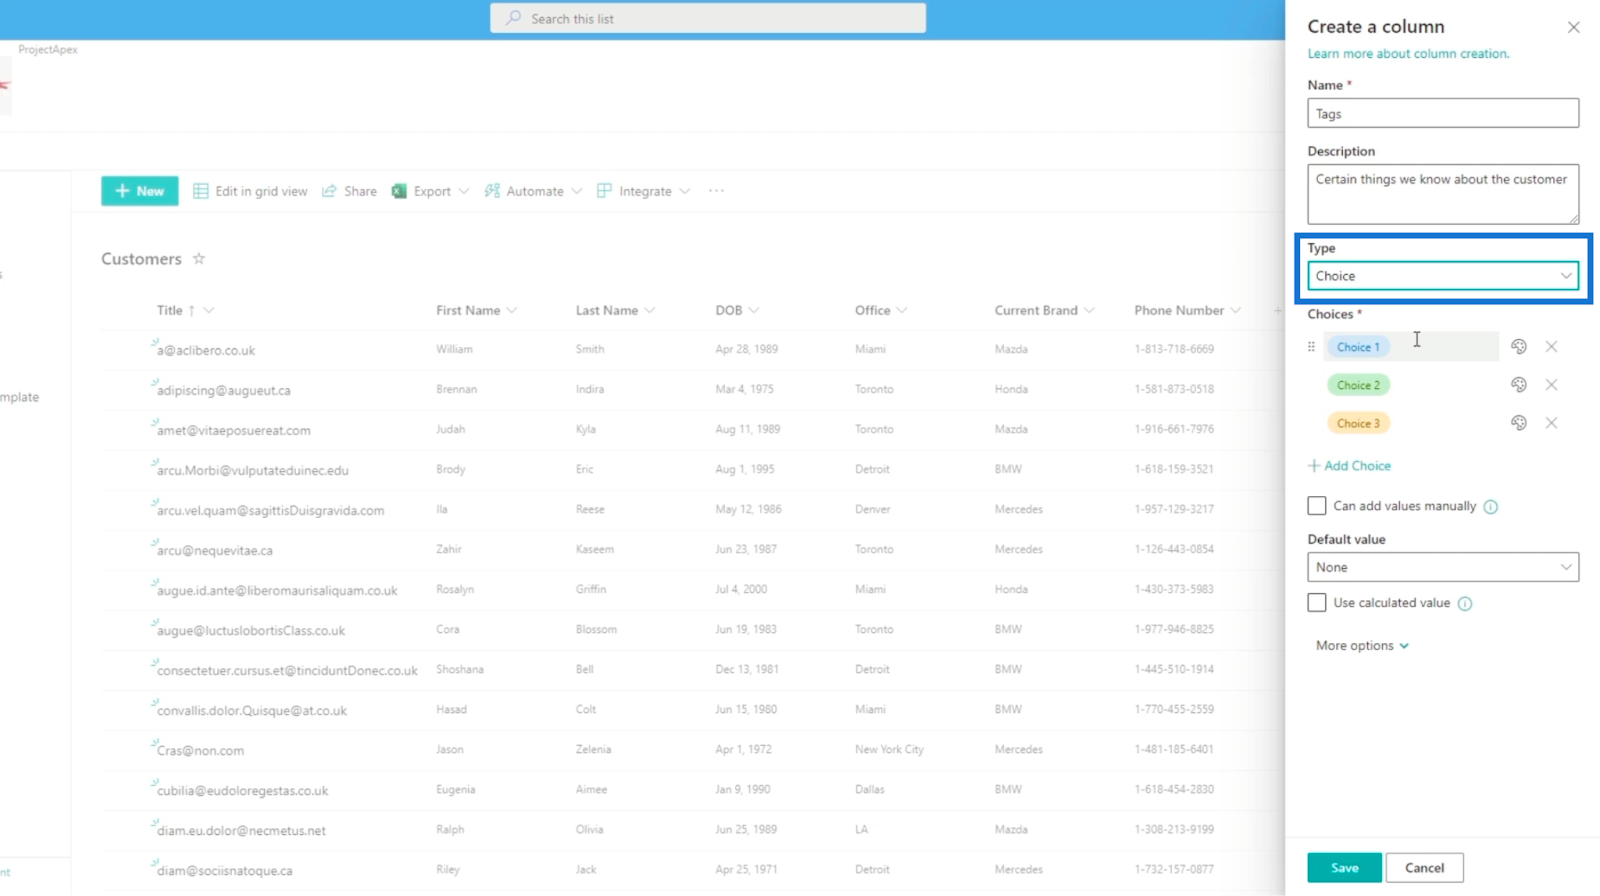
Then, set the Type to Choice.
Editing The Choice Field In A SharePoint List
Next, we’ll edit the options under the Choices section.

For the first one, type “Loyal Customer”.

We’ll type “Looking to buy soon” for the second one and for the third one, we’ll type “Price driven”.
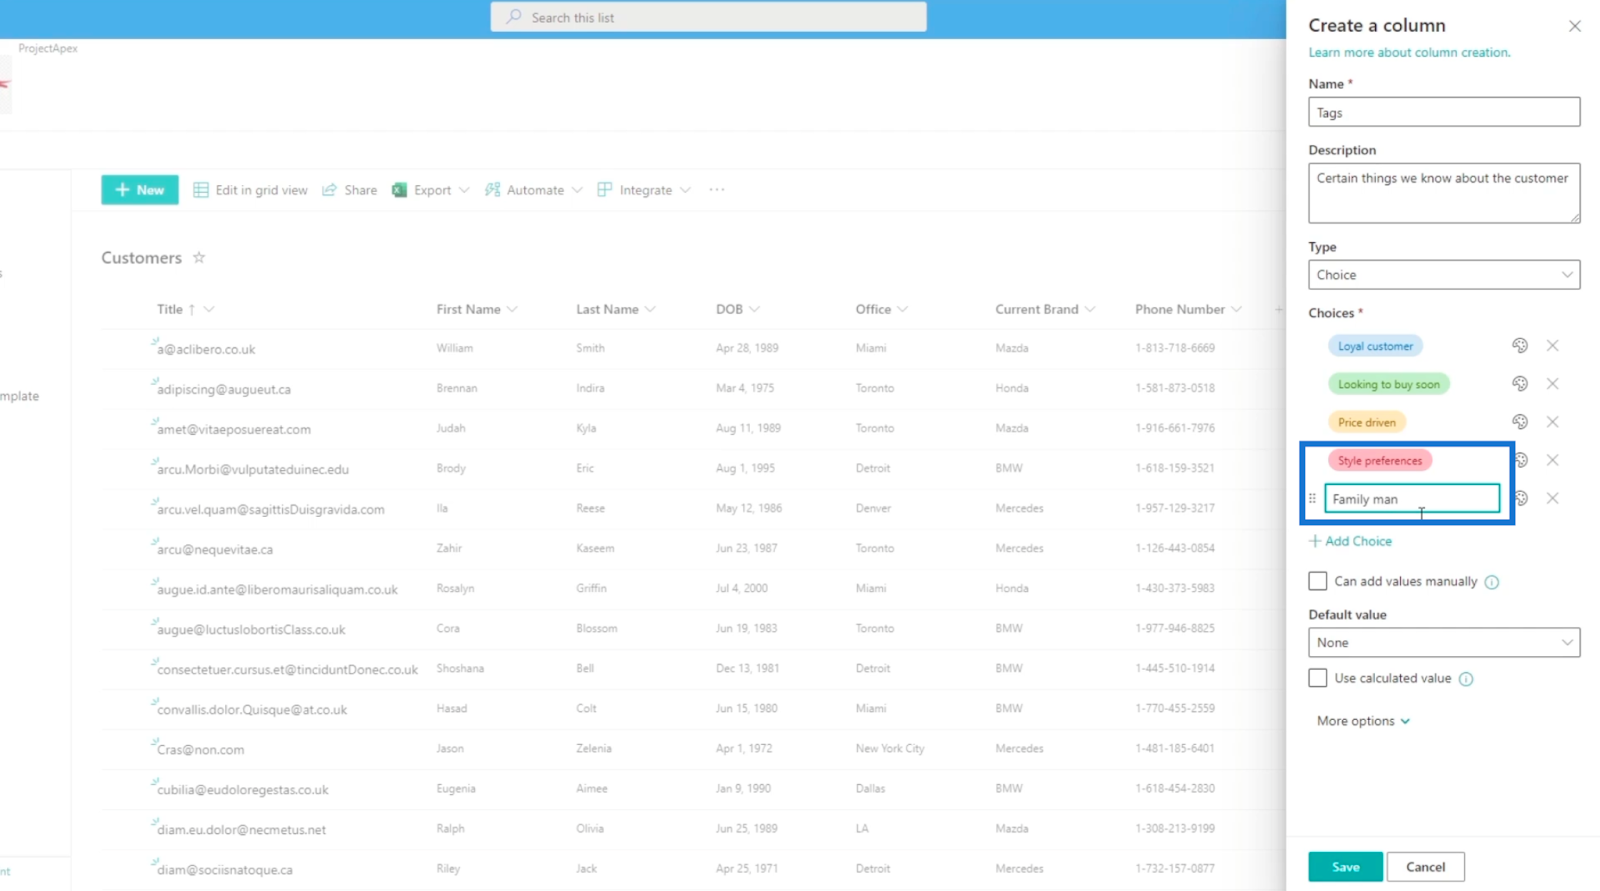
But, we’re not limited to using only 3 options. We can still add more by simply clicking the Add Choice button.

We’ll add two more options, and we’ll type “Style preferences” and “Family man.”
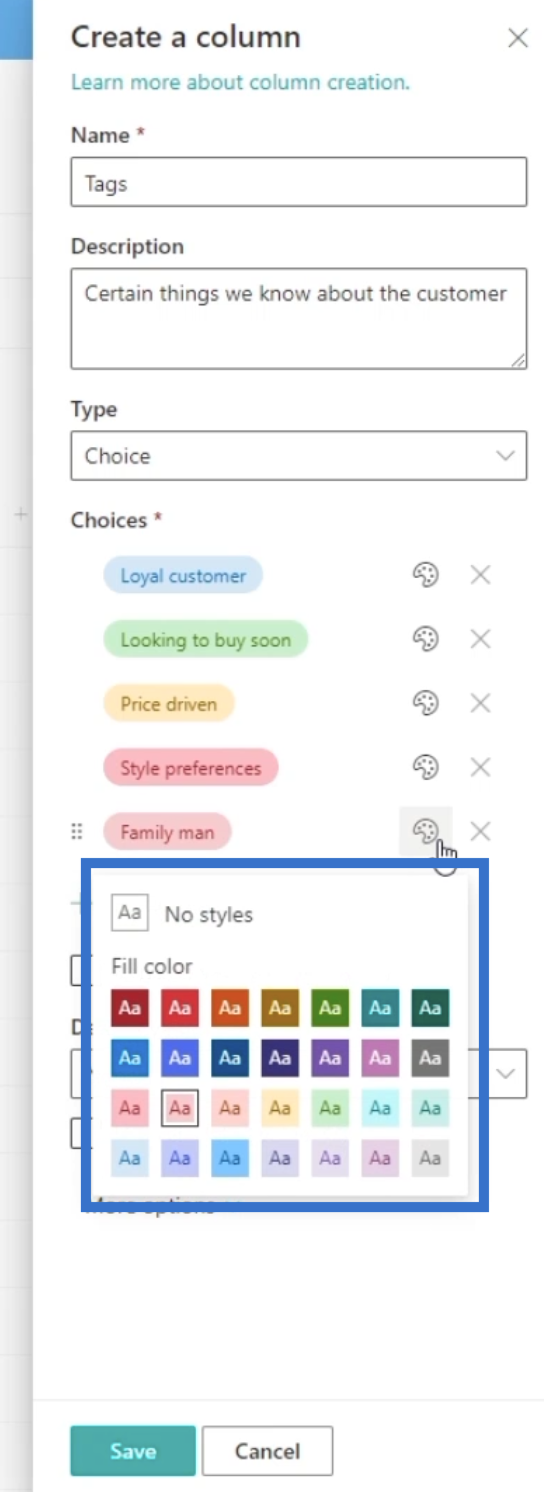
Also, we can change the color of the choices by clicking the color palette icon across the option.
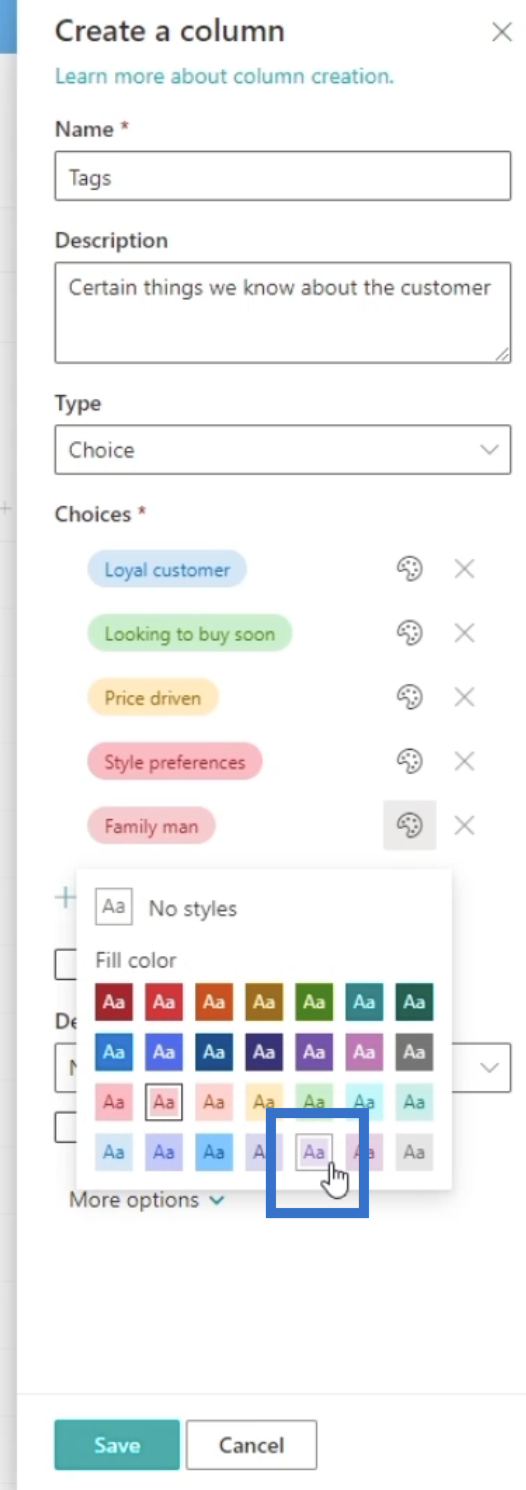
For this example, we’ll change the color of our last option to light purple.

Since we want to add tags or options manually, we can check the Can add value manually checkbox. This will allow the user to manually type a new choice that’s not originally in the set of options.
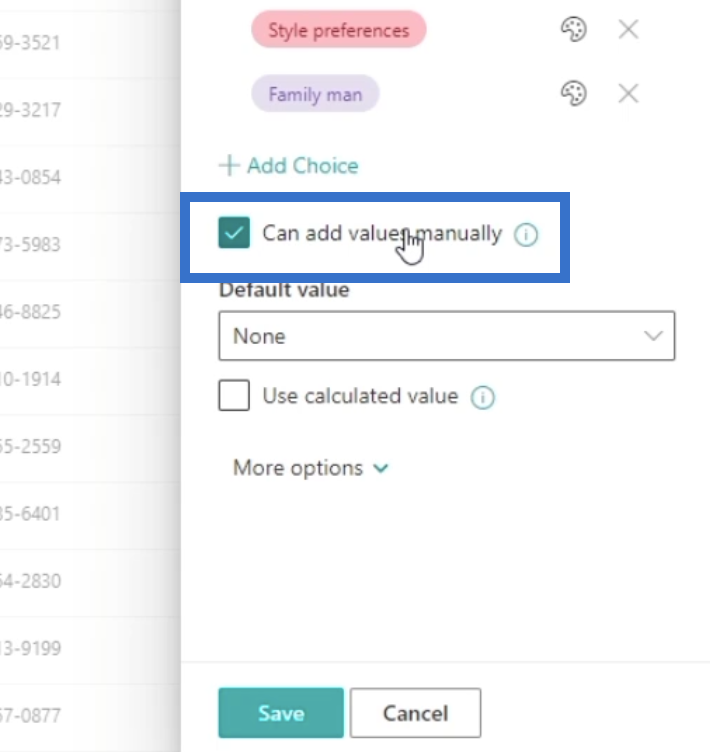
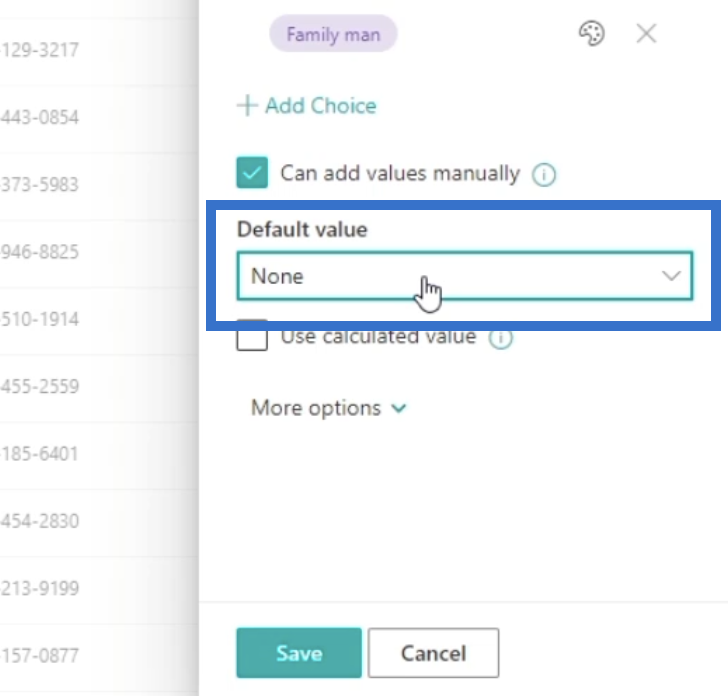
Set the Default Value to None.
Next, click More options to see additional settings.
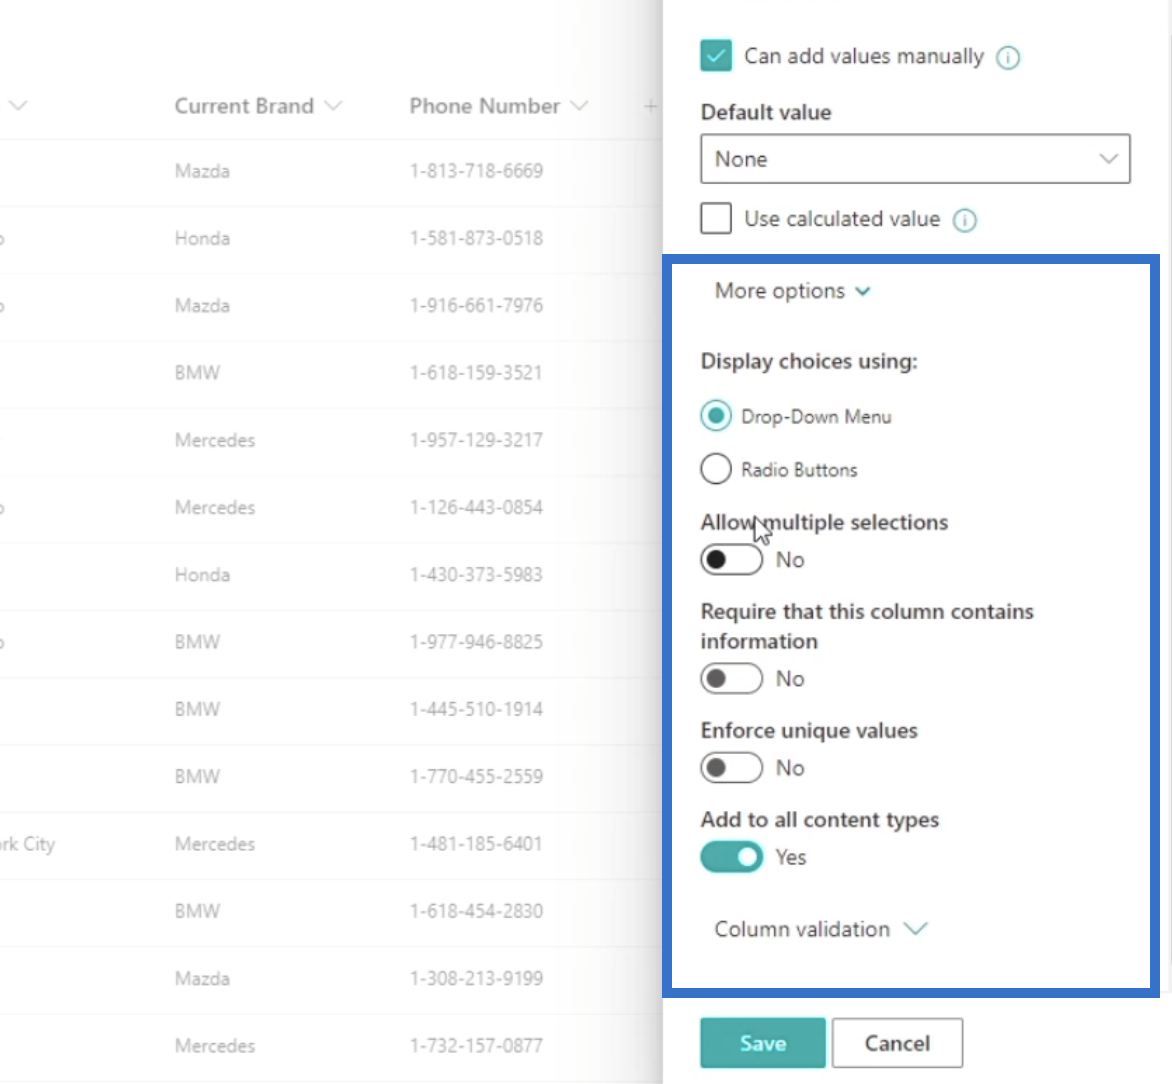
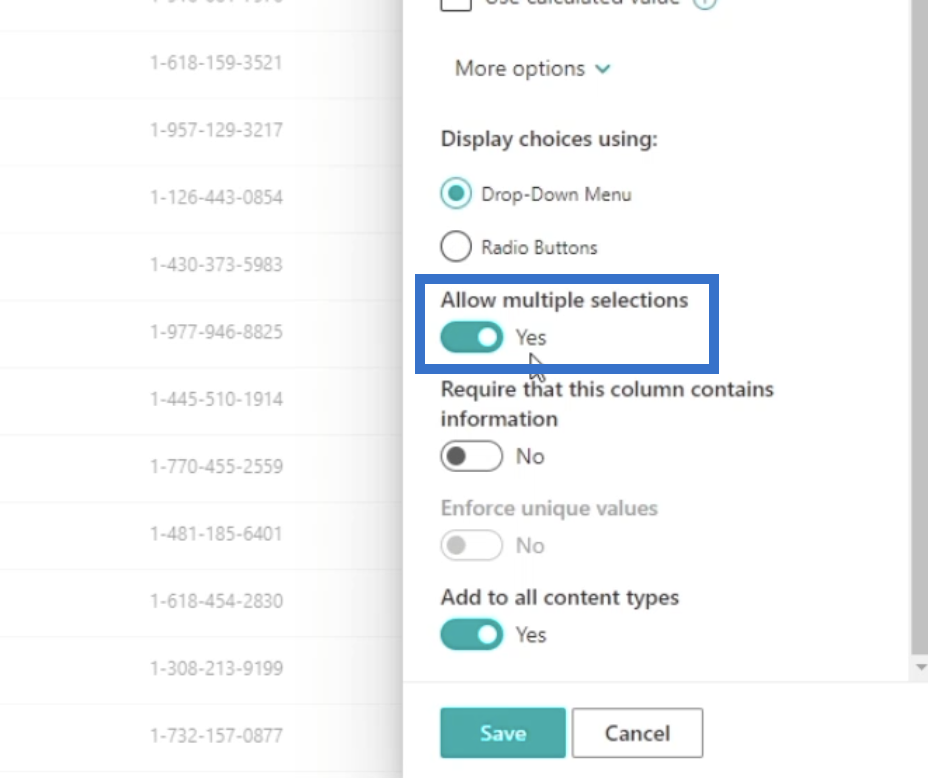
Under More Options, we’ll set the Display choices using to Drop Down Menu.
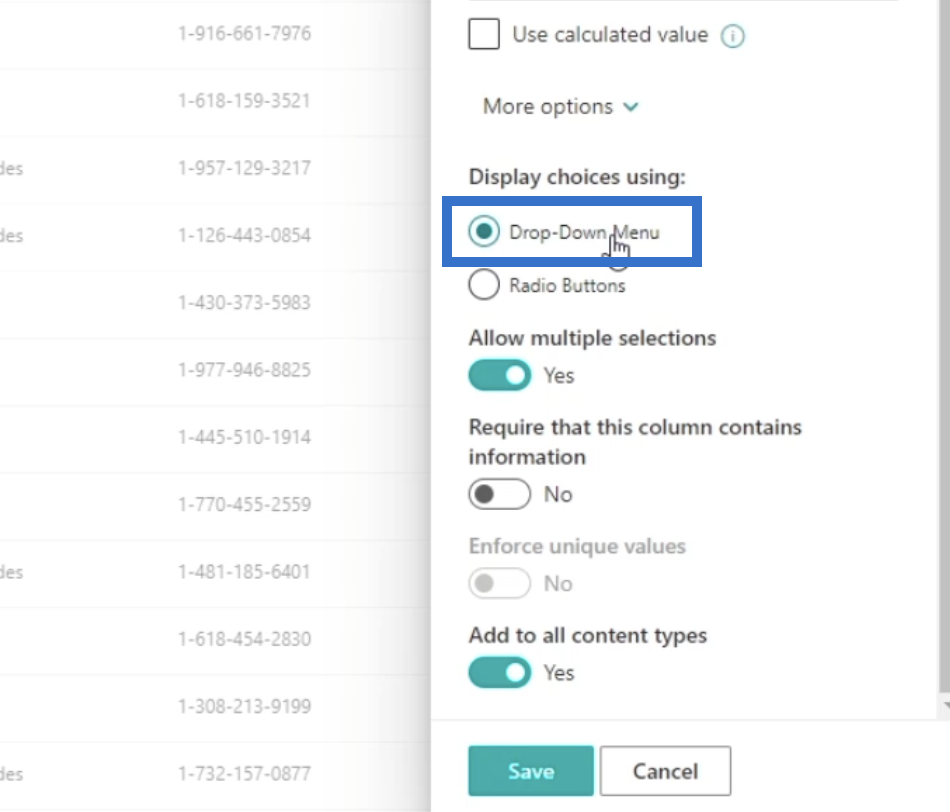
Then, we’ll set the Allow multiple selections to Yes. This will allow the user to select multiple options.
Next, you have to ensure that Require that this column contains information is set to No. This will let us leave a blank value for the Tag column on a certain item.
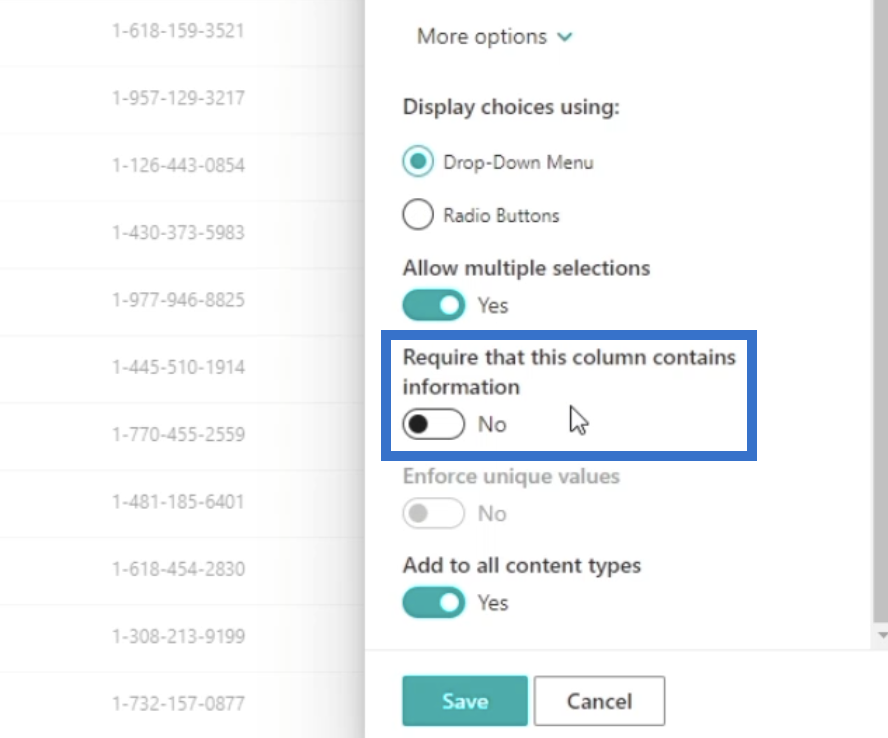
Also, make sure that Add to all content types is set to Yes.

Finally, click Save.

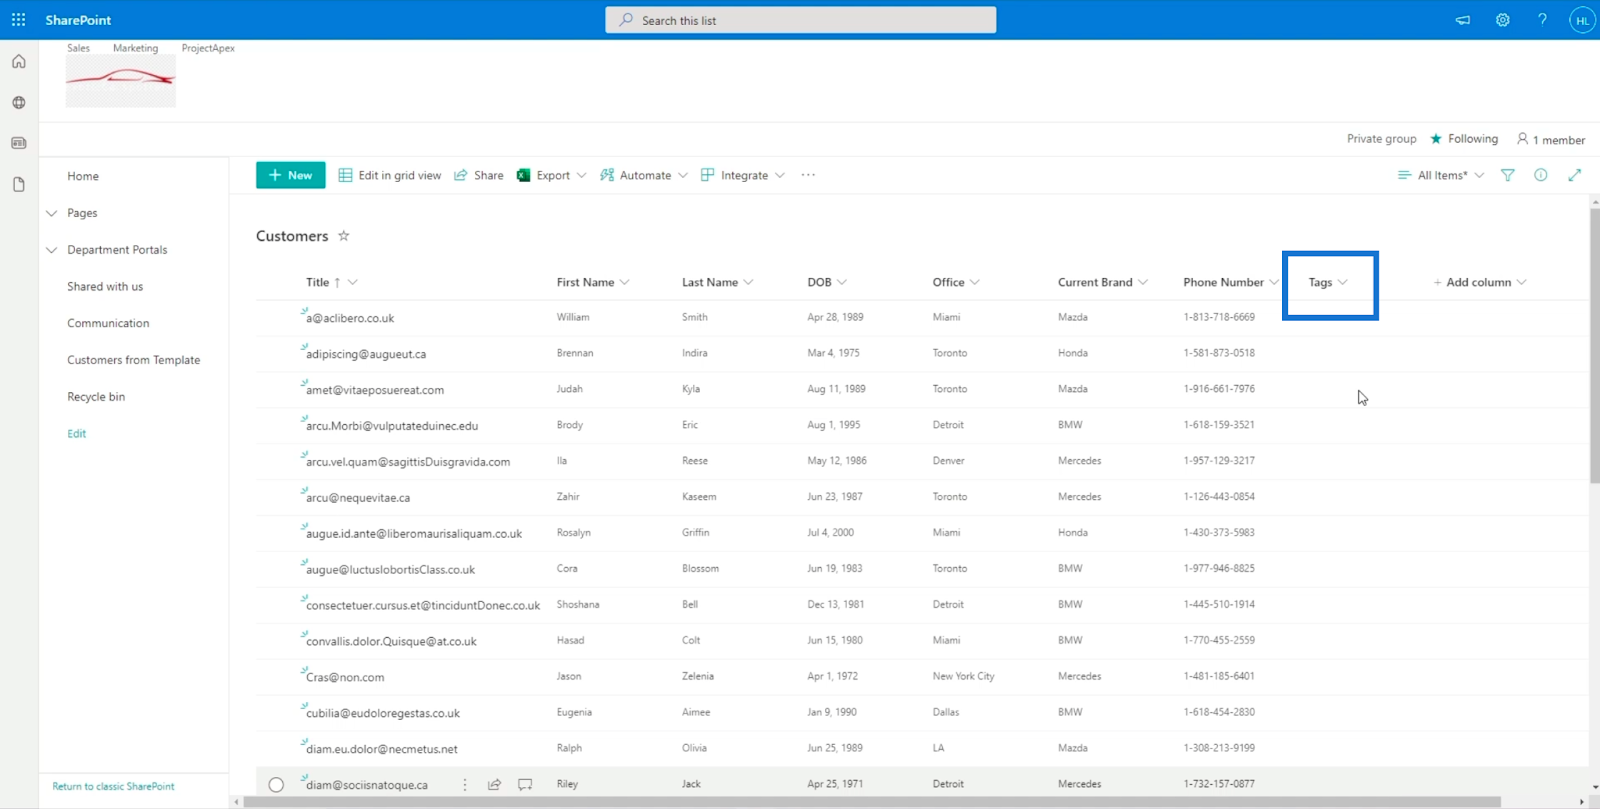
After refreshing the page, we’ll now see that the Tags column has been successfully added.
Assigning Tags Via The SharePoint Choice Field
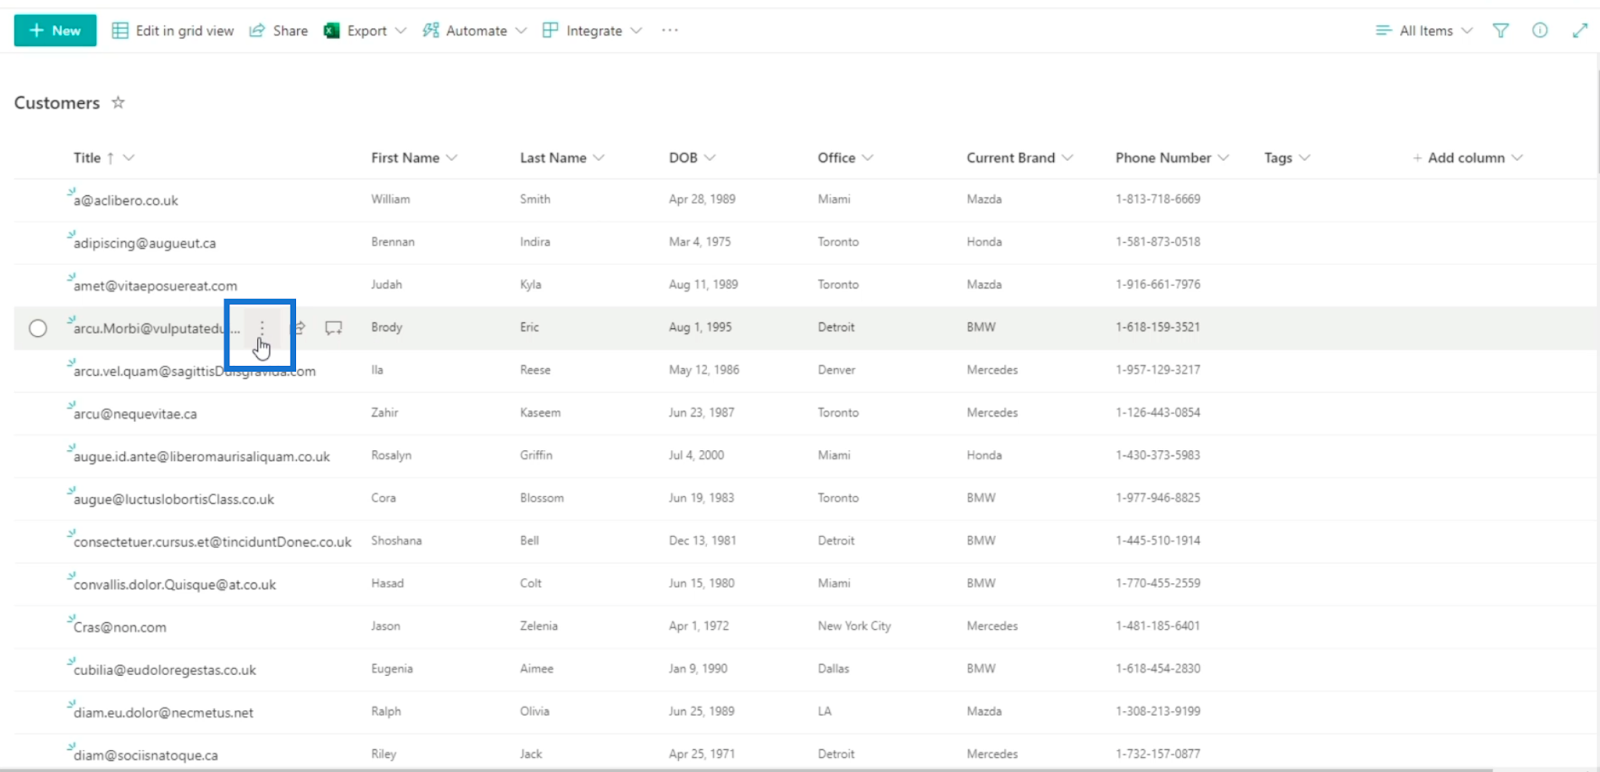
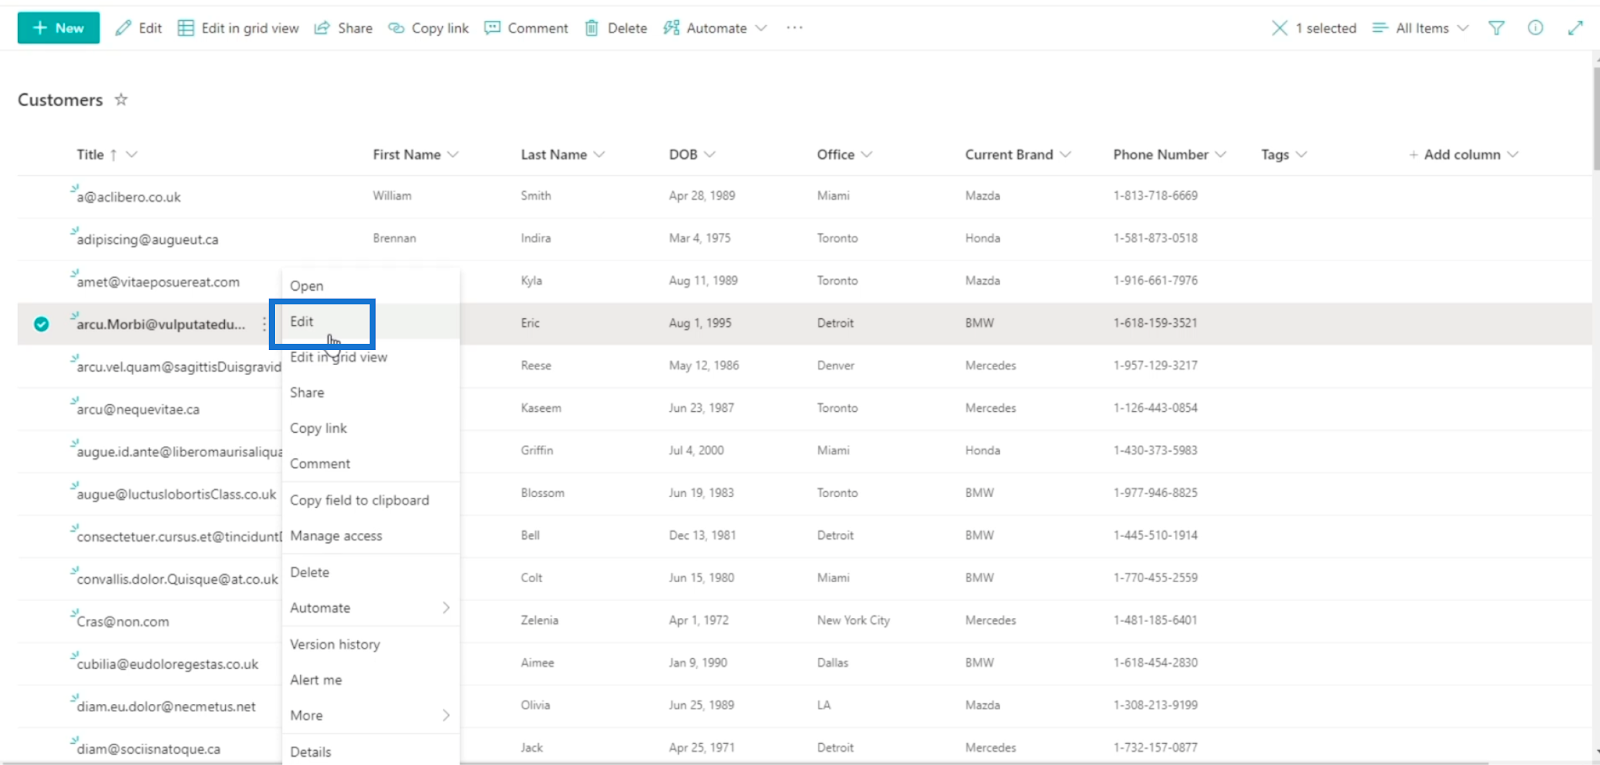
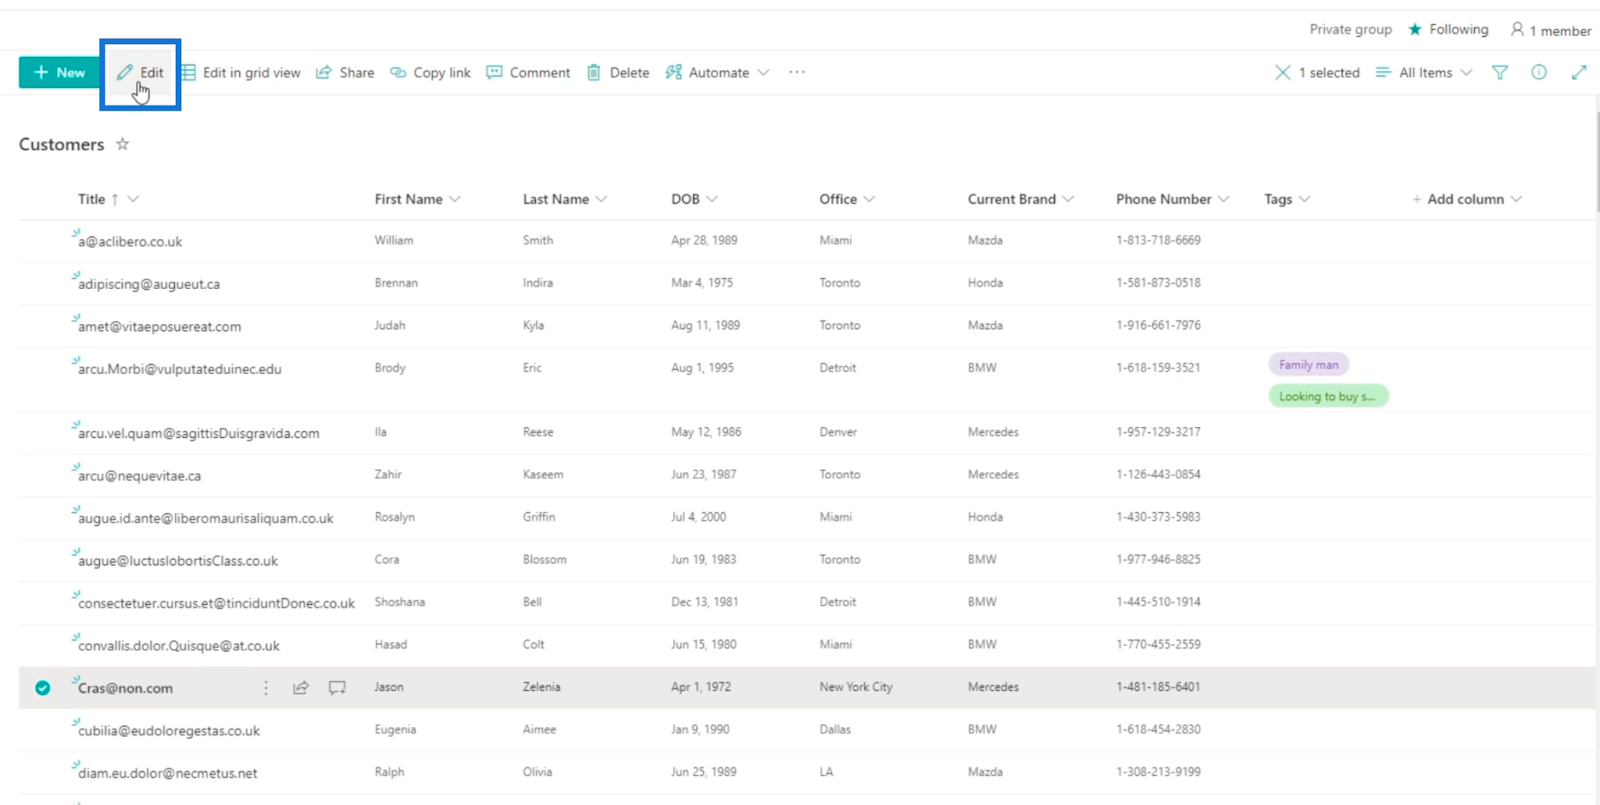
Let’s add tags to items on the list. To do that, let’s first select an item. In our example, we’ll choose “Brody” and click the ellipsis on the side.
Then, let’s click Edit.
On the right-side panel, you’ll see that the Tags column can be edited.

And you’ll see that the options we made earlier are available when you click the Tags textbox.
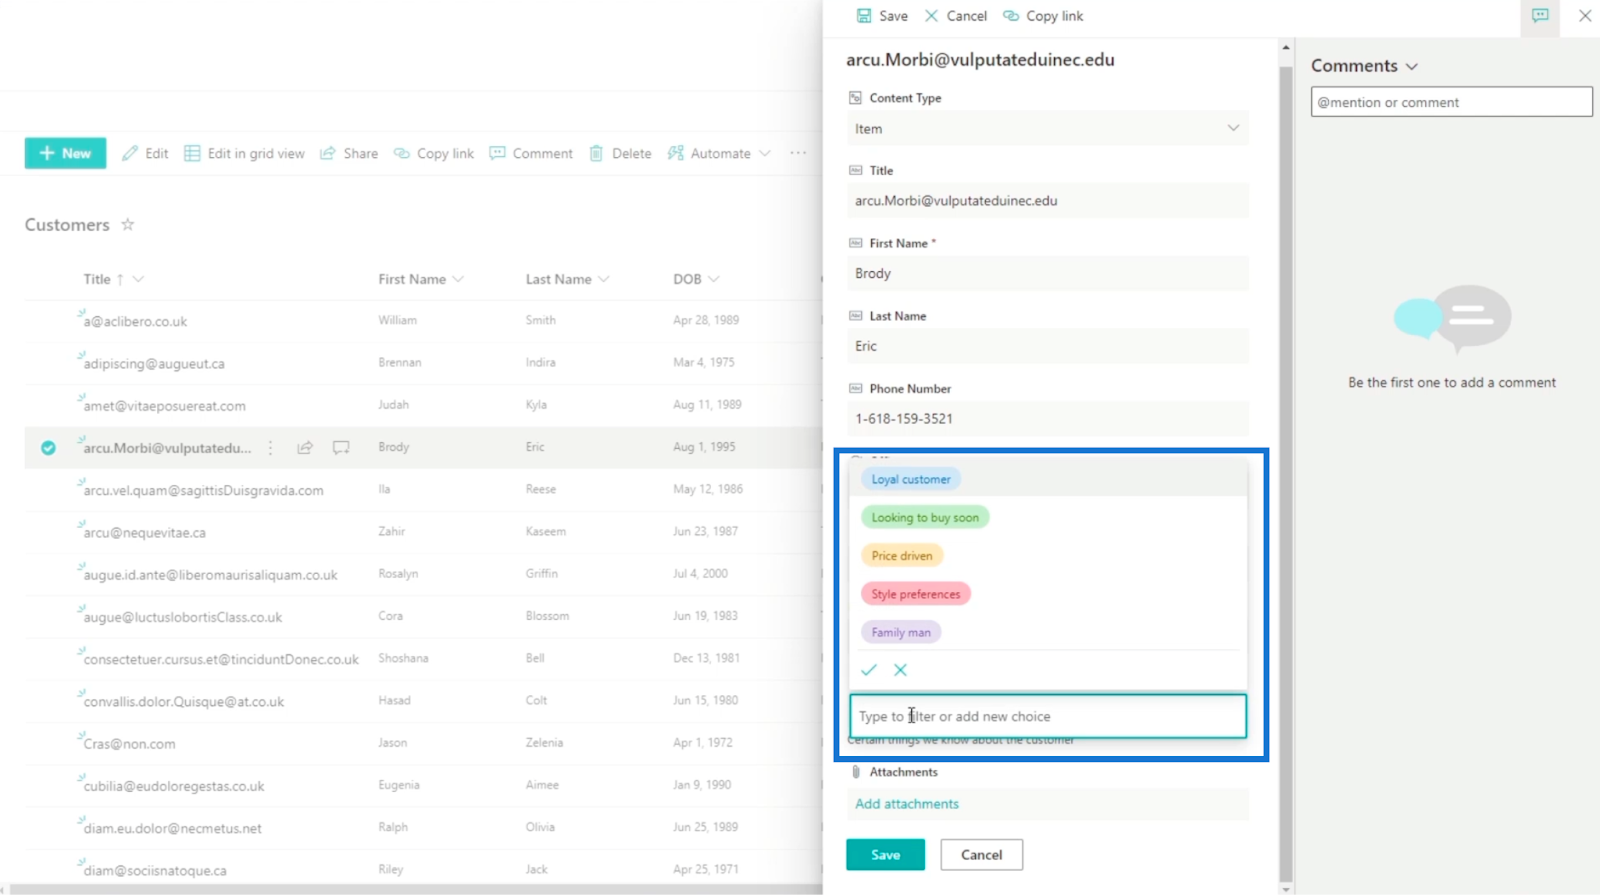
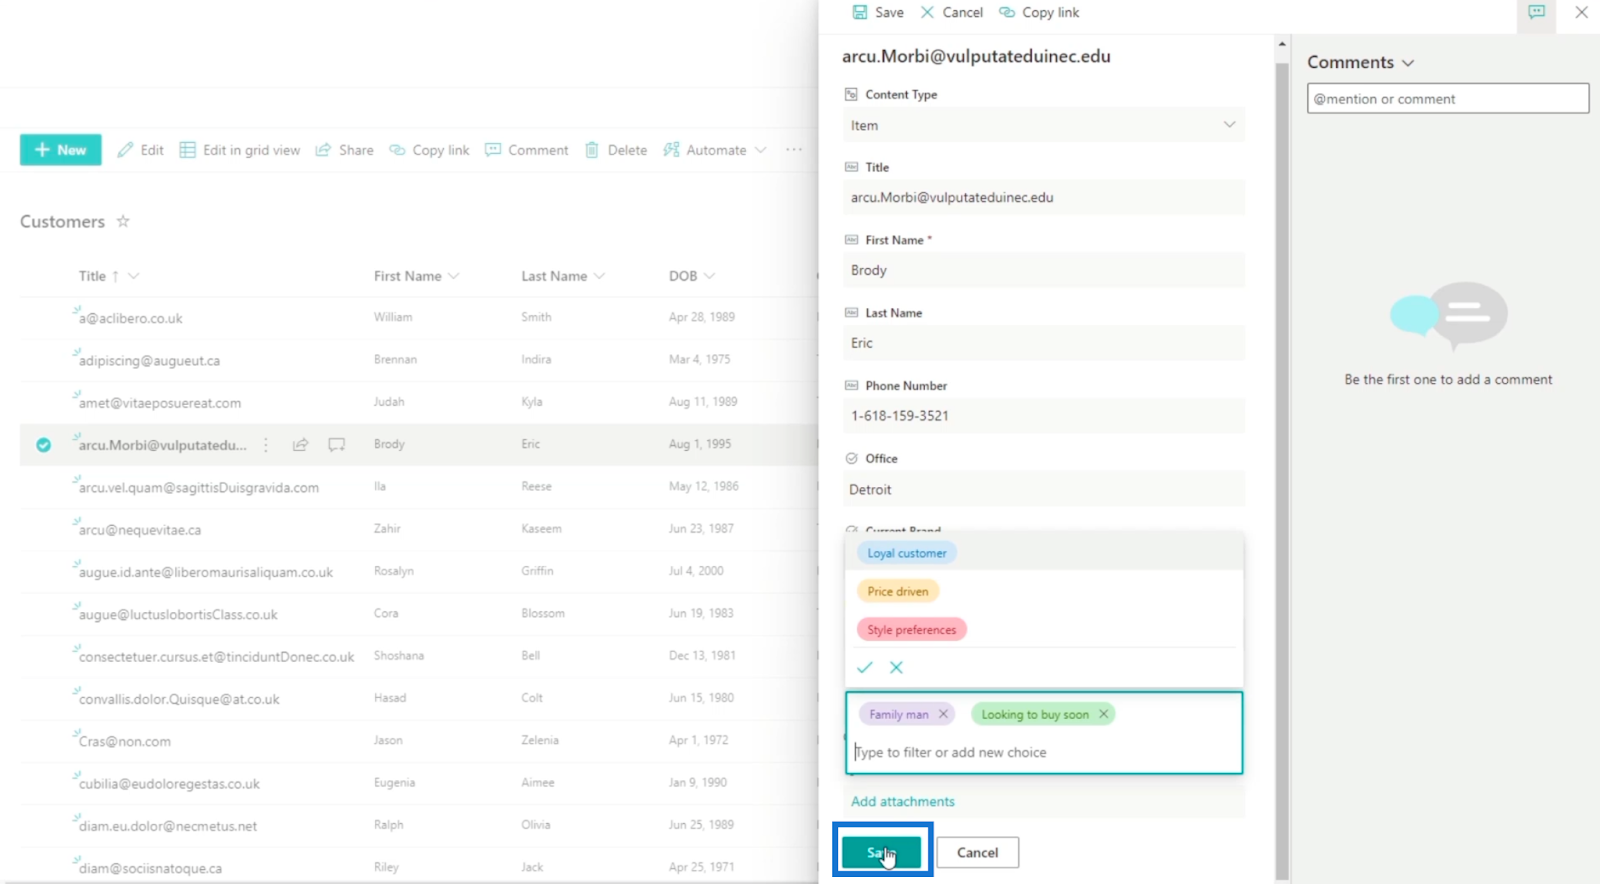
For this example, we’ll choose “Family man” and “Looking to buy soon” from the options.

Then we’ll click Save.
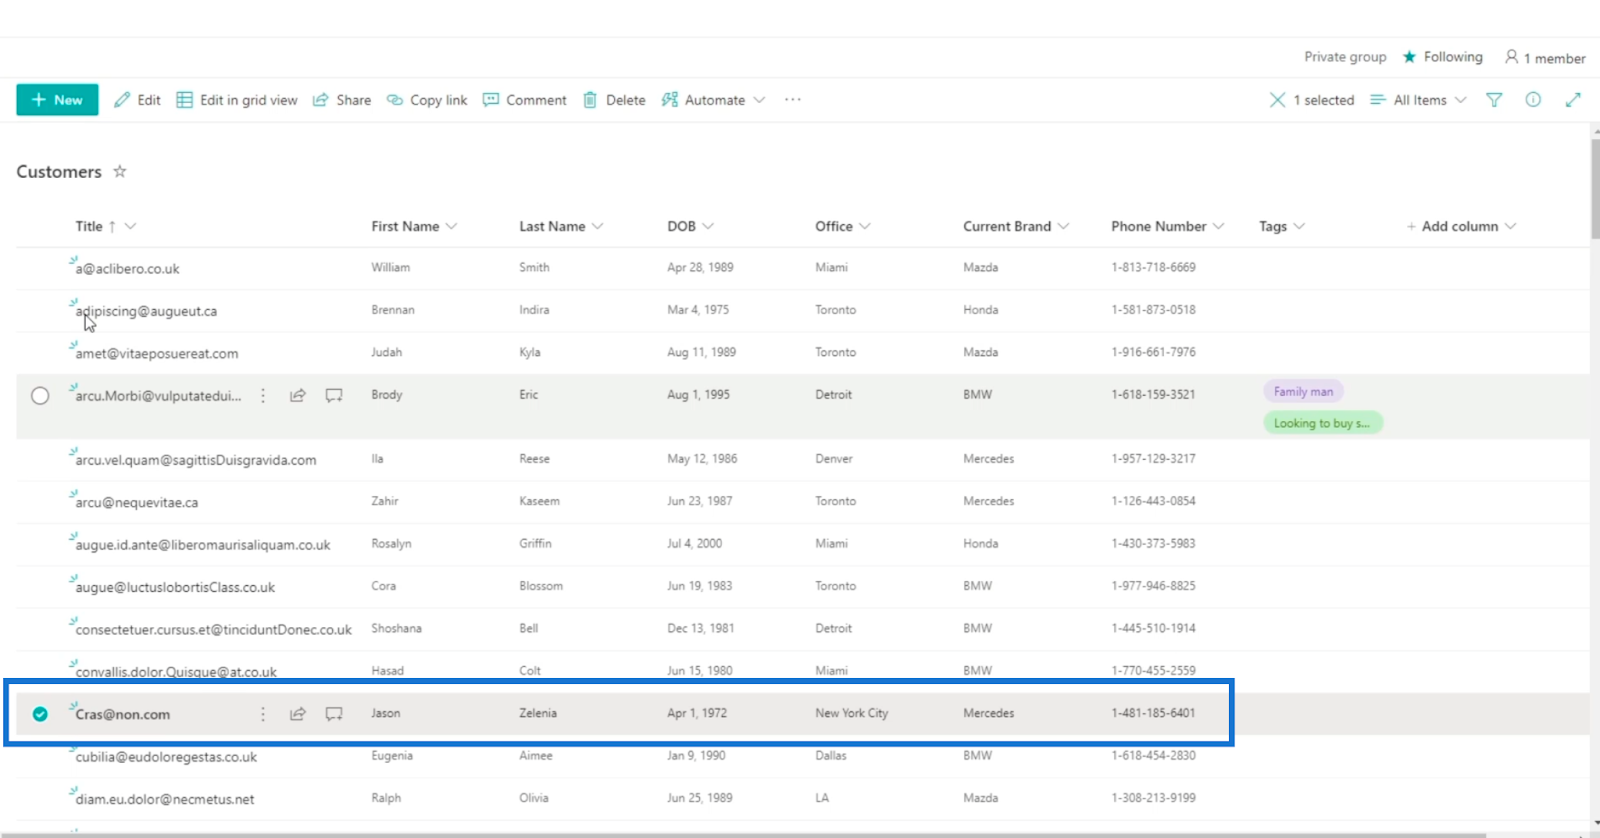
And, you’ll see that “Brody” has two tags.

Now, let’s try to add tags to another item. In our next example, we’ll use “Jason”. Another way to edit an item is by directly clicking its row.
Then, click Edit.
Next, on the right-side panel, we’ll choose “Price driven” and “Family man”.

Then, click Save.

And you’ll see that we have two items with tags.

Take note that the tags we used will be included in the records as well.
Filtering SharePoint List Items Using Tags
One of the best features of using this kind of column is you can use it to filter the items you want to see. To do that, let’s click Tags.

Next, click Filter by.

Then, you’ll be able to choose which Tags you want to see.
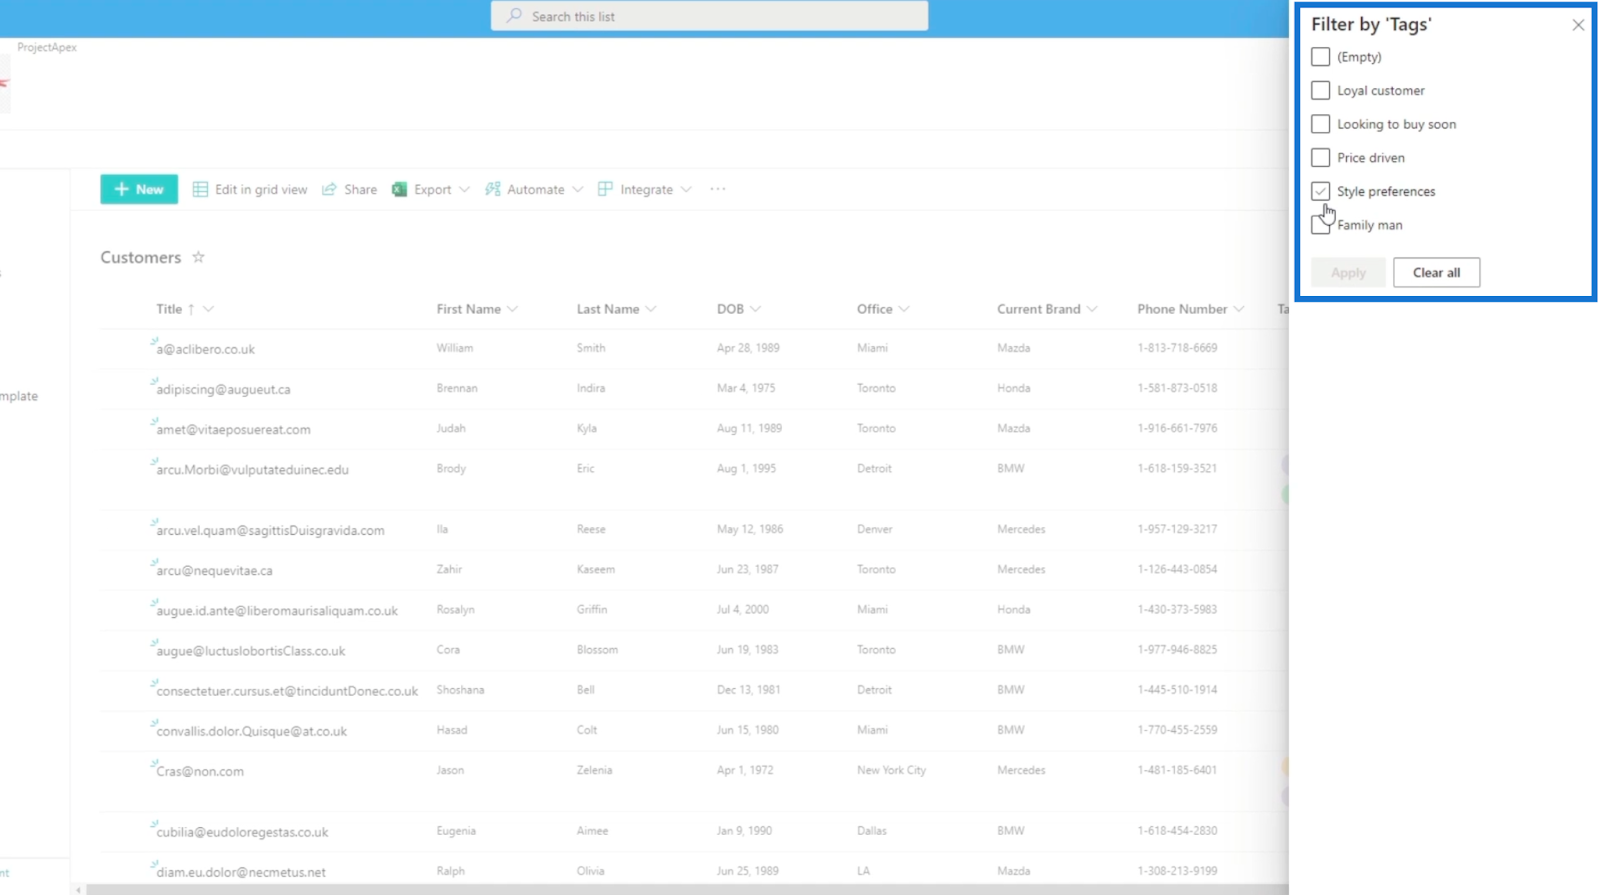
For our example, we’ll check “Family man” on the checkbox.

Next, click Apply.

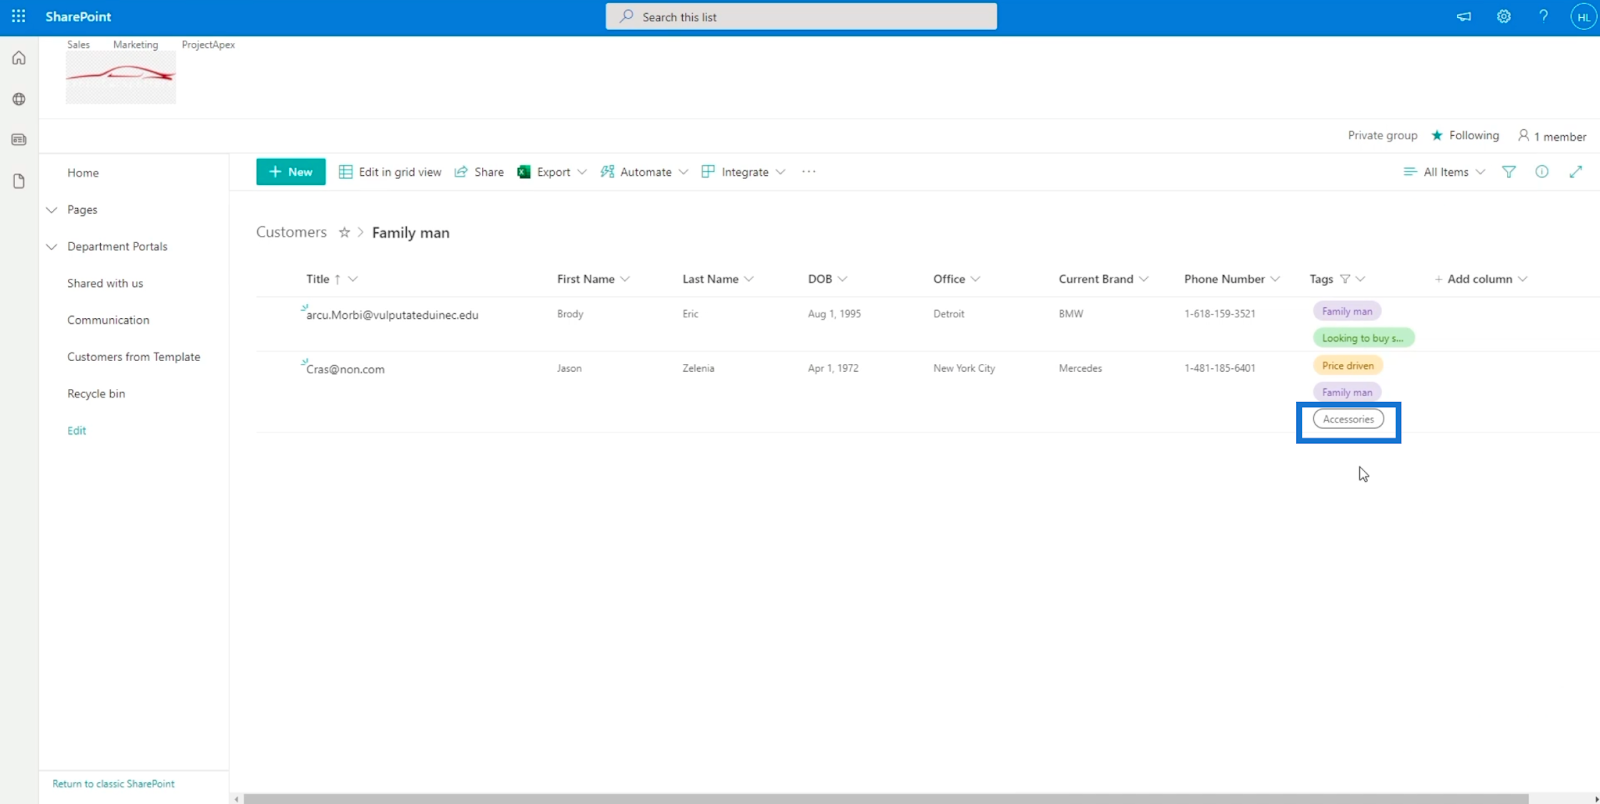
It will only show the items that were tagged as “Family man”.

Manually Adding A Choice On A SharePoint List Item
When you choose an item and click Edit, you can manually add a choice because we checked the Can add value manually checkbox while setting it up.
You can type at the text box where you can select a choice for your tags.

In our example, we’ll type “Accessories”.
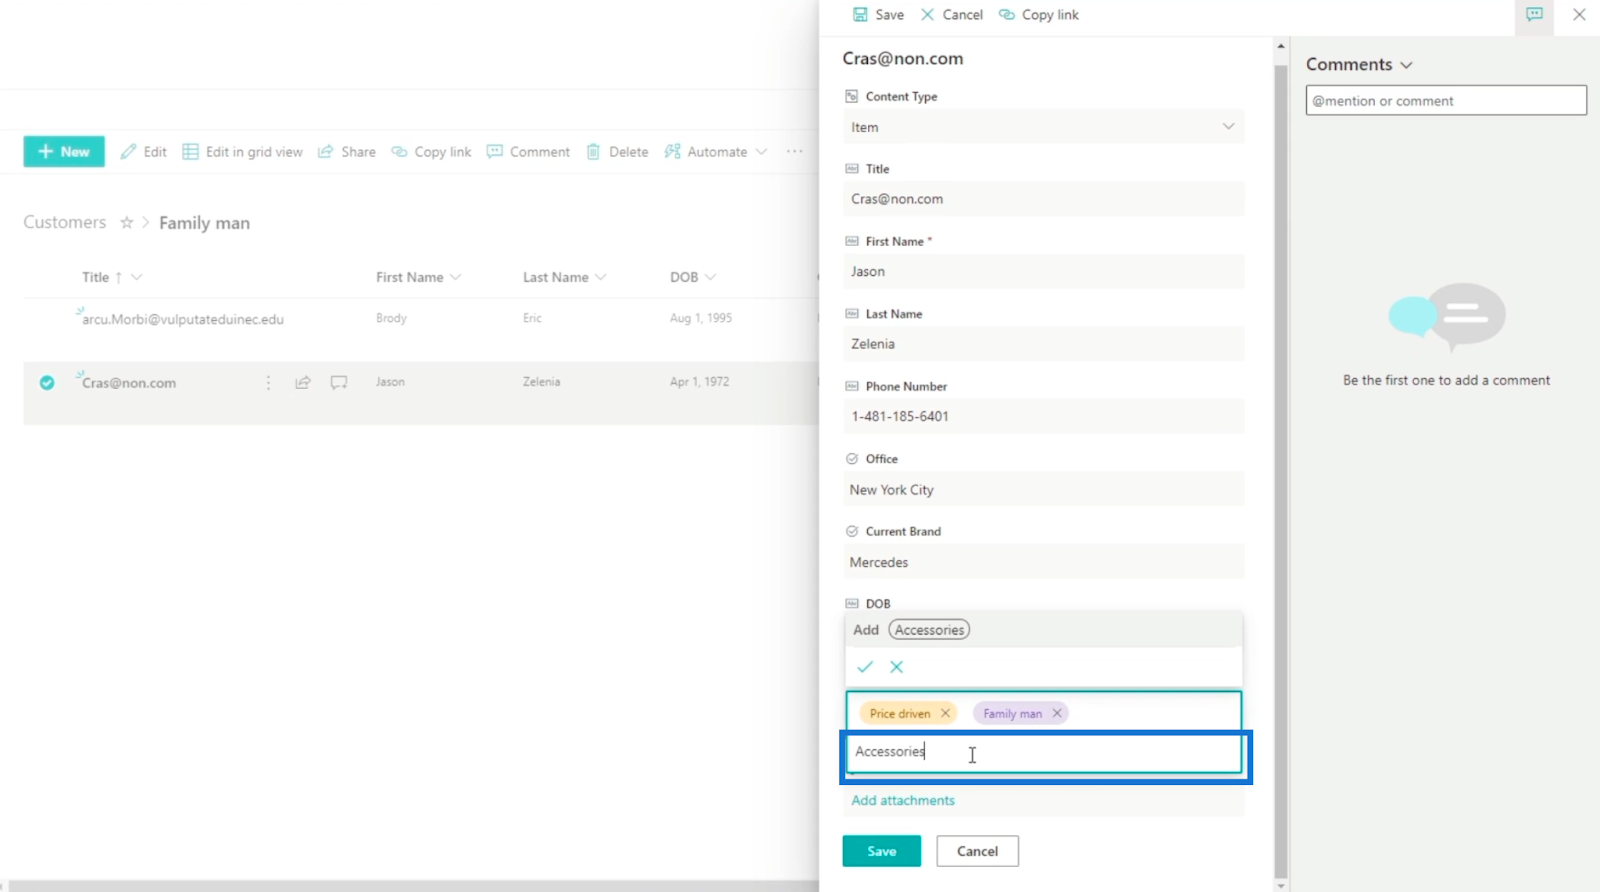
Then, click the Enter key on your keyboard.

Finally, click Save.
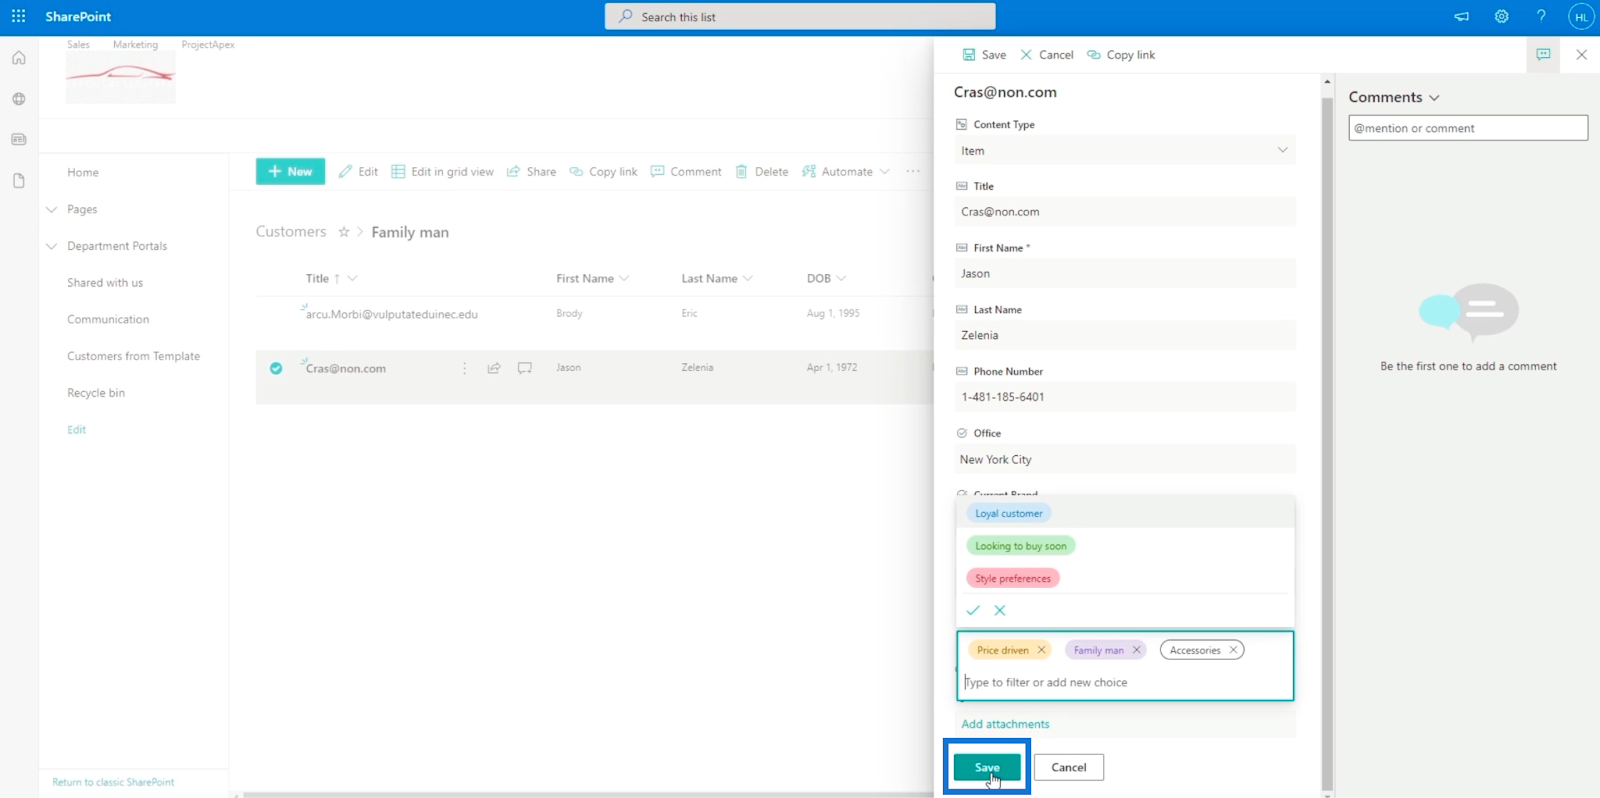
And you’ll see that the new choice has been added and assigned.
***** Related Links *****
SharePoint List Item: Editing Single And Multiple Items
SharePoint Lists: An Overview
Adding Metadata In SharePoint Using Columns
Conclusion
In summary, you’ve learned how to add a new multi-select SharePoint choice field or column on your list. This can make your list more manageable because you can easily identify which items have these tags.
Additionally, you’ve learned how to use the tags to filter the list. Keep in mind that you can view the specific items that have the particular tags you want. Hopefully, you were able to understand the usage and importance of multi-select choice columns in SharePoint lists.
All the best,
Henry


")